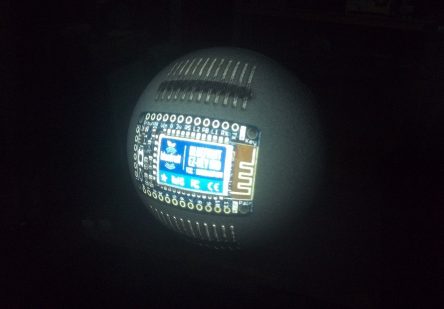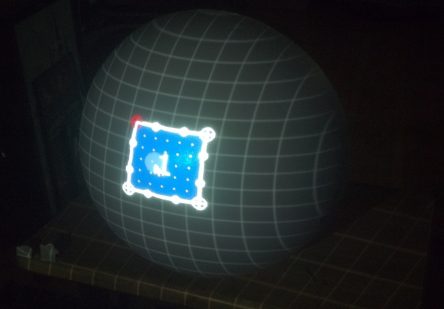
SurfaceMapperGUI – a simple Processing interface for projection mapping
While exploring various resources for projection mapping I realized that while the basic technique is pretty simple, most of the available software is extremely complicated and can be difficult to figure out. Many of these options are fantastic pieces of software, but do not seem ideal for teaching beginners about the fundamentals of projection mapping.
In my research I only found two free pieces of software for projection mapping and was not impressed with their ease of use. However, I was impressed with the various libraries and addons that are available for creative coding frameworks such as Processing and openFrameworks.
The trouble comes when you try to introduce both projection mapping and programming to people who may not have experience with either. So I decided to write a simple graphical interface for my favorite projection mapping library for Processing, SurfaceMapper, so that new users don’t need to know how to read and manipulate code to experiment.
About SurfaceMapperGUI
 SurfaceMapperGUI is a Processing sketch that is built on top of the awesome SurfaceMapper library by ixagon. The SurfaceMapper library allows a user to easily map images and videos onto OpenGL quads, then warp those quads by clicking and moving the corners and various control points around. The library also allows for some really helpful parameters for each surface such as resolution and texture mapping, though these features are not accessible graphically.
While reading through the JavaDocs for SurfaceMapper I found several features that would be great to have easy access to, but were only available through keyboard shortcuts in the provided examples. For programmers this is not a big deal, but for someone who is just trying to learn about projection mapping and programmer I felt that a simple GUI could go a long way. So I built one using ControlP5 that allows for users to easily create new surfaces, load and save layouts and more.
SurfaceMapperGUI is intended to be a basic tool suitable for simple projection mapping projects, teaching environments and illustrative situations. It currently lacks several features that would make it more useful for professional purposes, such as a sequencer or external cue system.
All of the information in this post is also available as an Instructable for easier referencing:
Features
Currently SurfaceMapperGUI supports all of the features available through the standard SurfaceMapper (version 0.9) library, as well as some I’ve added myself. These features include:
- Create new surfaces (straight-edged quads or curved-edged bezier surfaces).
- Load and save layouts.
- Switch back and forth between rendering and calibrating.
- Alter the resolution of the surfaces.
- Alter the horizontal and vertical “force” on the edges of bezier surfaces.
- Anchor points that are moved close to each other will snap together.
- Assign pictures or videos as textures to any surface.
Downloads
The source code for SurfaceMapperGUI is fully open-source and is available through the following Github repo:
Installation
To use SurfaceMapperGUI you will need to download and set up Processing and install a few libraries that the SurfaceMapper library depends on.
Follow these steps to get Processing set up and configured to use the SurfaceMapperGUI sketch:
- Download and install Processing 1.5.1
- Newer versions of Processing do not work with the SurfaceMapper library, so make sure to get version 1.5.1.
- Download and install SurfaceMapperGUI (version at time of writing: 0.9)
- Download and install GLGraphics (version at time of writing: 1.0.0)
- Download and install GSVideo (version at time writing: 1.0.0)
- Download and install ControlP5 (version at time of writing: 1.5.2)
- Download the SurfaceMapperGUI source code and extract to your Sketchbook location
- Open SurfaceMapperGUI from Processing’s File > Sketchbook menu, then click the Run button (Ctrl + R) to start the sketch.
- I recommend using Sketch > Present to run the sketch in fullscreen mode (Ctrl + Shift + R)
Usage
Overview of surfaces and quad warping
At the heart of SurfaceMapperGUI is the concept of quad warping. A quad is a polygon with four sides and four corners, which can be warped (stretched, skewed, distorted, etc.) by repositioning any of the four corners. An image or video (called a texture) can be applied to the quad, which your graphics card will automatically stretch to match the shape of the quad.
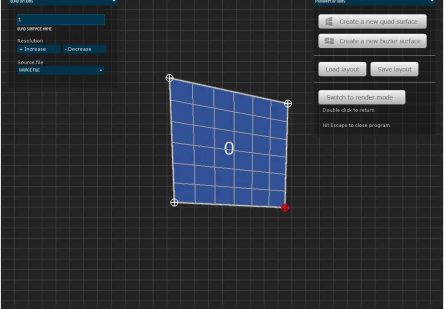
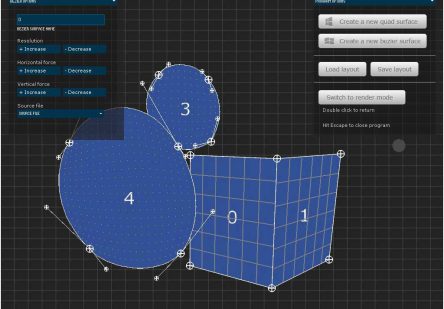
SurfaceMapperGUI refers to all of it’s polygons as surfaces, and allows you to create two different types of surfaces: quad surfaces and bezier surfaces. Quad surfaces have straight edges while bezier surfaces have curved edges. Here are some examples of what these two types of surfaces look like:
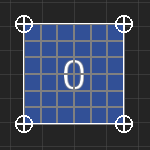
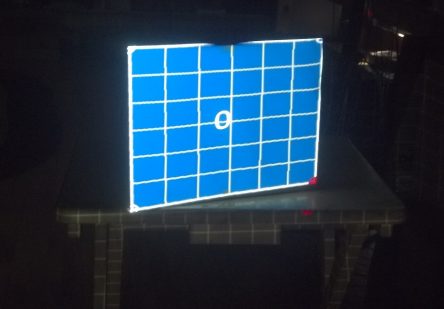
Quad surface
A quad surface has four straight edges and four corners. You can click on and drag any of the four corners to warp the surface.
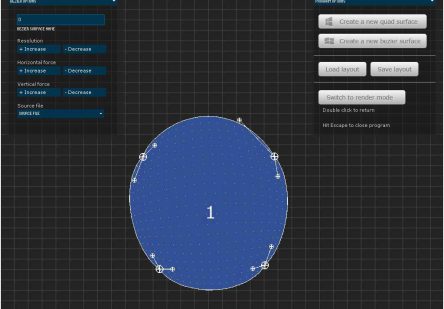
Bezier surface
A bezier surface has four curved edges and four corners. You can click on and drag any of the four corners to warp the surface. Each corner also has two control points which control the curve of the nearby edges.
Calibration mode vs. render mode
SurfaceMapperGUI has two modes of operation; calibration mode and render mode. Compare the differences below:
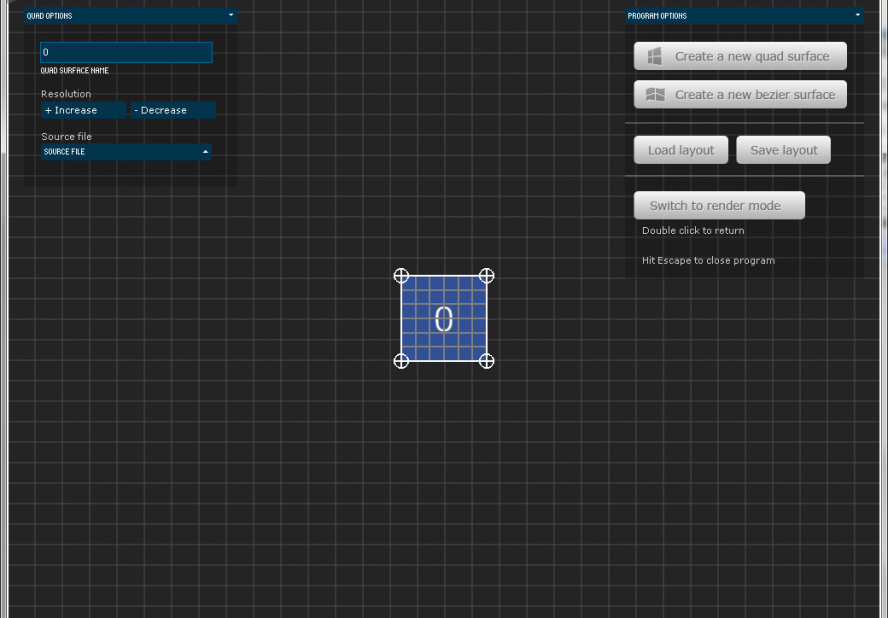
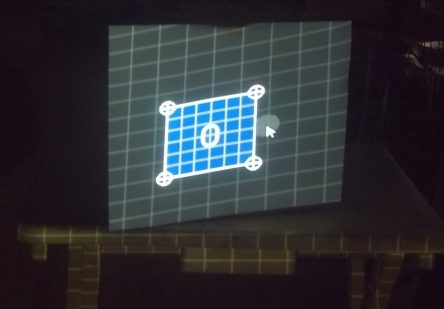
Calibration mode
Allows you to create and alter surfaces, as well as assign different textures to surfaces.
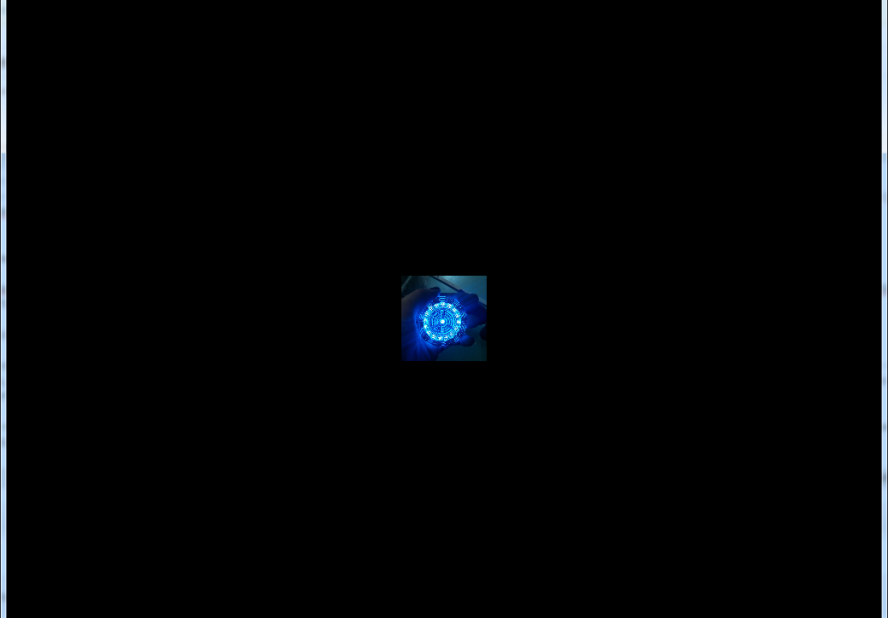
Render mode
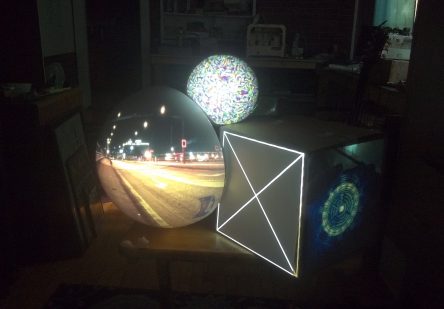
Hides all GUI elements and grid, and displays images and videos onto each surface.
Calibration mode menus
Program options
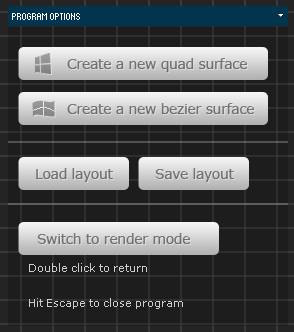
At the top right of the program are several options that are available anytime in Calibration mode. These options perform useful general actions for you.
- Create a new quad surface – adds a new quad to the workarea
- Create a new bezier surface – adds a new “bezier” quad to the workarea
- Load layout – loads surfaces, positions and texture references from text files.
- Save layout – saves surfaces, positions and texture references to text files.
- Switch to render mode – switches to “render” mode.
Quad options
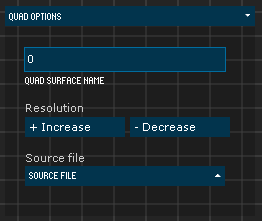
If the surface that is currently selected is a regular quad, this menu will appear in the top left corner of the program. Use the menu to increase/decrease the resolution of the quad and associate different textures to it.
- Quad surface name – ID number of the currently selected surface
- Resolution (increase and decrease) – increase or decrease the number of subdivisions of the surface. More subdivisions = smoother images in render mode.
- Source file – texture that is associated with currently selected surface. Contains list of all images and videos found in “data/textures” directory.
Bezier options
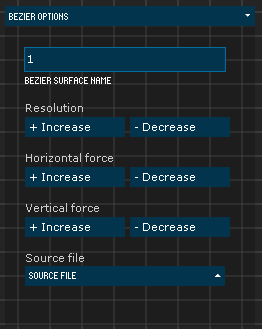
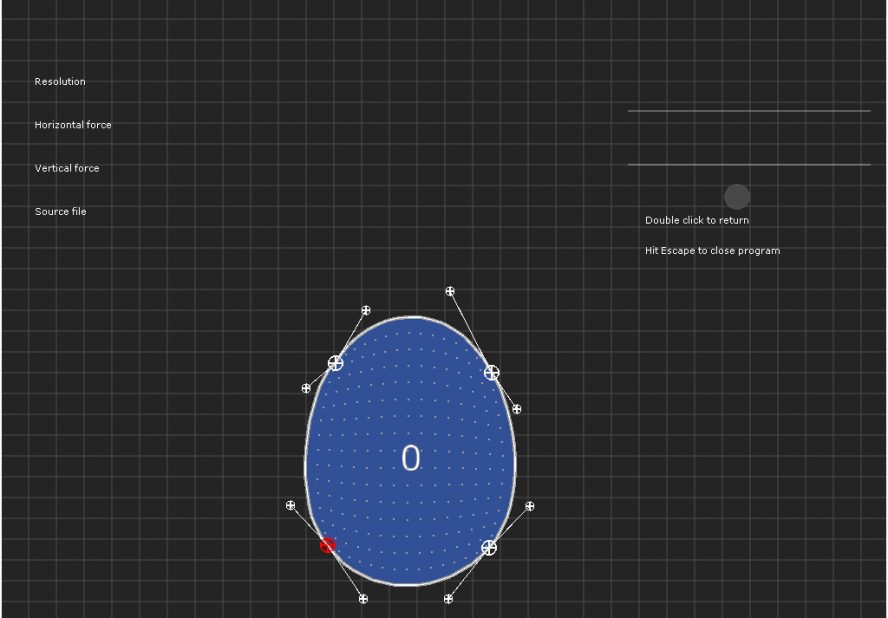
If the surface that is currently selected is a bezier quad, this menu will appear in the top left corner of the program. Use the menu to increase/decrease the resolution of the surface, increase/decrease the vertical and horizontal force applied to the edges (to create concave or convex edges) and associate different textures to it.
- Bezier surface name – ID number of the currently selected surface
- Resolution (increase and decrease) – increase or decrease the number of subdivisions of the surface. More subdivisions = smoother images in render mode.
- Horizontal force (increase and decrease) – increase or decrease the horizontal force applied to the surface. Larger force causes the left and right edges to be convex (bulging), whereas smaller force makes edges convex (bowed inward).
- Vertical force (increase and decrease) – increase or decrease the vertical force applied to the surface. Larger force causes the left and right edges to be convex (bulging), whereas smaller force makes edges convex (bowed inward).
- Source file – texture that is associated with currently selected surface. Contains list of all images and videos found in “data/textures” directory.
Setting up the hardware and scene for mapping
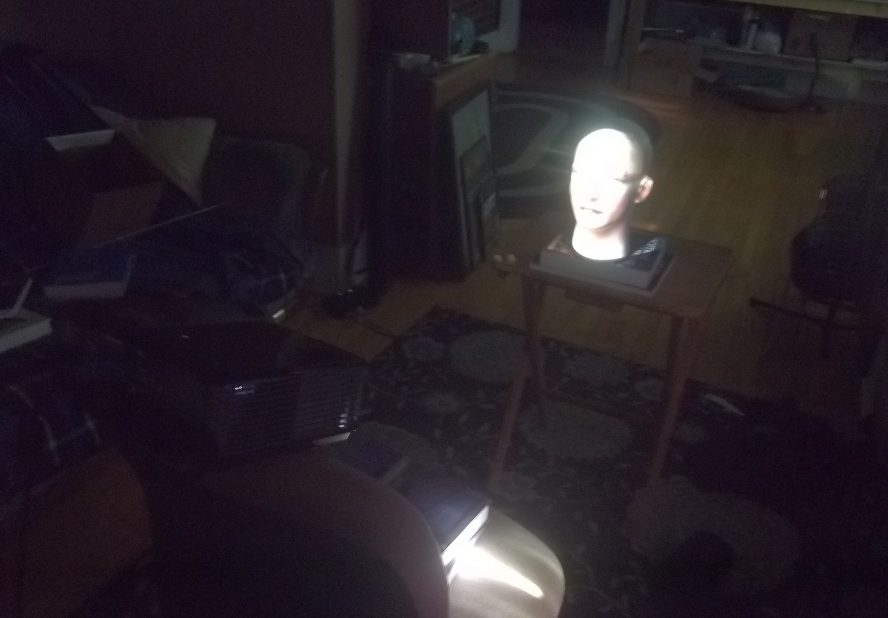
For the following examples I set up a projector and some objects on a small table in my living room, then went through the following procedure to get everything set up:
- Turn on the projector and point it at the scene. Make sure the image is in focus, and that the image is at least big enough to project onto everything you want to map.
- Connect your laptop/desktop to the projector and mirror your display to it.
- Run SurfaceMapperGUI is Present mode (Sketch > Present or Ctrl + Shift + R).
Example #1: single quad surface on flat object
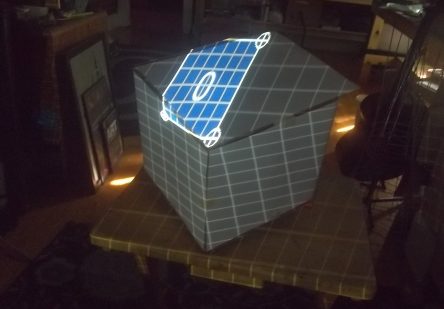
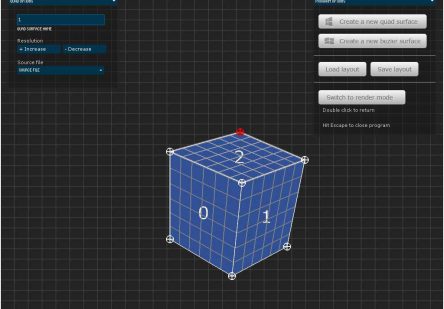
First I set up a small cardboard box on a small table, then pointed my projector at it. I used a single quad surface to map an image onto it in the following way:
- If there are no quad surfaces on the screen, add a new one.
- Drag the corners of the quad to match the corners of the actual surface being projected onto.
- Use the Source file drop down to assign an image or video you want to the surface.
- Switch to Render mode.
Notice that as the quad surface begins to match the geometry of the real object, all of the internal grid lines of the surface will become more and more parallel and evenly-spaced. This is a great way to tell when you’re getting close!
Example #2: multiple quad surfaces on an object
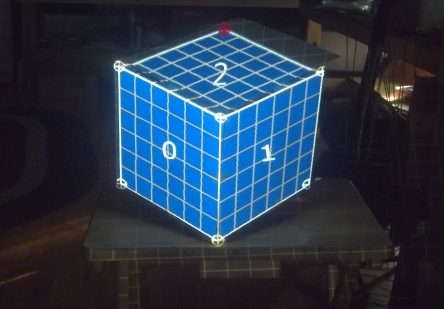
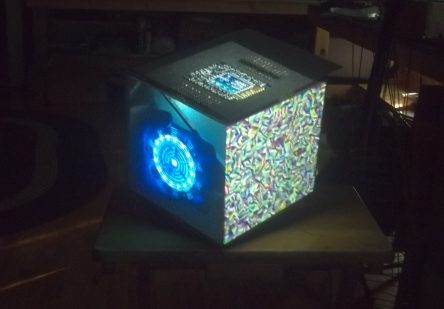
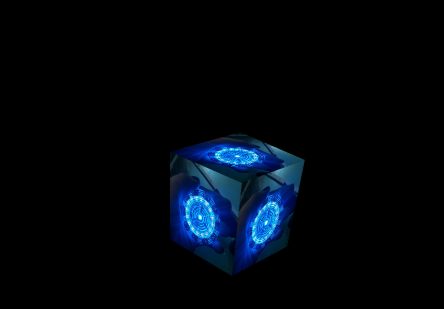
Next, I took the same small cardboard box from the previous example and tilted it so that the projector could easily project images onto three sides of it at once.
- If there are no quad surfaces on the screen, add as many as you need.
- Drag the corners of the quad to match the corners of the actual surface being projected onto.
- Notice that when you move anchors points close to each other and release the mouse they will actually snap together. This can be very useful for mapping continuous surfaces or multi-sided objects with no edge artifacts.
- Use the Source file drop down to assign images or videos to the surfaces.
- Switch to Render mode.
Example #3: single bezier surface on curved object
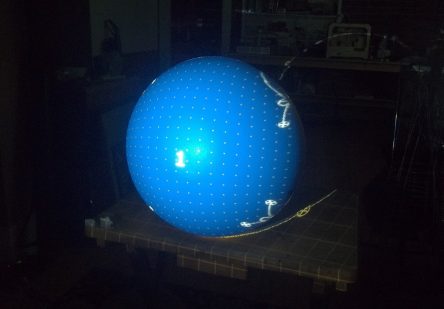
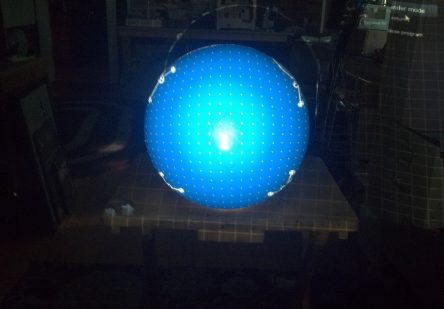
Next I removed the cardboard box from the previous two examples and adding a 10″ styrofoam dome (half of a sphere). Using bezier surfaces we can create surfaces with curved edges to map onto these objects:
- If there are no bezier surfaces on the screen, add one using the Create new bezier surface button.
- Start by first positioning the unwarped bezier surface in the center of your curved object.
- Adjust the four corners of the bezier surface to create the largest square you can within the curved object (don’t worry about making the edges curved yet).
- Use the smaller anchor points coming out of each corner to bend each edge to conform to the curve of the actual object.
- You can also use the Horizontal force and Vertical force buttons to add uniform curving the edges.
- Tweak the corners and small anchor points until the white border of the surface matches up with the edges of the physical object.
- Use the Source file drop-down list to assign an image or video to the surface.
- Switch to Render mode.
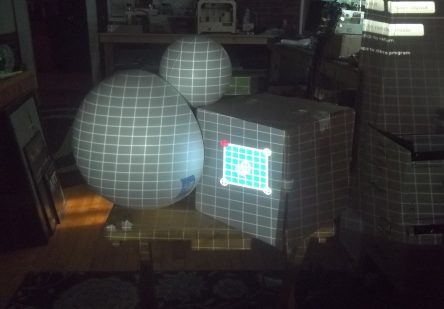
Notice that as the bezier surface starts to match the physical geometry of the actual object, all of the dots will appear to be more and more evenly-spaced and fall along straight lines (well, arcs). This is a great indicator of how close you are to the actual geometry of the object!
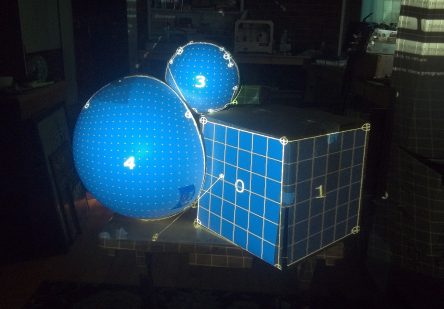
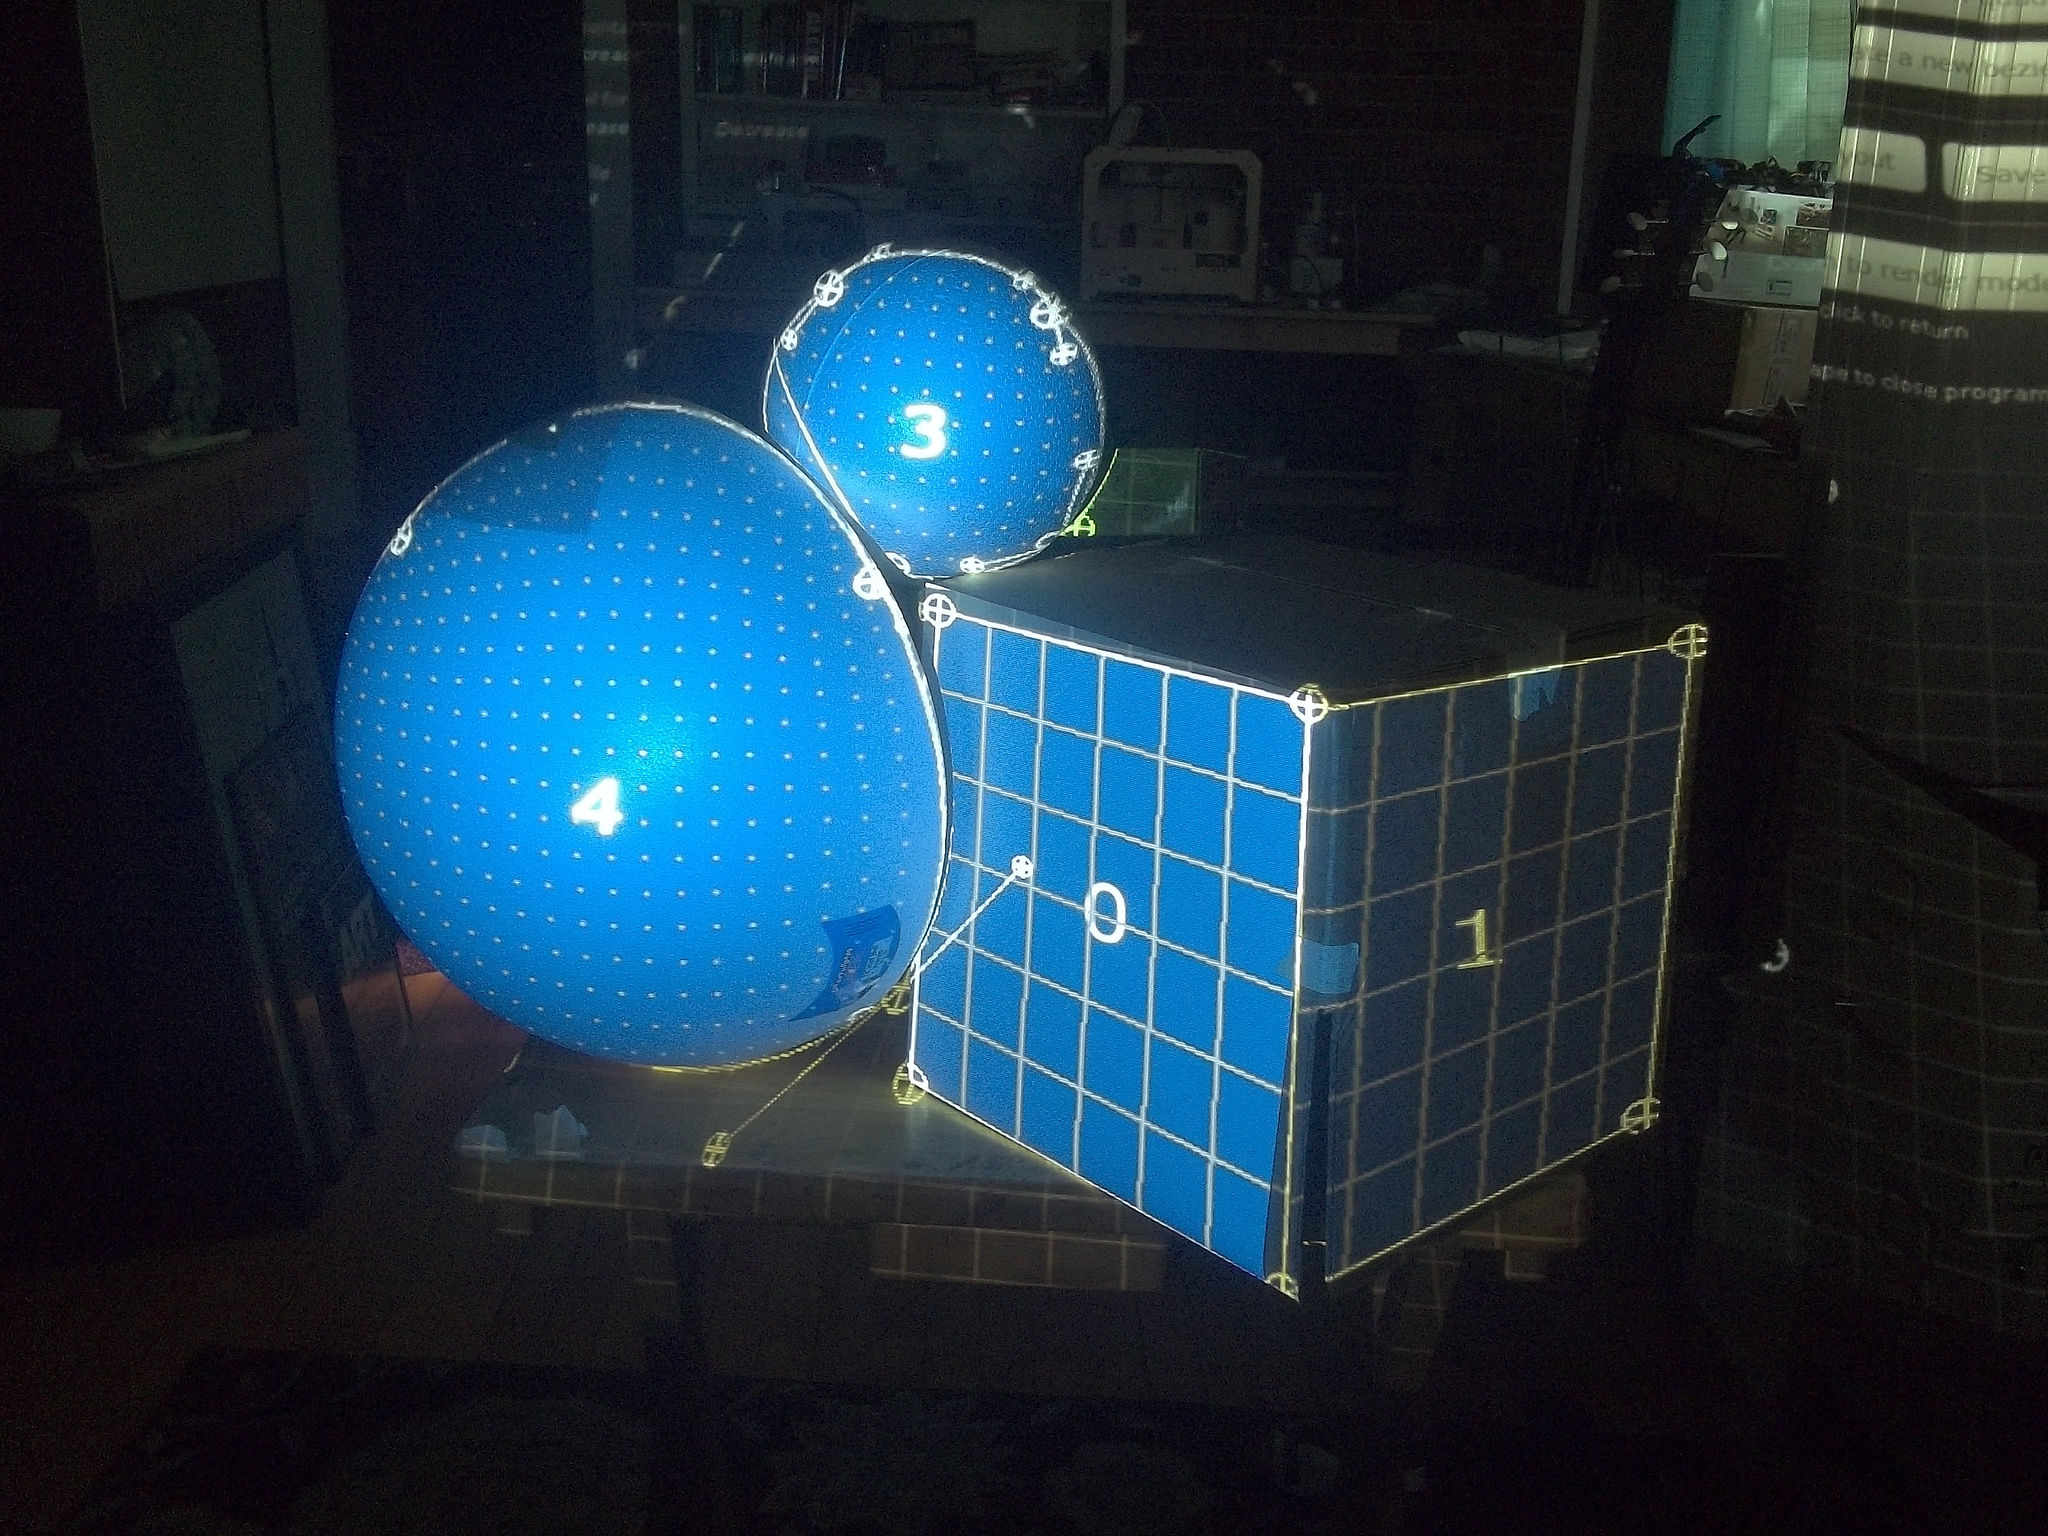
Example #4: quads and bezier surfaces on complex scene
Next I added another, smaller styrofoam ball and the small cardboard box from the first two examples. Mapping this scene requires the use of both quad and bezier surfaces:
- Add quads and beziers as needed using the buttons in the Program Options menu.
- Position each of the surfaces onto the actual objects you want to map.
- I recommend starting with all of the quads, then moving on to the beziers. Refer to the previous examples to see how to work with each of them.
- Use the Source file drop-down lists to assign images or videos to the surfaces.
- Switch to Render mode.
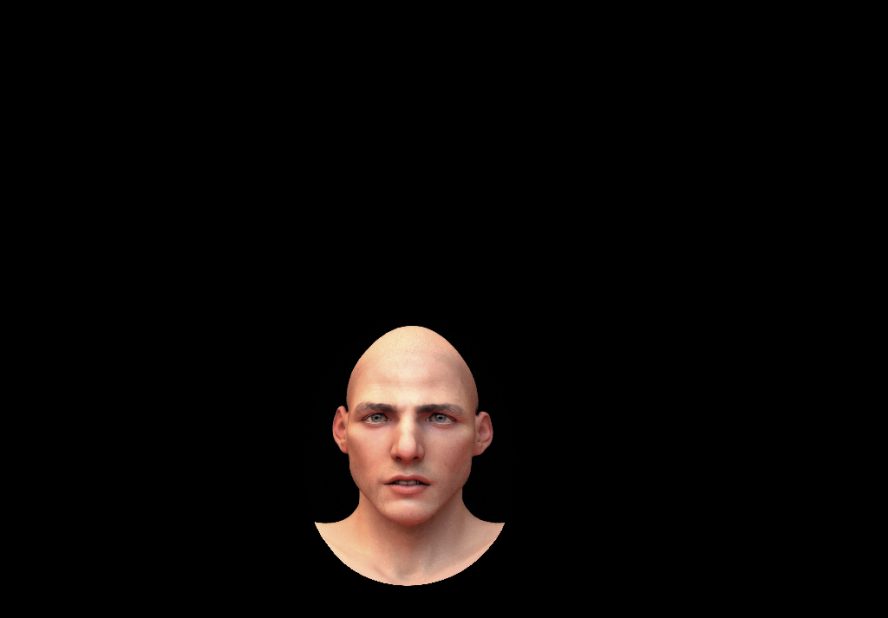
Example #5: styrofoam mannequin head
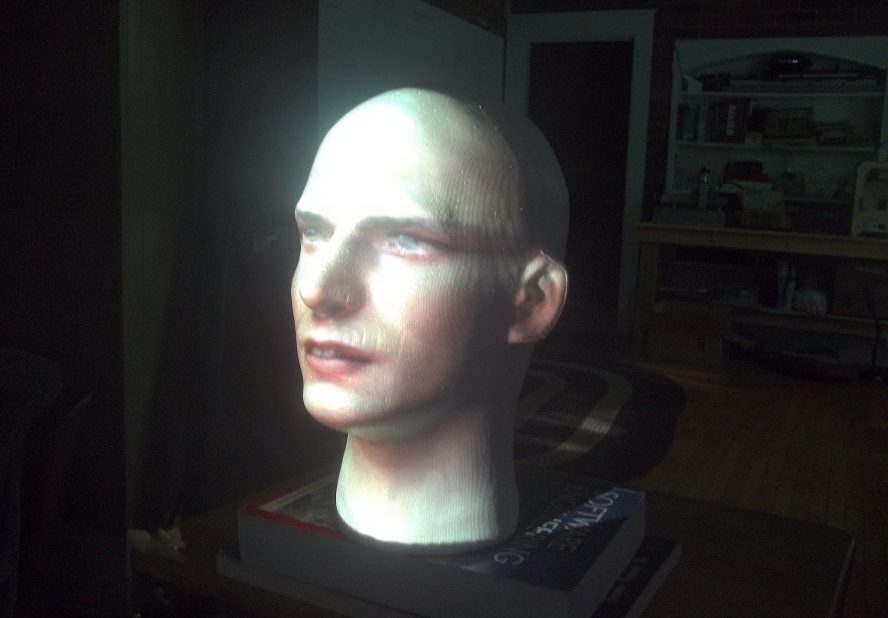
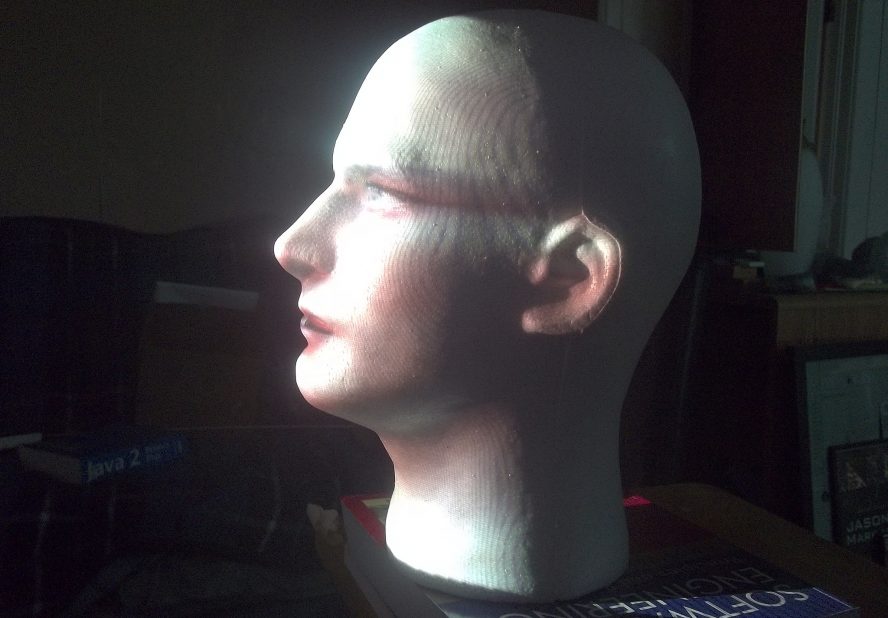
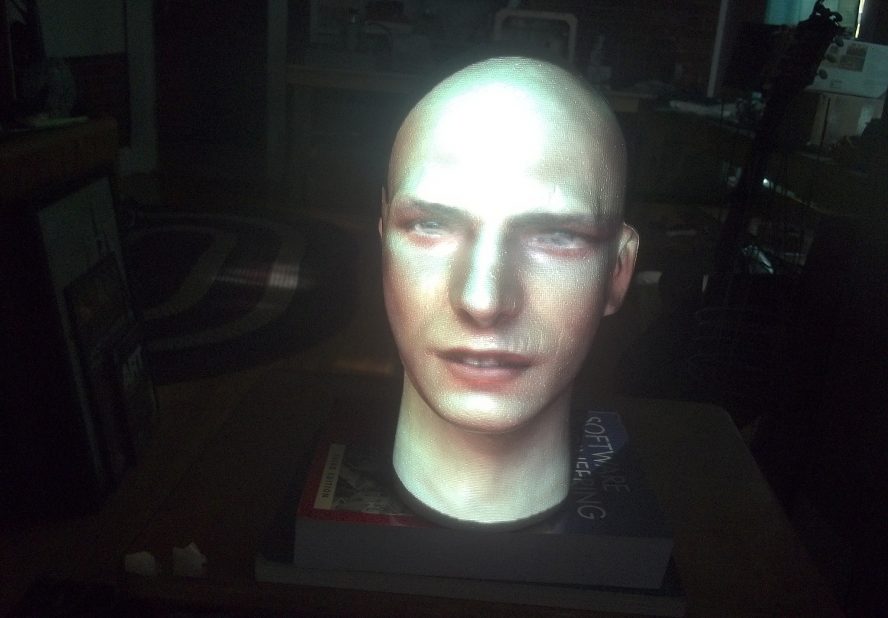
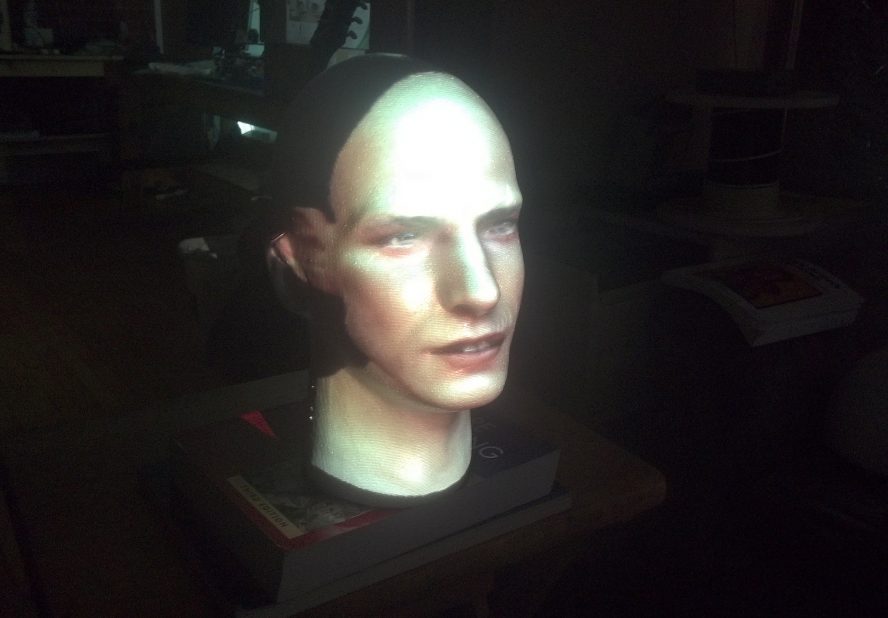
While I was searching for simple objects to map images and videos onto I stumbled across this beautiful styrofoam mannequin head at my local hobby craft store and thought it’d be fun to play with. I found this image on Google Images and tried mapping it using a bezier surface. Needless to say I was blown away by the results! Further experimentation is definitely needed, such as using videos of faces talking and moving!
- Add a new bezier surface to the screen.
- Position the surface near the middle of the head (maybe near the nose).
- Use the Source file drop-down lists to assign images or videos to the surfaces.
- Switch back and forth between Calibration mode and Render mode and adjust your bezier surface until the face matches up with the head.
- Depending on the image you use as the texture you may need to distort the surface a little differently, but I found that having a roughly ovaloid shape with a flared bottom worked great.
Future work
SurfaceMapperGUI could be a great tool for simple projection mapping experiments and illustrative purposes, but may lack some important features that would make it more suitable for professional projects. Specifically, I think the following features could add a lot to the project:
- Create ability to create slideshows using static images. However, properly accounting for transitions and timing could be a pretty hefty amount of work.
- Add some sort of external cue system to trigger transitions between photos and videos. It would be easiest to implement OSC, but DMX and MIDI would be great (perhaps some sort of DMX->OSC bridge would be in order).
- Add ability to play multiple videos back to back.
- Add ability to remove surfaces.
- Add ability to re-order the surfaces to control overlapping.
If you’d like to help with the project, feel free to fork the official Github repo and send me some pull requests! If your requests go unnoticed on Github, I may just not have realized it, so don’t hesitate to send me an e-mail (contact form at top of this website).
Also feel free to refer to the Instructable for this documentation, which may be easier to navigate when you know what you are looking for:
