Prusa Mendel build update #6: using pen plotter attachment for calibration, reducing backlash and fender washer upgrades
The printer itself is assembled and functioning and has now begun it’s long (possibly never-ending) journey of calibration and improvement to be truly usable. Eventually I’d like to print using a syringe-based extruder with viscous materials like molten chocolate, frosting, peanut butter and more, but first I need to make sure that the bot is actually moving the way it should be.
From what I’ve read, the belts used for linear motion along the X and Y axes are too loose or too tight this can result in skipped teeth and compounding accuracy problems during printing, so it would be a good idea to test the machine out before trying to do anything too complicated.
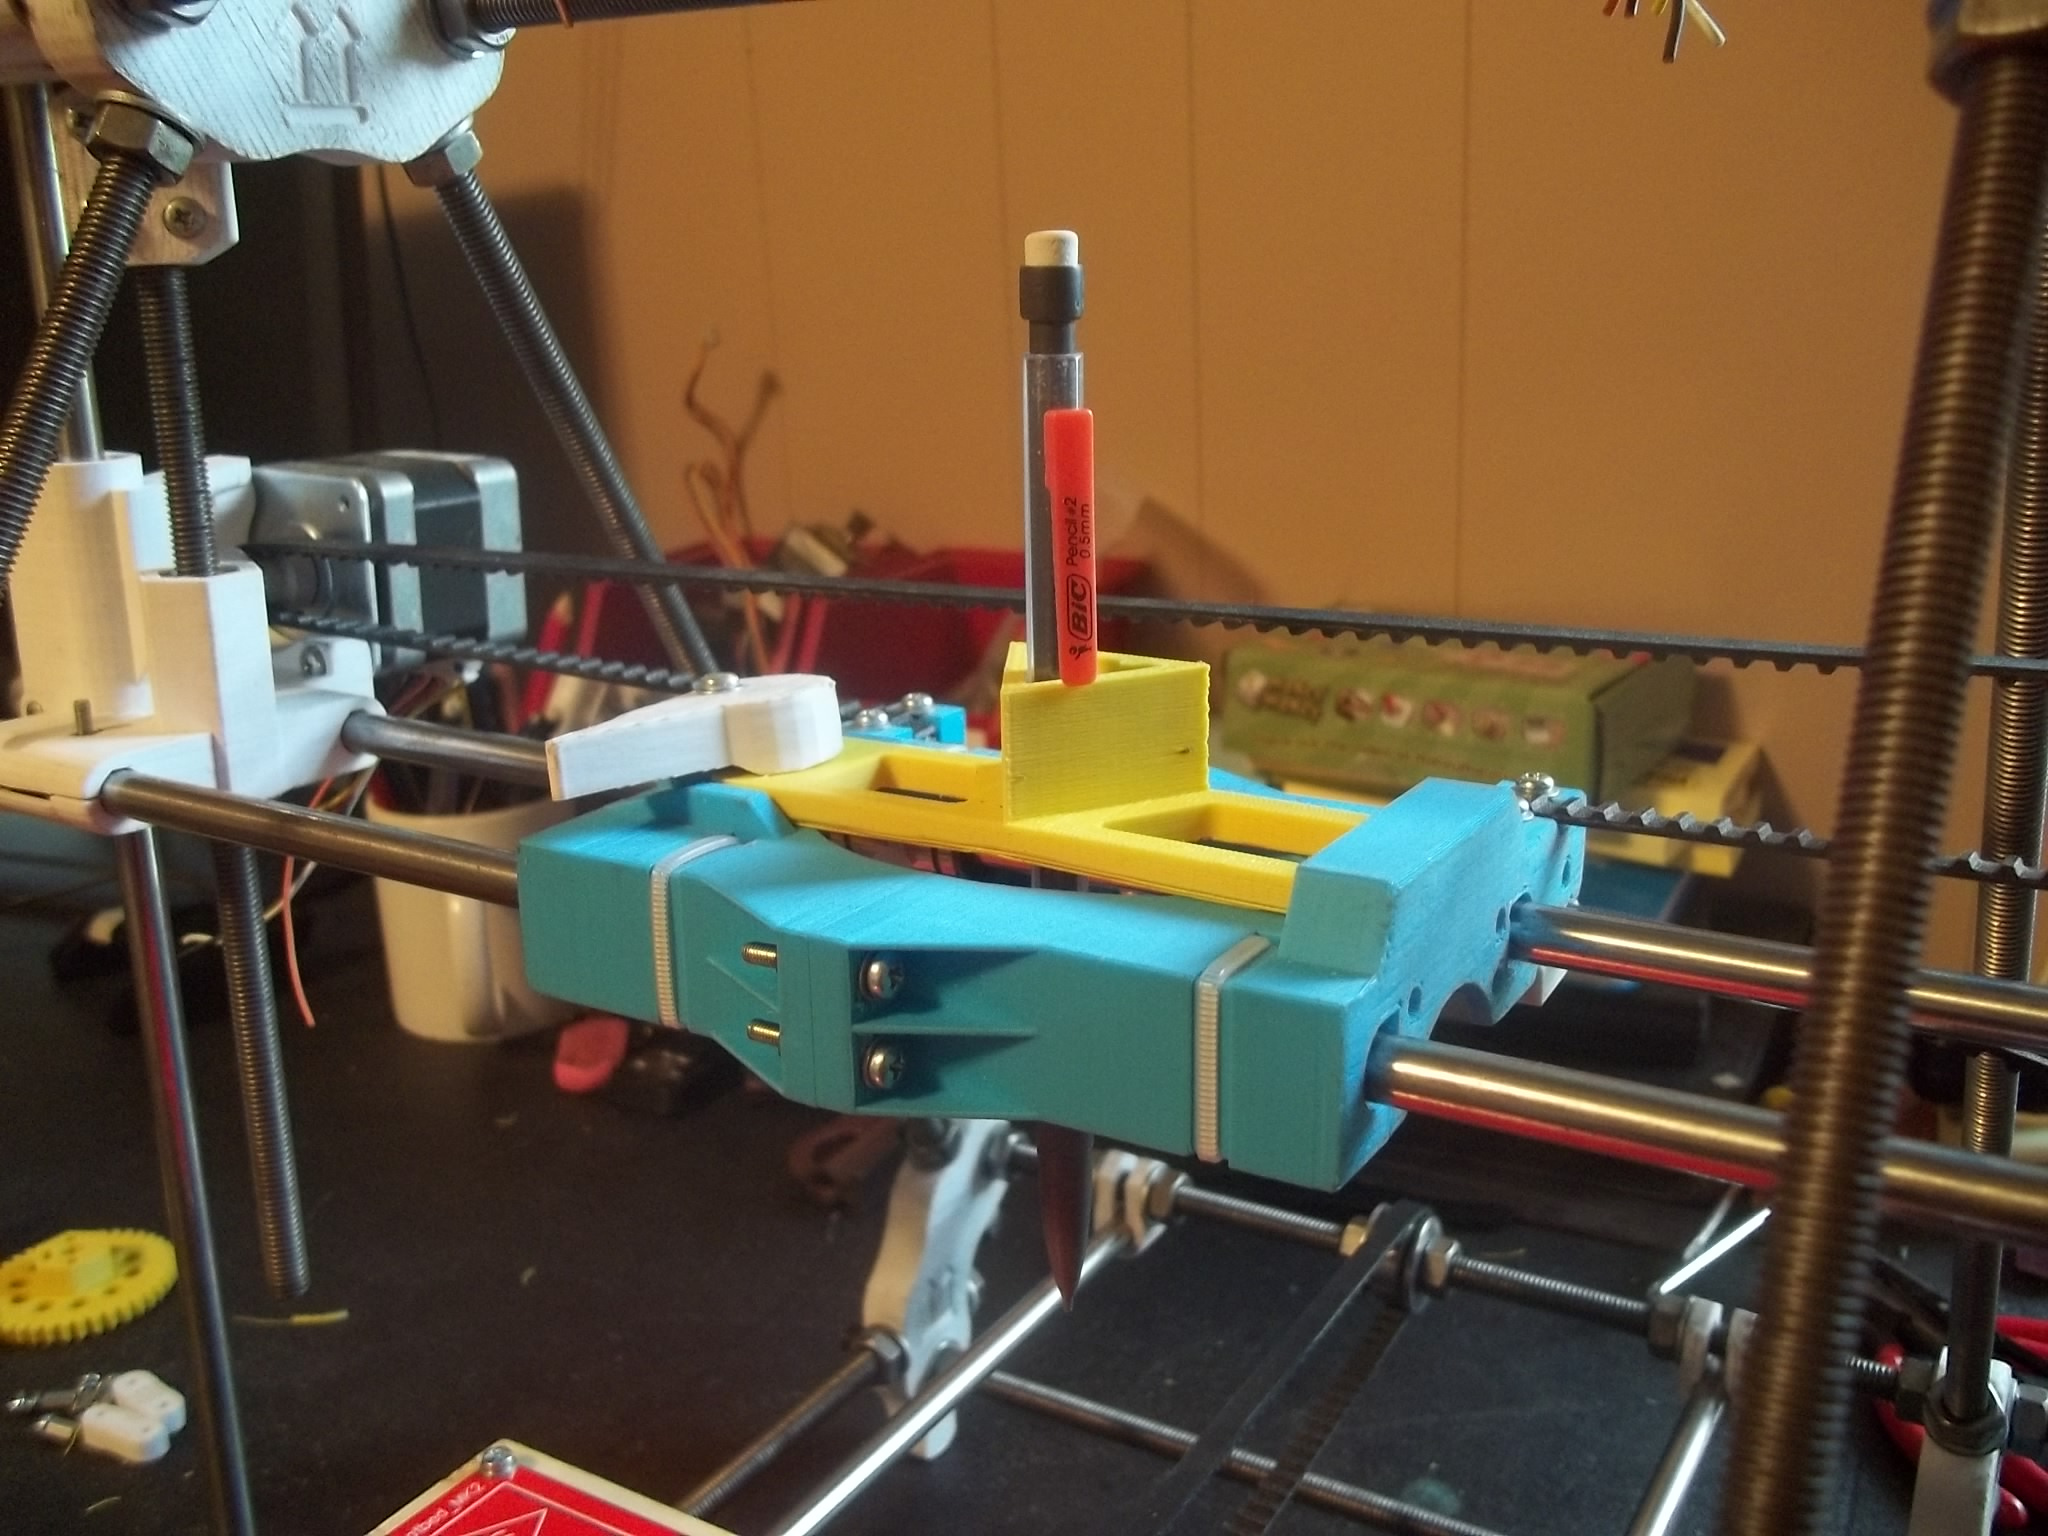
This is one of the reasons I chose early on to go with the Quick-Fit X Carriage by RichRap, which allows me to use not only “traditional” plastic extruders, but other attachments like pen plotters and dial gauges. In this post I’ll talk about the process of using a pen plotter attachment to test the machine’s movement and tweak the machine based on what I found.
Printing and assembling the pen plotter attachment
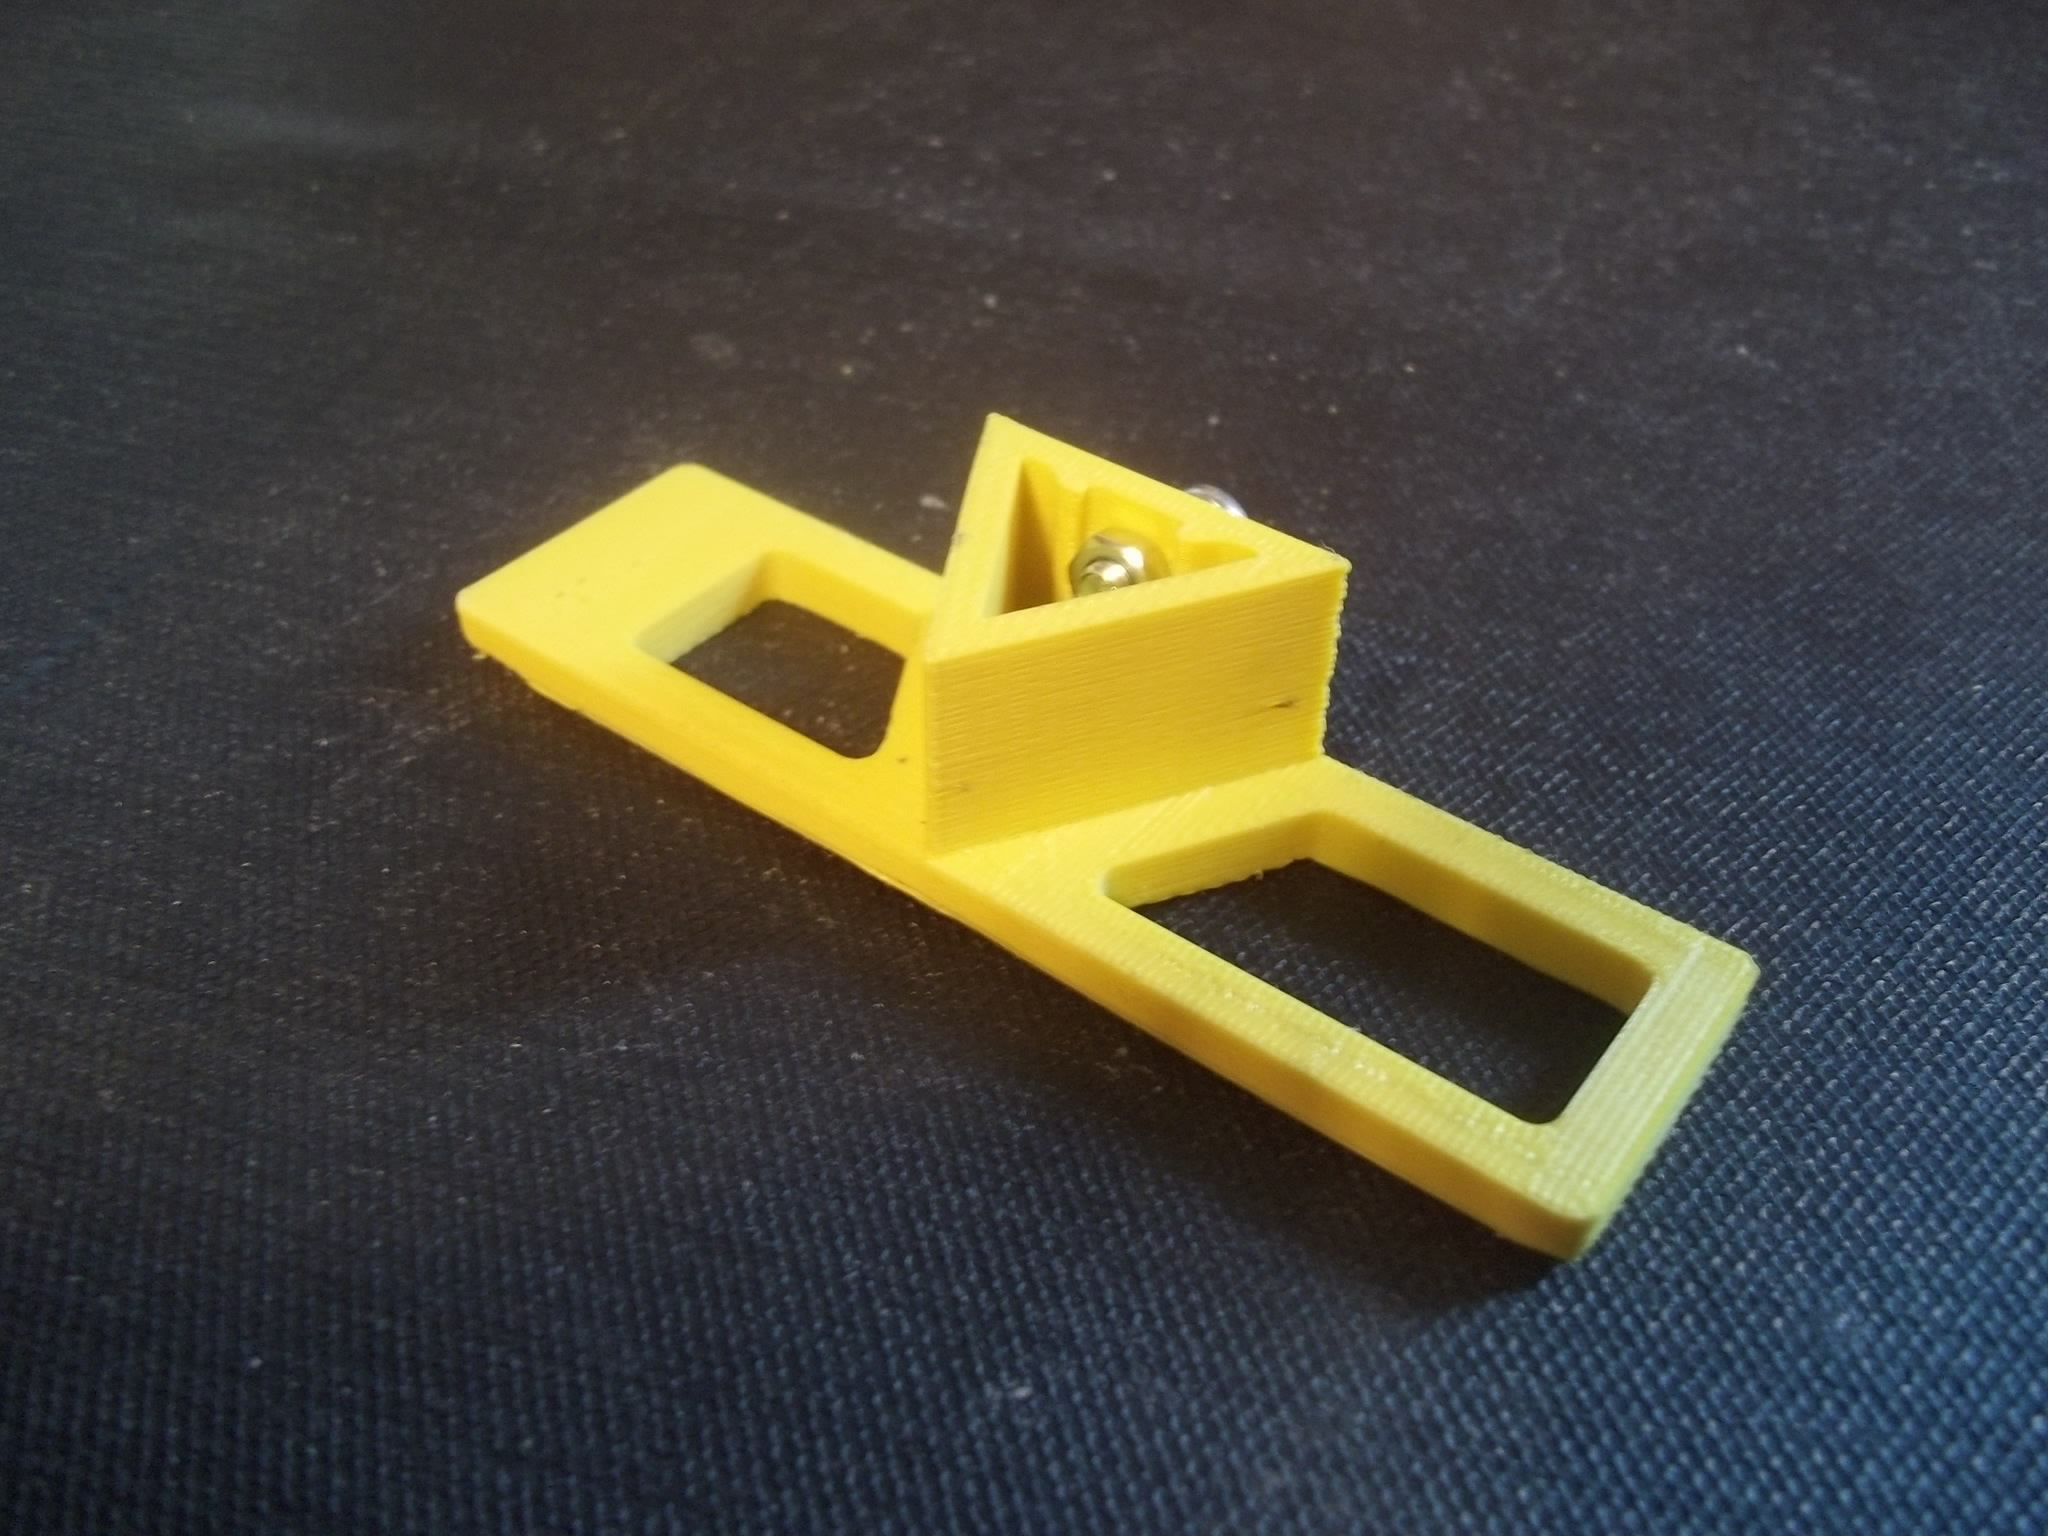
On Thingiverse there are tons of derivatives of RichRap’s Quick-Fit X Carriage for cool compatible attachments, including this super simple pen holder by user blacki. What appealed to me most was the minimalism of the design and the fact that I could print it in one piece, then add a pen and slap it directly into my X carriage.
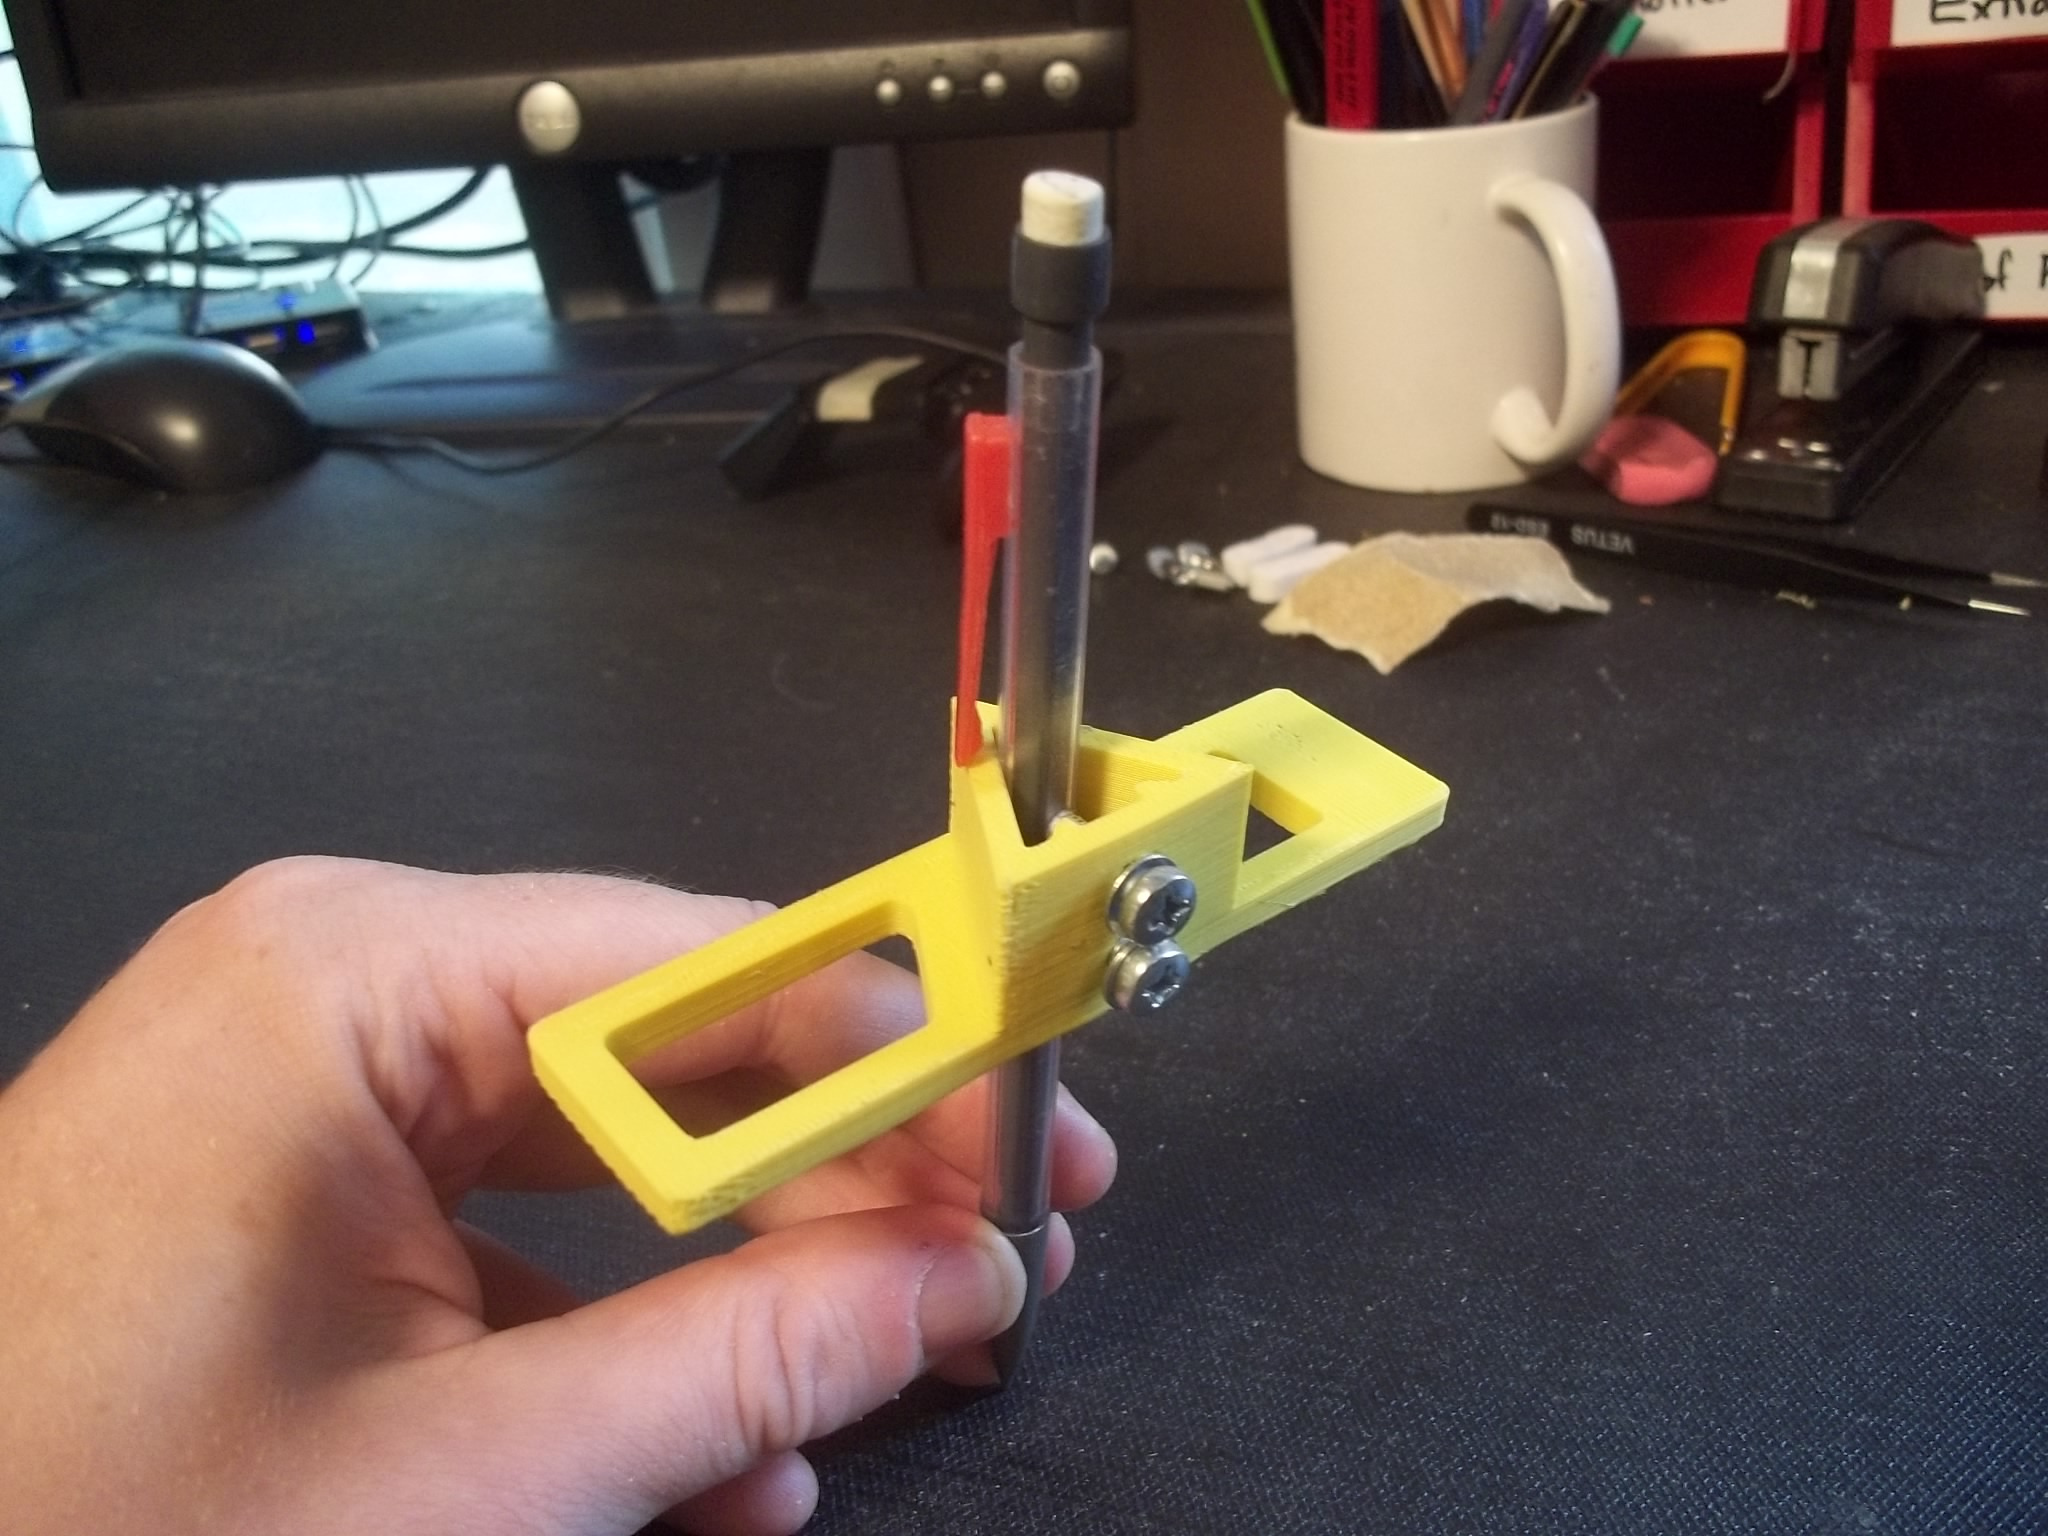
There are two holes in the back of the triangular pen mount big enough for M4 screws to be passed through, and a channel inside the mount that can hold M4 nuts to secure the screws. Unfortunately this channel doesn’t trap the nuts completely, so it can be a little frustrating tightening and loosening the screws. But it works!
Calibration prints and belt tightening
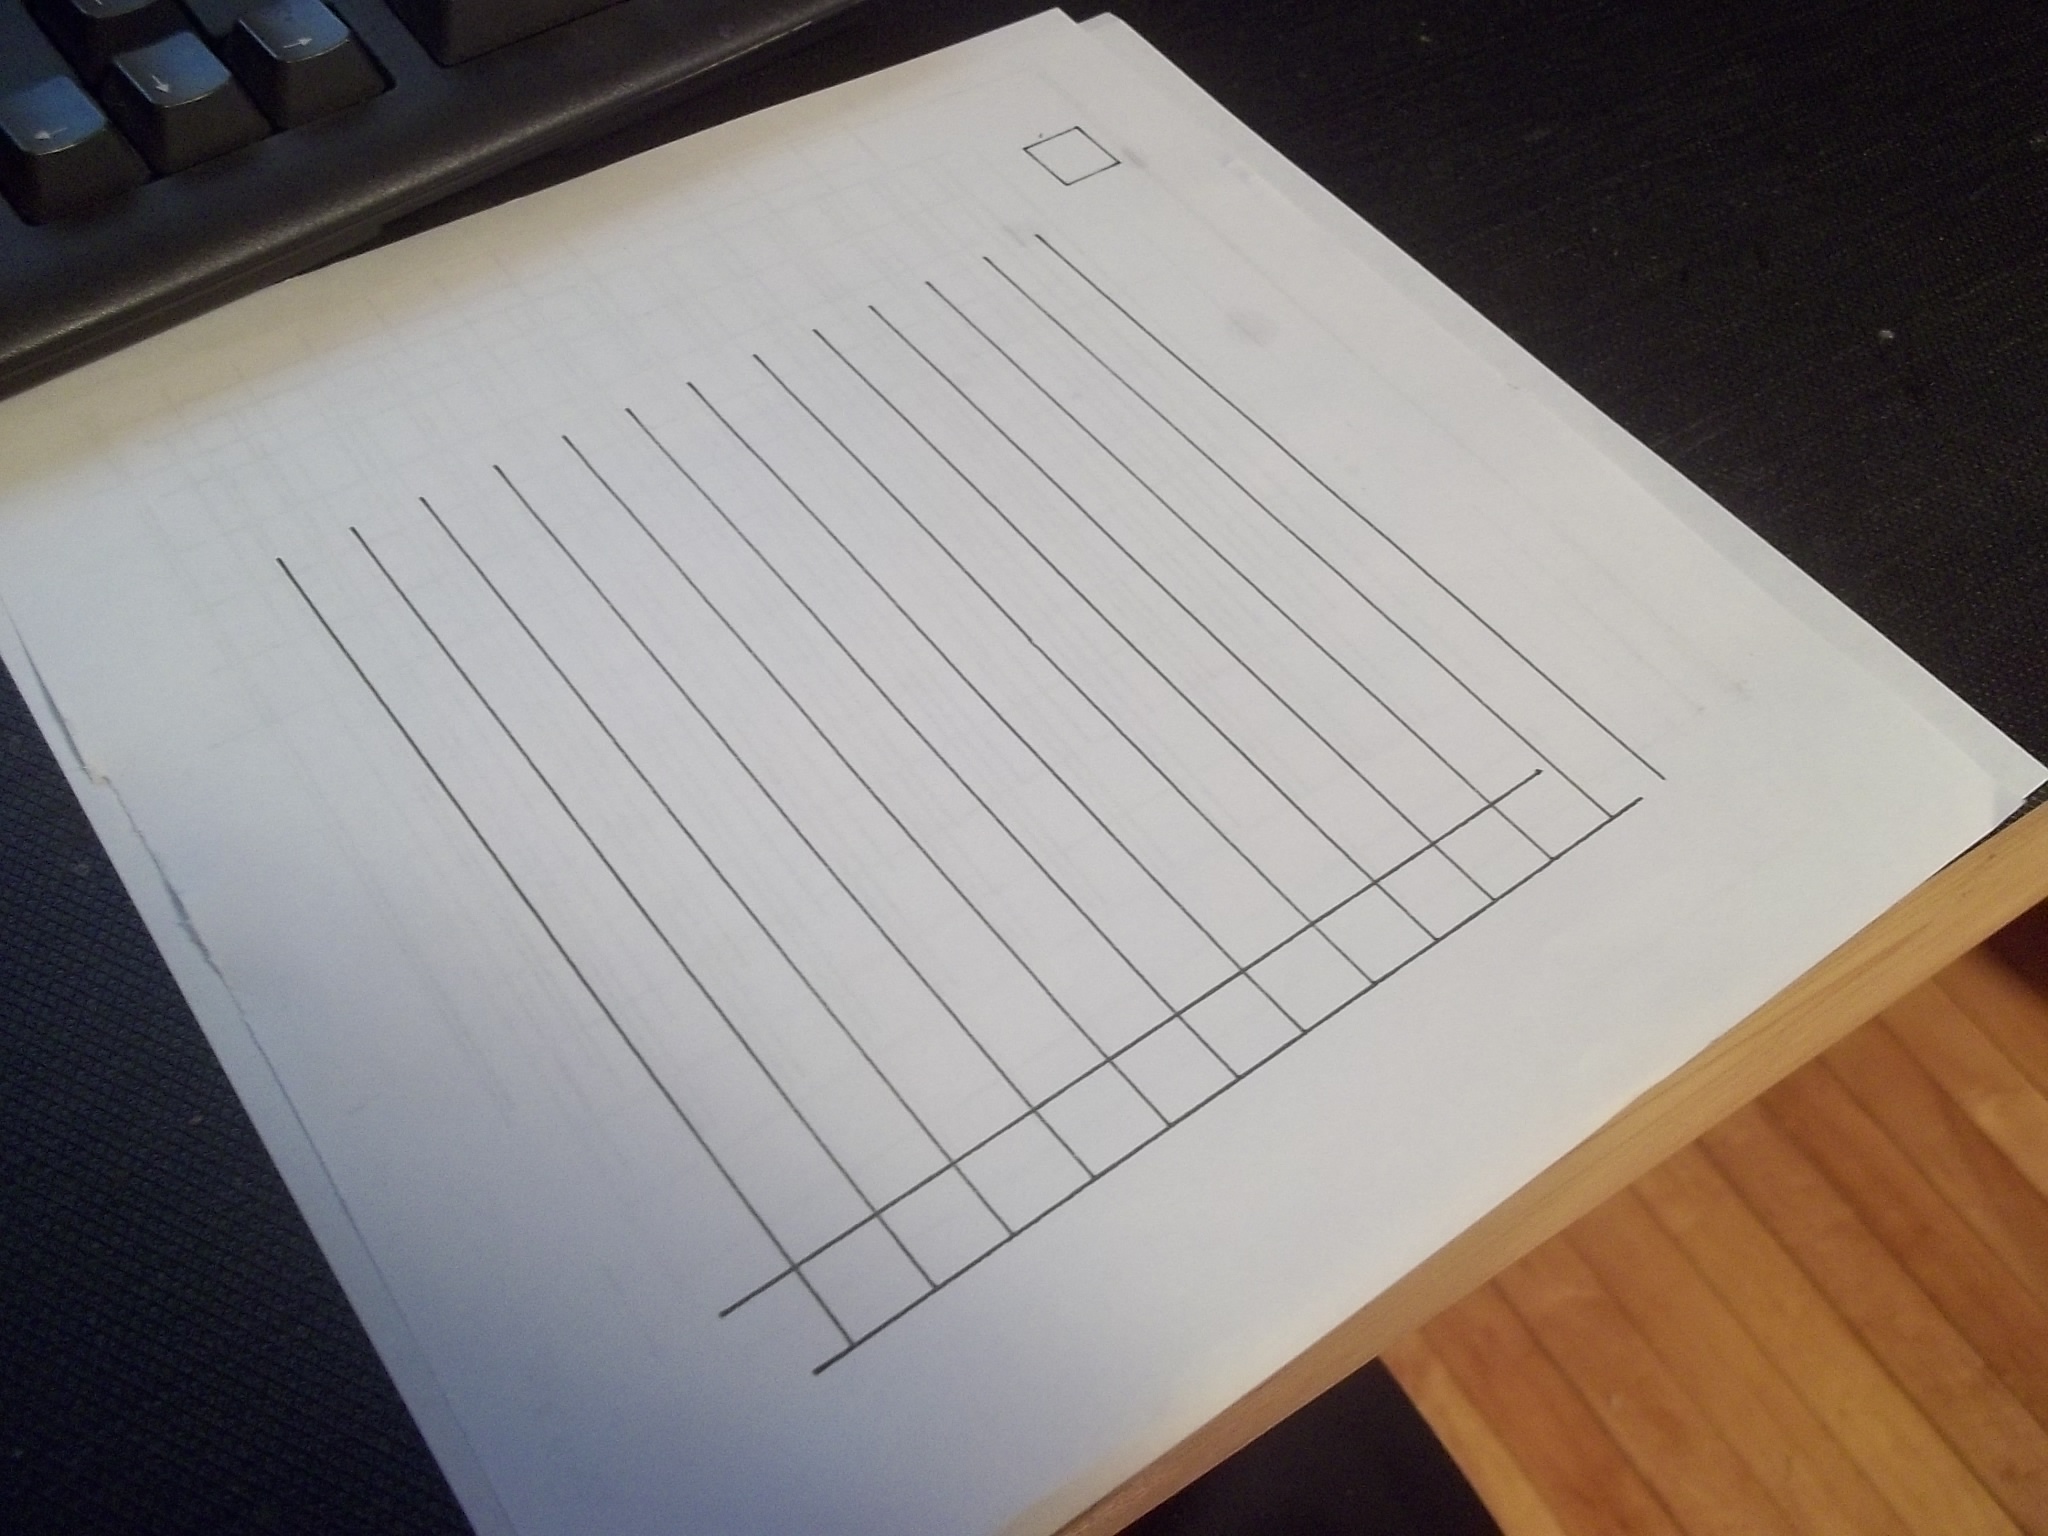
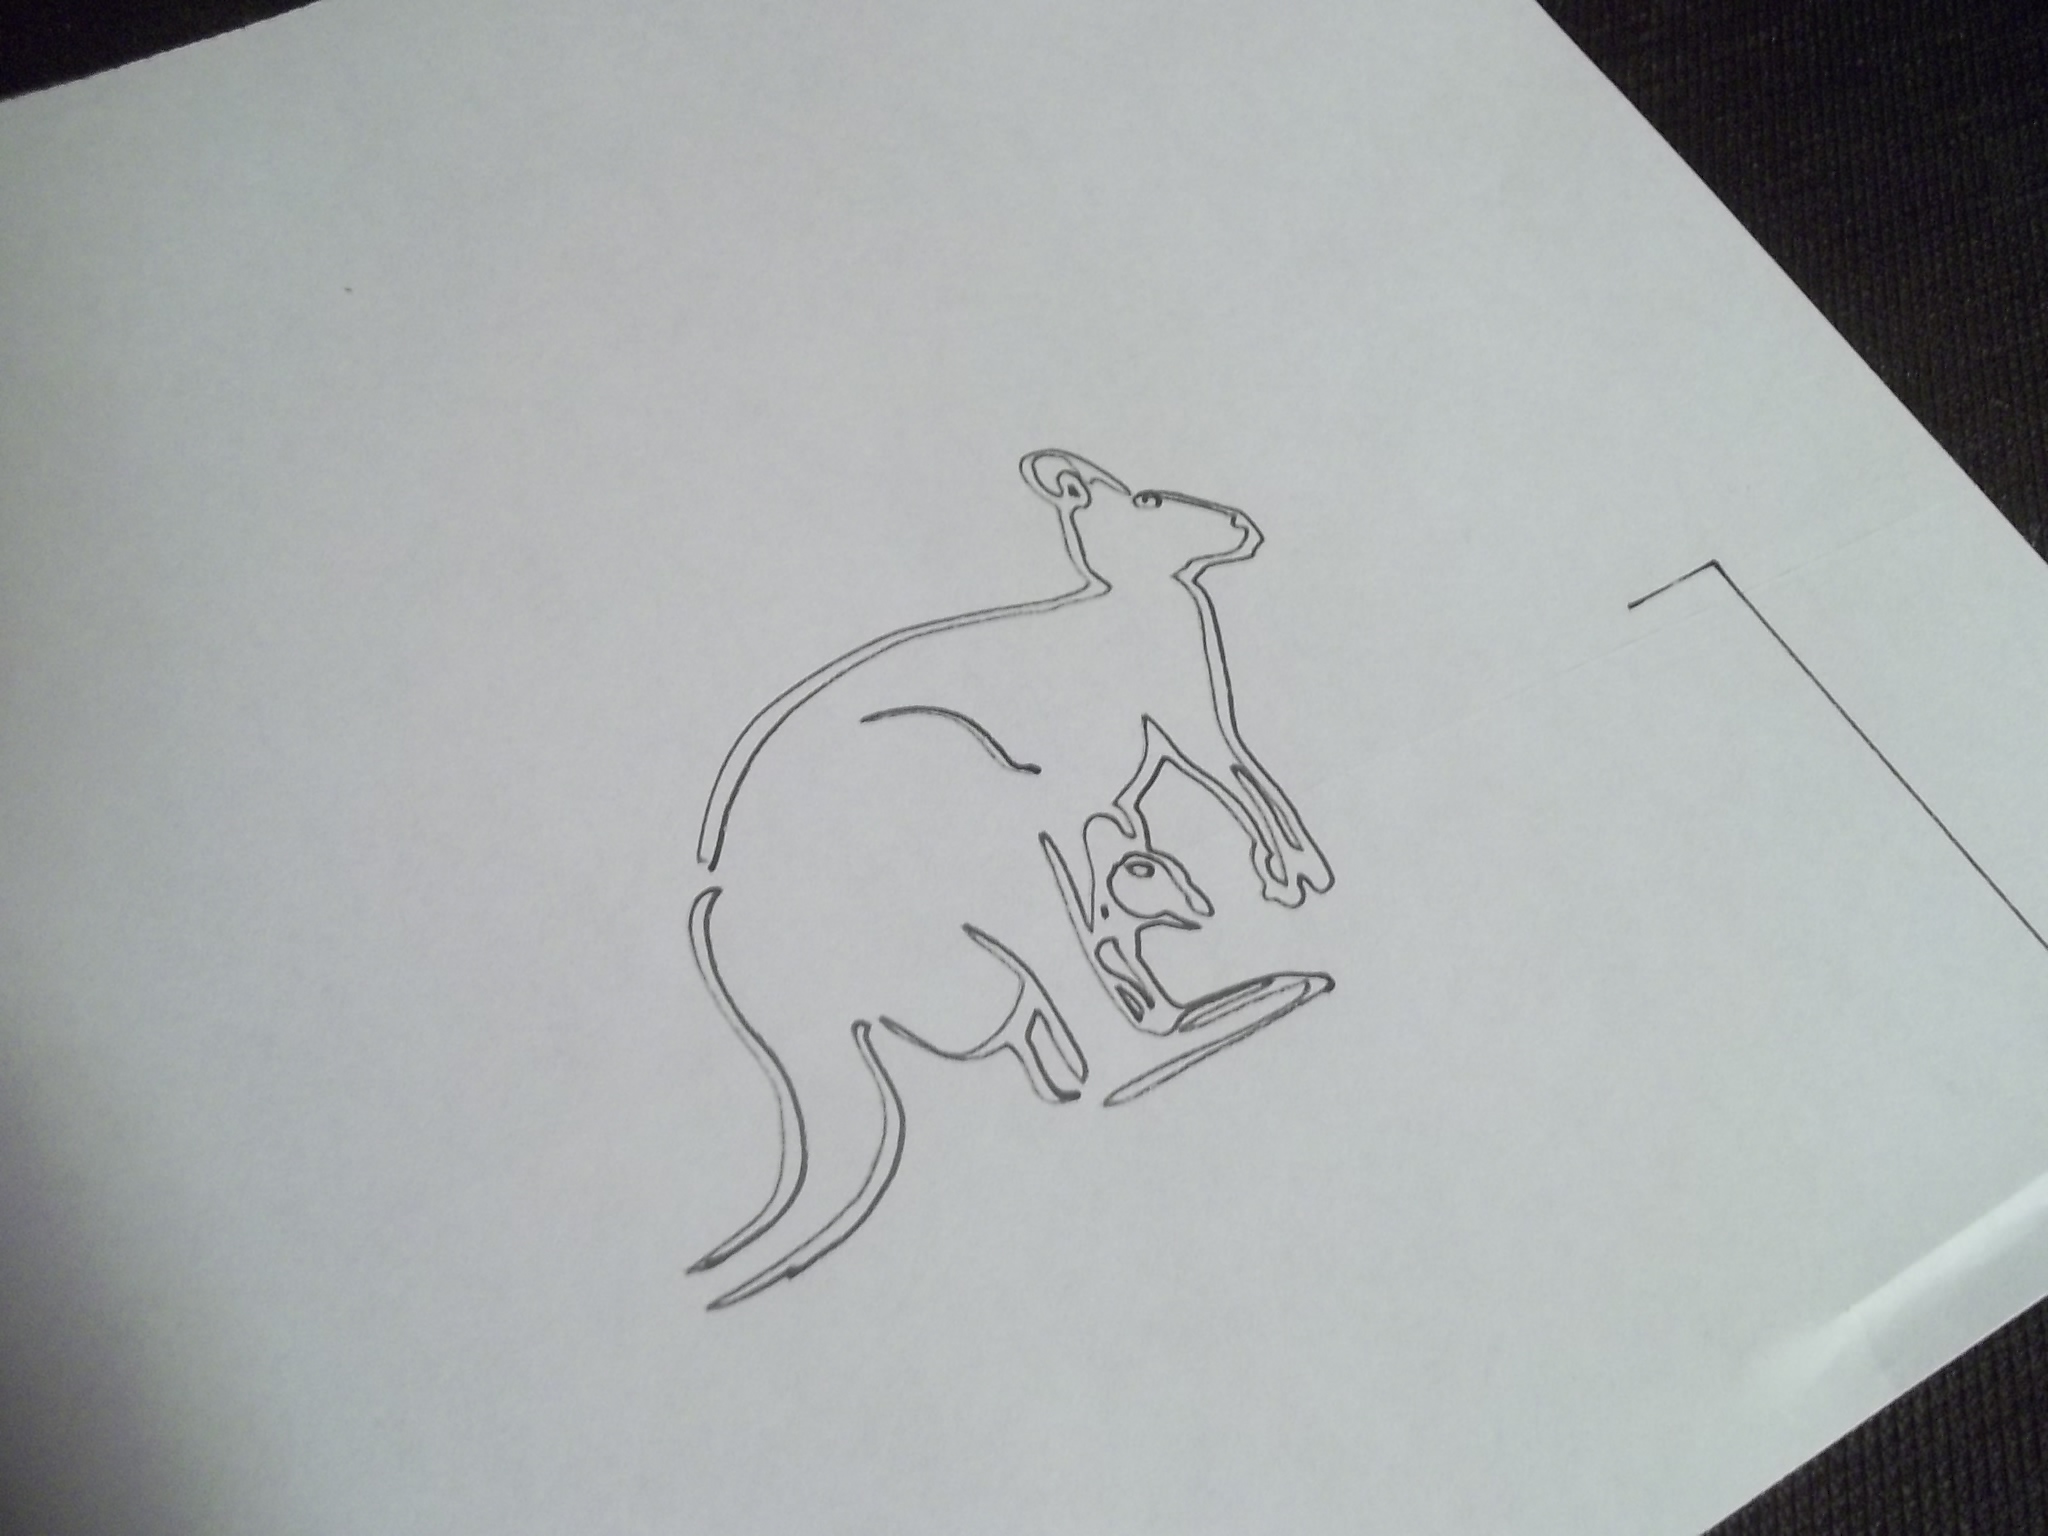
At first I attached a mechanical pencil to the pen holder but soon realized that the graphite will wear down during printing, causing the pencil to stop making marks on the paper every so often. I reset my Z axis each time to counter this, but then I realized I should just be using a pen instead. I started using a fine tipped Sharpie, which seems to do the job quite well, but can dry out quickly.
I used the following process for generating G-code and testing out my machine.
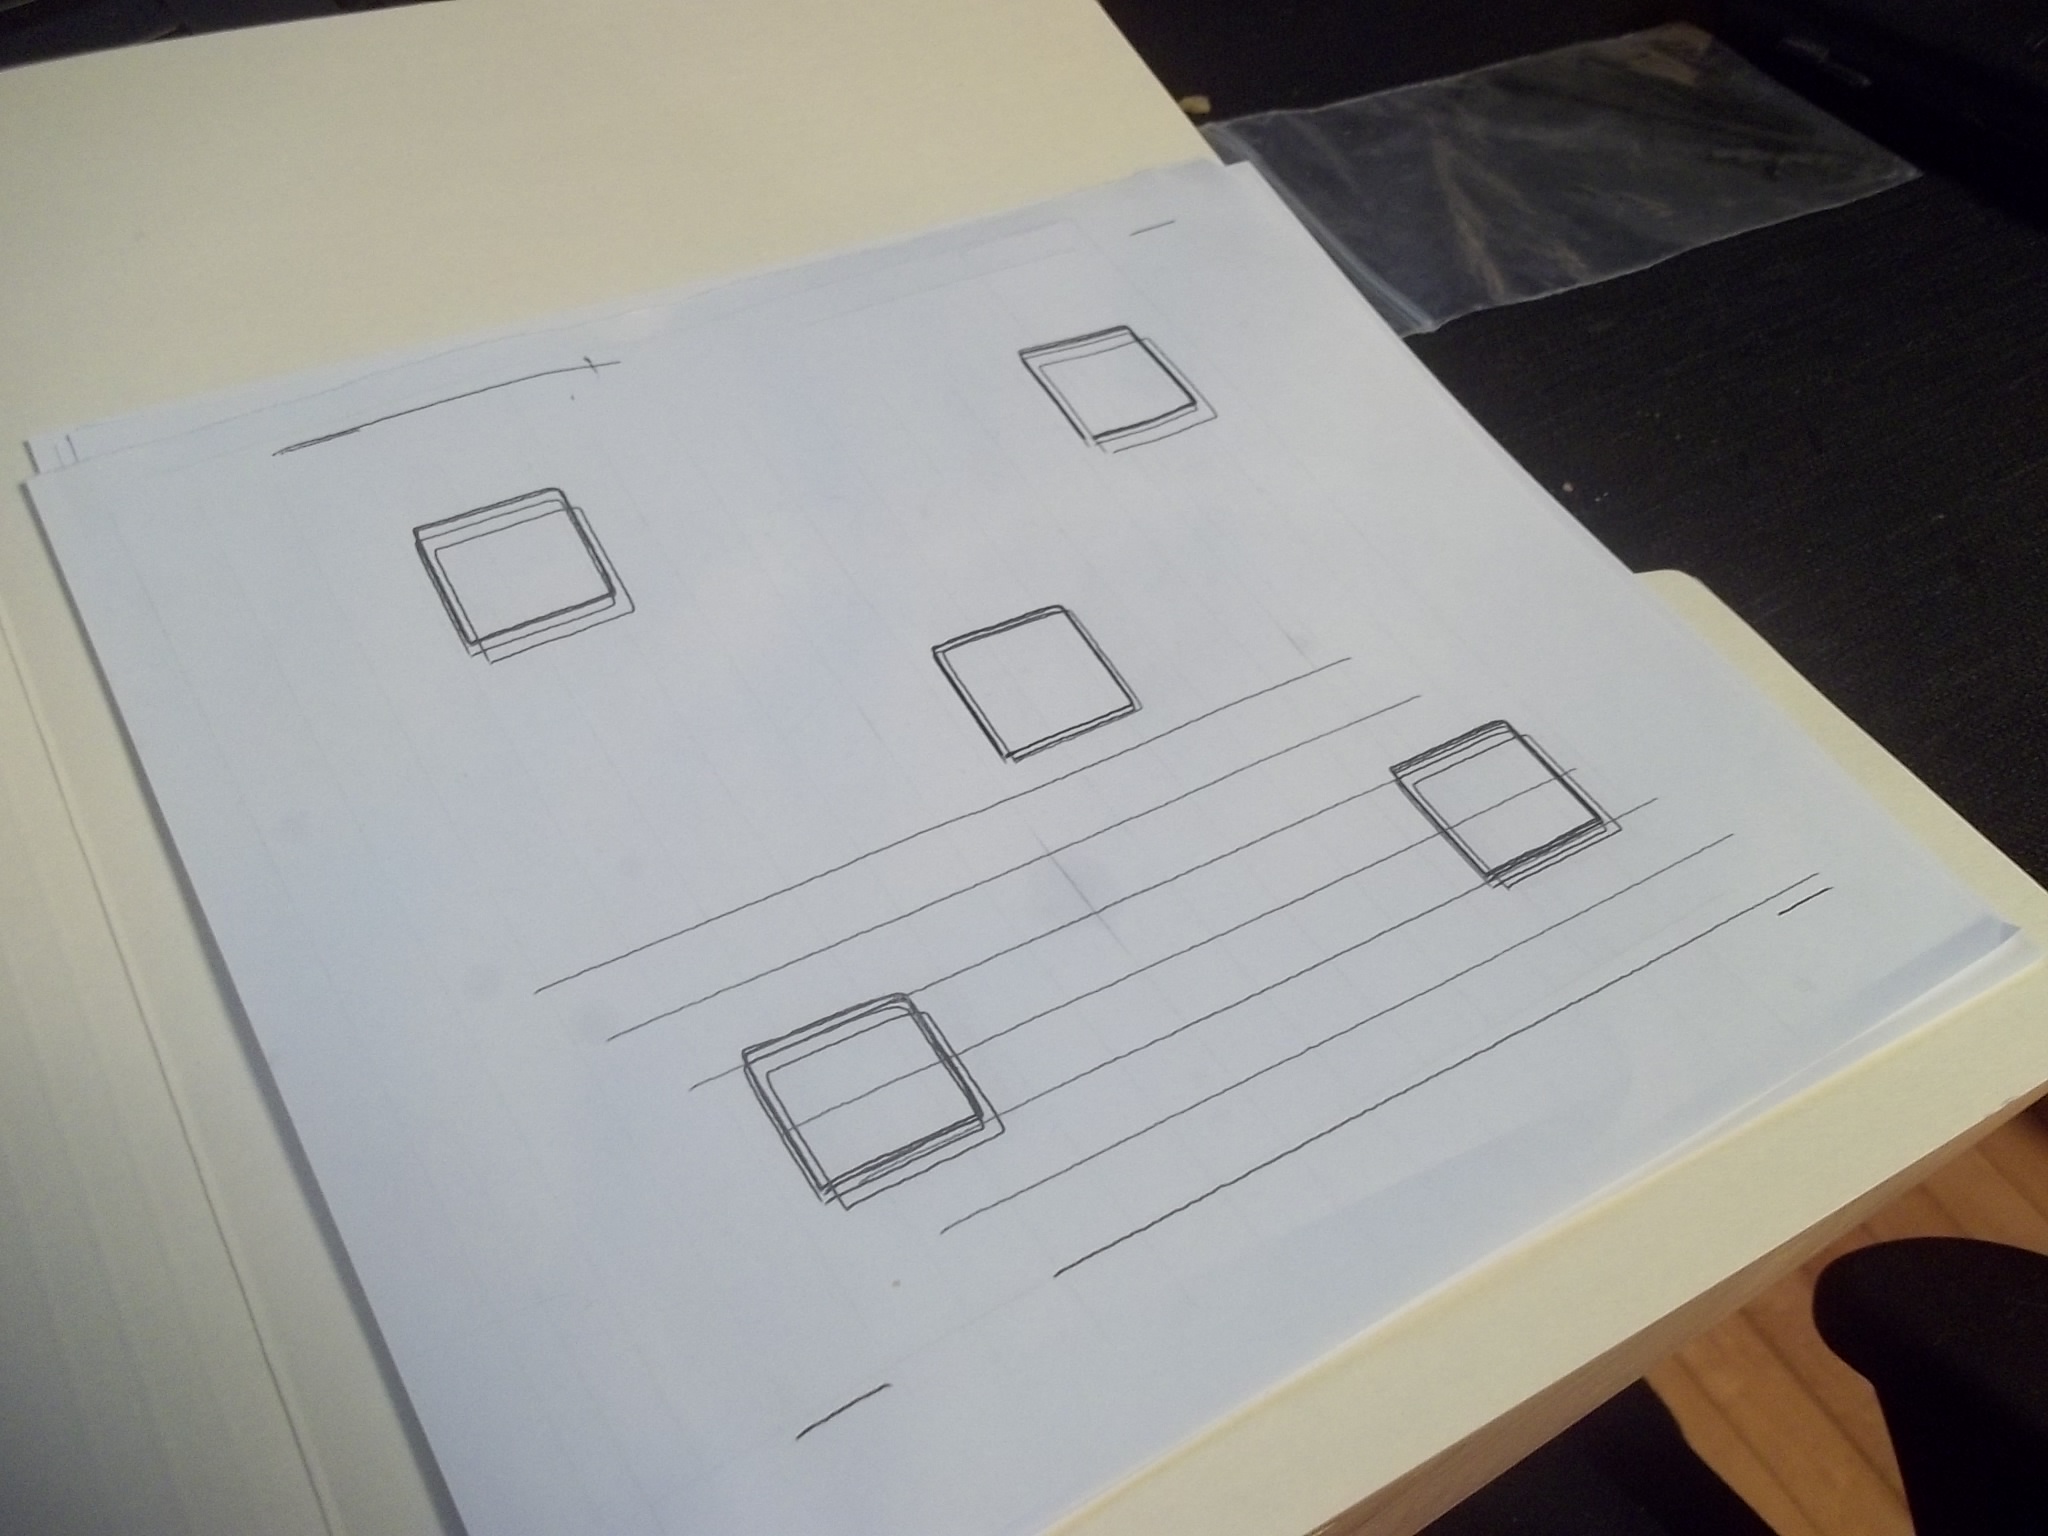
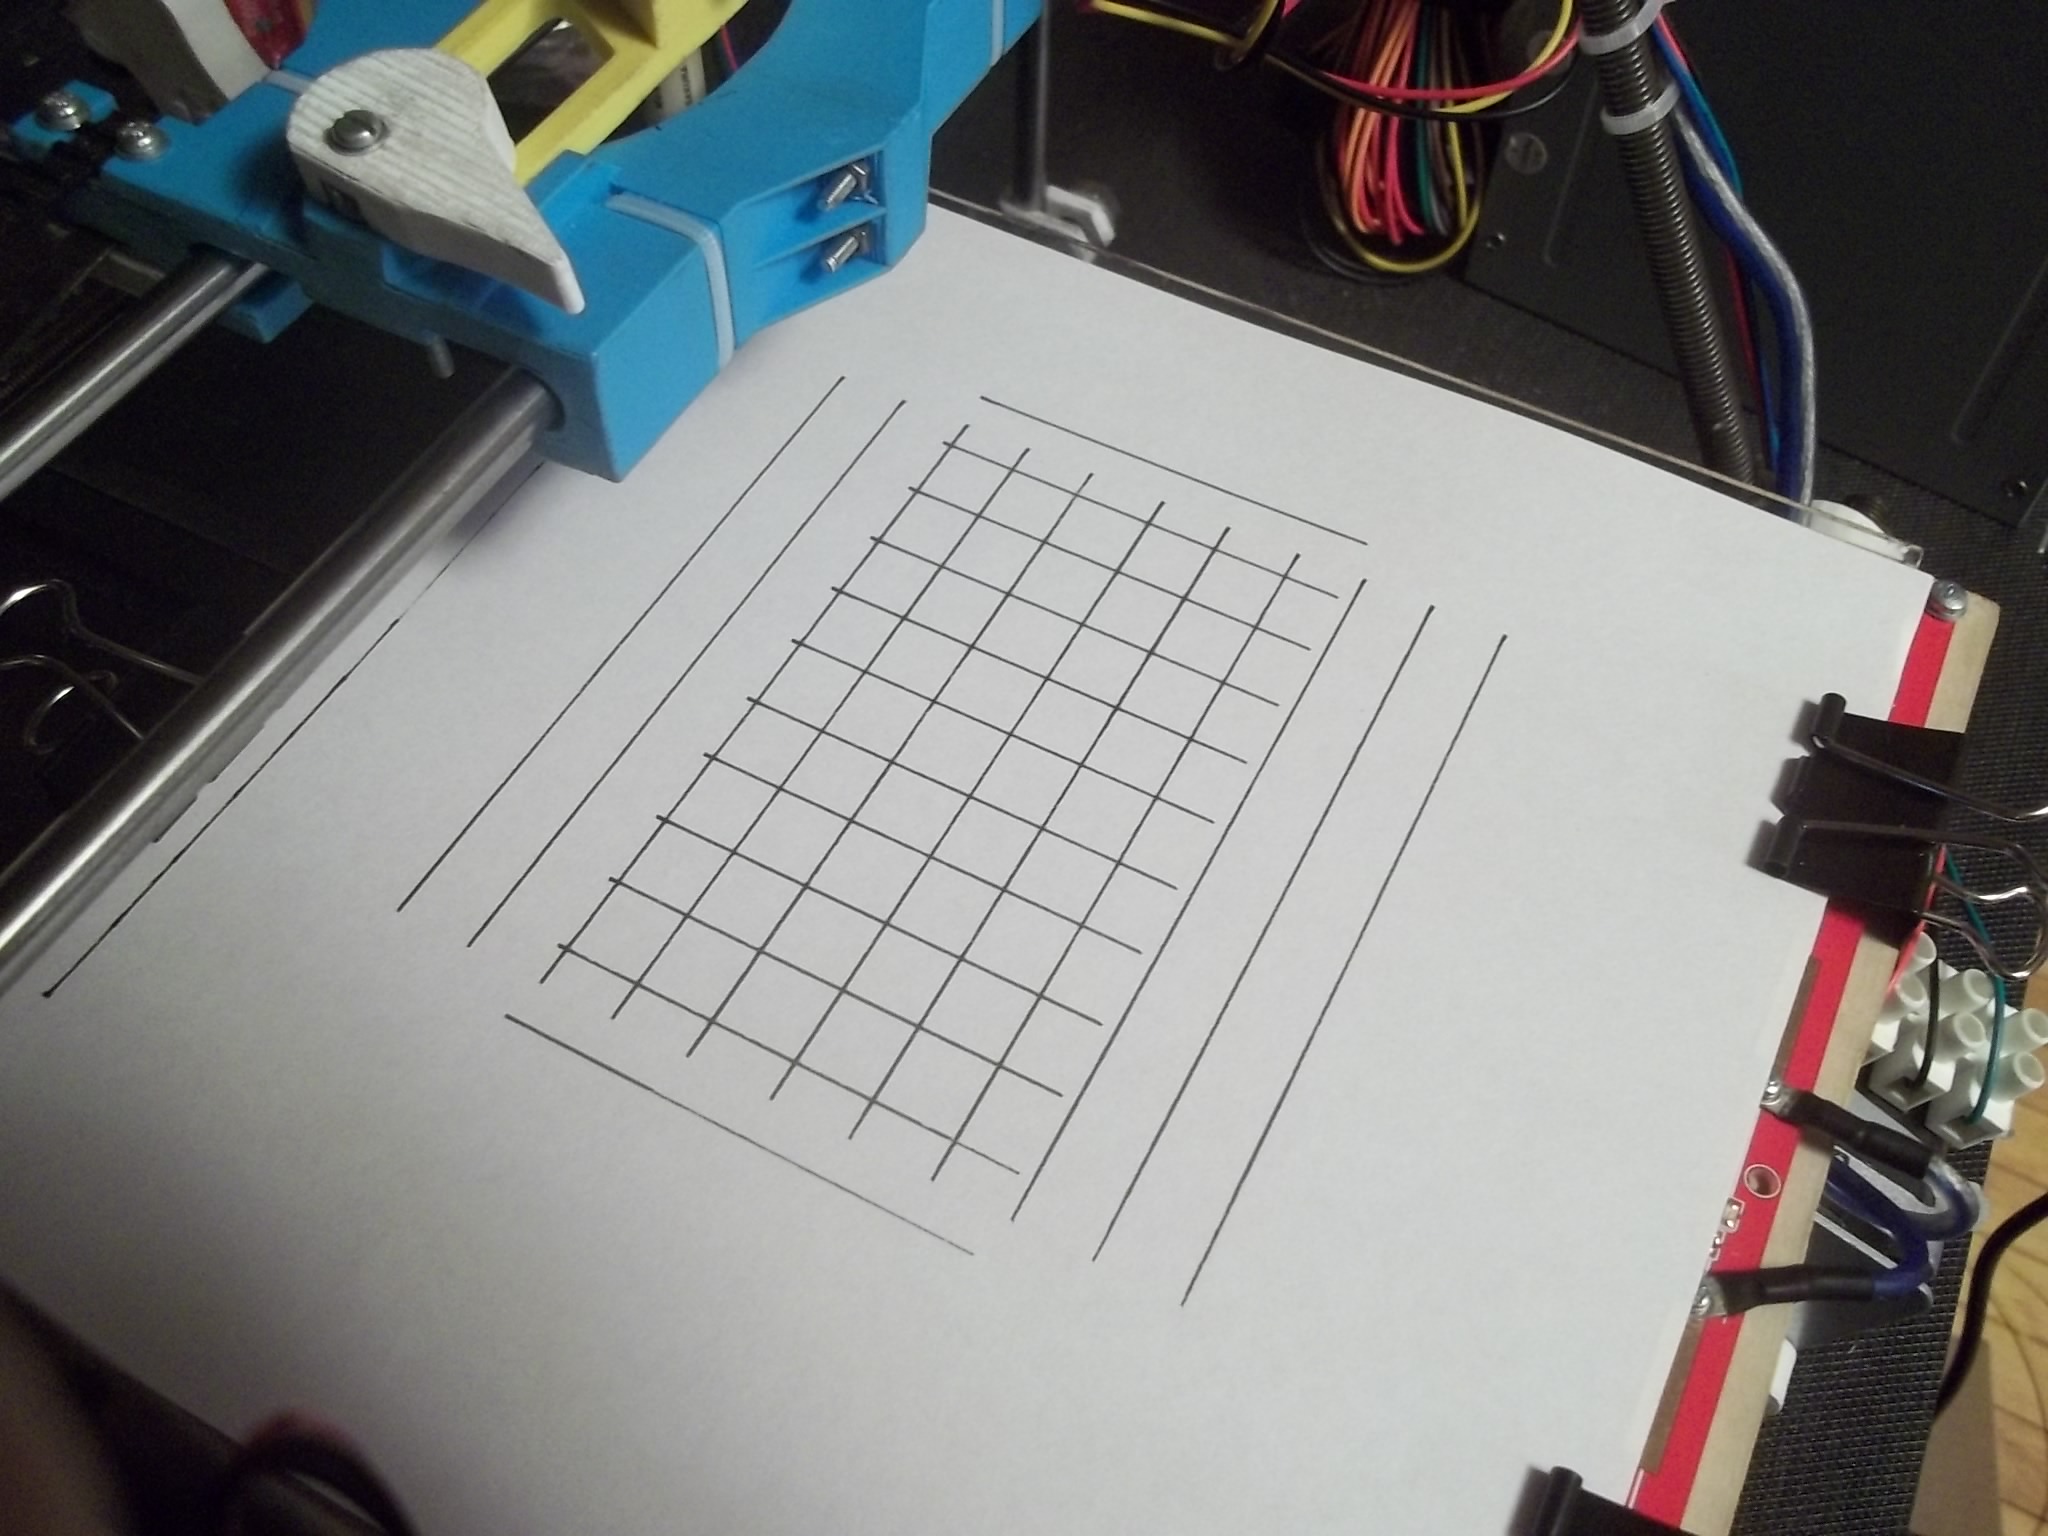
- Draw simple shapes (circles, squares, lines) in Inkscape.
- Use the Gcodetools extension to generate very simple G-code for the paths.
- Manually edit the generated G-code to remove comments (%) that my setup doesn’t like.
- Load the G-code file into Repetier-Host.
- Connect my electronics board (RUMBA) using Repetier-Host.
- Home all axes.
- Manually adjust Z axis endstop (and re-home the axis) until the pen is just barely making contact with the paper on the build platform.
- Jog the various axes to make sure that the pen is marking with just barely enough pressure to make a good mark. Too much pressure means results in friction which can cause the belts to skip.
- Run the G-code and watch the movement to make sure everything is working, with a finger on the emergency stop button (E-stop).
Tightening the belts
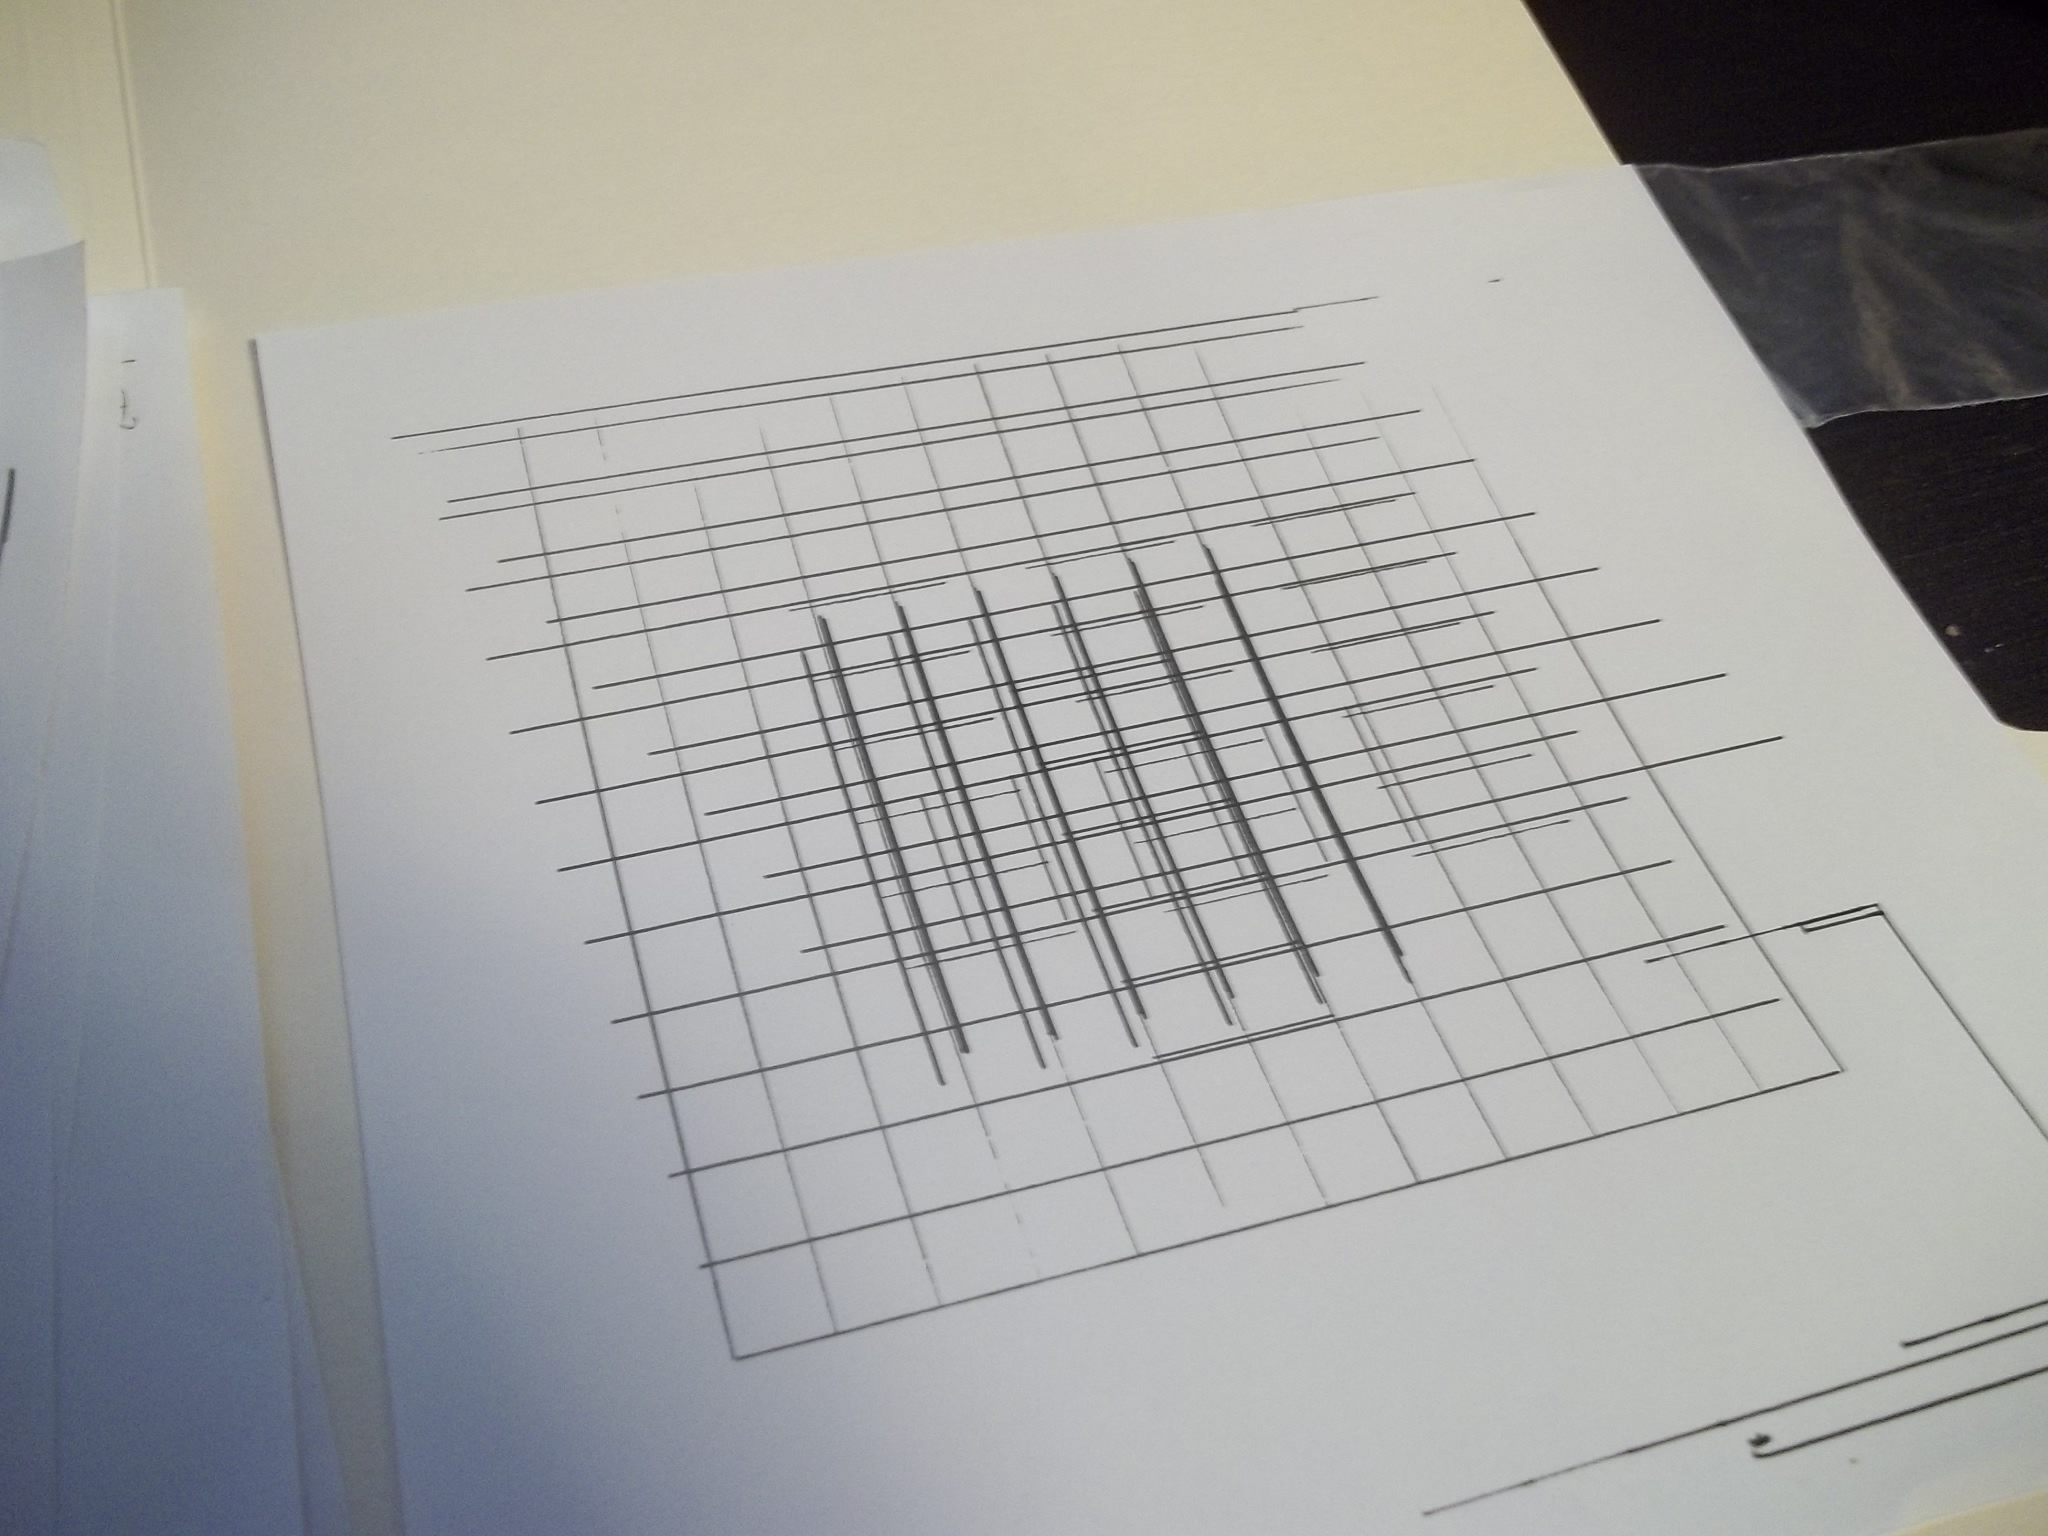
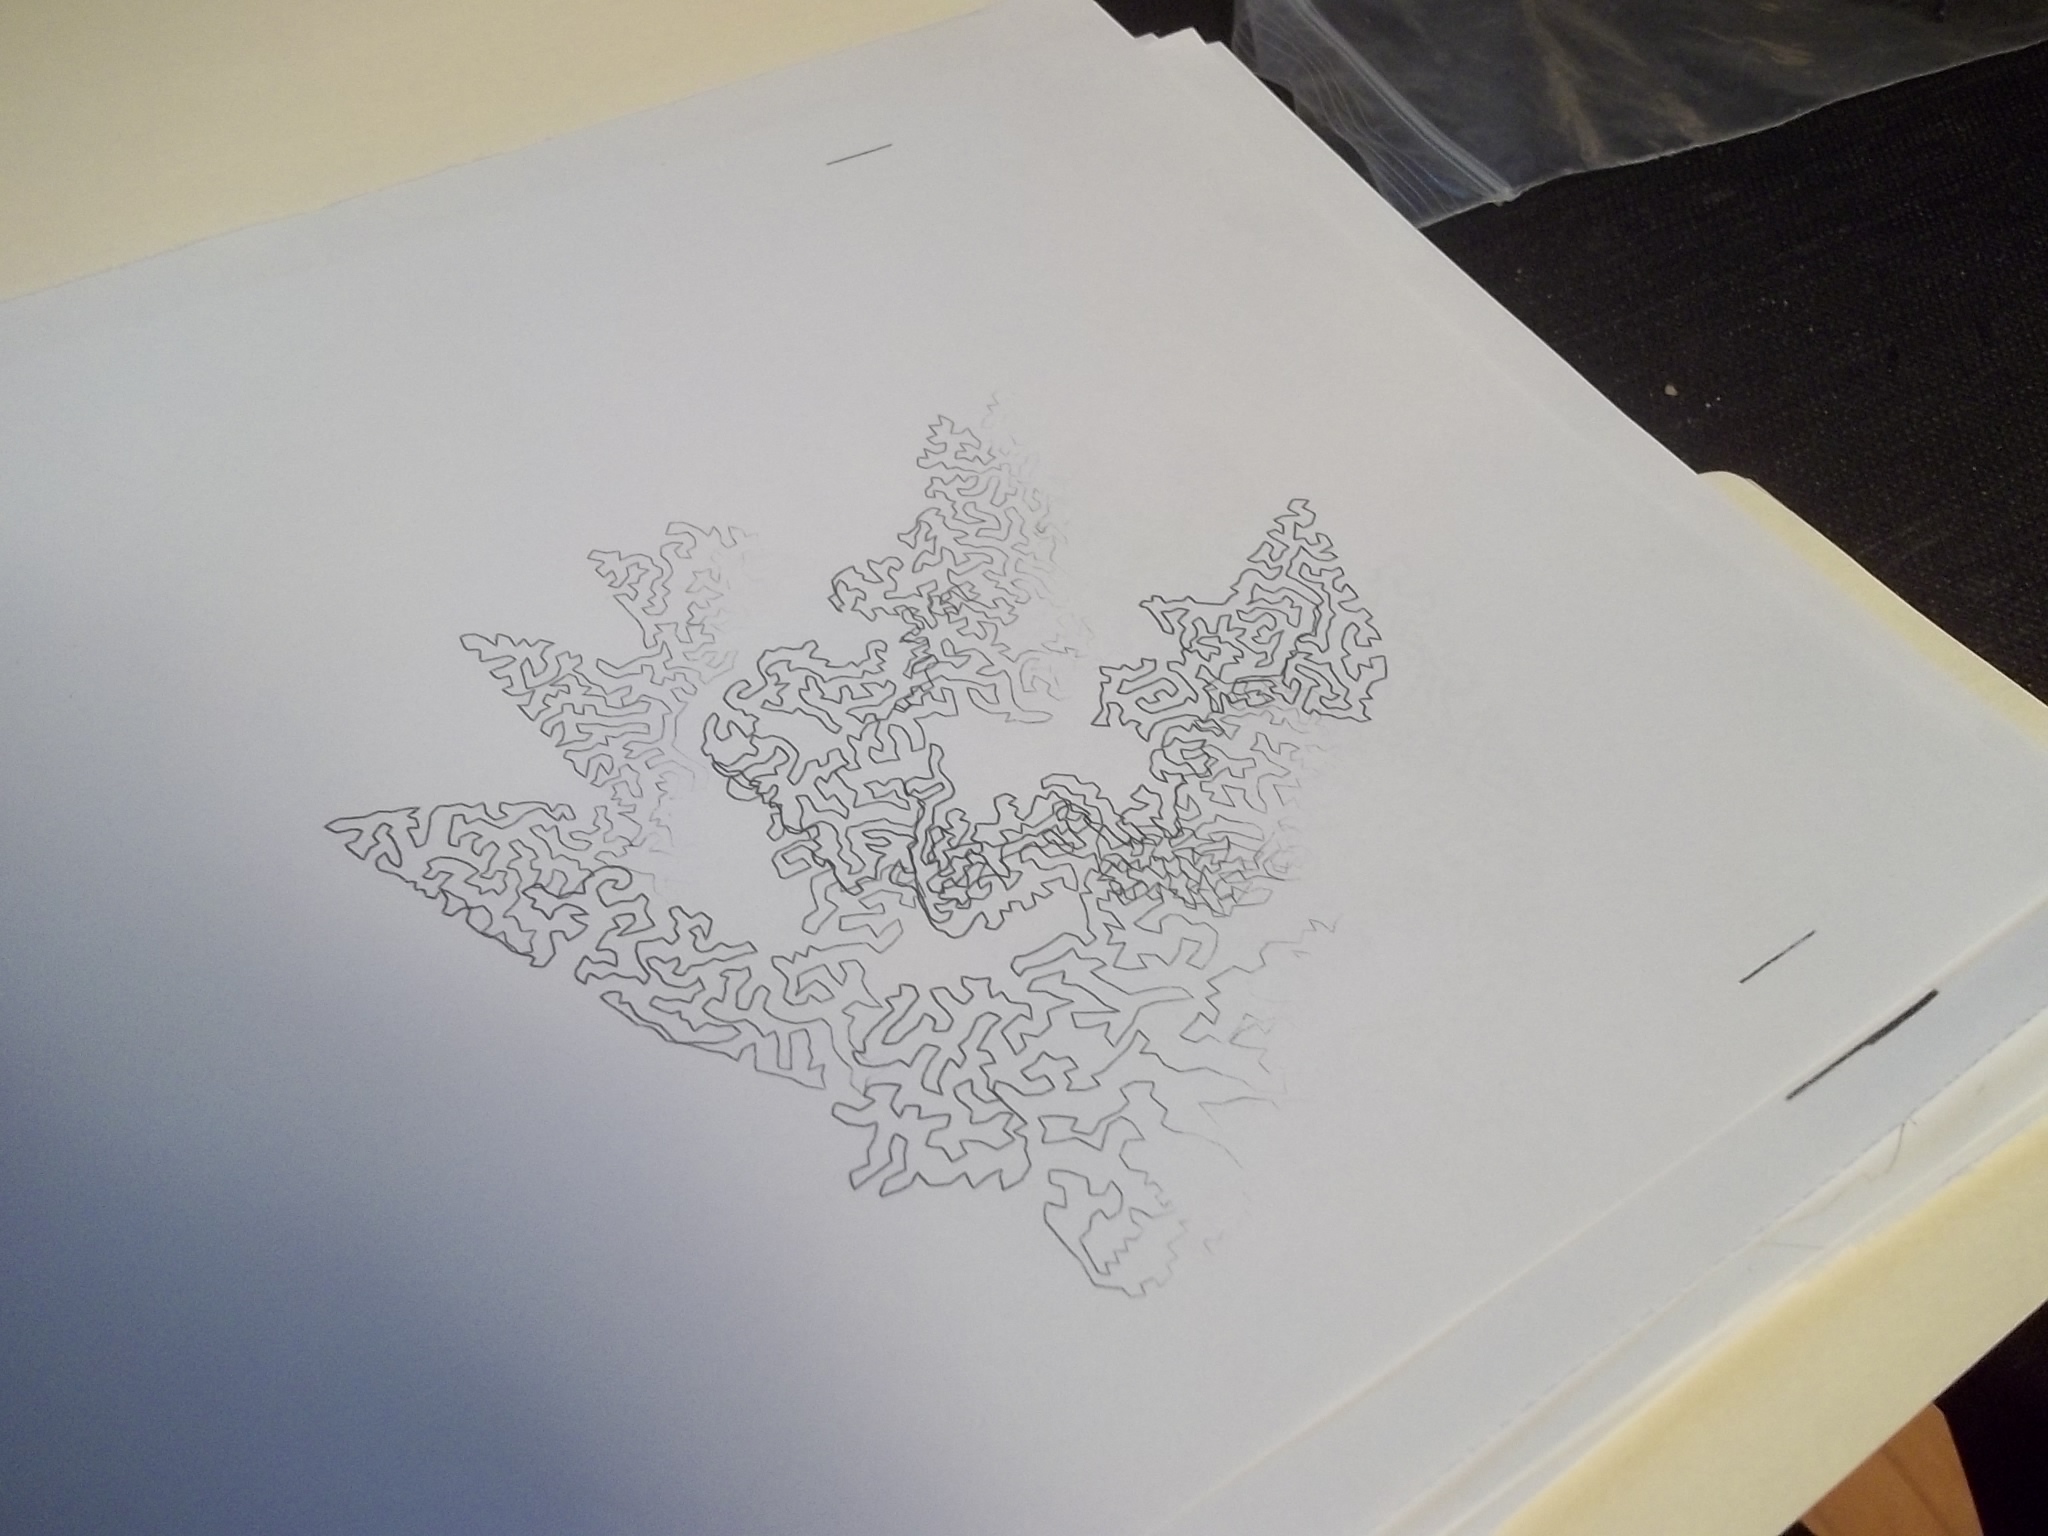
After doing this process a couple times (OK, quite a few times) with different designs I saw a few consistent problems. Specifically I found that lines and shapes were being “translated” after long movements or between prints, meaning that although the printer things that it has returned to the exact same spot on one or two axes, it actually hasn’t. This means that one or more of the belts is skipping, which has been a little frustrating for me. Having never seen another Prusa Mendel before (or anything other than a Makerbot Replicator) in person, I didn’t know what properly tensioned belts look or felt like, so I didn’t know if my belts were too tight or too loose. Eventually I learned that my belts were too loose, and that it takes surprising force to tension the belts properly.
To tighten my belts I loosened the belt clamps, then used a pair if pliers to grip and twist the belts as much as I possibly could. When the belts were as tight as I could get them, I used my free hand to tighten the clamps again, which may have been causing me to relieve some of the pressure I had on the belts before they were totally secure.
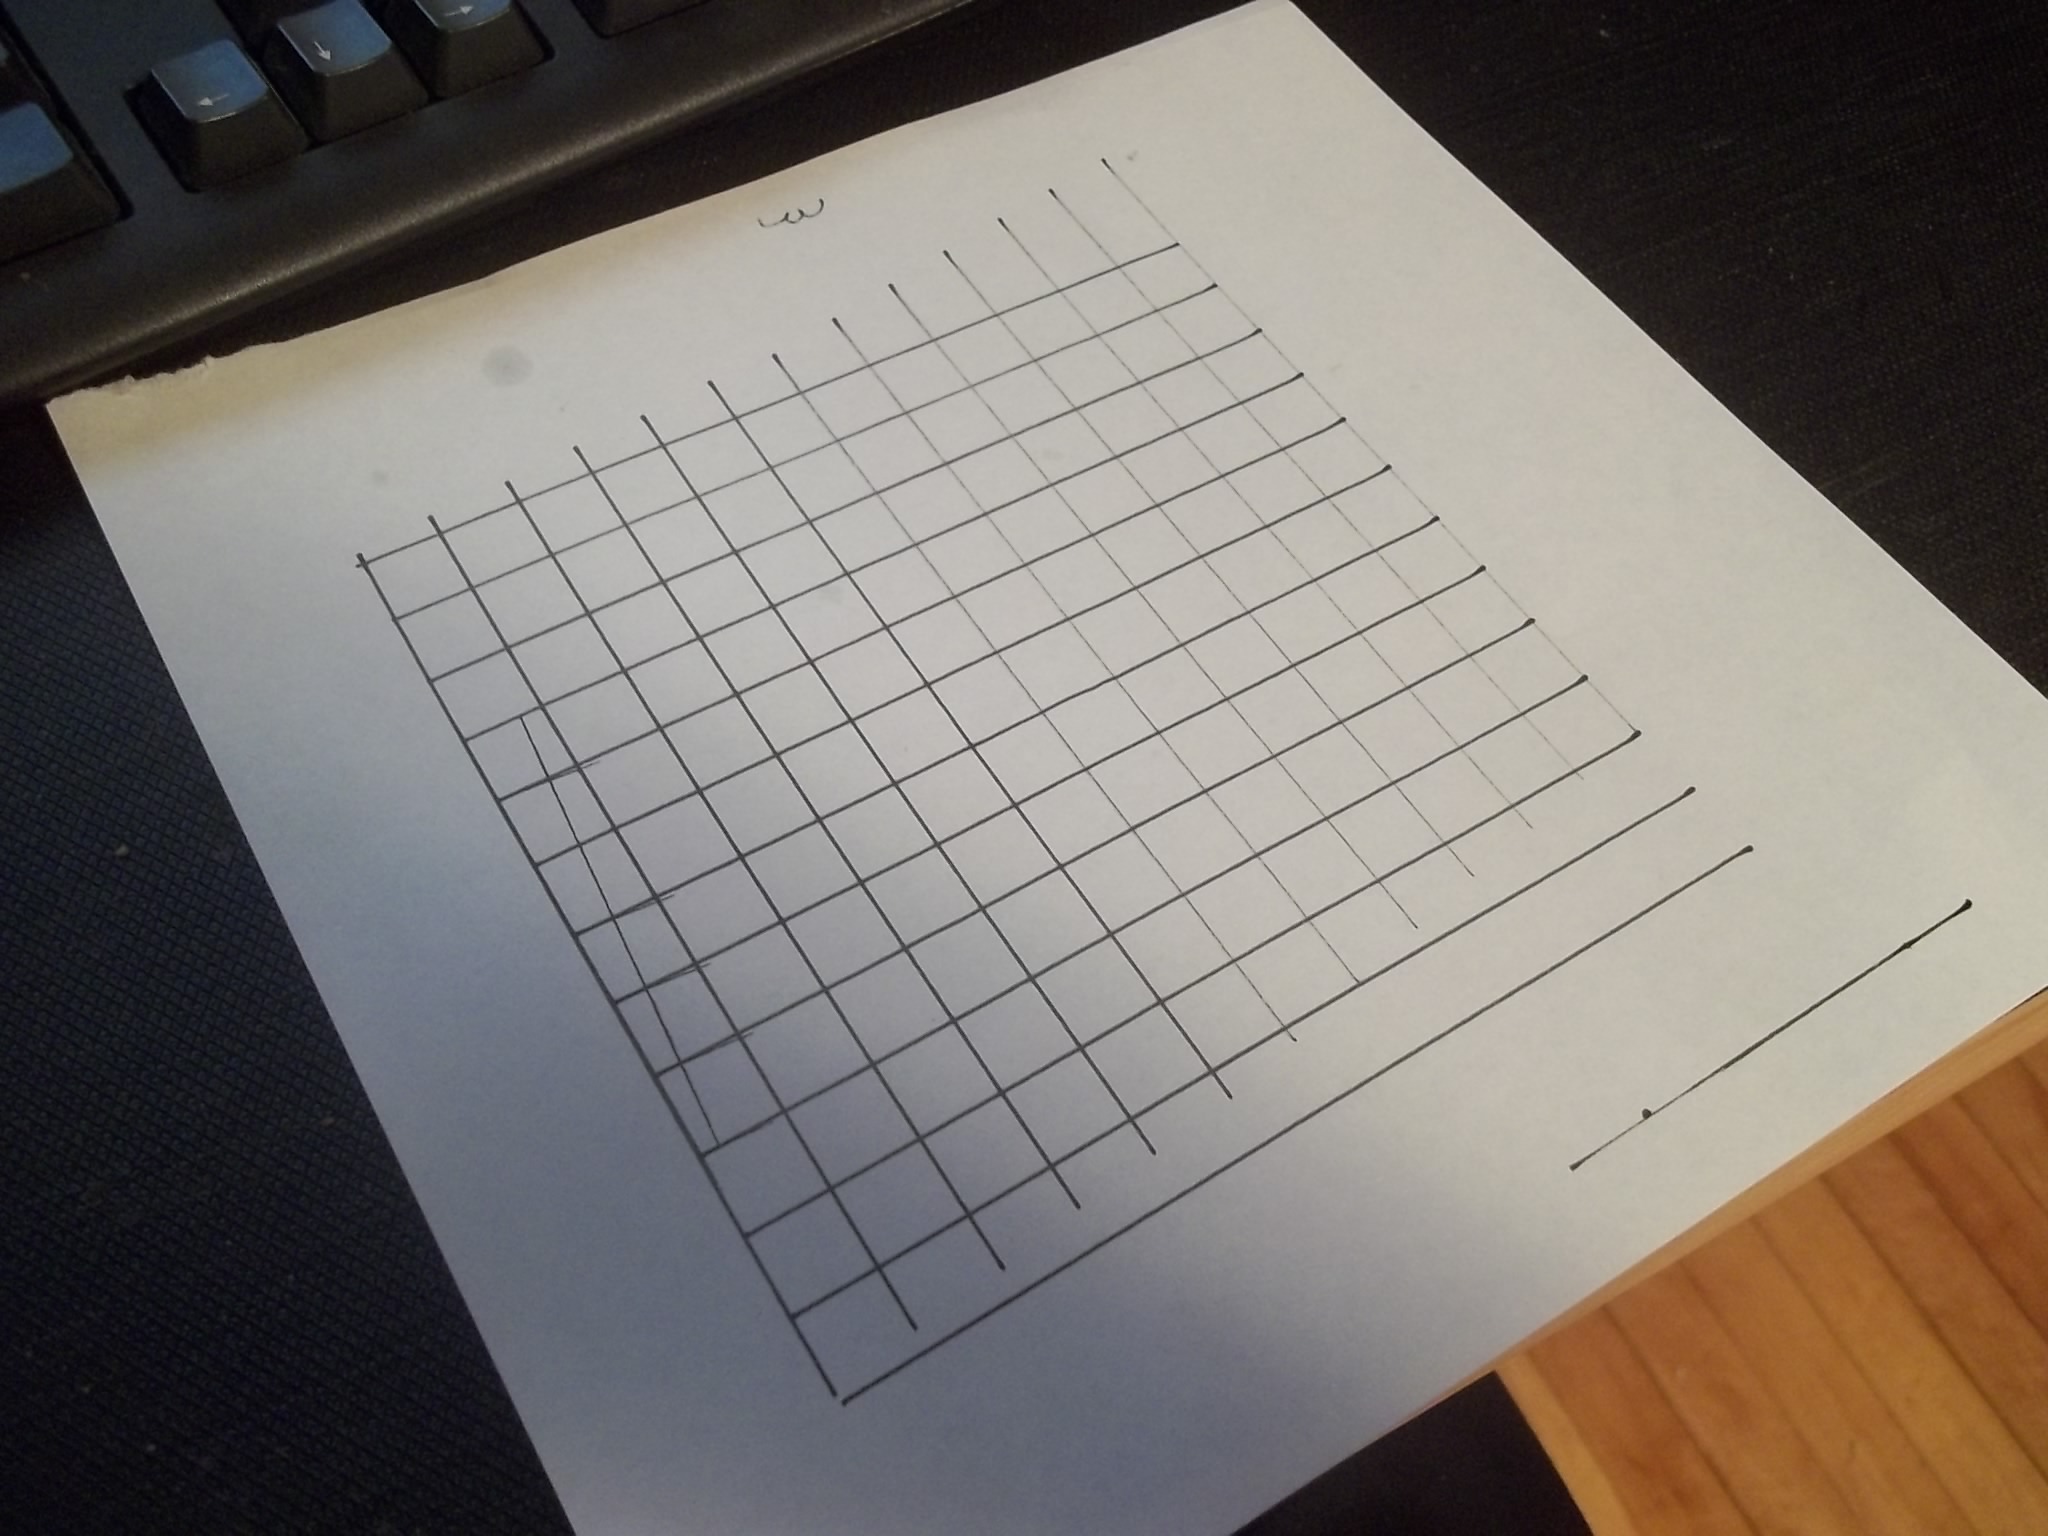
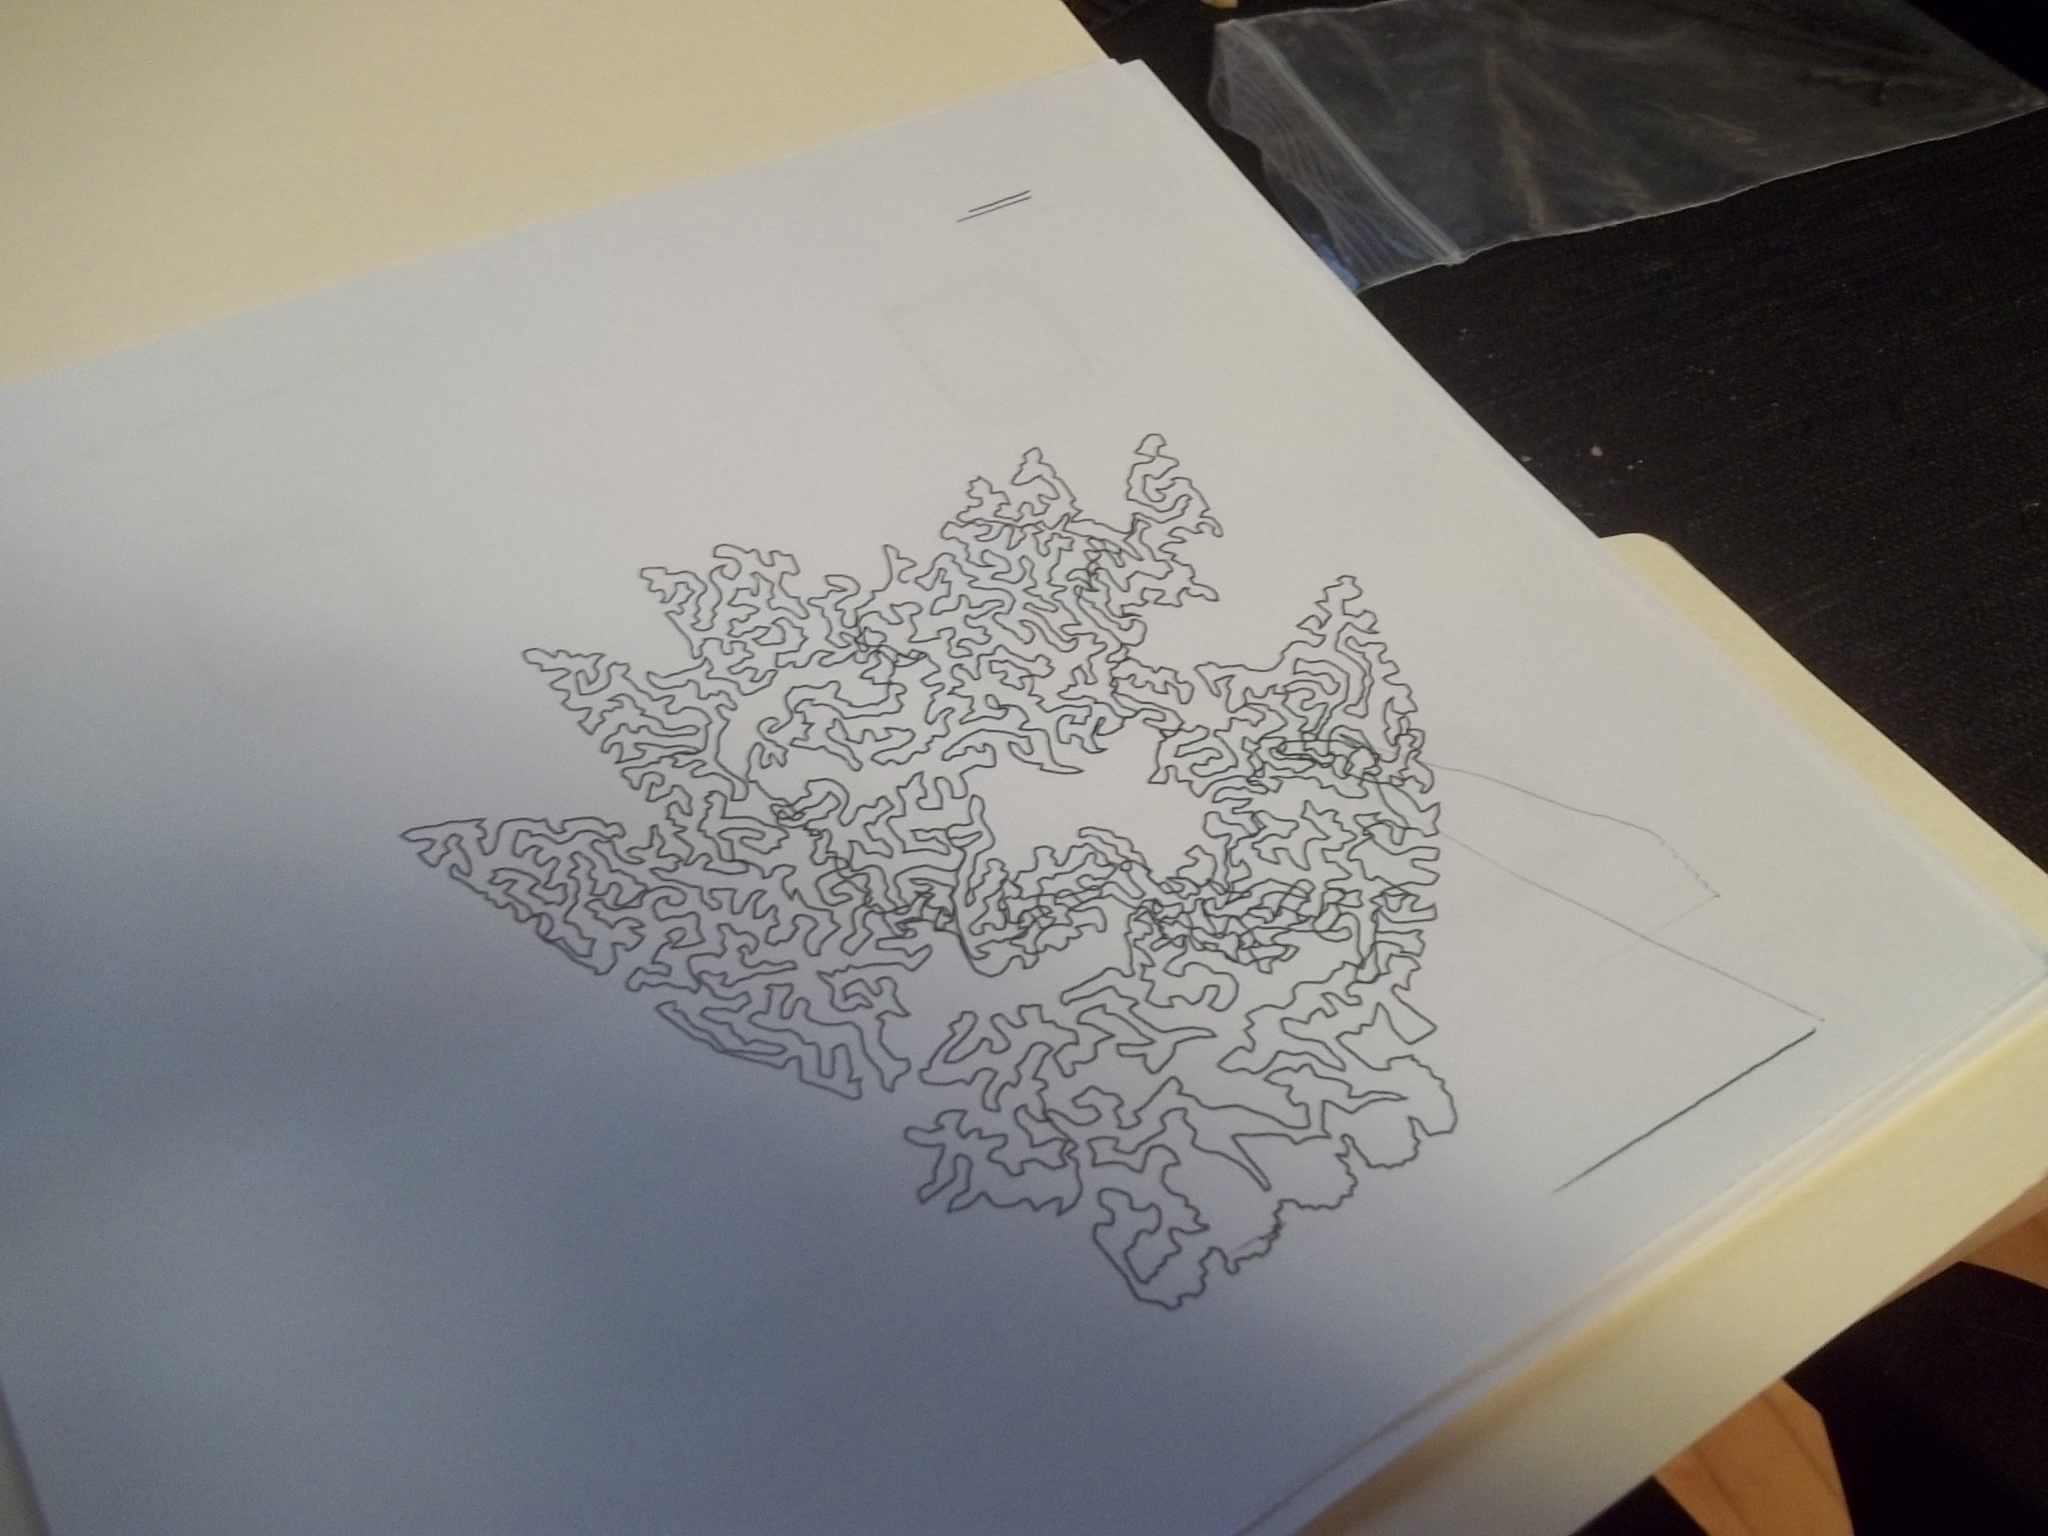
Eventually I was able to get my calibration prints to come out pretty well, but I still feel like my belts aren’t perfect. I want to find an automatic belt tensioning technique that doesn’t require me to disassemble the machine, but there are just so many to choose from! When I find the time I think I’ll try to find some torsion springs to fit my belts, which is what the Makerbot Replicator uses.
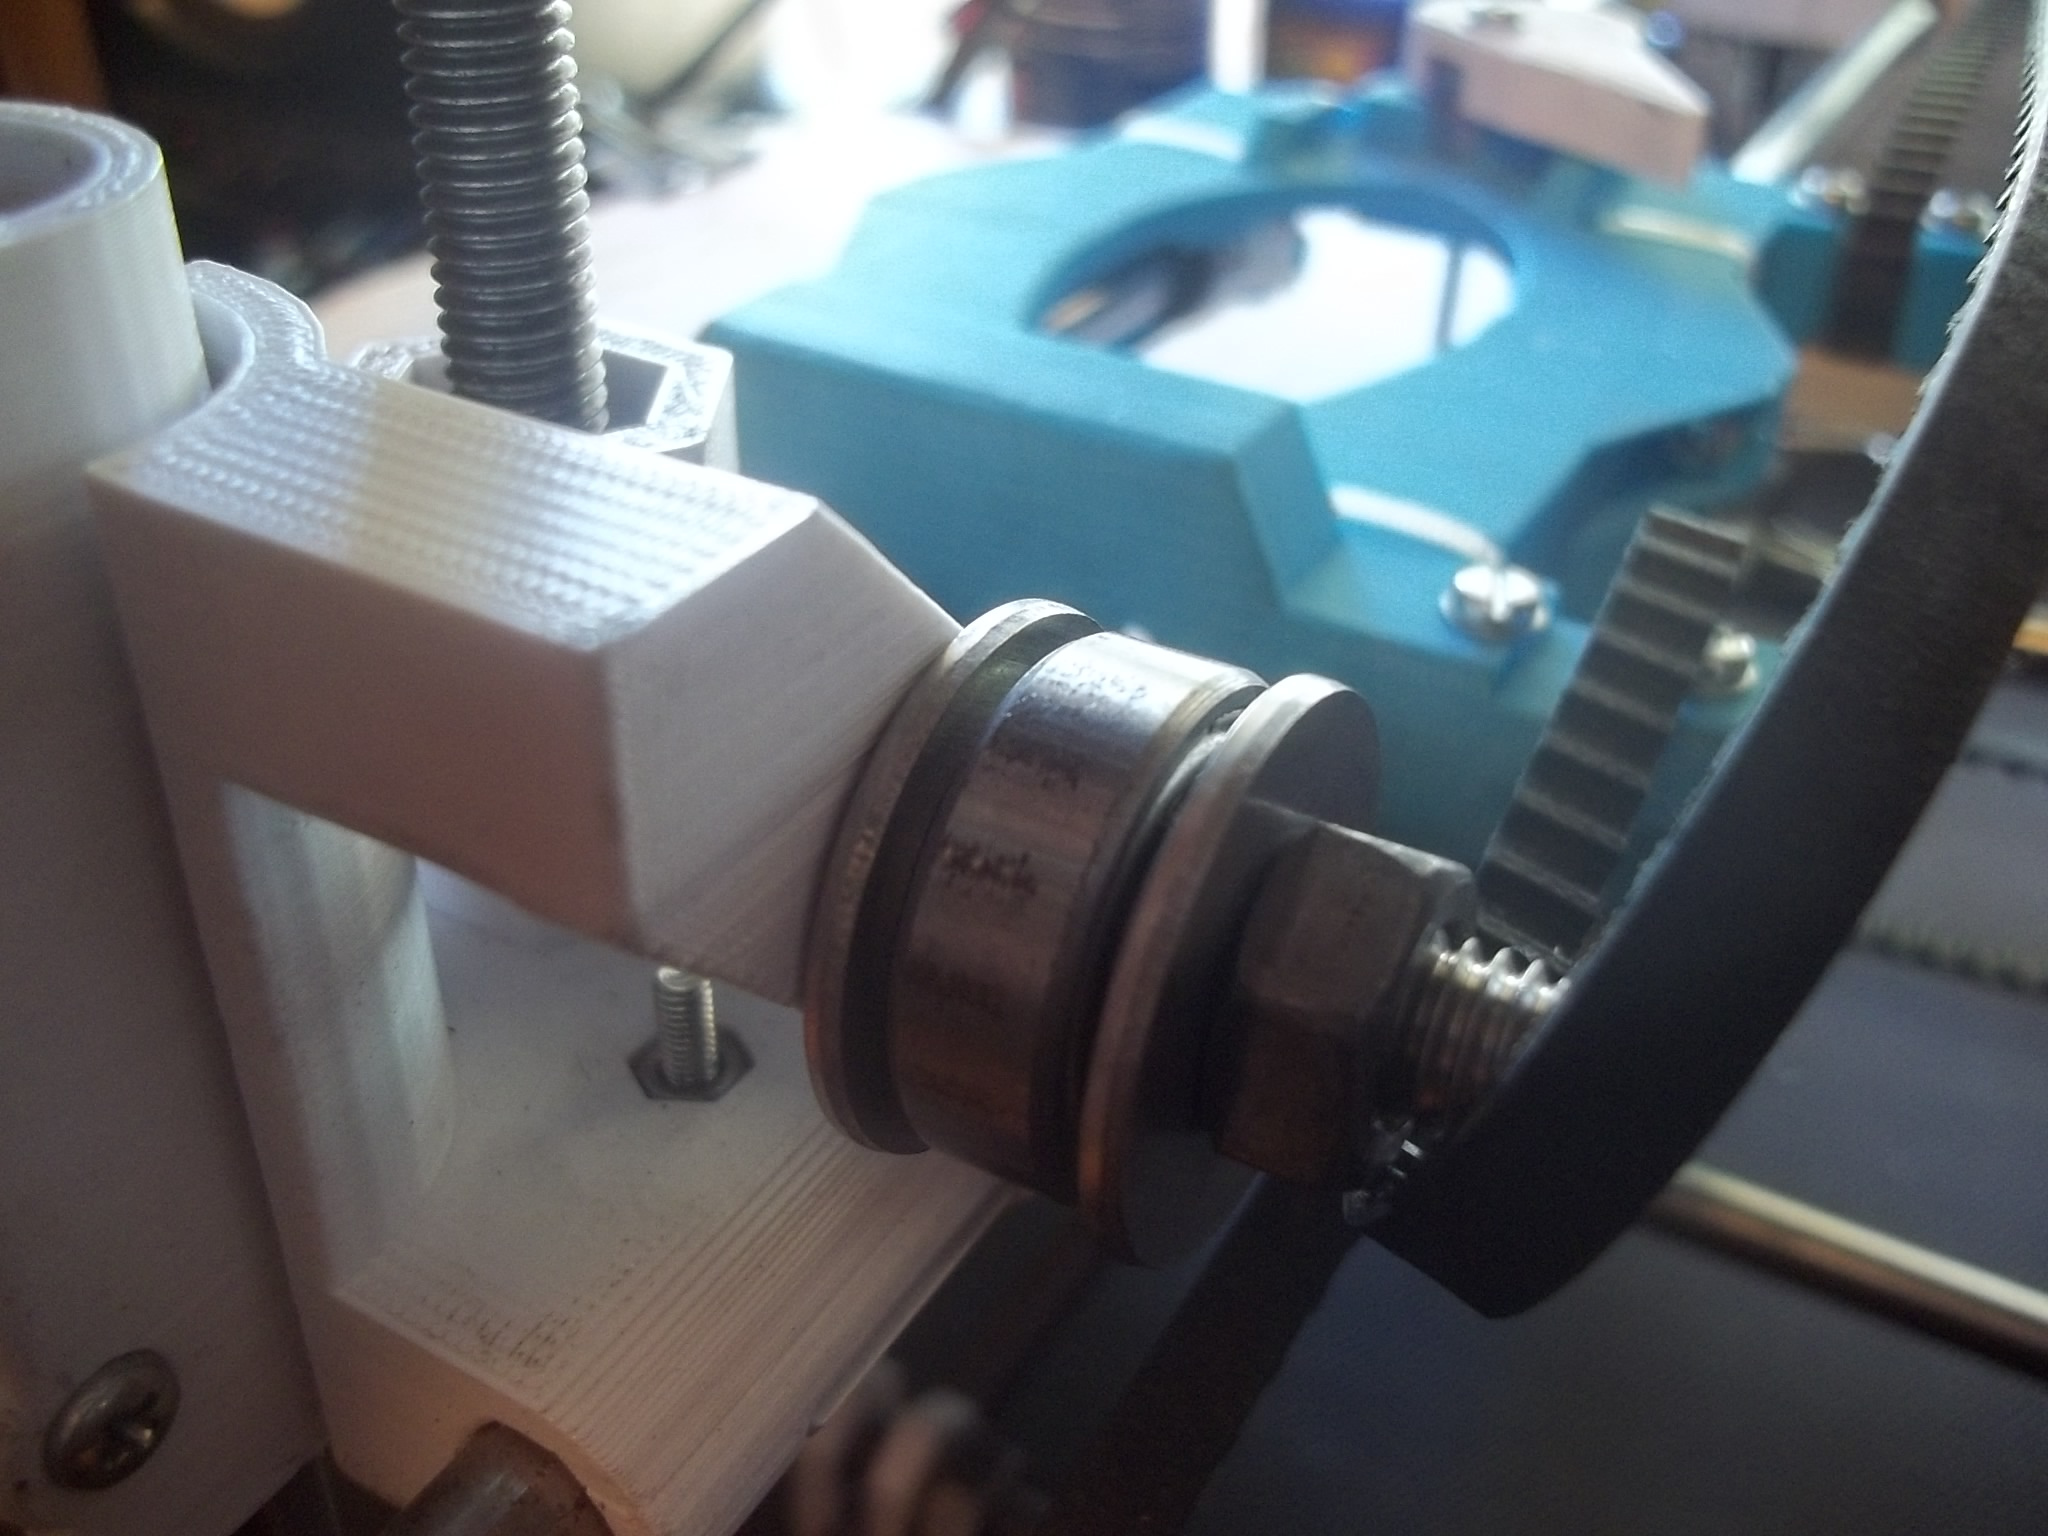
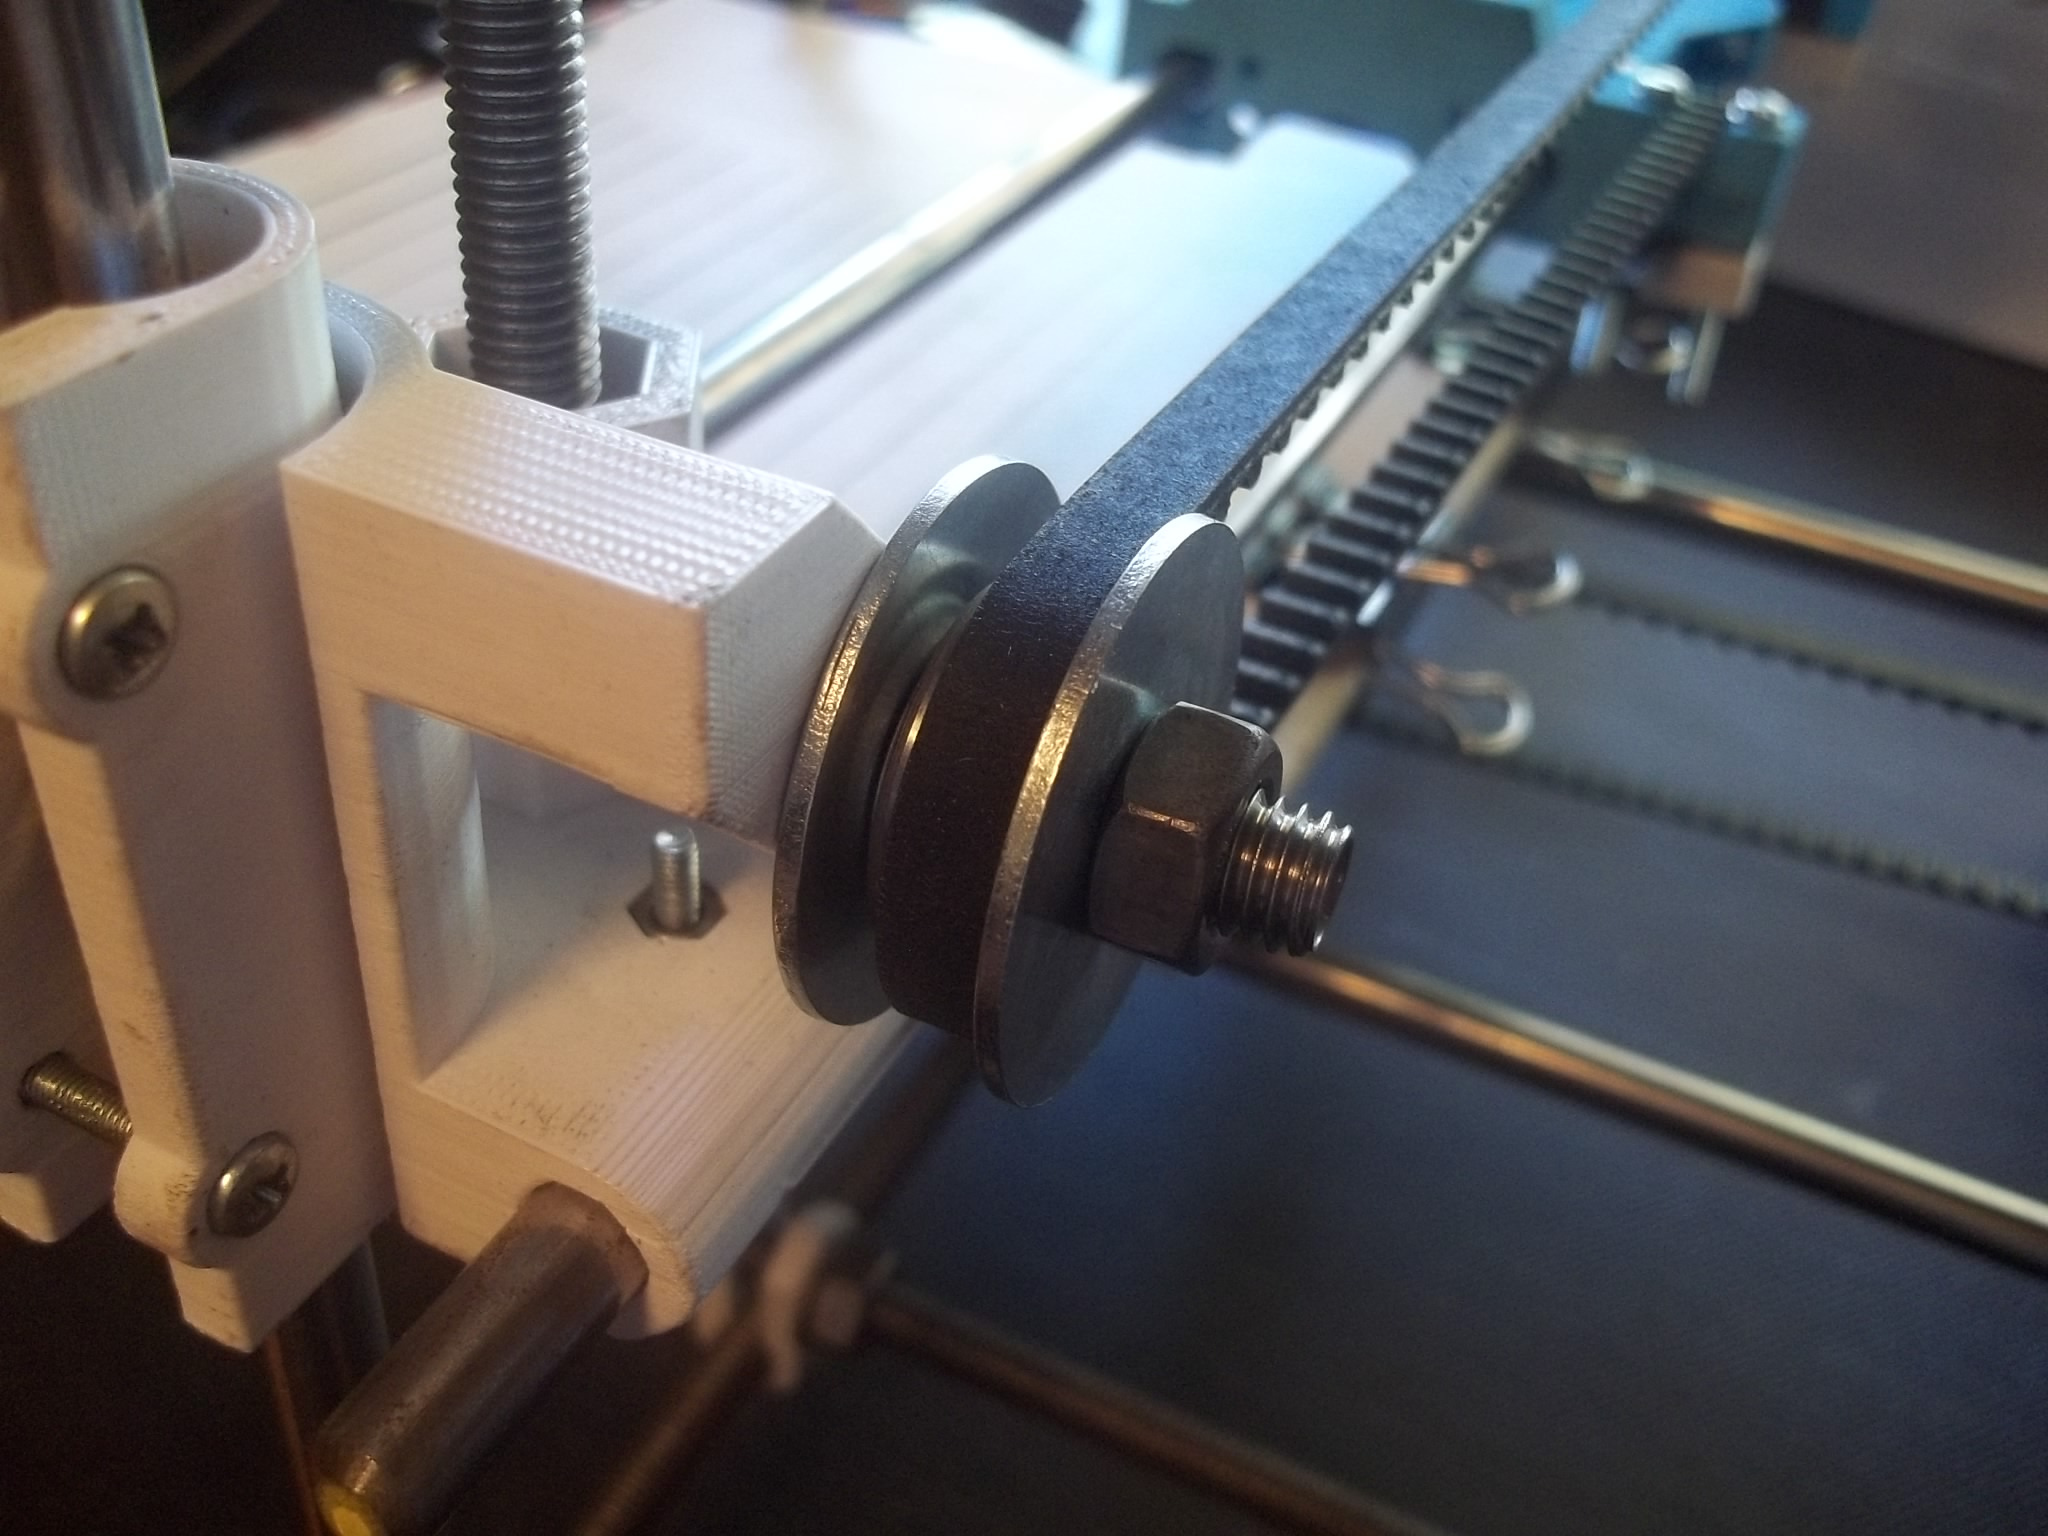
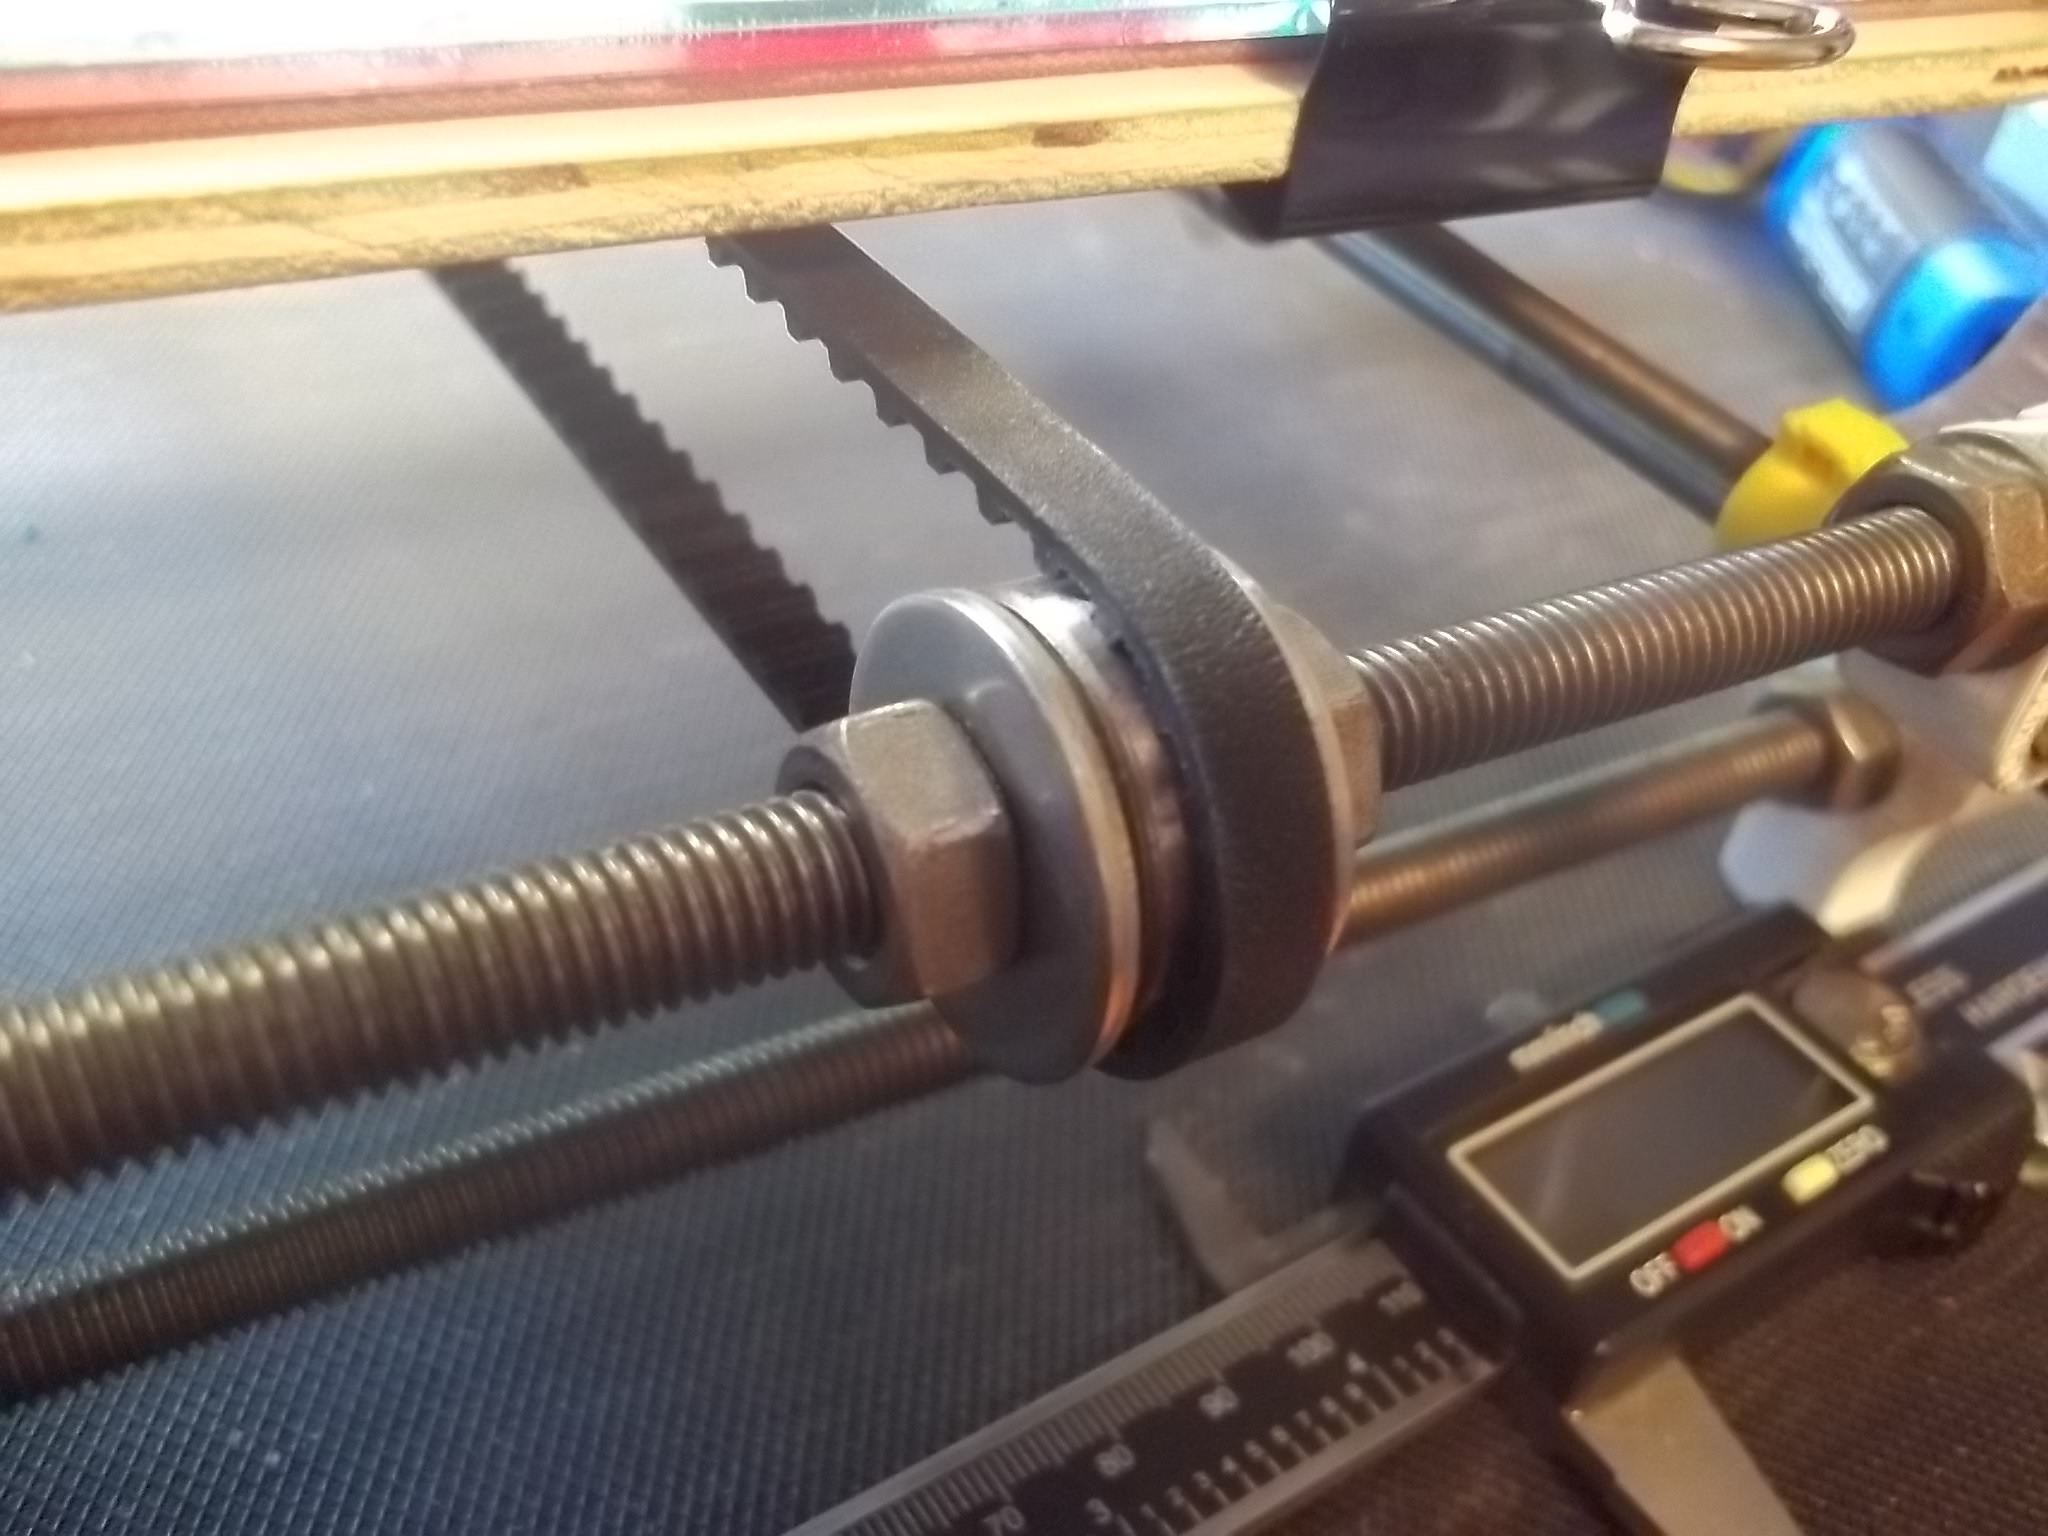
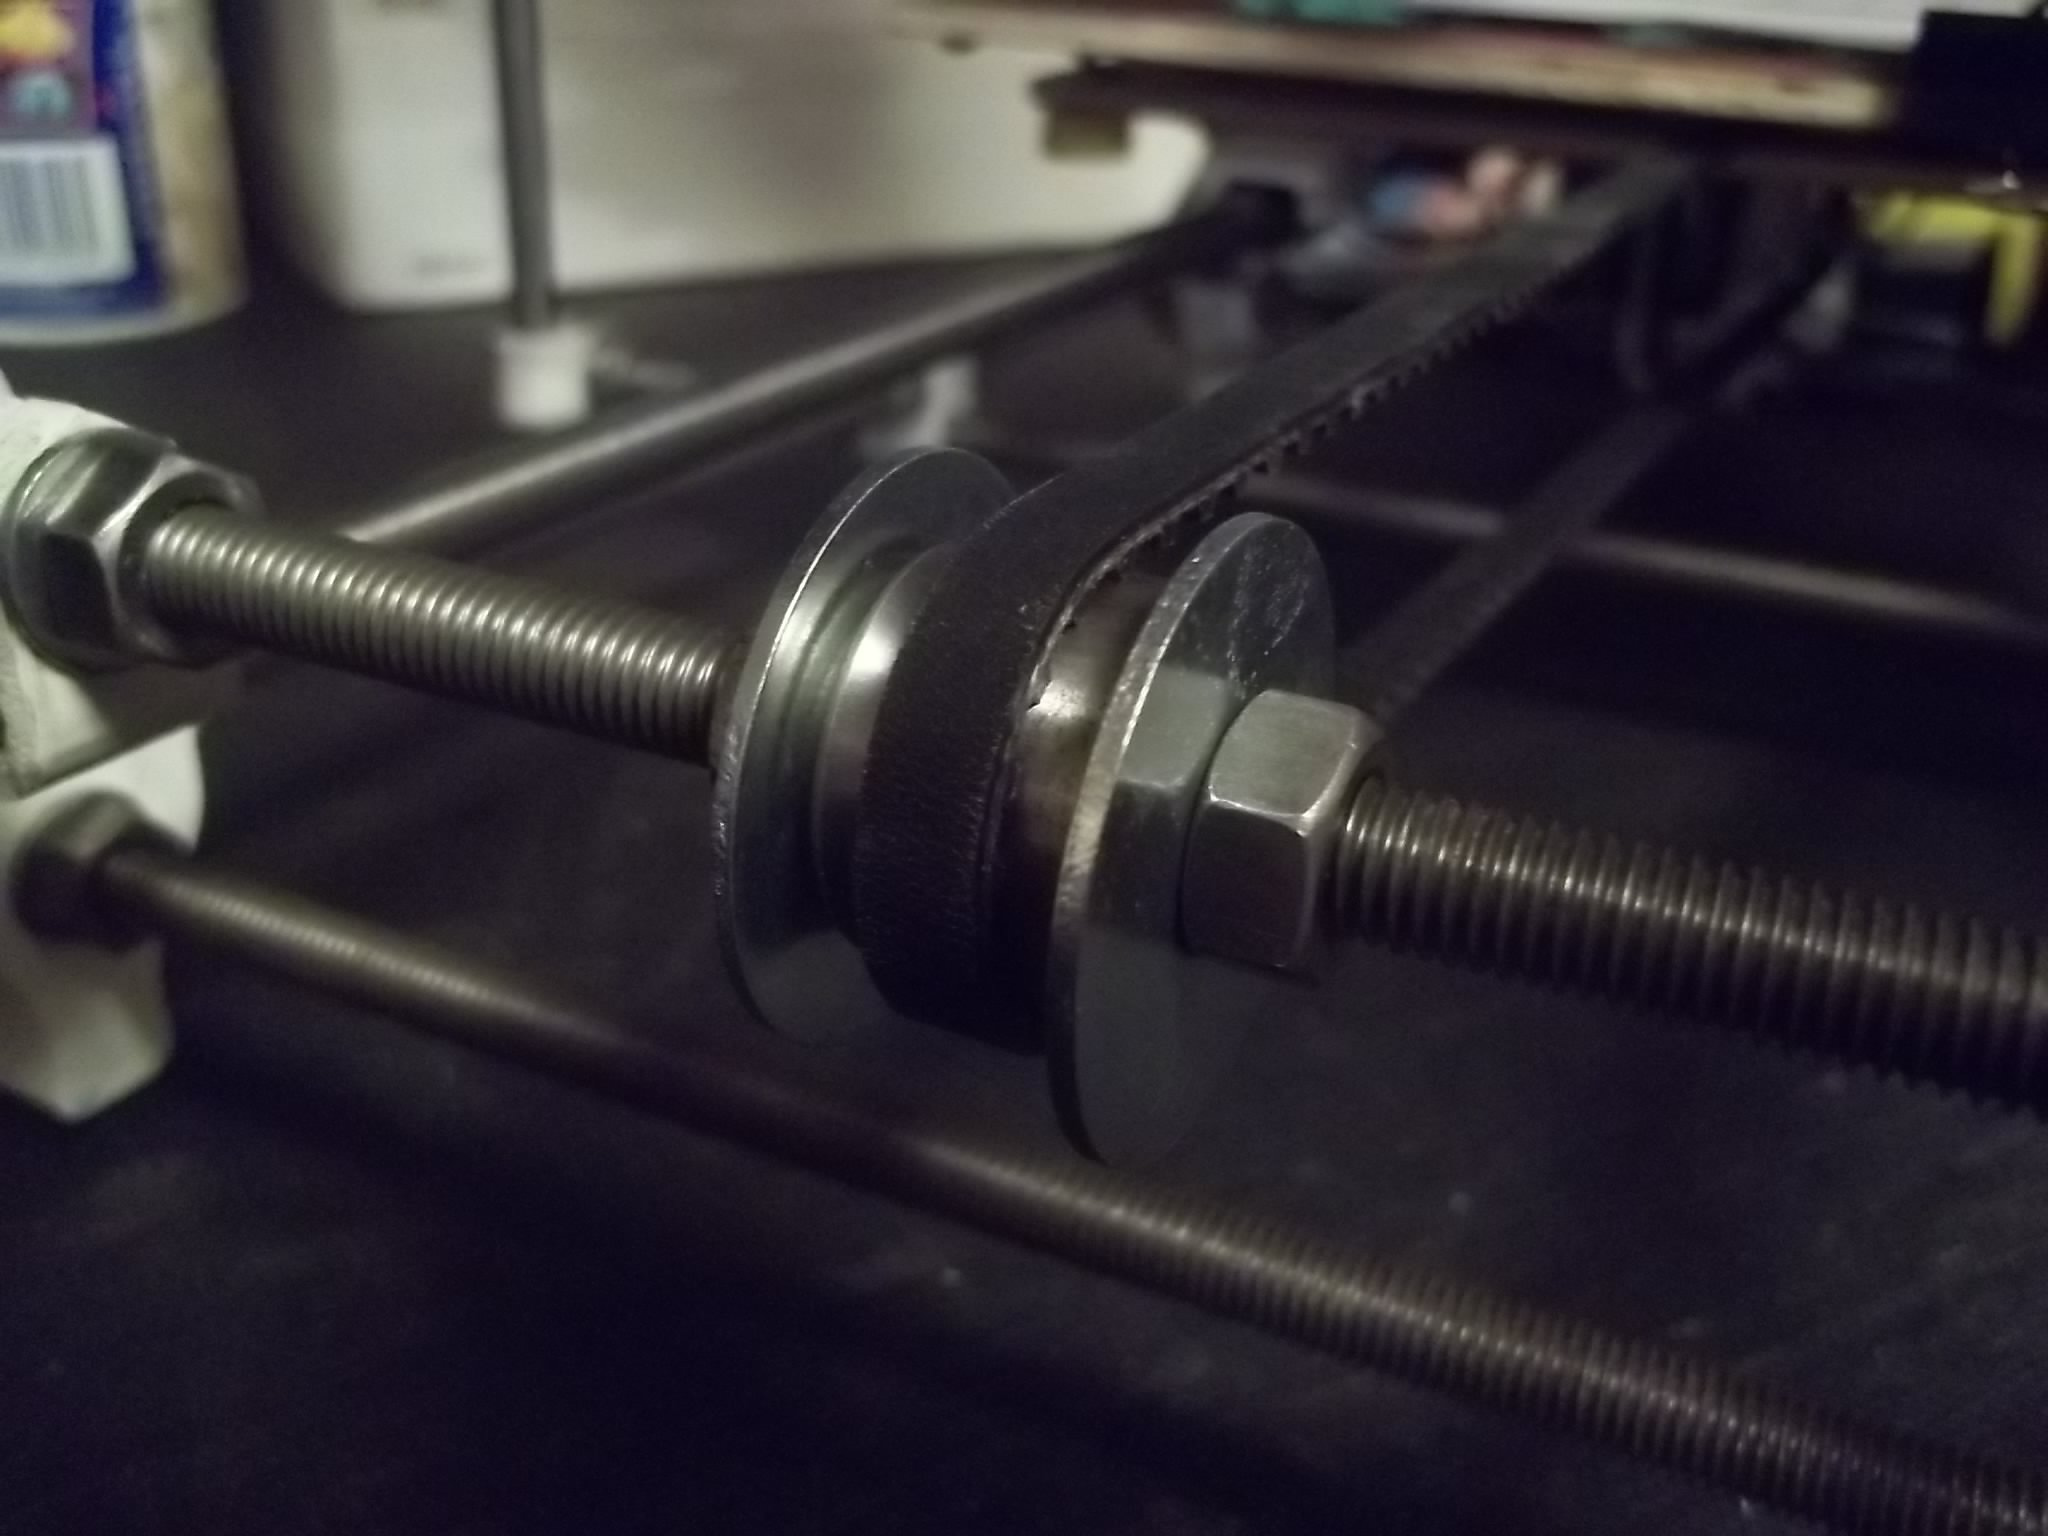
Fender washer upgrade
While using the pen plotter and trying to tighten the belts, I realized that a lot of the backlash was because of the fender washes that are used on the X and Y axes to hold the belts in place. I was unable to source the fender washers listed by the official Prusa Mendel build instructions, and instead had to settle for some that were smaller in diameter. I thought this would be fine, but while playing with the belts I noticed that the belts kept wandering off the bearings to climbing up onto the smaller washers, creating friction.
This extra friction was causing the belts to skip teeth and cause problems, which I didn’t realize for a while. I thought that the skipped teeth were due to the belts not being tight enough or being too tight, but I didn’t think about the washers as being the problem. I went to my local hardware store and found some larger SAE fender washers that fit the M8 rod well and installed them. Combined with the belt tightening I did I was able to get rid of most of the backlash I was experiencing.