Prusa Mendel build update #2: all electronics acquired, miscellaneous hardware, updated sources and BOM
Progress since the last built update was a little slow, because I had to wait to get some money (hooray student loans!). Well, late last week that problem was solved so I went ahead and ordered all the electronics for the printer!
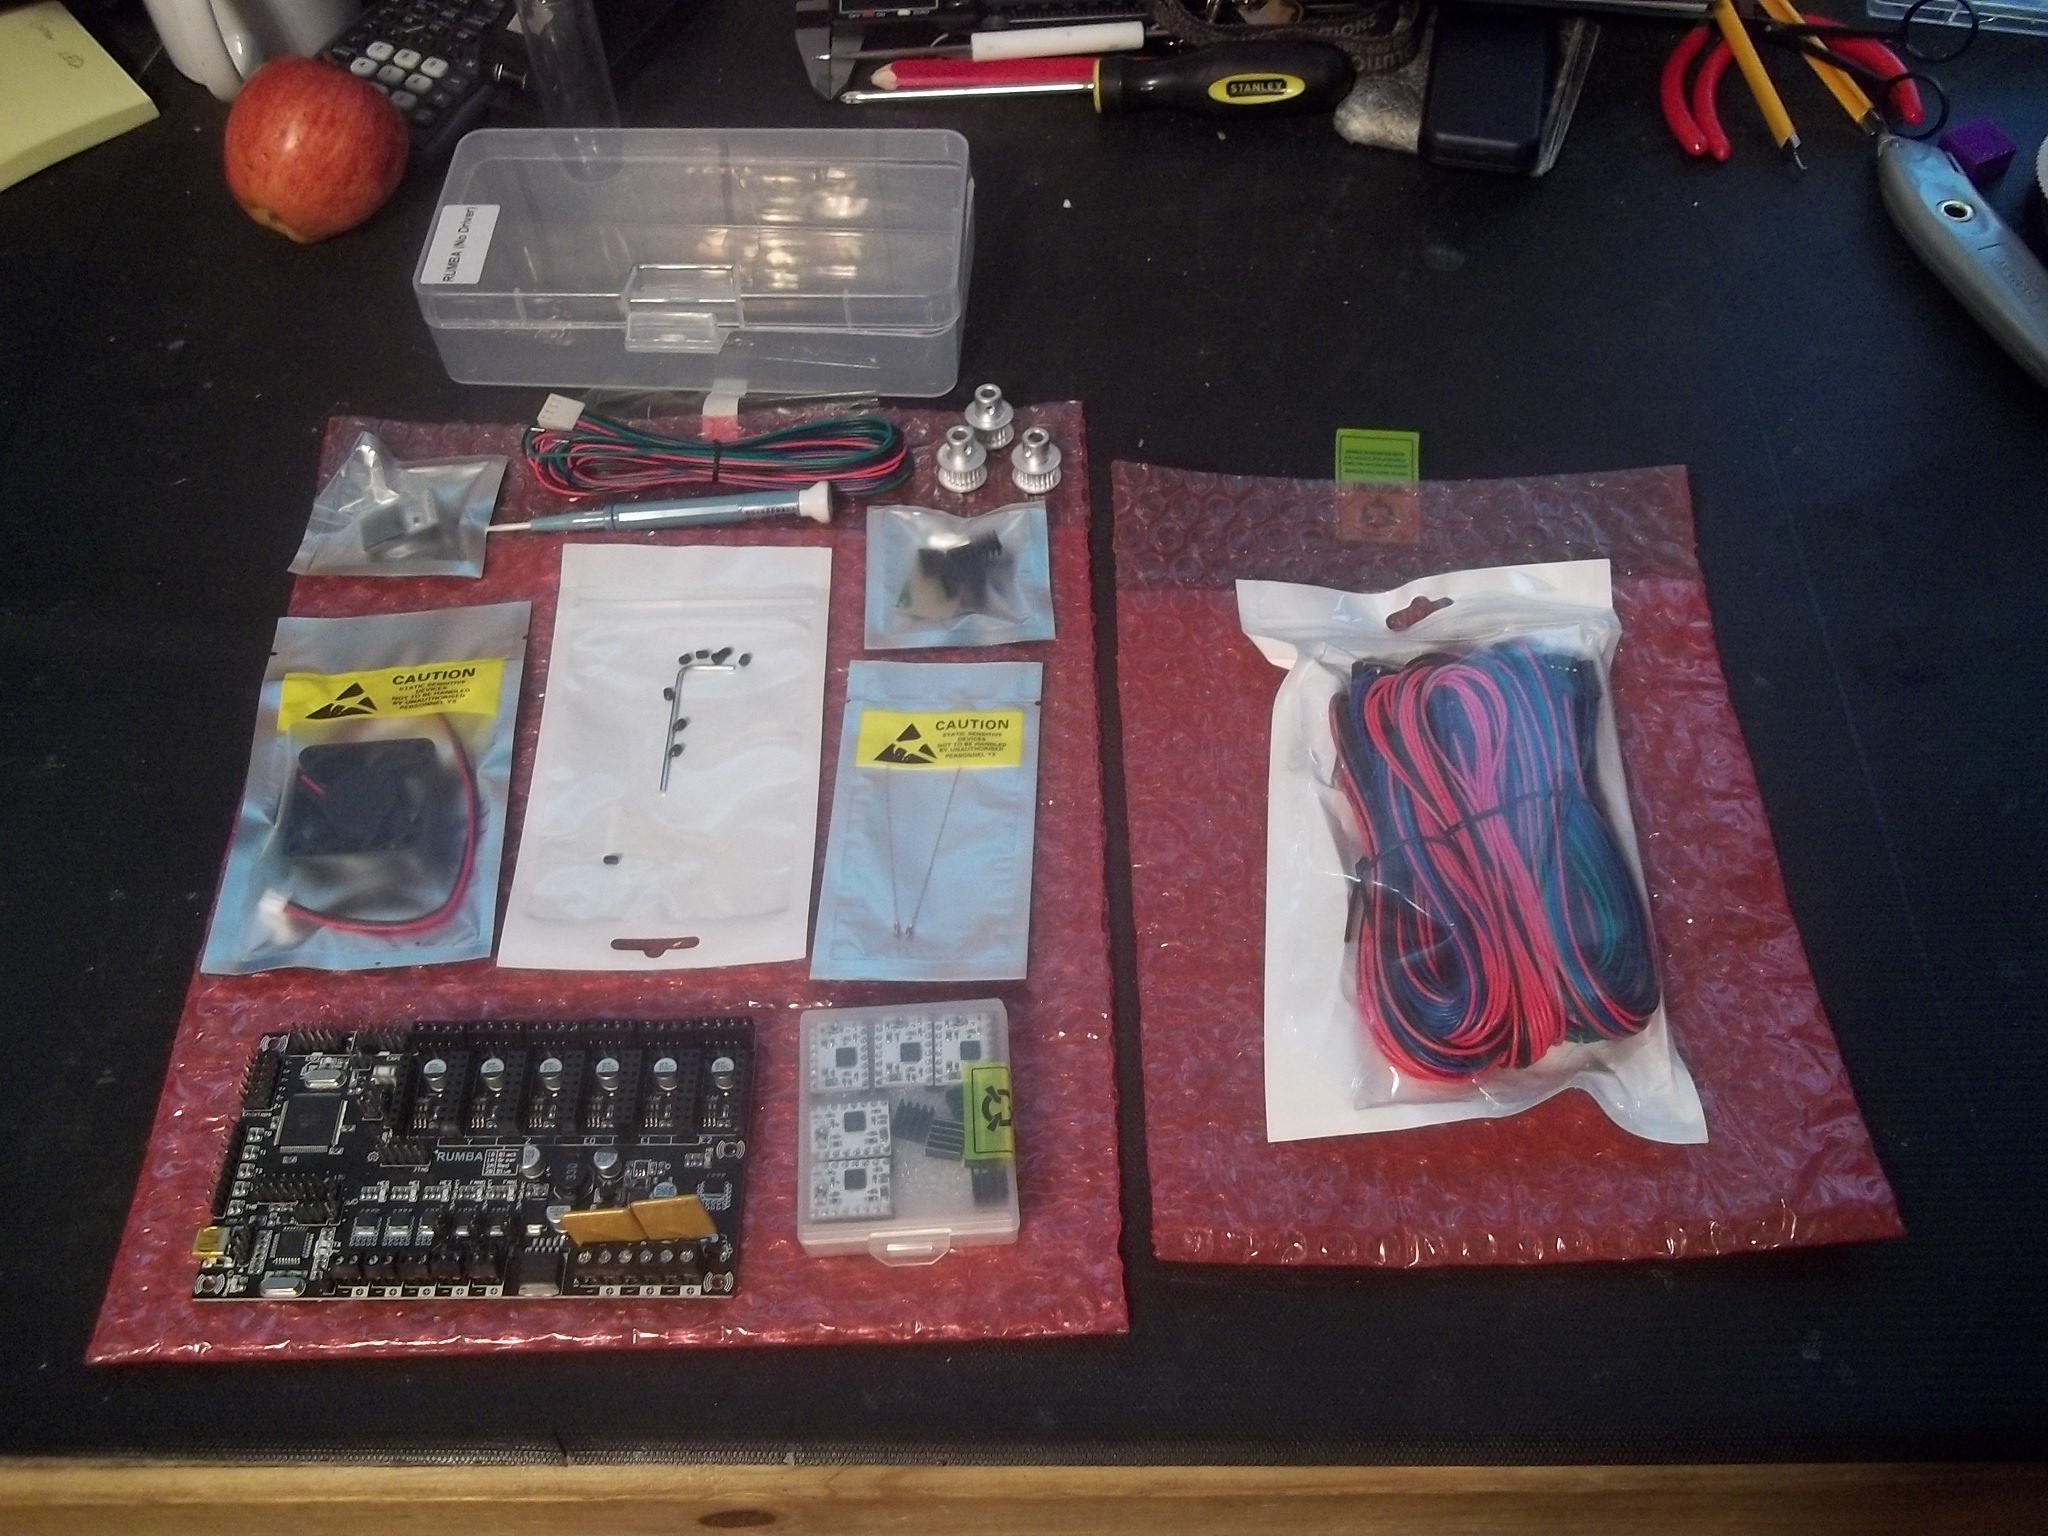
This is by far the most expensive part of the project. In fact, the electronics system is almost three times more expensive than the rest of the printer! Check out the bill of materials below to see where all that money goes.
GT2 pulleys and hobbed bolt
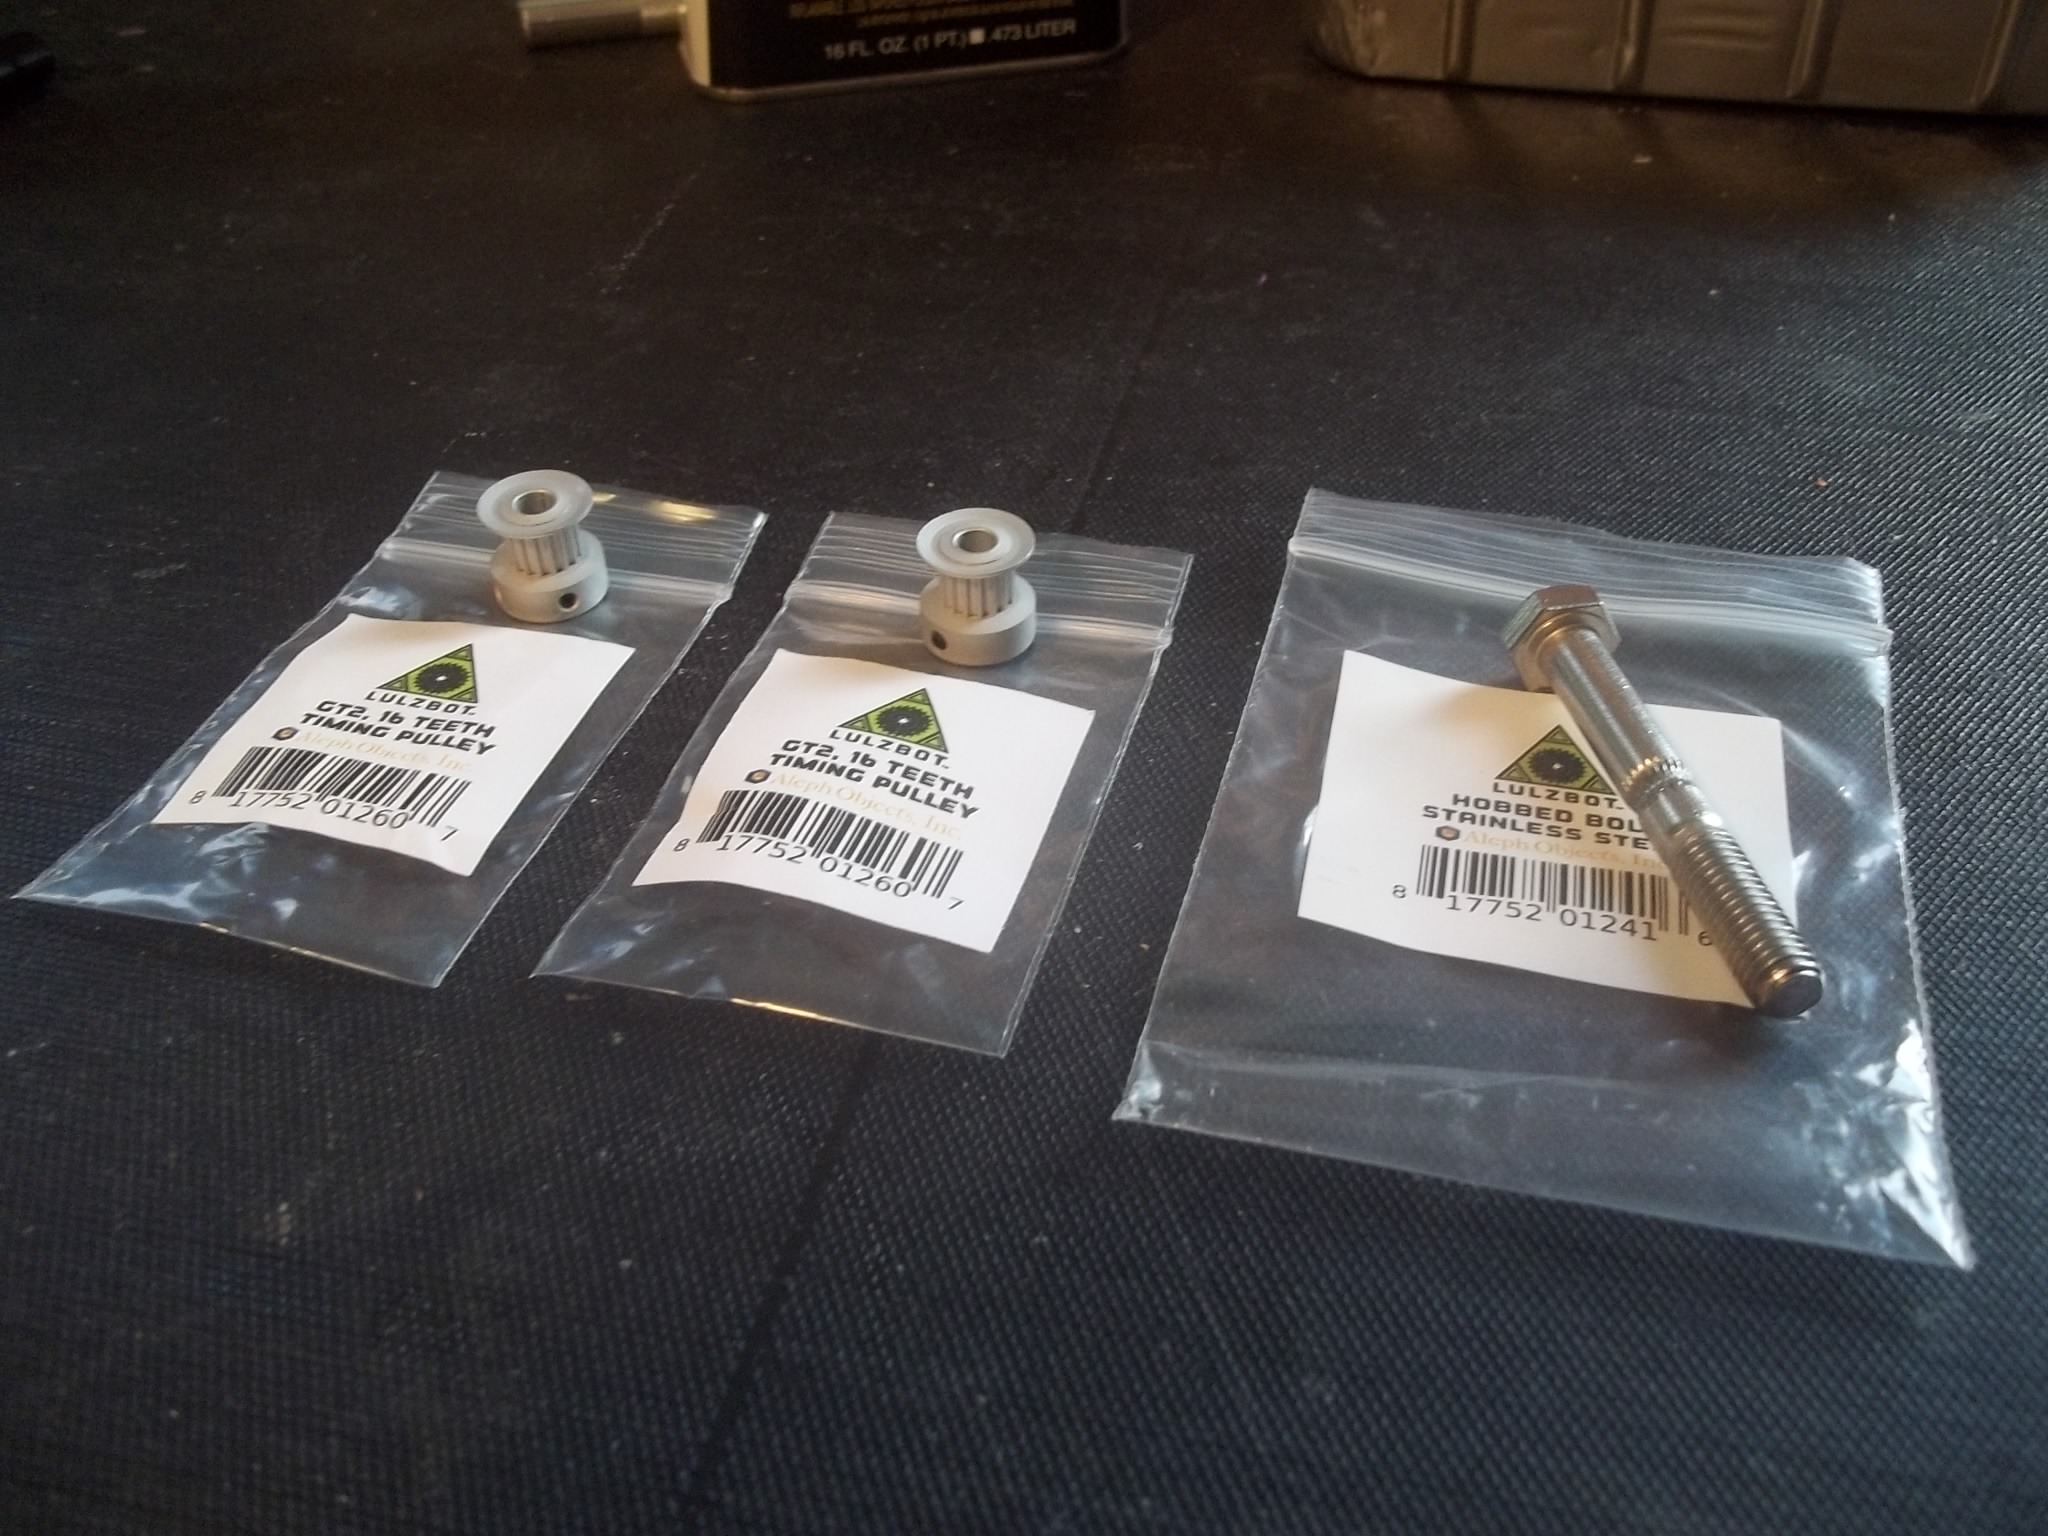 First up, I needed to order a couple of special hardware items (vitamins) that I couldn’t get from McMaster-Carr. I picked up two 16 tooth GT2 pulleys and an M8 hobbed bolt from LulzBot. Since they are based in Denver, the shipping was very fast!
I unexpectedly received some 20 tooth GT2 pulleys from RepRapDiscount when I ordered the RUMBA board (below), but as I understand it the 16 tooth pulleys are the way to go. But it’s good to know that I can upgrade if I need to!
The hobbed bolt is really just a basic M8 hex bolt used by the plastic extruder mechanism. It has a special textured indentation that allows it to grip the raw plastic that is fed into the extruder and force it into the hot end to be melted (more info on that below).
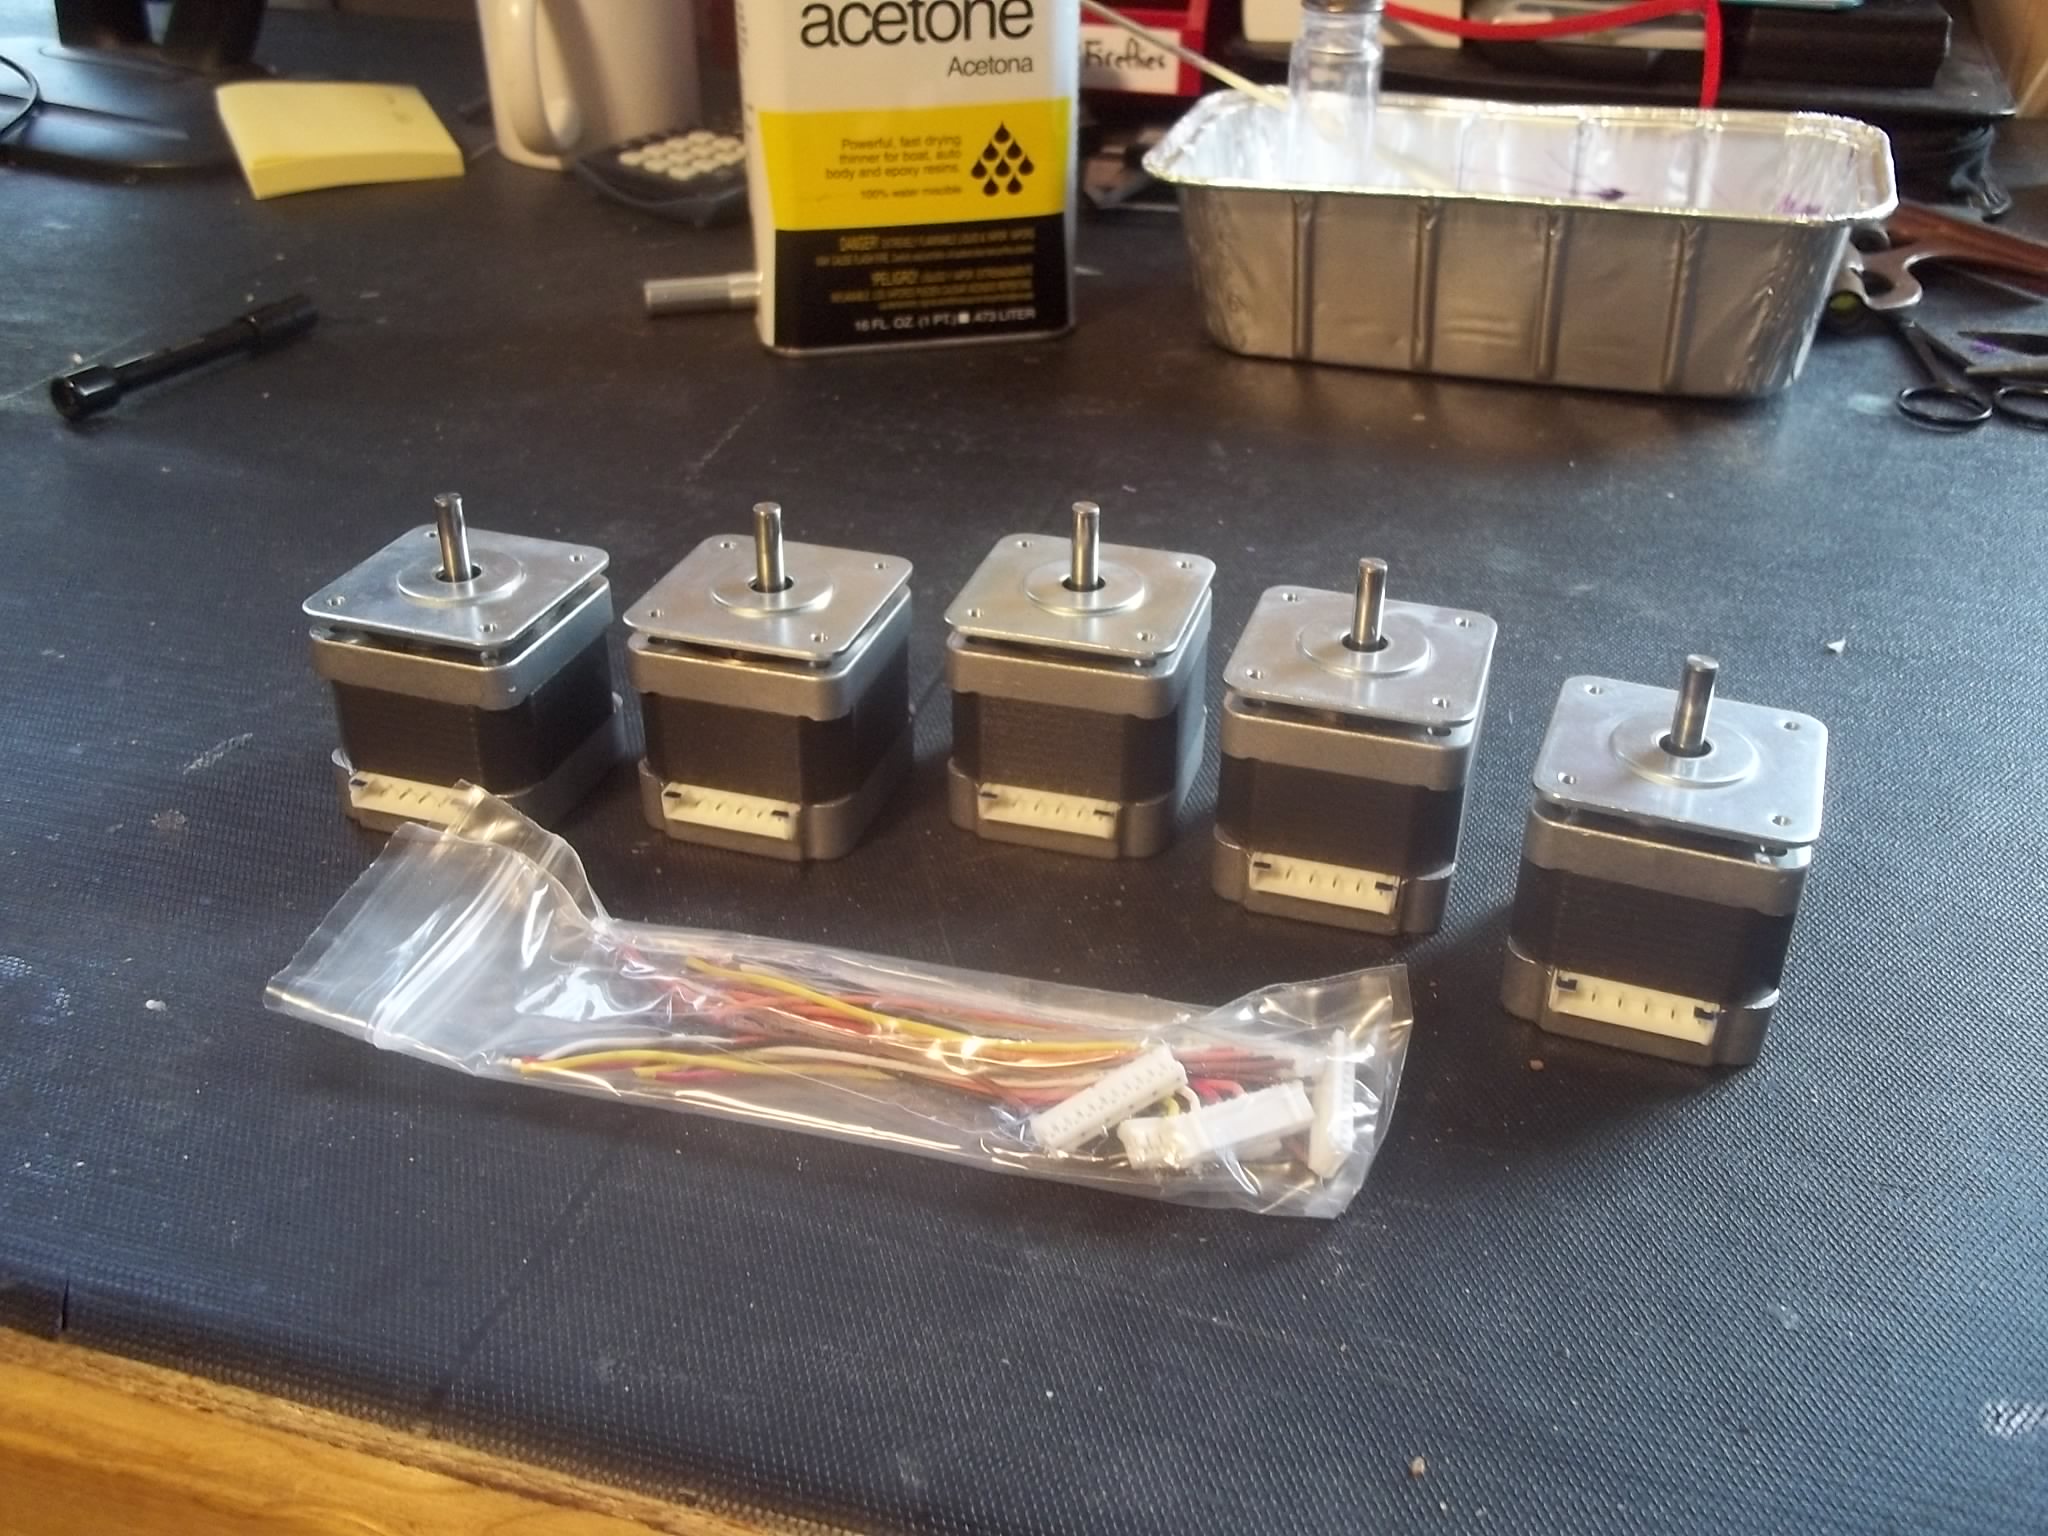
Stepper motors
Next I picked up one of the most important parts of the printer; the stepper motors. The printer uses five motors total; one for the X axis, one for the Y axis, two for the Z axis and one for the extruder. All of these motors are NEMA 17 size, and are capable of a solid 44 oz*in of torque.
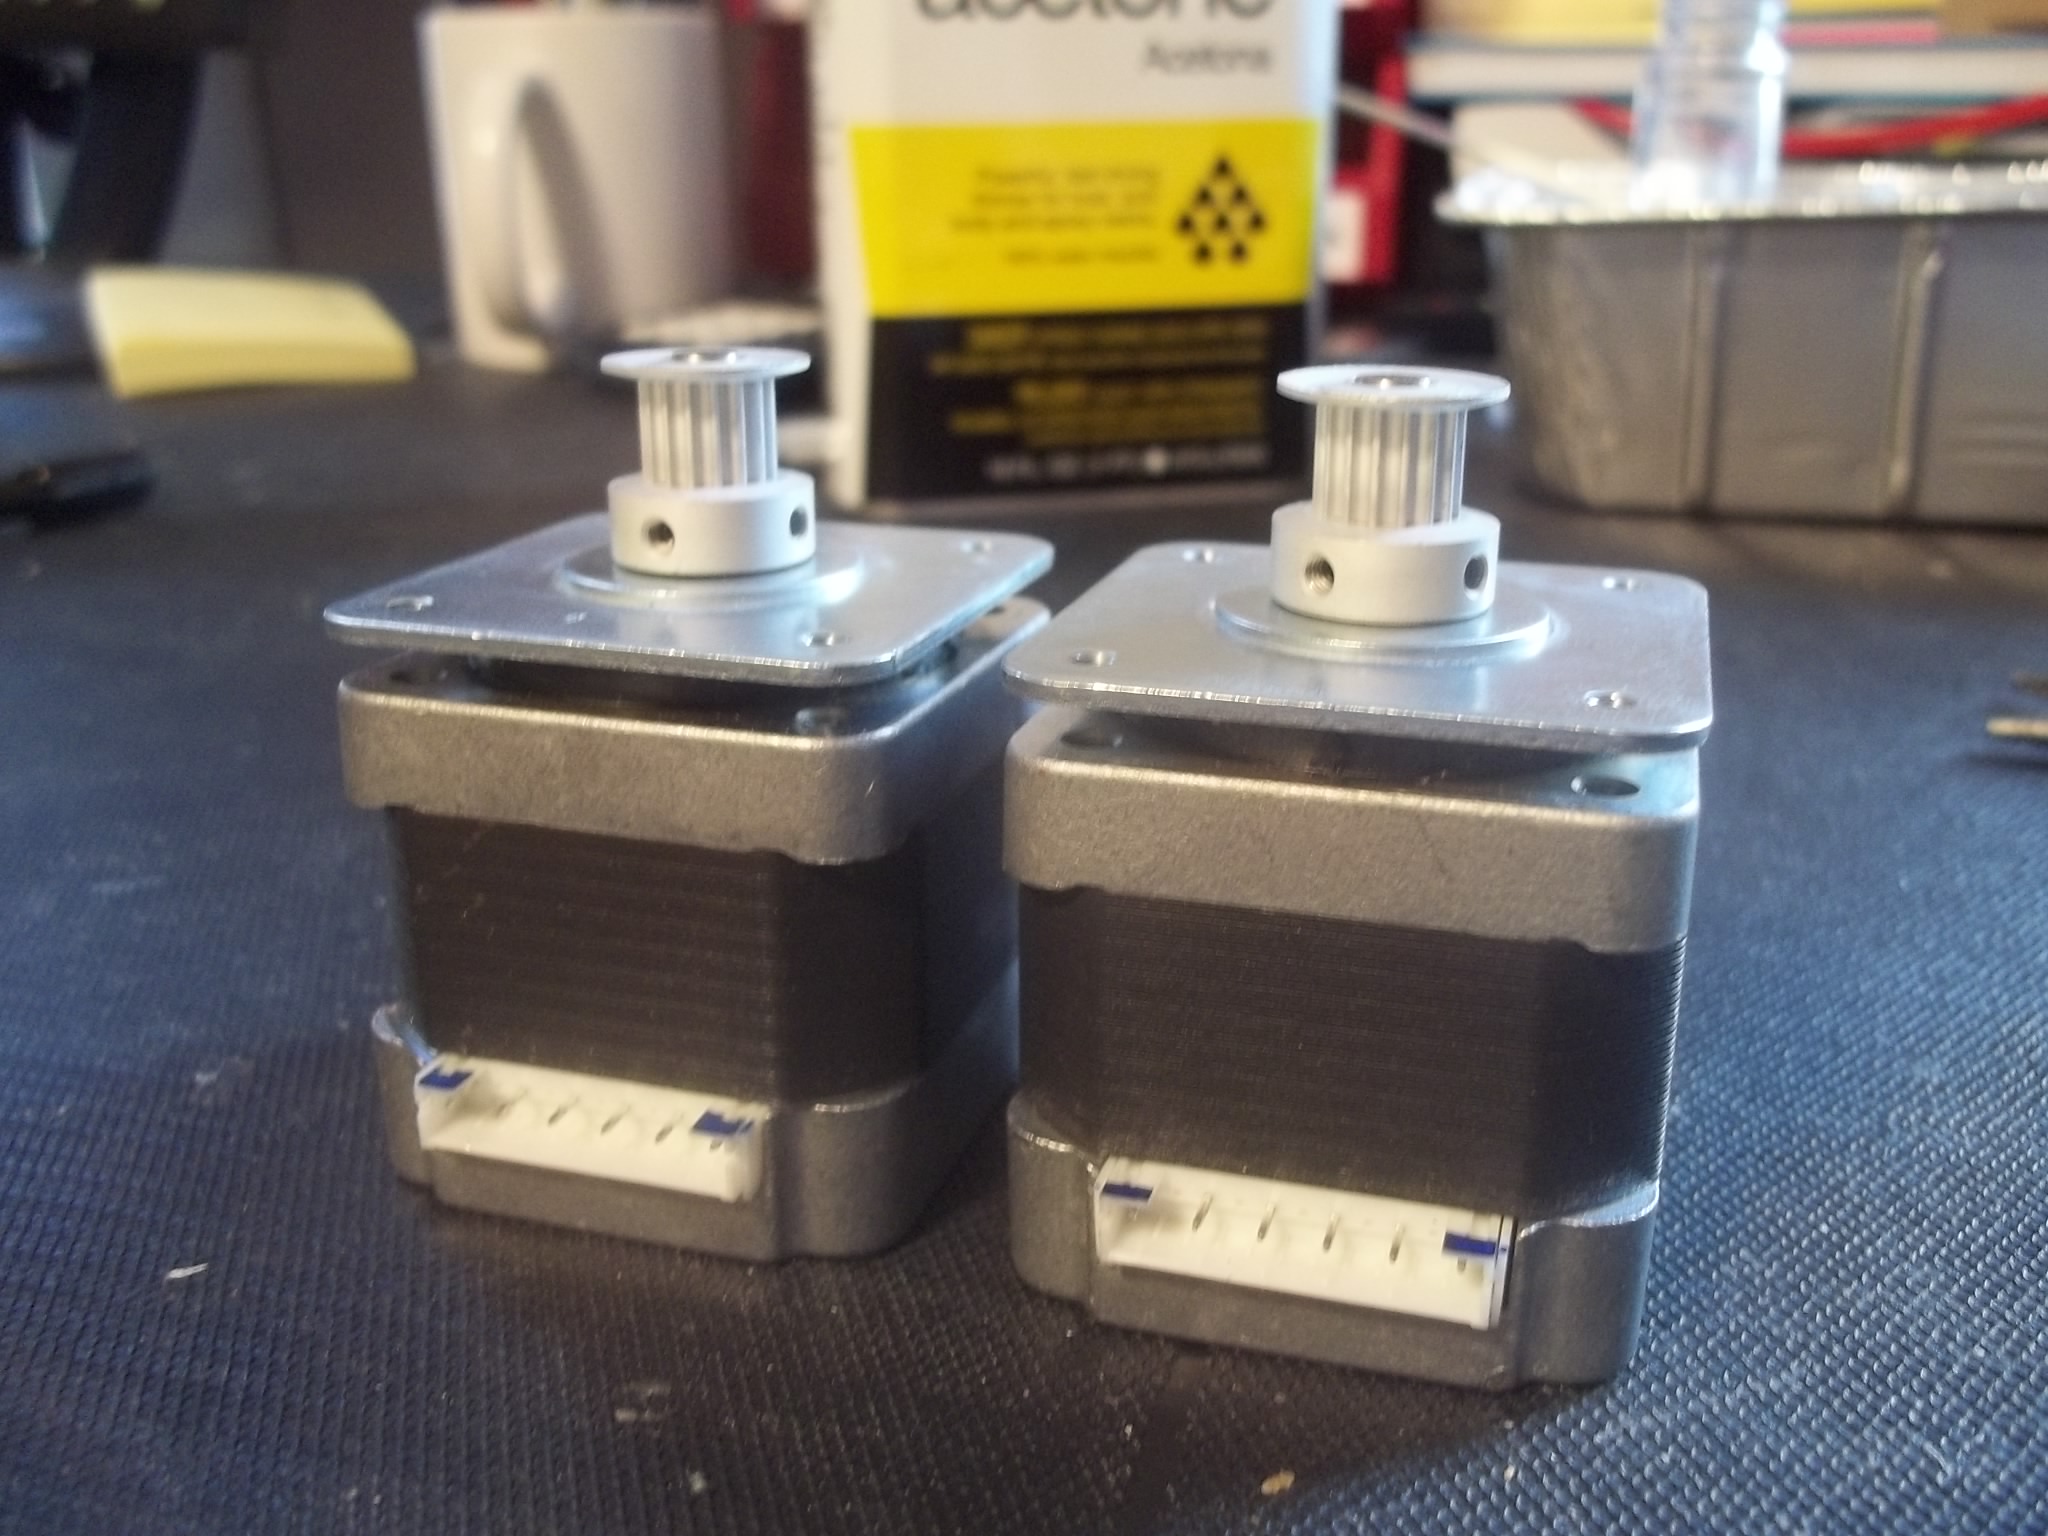
I went ahead and installed the two 16 tooth GT2 pulleys from LulzBot onto two of the motors to get a head start on the assembly.
Heated build platform: MK2a
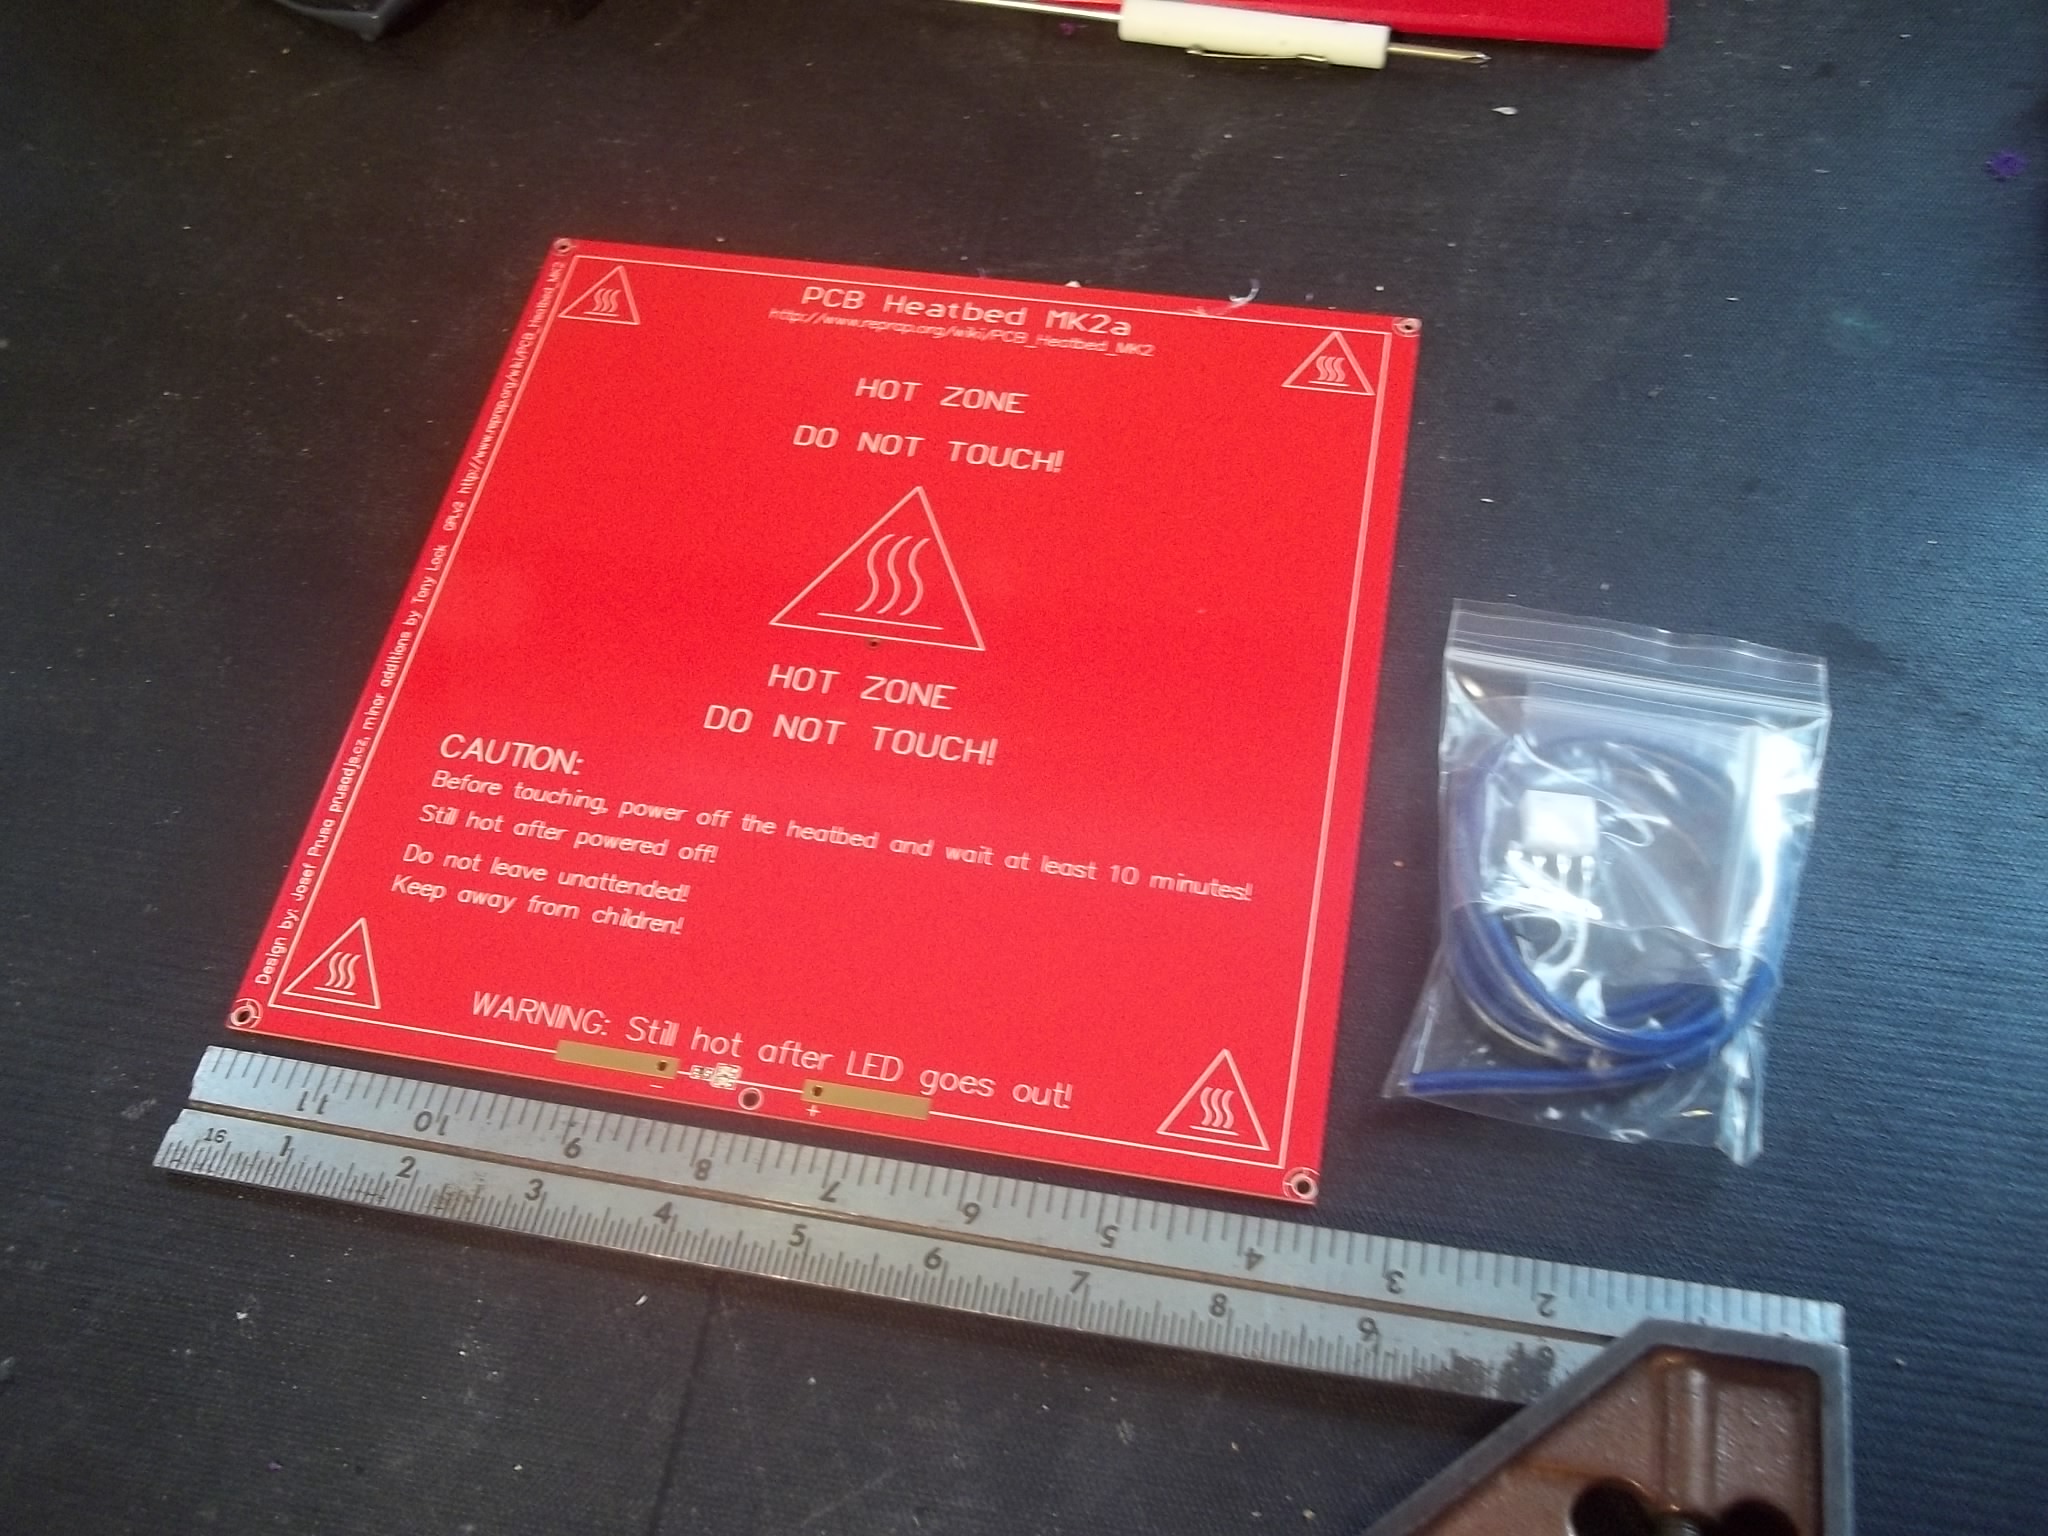 Next up I grabbed the heated platform that all of the printing will take place on. Luckily, this is a very standardized and proven design, so I felt pretty safe picking it up on eBay. I was really surprised by how cheap it was, and how fast it shipped!
One of the most annoying and challenging aspects of using UNK’s Makerbot Replicator is keeping the bed level. After quite a lot of fussing, we ended up just striking a compromise; we realized we were never going to get it perfectly level again, so we learned how to print in specific spots of the bed and keep it as level as we could.
Whereas the Makerbot Replicator’s bed has leveling screws that are an inch or so away from the corners, this bed has those screws right at the corners. It even has an additional control point right in the center of the bed! This should be a lot less painful for me to keep in check!
Hot end: J-Head MK V-BV
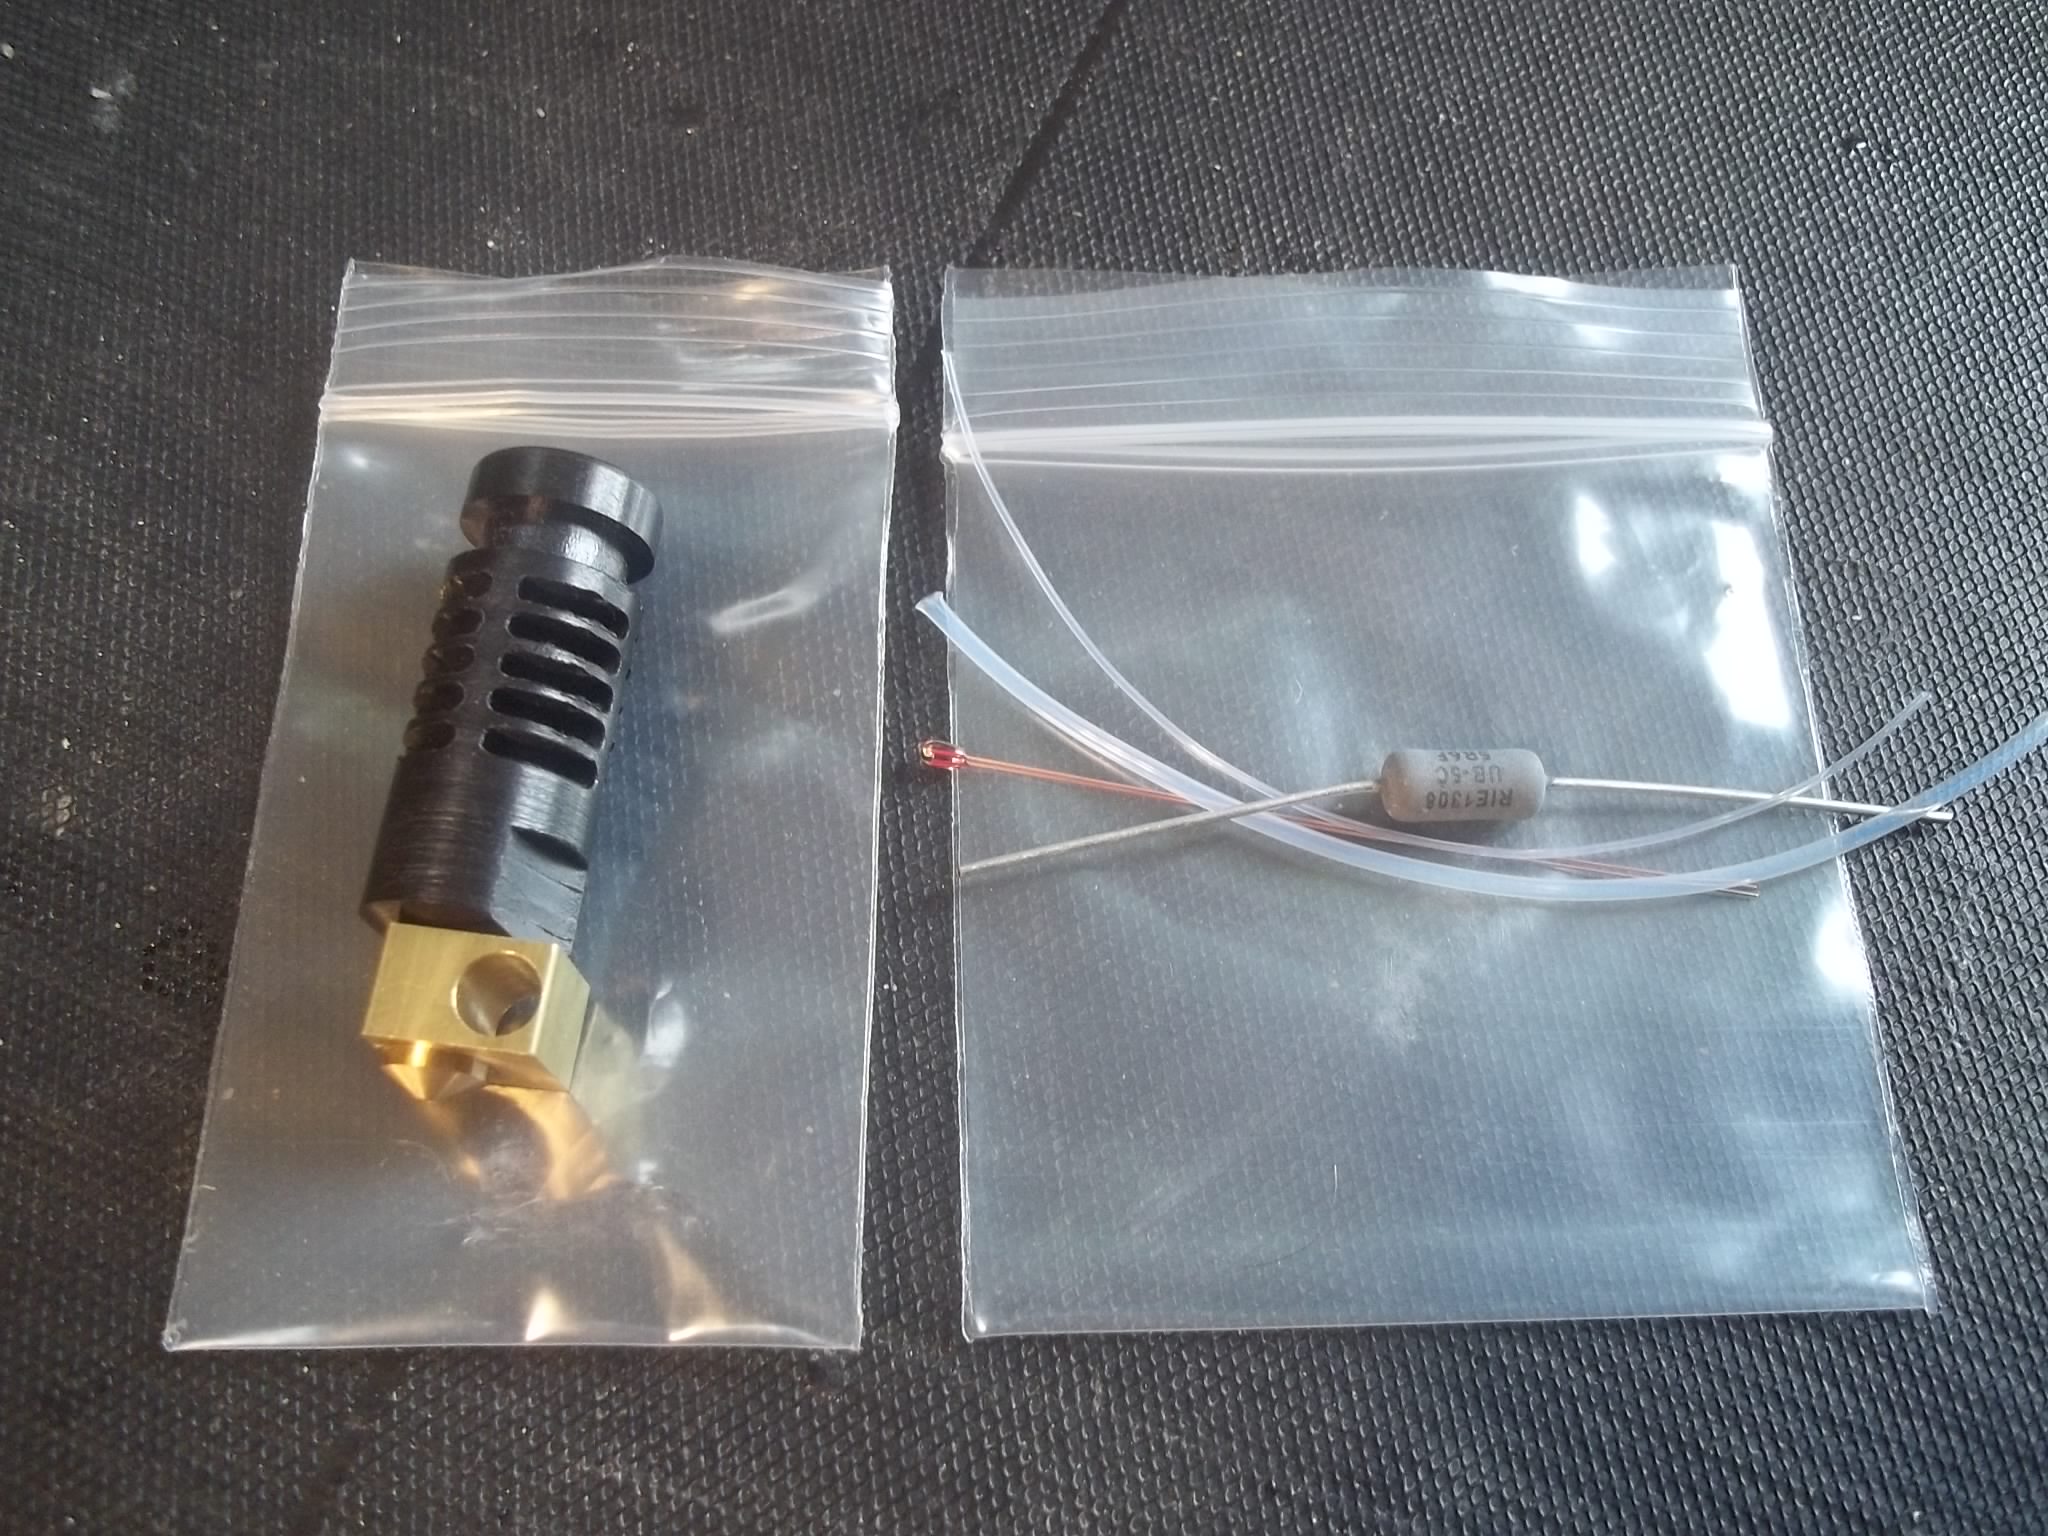 The hot end is the part of the extruder mechanism that actually melts the plastic. It contains a heating element, along with a nozzle with a very small hole (0.4mm for mine) which allows the molten plastic to come out in a very consistent width.
There are a number of options you can choose when ordering the hot-end, and I chose to go with 3mm filament diameter and a 0.4mm orifice.
Shipping took a little bit longer, and did not come with a tracking number, but still it’s a great purchase!
Controller: RUMBA Basic Board
 Finally there’s the “brains” of the whole system; the controller. I had originally been planning to the use the Printrboard offered by MakeMendel for a while, but at the last second I came across a really nice board from RepRapDiscount called the RUMBA. For roughly the same price as the Printrboard and traditional RAMPS systems, the RUMBA is actually capable of controlling up to three extruders and a whole bunch of other great stuff. Since I am planning on experimenting with syringe-based extruders and multiple extruders, I thought this would be the perfect board for me.
Next steps
The next step is pretty obvious; actually assemble the printer! In my previous update I mentioned that I had already assembled the basic frame, and am now ready for the next steps. Following the official assembly instructions from the RepRap site, the next step in the process is to tighten the frame using well-measured jigs.
Very soon I can assemble the Y, X and Z axes, then attach the X axis assembly, install the print bed and wire everything up to my controller. Then the real fun begins – calibrating and testing everything out. I hope that turns out to be easier than I’m expecting!