First “small” 3D-printed base prototype combining glass art and Lumiboard
As part of an on-going collaboration with glassblower Kenny Galusha, I’ve begun working on a series of 3D-printed platforms that combine some of his glass art with my Lumiboard open-source LED platform. We are planning to launch a Kickstarter soon to enable the both of us to purchase basic equipment we will both need to continue our work professionally.
Clay mockup
I knew what I wanted this first base to look like, but I could not figure out how to model it on the computer. I grabbed some modelling clay and created this mockup, which I could share with people who could give me some advice on the 3D modelling.
[flickr-gallery mode=”photoset” photoset=”72157641288019263″]
3D model
Once I had a clay mockup of what I wanted, I brought it to Jeff Nordhues of Pax Modern and asked for some help with the 3D modelling. All of my 3D modelling experience comes from relatively simple free tools, so I really had no idea how to approach a complex curved model like this. Luckily, Jeff knows a thing or two about CAD modelling with Solidworks and was able to build a model (and teach me a thing or two) pretty quickly.
I brought Jeff’s model into OpenSCAD to add standoffs for the Lumiboard circuit board, holes and channels to run wires throughout the base, as well as floating posts to hold some small RGB LEDs inside of the two curved posts.
[flickr-gallery mode=”photoset” photoset=”72157641332614983″]
First 3D print
I sliced up the completed 3D model using ReplicatorG and printed out a prototype on a Makerbot Replicator. Unfortunately, the first attempt had two major issues:
- An extruder hiccup caused a big band to form at the top of one of the curved posts, which caused it to snap off very easily. I used ABS glue to weld it back on, but it just doesn’t look very nice.
- The Lumiboard standoffs were just a hair too high off the base, so they actually printed in the air just above it. This formed a very weak connection under each of the standoffs, causing them to snap off very easily.
Still, the first print was 90% of what I wanted:
[flickr-gallery mode=”photoset” photoset=”72157641285562145″]
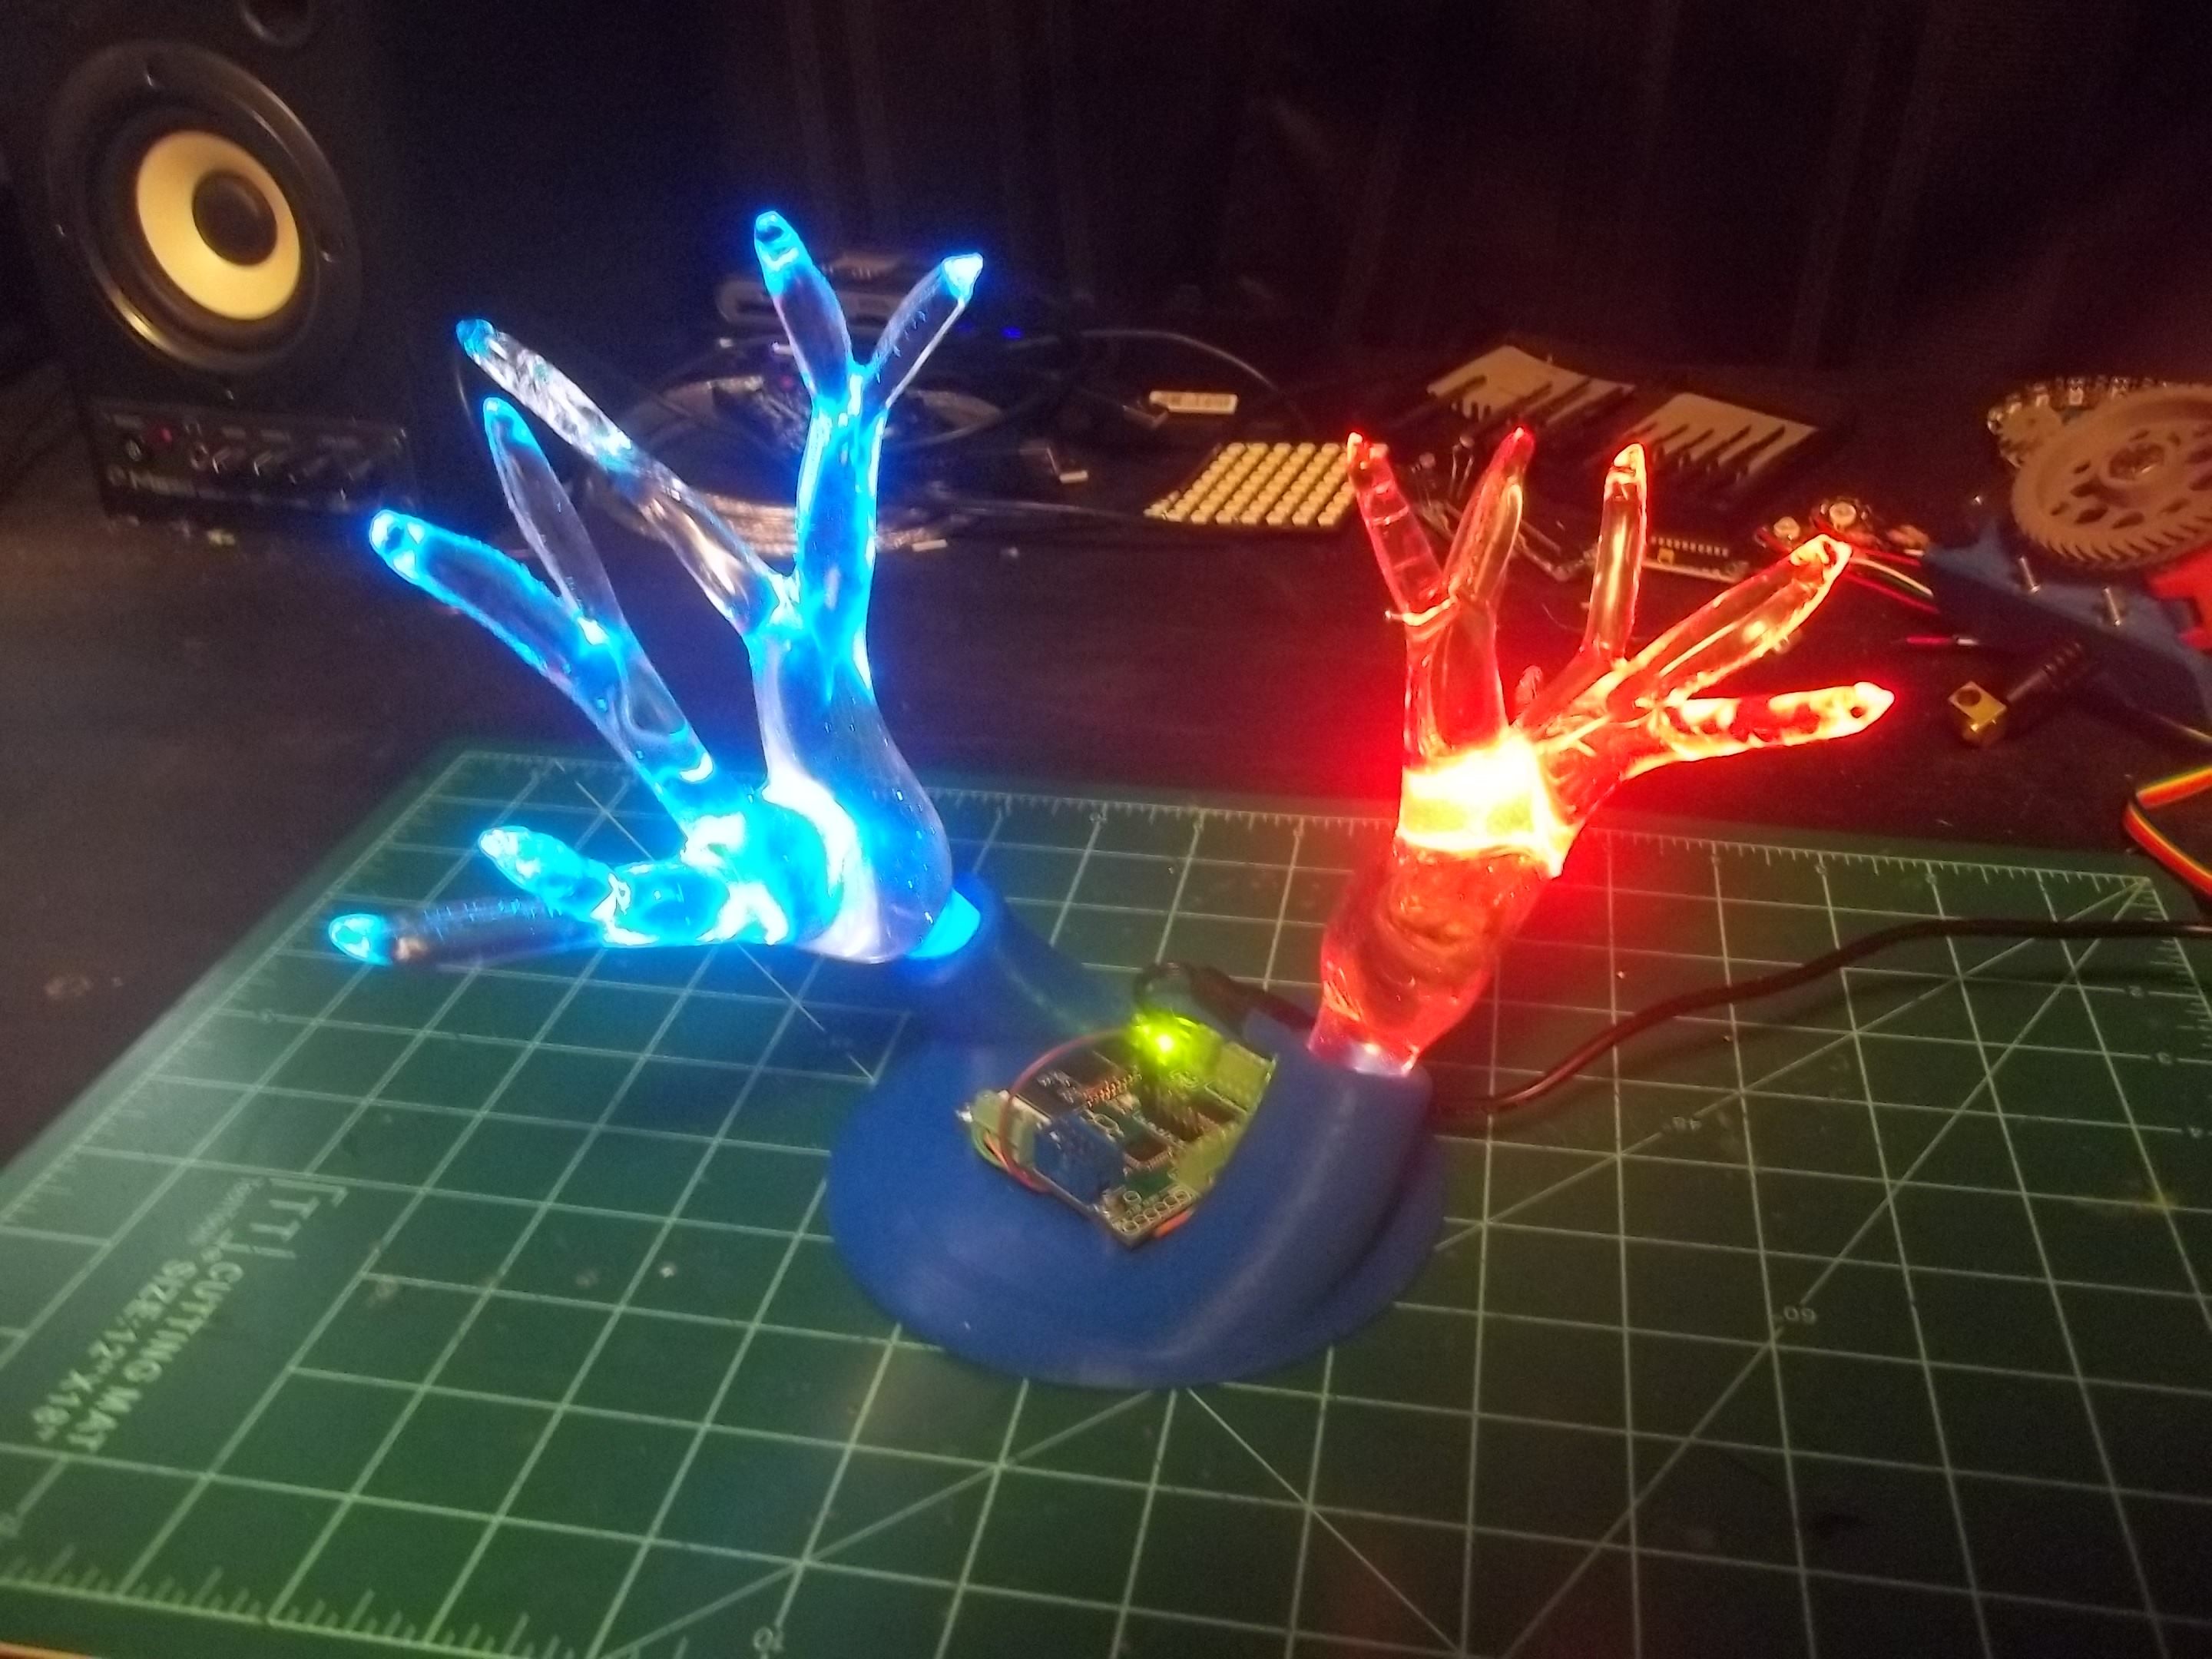
Second 3D print with Lumiboard installation and wiring
The second attempt turned out much better, and really could not have been much higher quality. Not only were there no extruder hiccups, but the surface finish of the entire model was noticeably better as well. I was particularly impressed that the floating bars within each of the curved posts printed perfectly without any support in both attempts.
I mounted a Lumiboard main board (rev B) to the base, then wired up two breadboard-compatible NeoPixels inside of the two curved posts. I uploaded a simple sketch to the Lumiboard and snapped a DC barrel jack into the clip on the base. It all works perfect, so I would say this base is just about ready for production!
[flickr-gallery mode=”photoset” photoset=”72157641288139263″]
Next steps
Now that I’ve got a working prototype, and iterated through a few issues, I can start focusing on the manufacturing aspect of the project. However, there are still two other bases that I want to create and am working on currently. Once I’m happy with all of these projects, I can go ahead and begin planning out how to produce these for people (which is not a small task).