Printmaking with 3D printed relief, intaglio and stencil plates
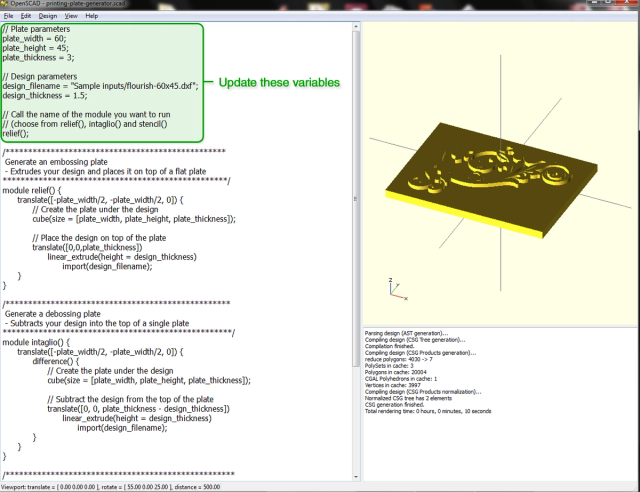
As a grad student I worked with printmaker Victoria Goro-Rapoport to experiment with producing printing plates using 3D printers. At the time, 3D printing was completely new, so these printing plates were printed on a Makerbot Replicator, which I helped secure a grant to purchase for the art department.
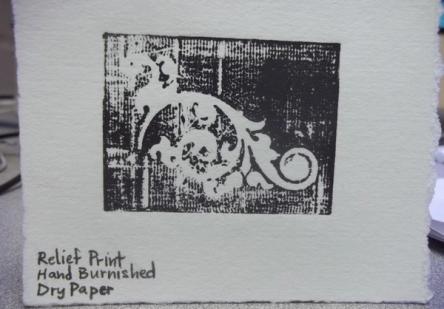
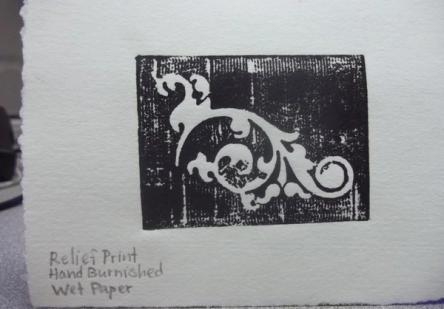
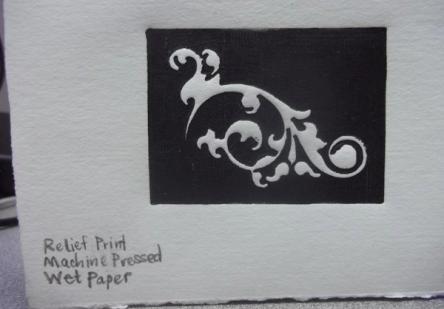
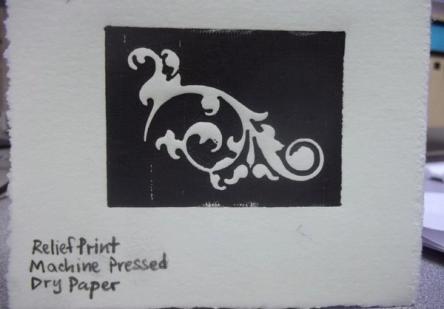
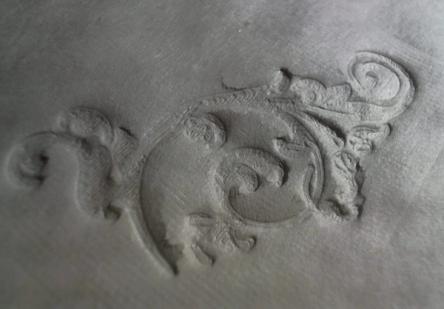
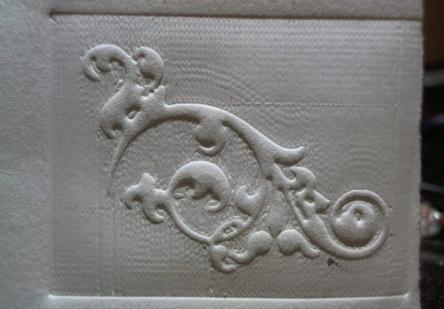
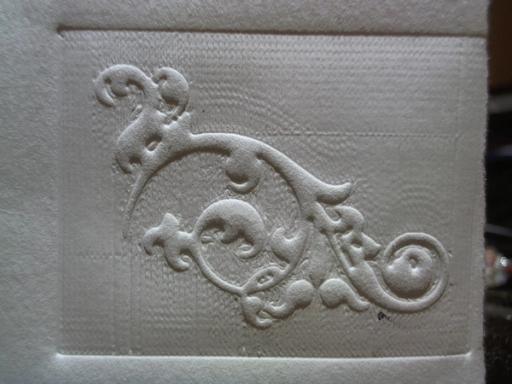
We tried relief, intaglio, and stencil plates with a variety of results. Our key finding was that in order to produce clean prints, quite a lot of pressure needed to be applied as the plate and paper passes through an etching press - so much pressure that the plates were all but destroyed in the process. Still, the results were promising!