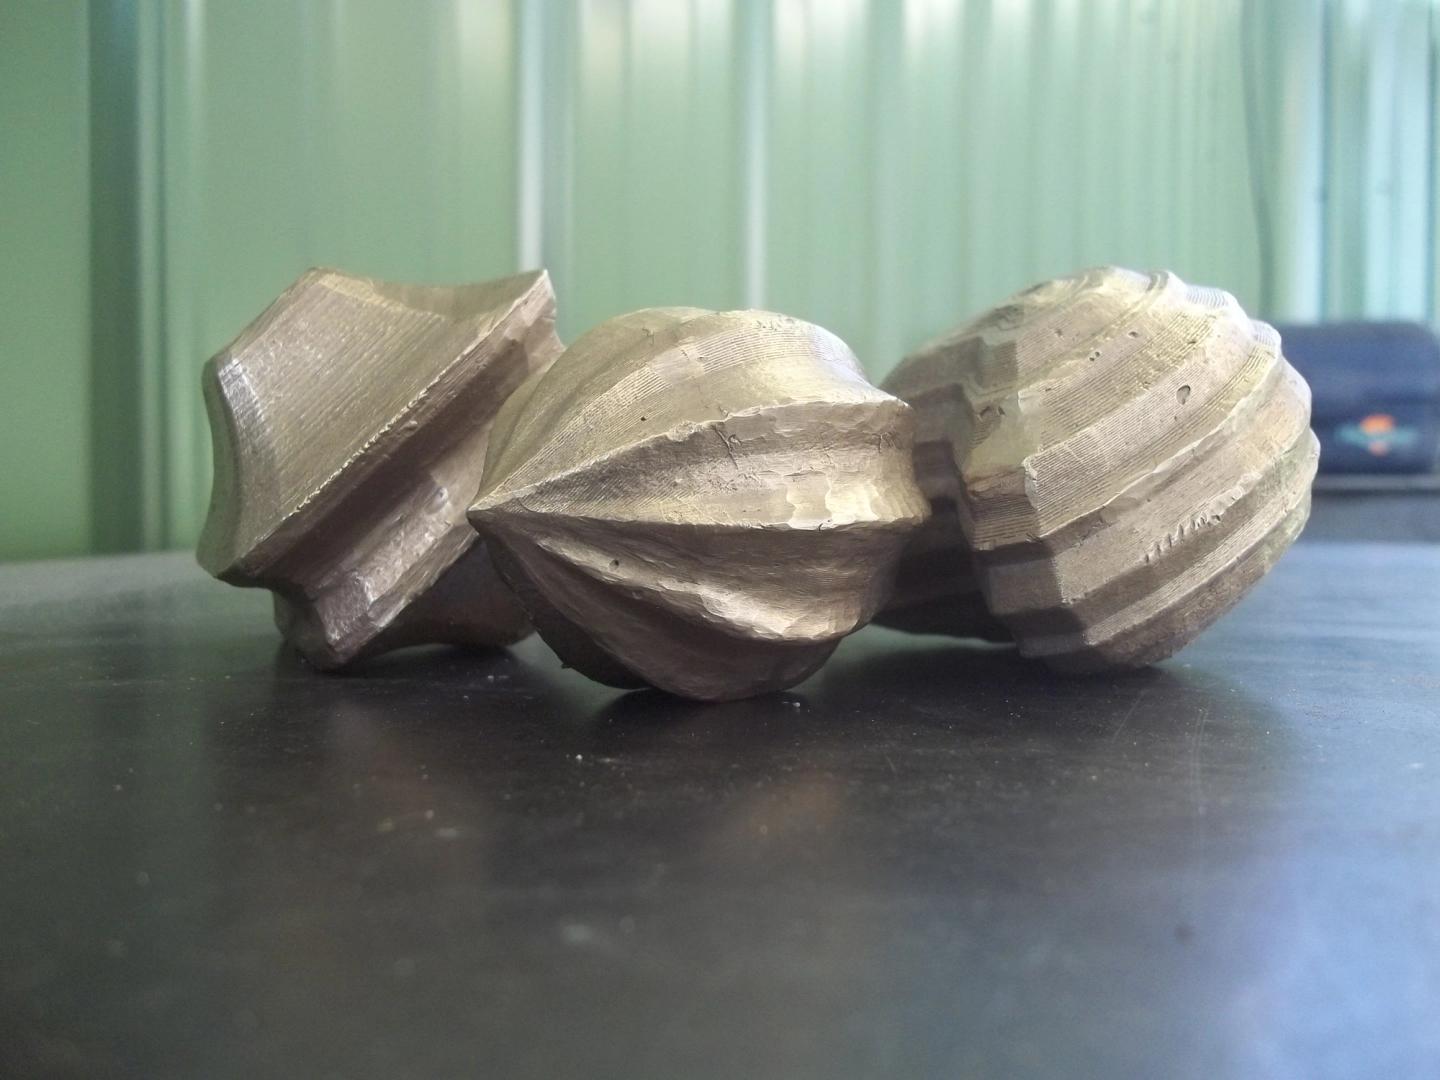
Cast bronze supershapes from 3D-printed forms using the lost ABS process
Last month, I prepared a batch of small 3D-printed objects for the “lost ABS” process, some to be cast in aluminum and the rest in bronze. One of the pieces, a 3D-printed two-part mold, was placed in the kiln on Tuesday and cast with aluminum on Thursday. The other three pieces were all supershapes I had generated in OpenSCAD and 3D-printed in ABS earlier in the semester. I thought they would look great in bronze, so they were loaded into the kiln on Thursday and poured on Saturday morning. This post is all about the creation of those bronze supershapes, along with a cast aluminum cradle I created to present them.
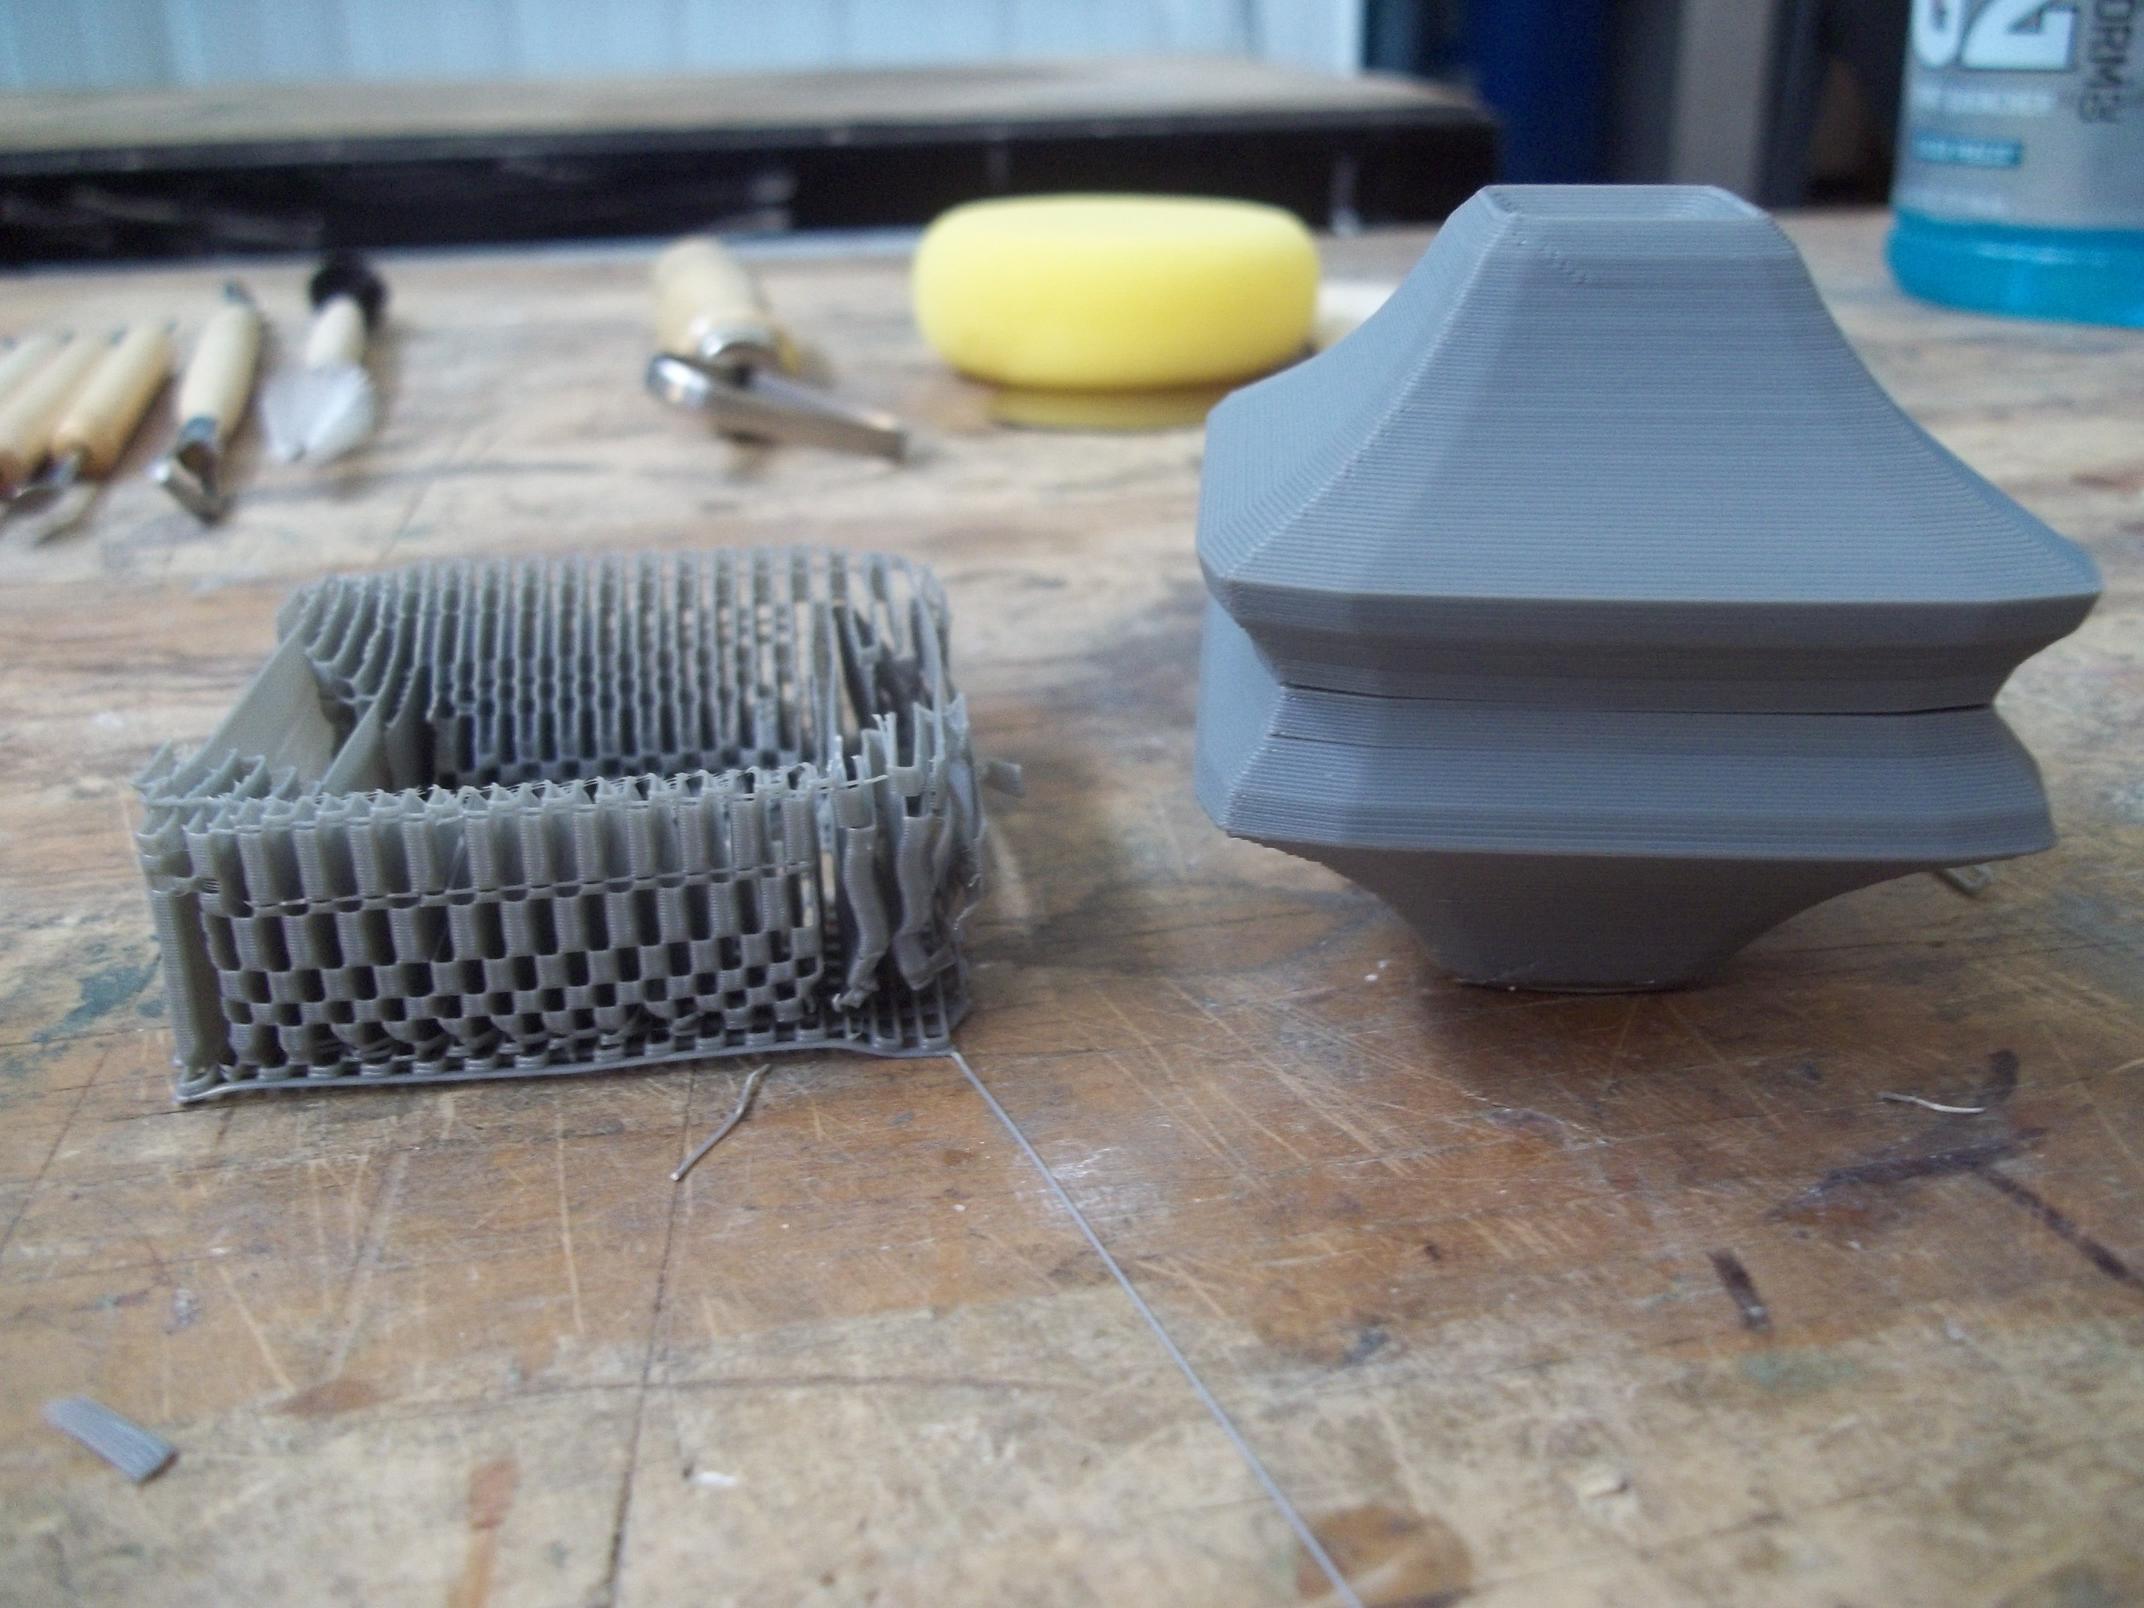
Printing and preparing the original forms
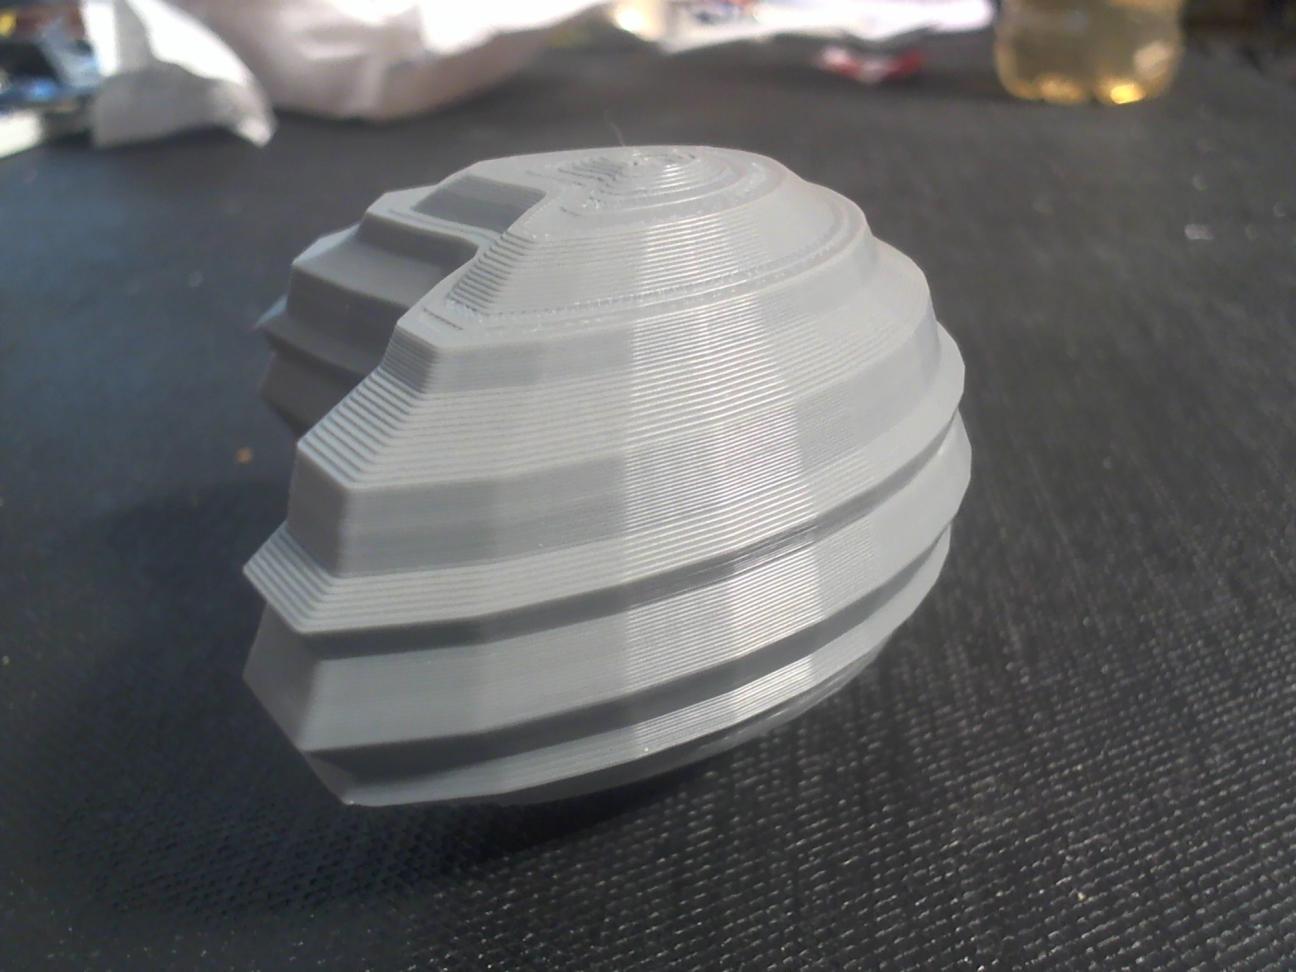
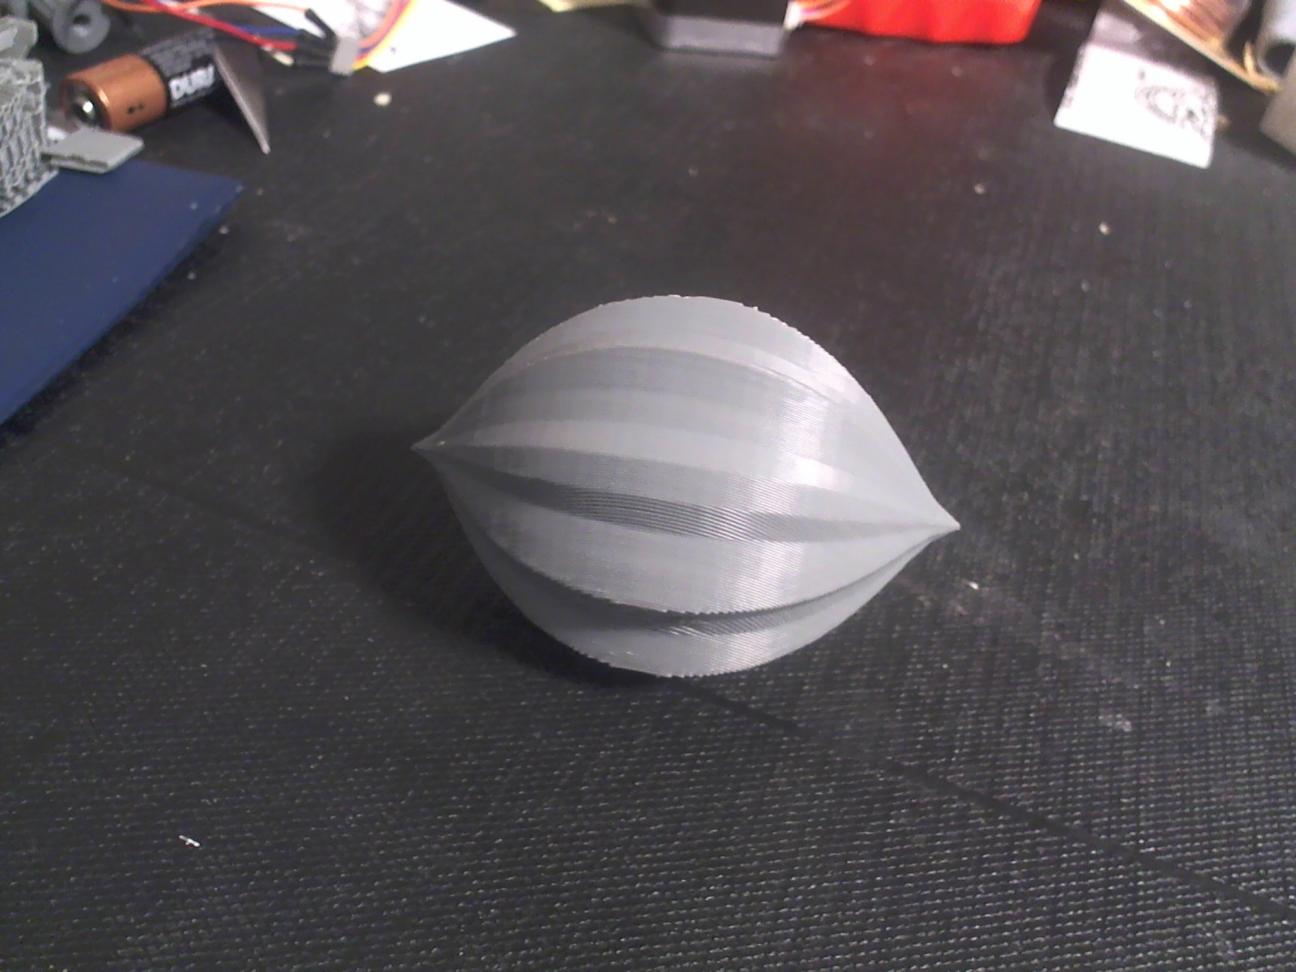
Using a helpful OpenSCAD script, I generated a batch of supershapes and printed them out using my university’s new Makerbot Replicator using ABS filament.
These objects were going to be melted and burned out of plaster molds later in the process, so to facilitate that I made to sure to use settings that would use a minimal amount of filament. I believe I used something like 2 outer shells and ~10% infill.
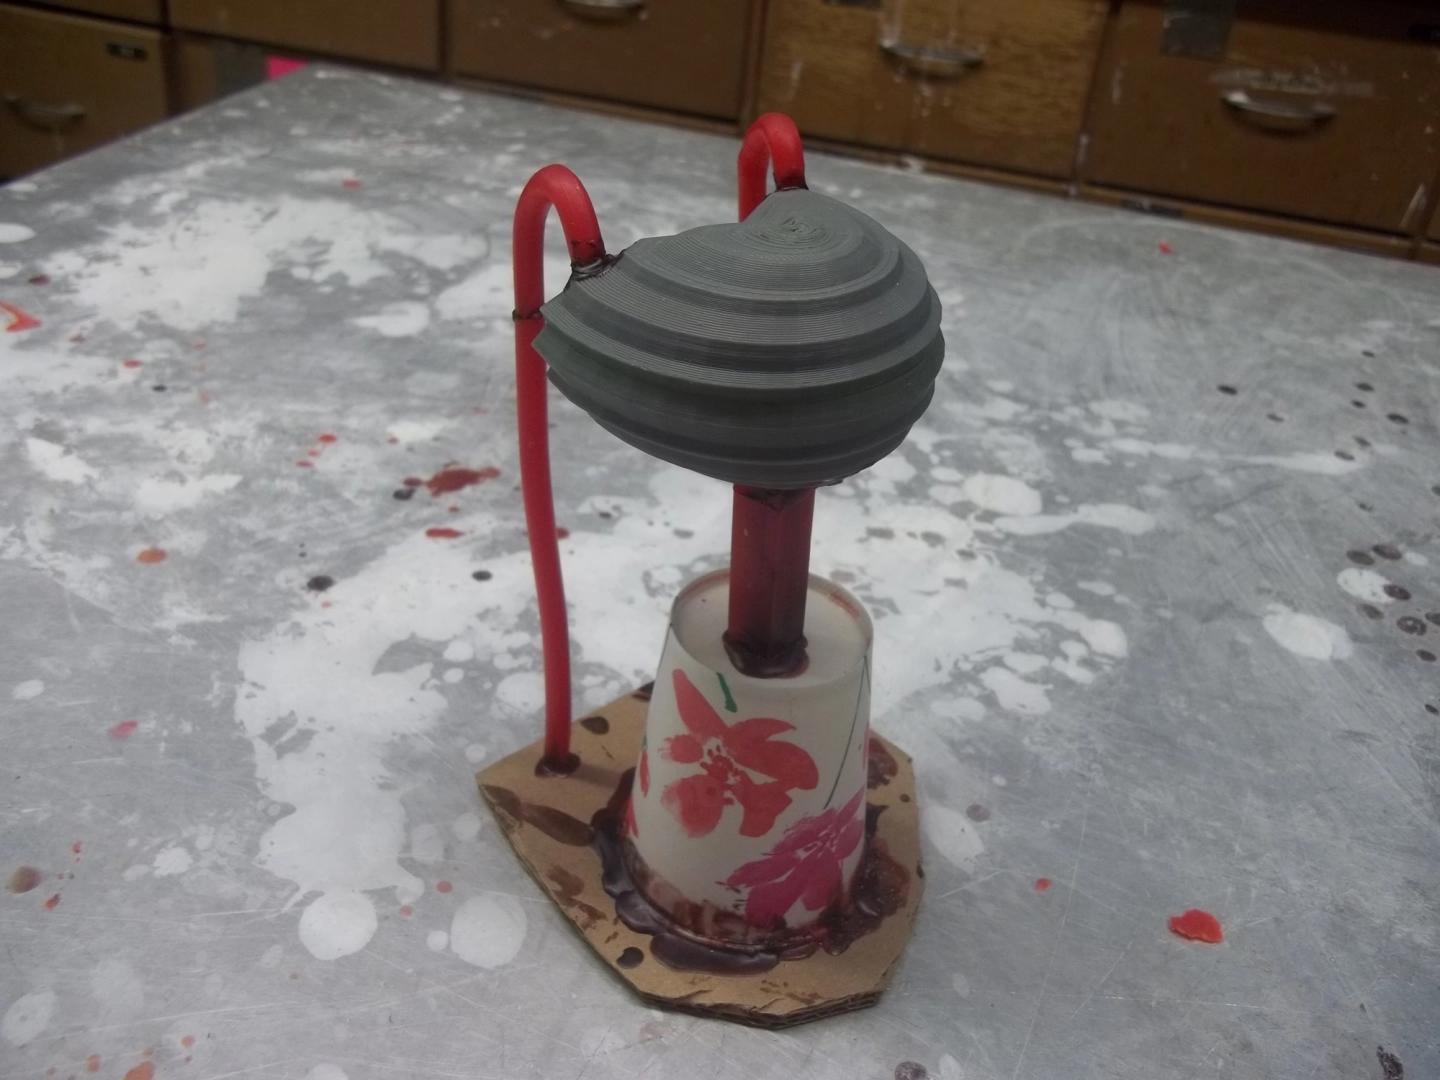
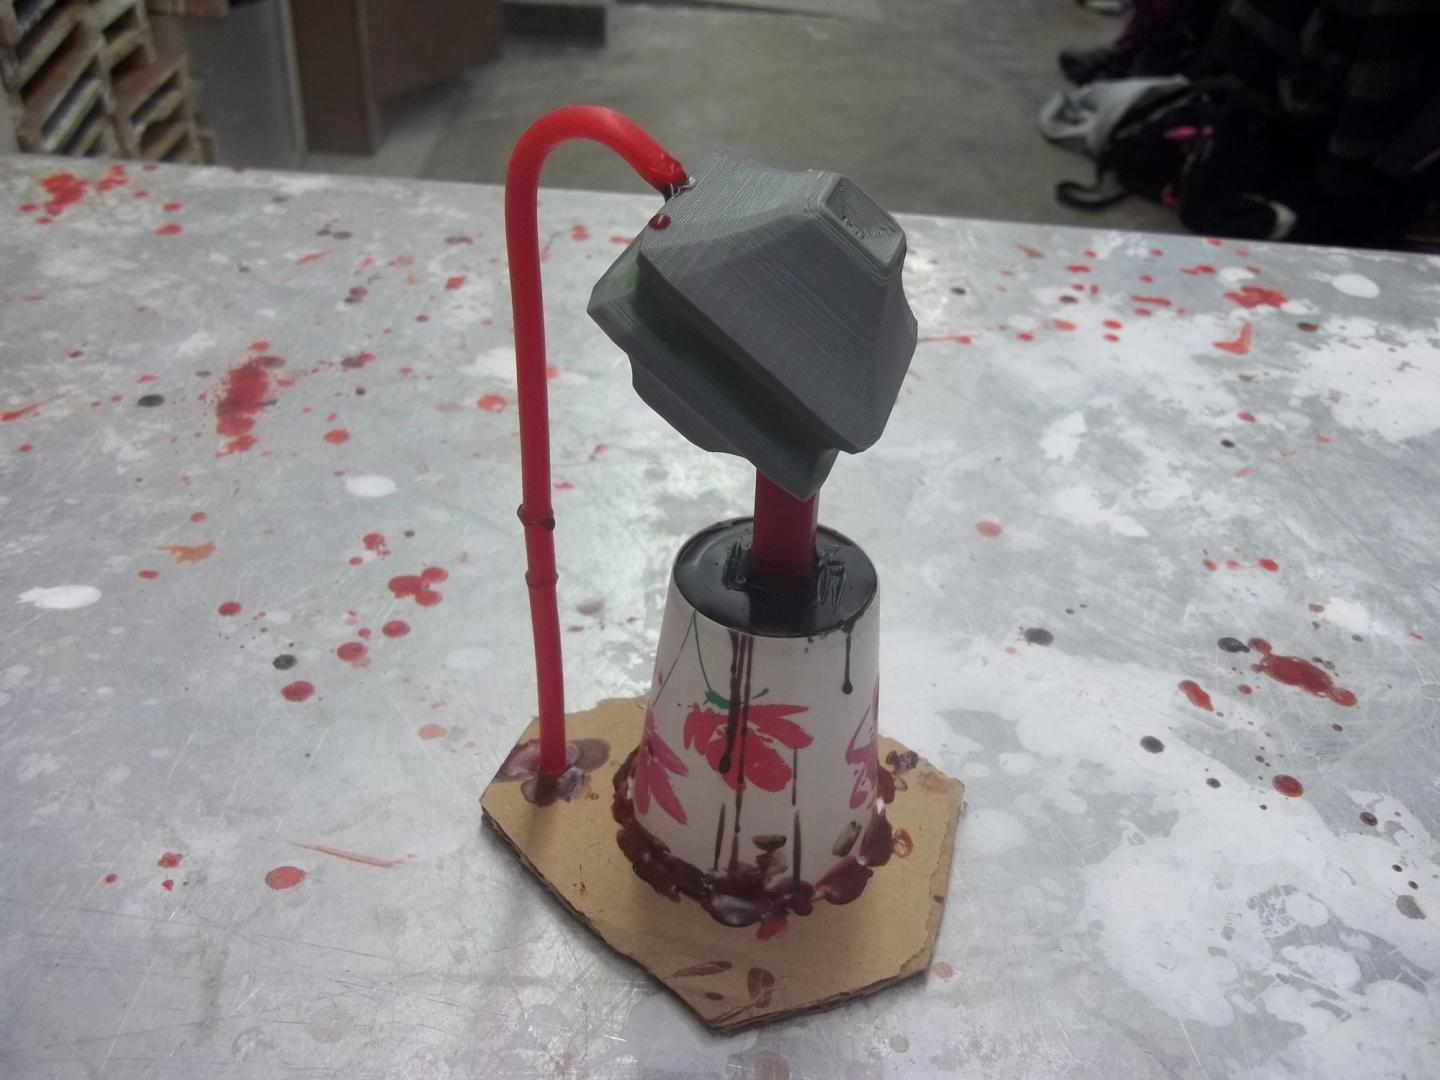
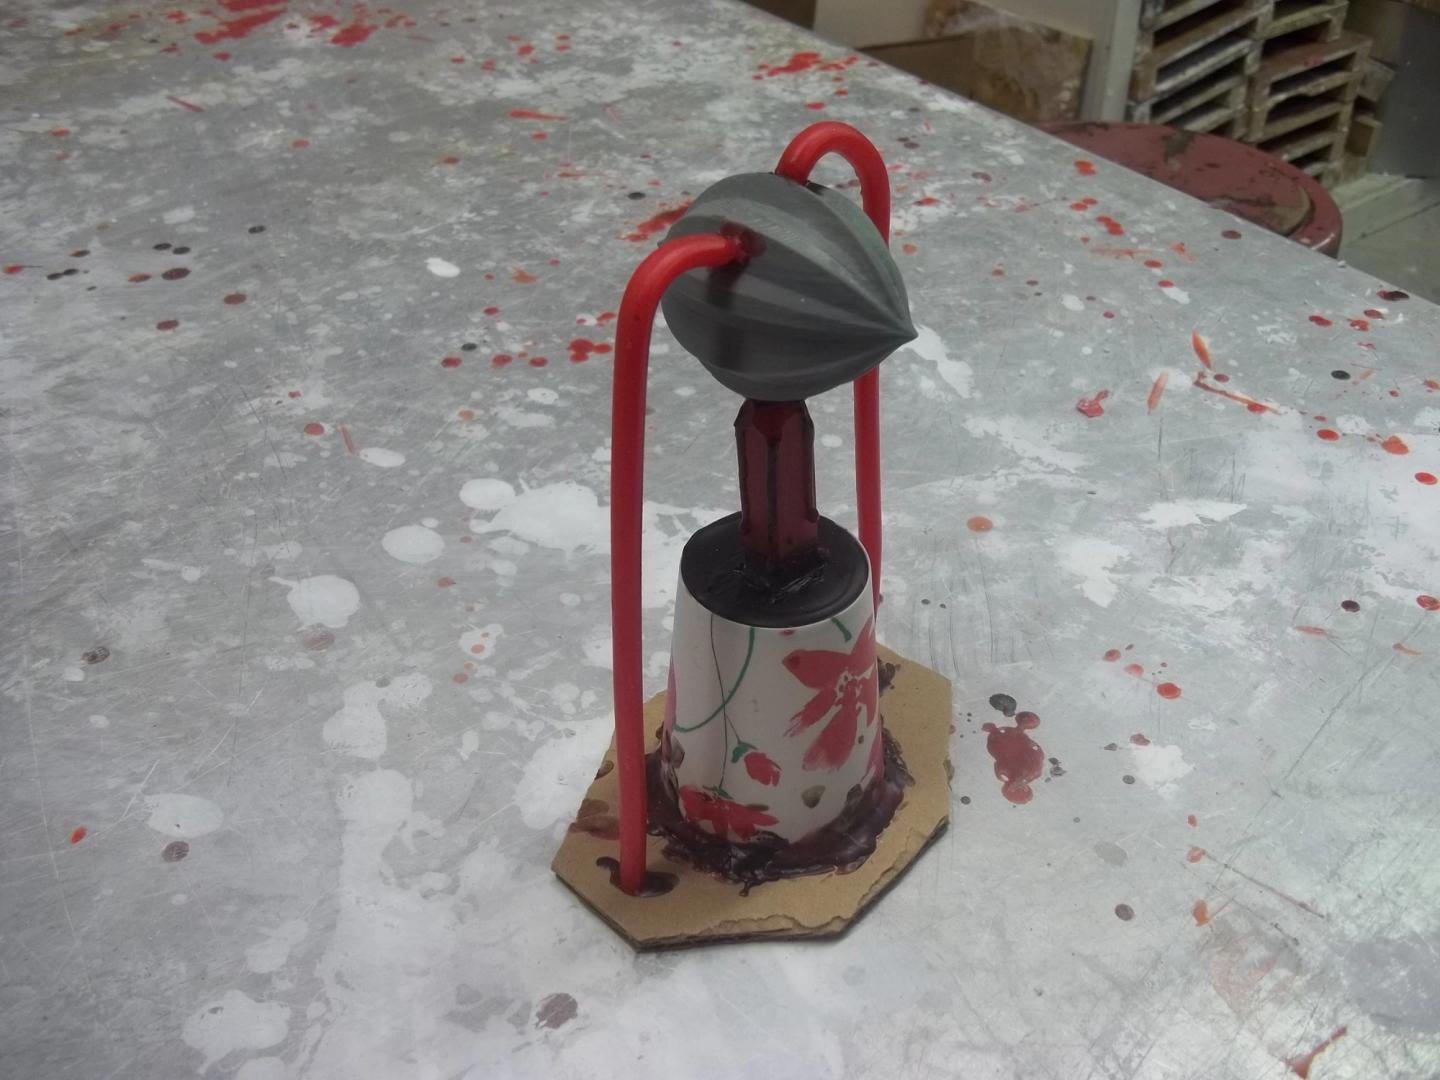
Gating the pieces
I then prepared the forms for the lost ABS process at UNK’s sculpture and glassblowing studio under the direction of their sculpture professor Chad Fonfara.
In order for molten metal to enter the model cavity a large entrance hole is needed, which is created by the paper cup and thick wax piece. Similarly, as that metal is poured in, the air that it is displaced needs to have an exit path so it can get out of the way quickly. This is achieved with the smaller curved stick of coming from the top (really the bottom) of the model, which must be thick enough to allow the air to travel quickly and reduce the possibility of an air bubble forming and screwing up the design.
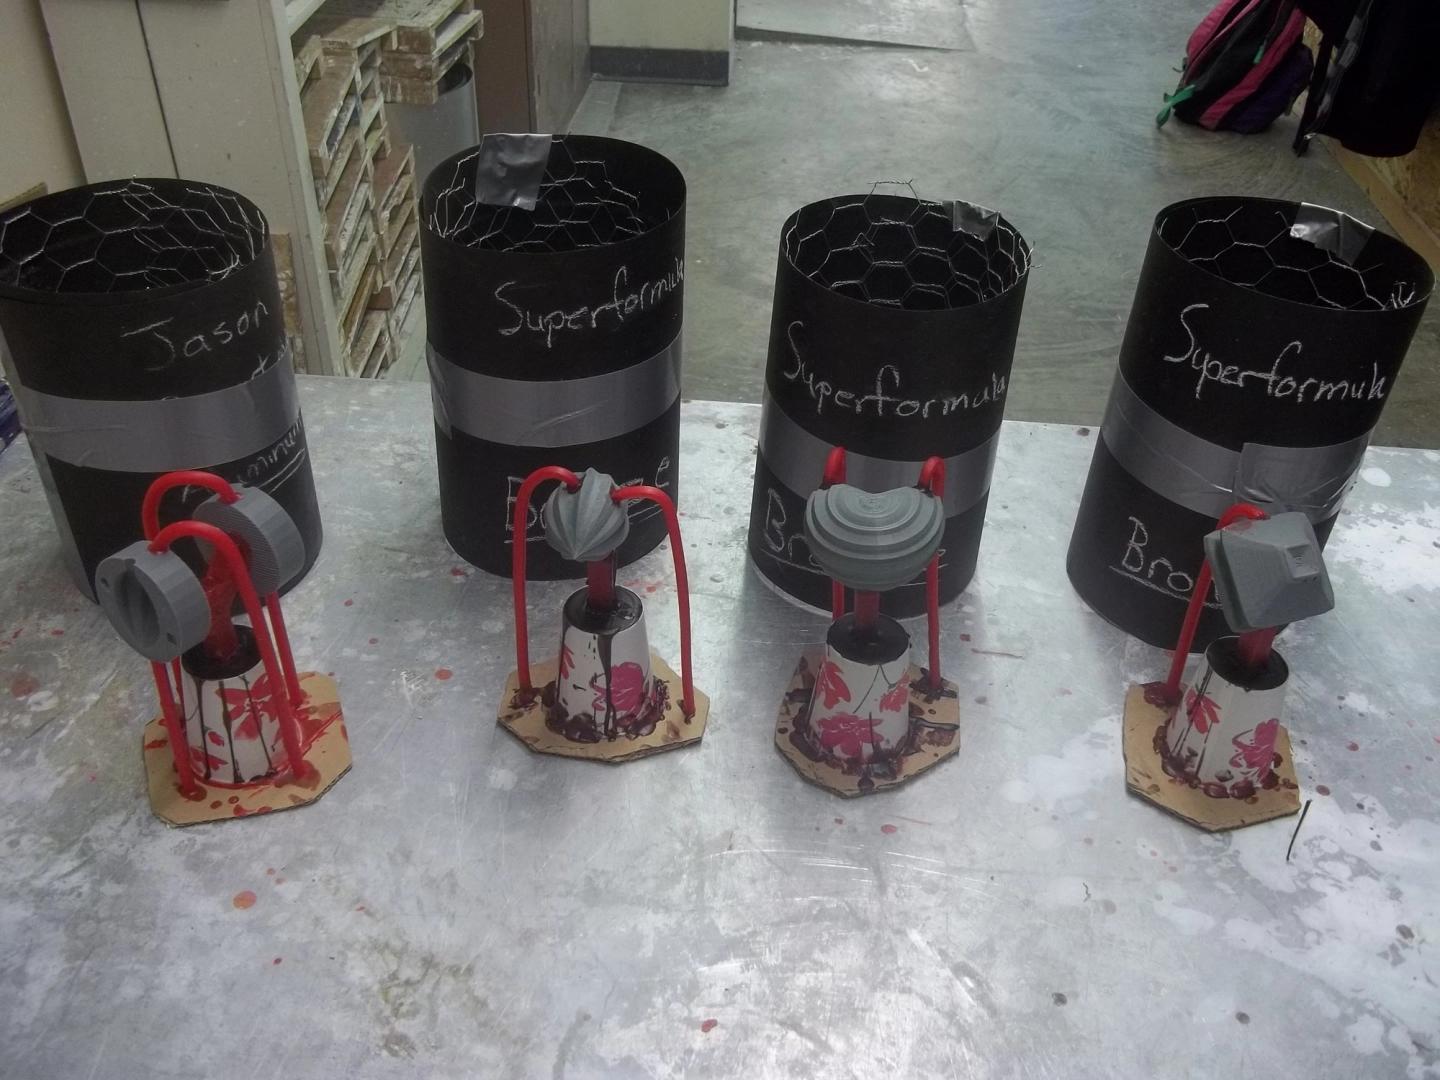
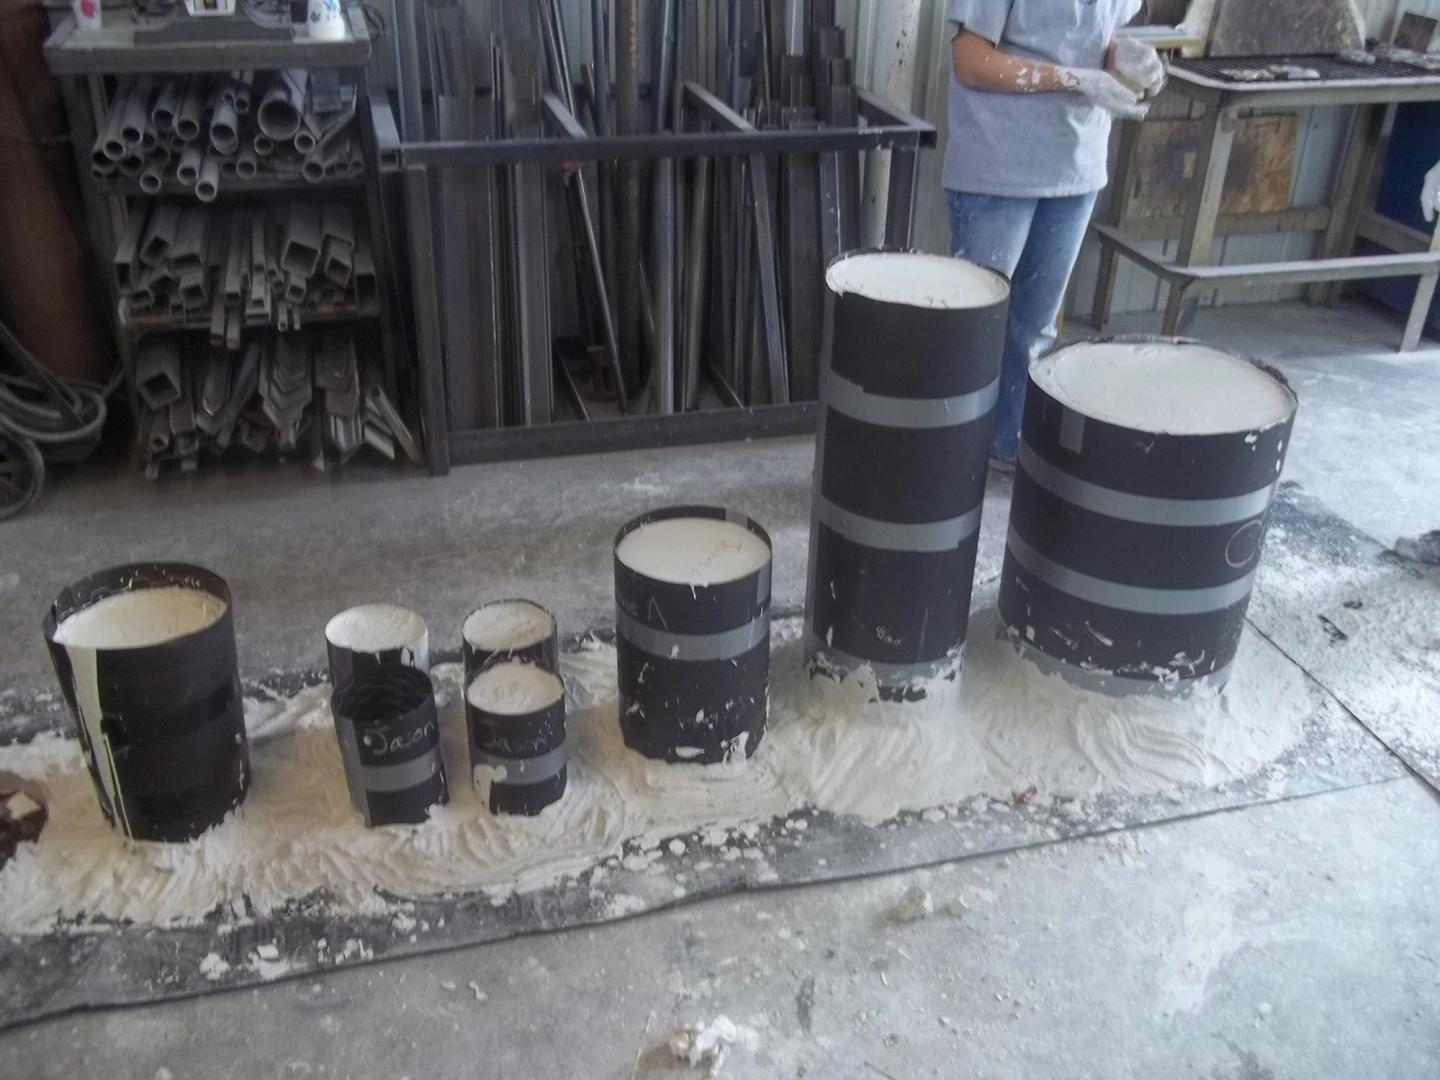
Investing and burnout phase
Once the gating system is attached we needed to surround the entire model with a special plaster and sand mixture (the investment material). We began by building a containment wall around the model using chicken wire and thick wax paper, all held in place with a thick plaster base. The wax paper is just meant to contain the plaster as we pour it, while the chicken wire becomes a part of the mold to add considerable structural integrity.
To ensure that we capture the finer details a small amount of this mixture is sprinkled onto the models using our fingers, thus ensuring accurate coverage. Next we could mix and pour the investment material into each mold, which needed to be done as quickly as possible so that the material doesn’t set too much while we’re working.
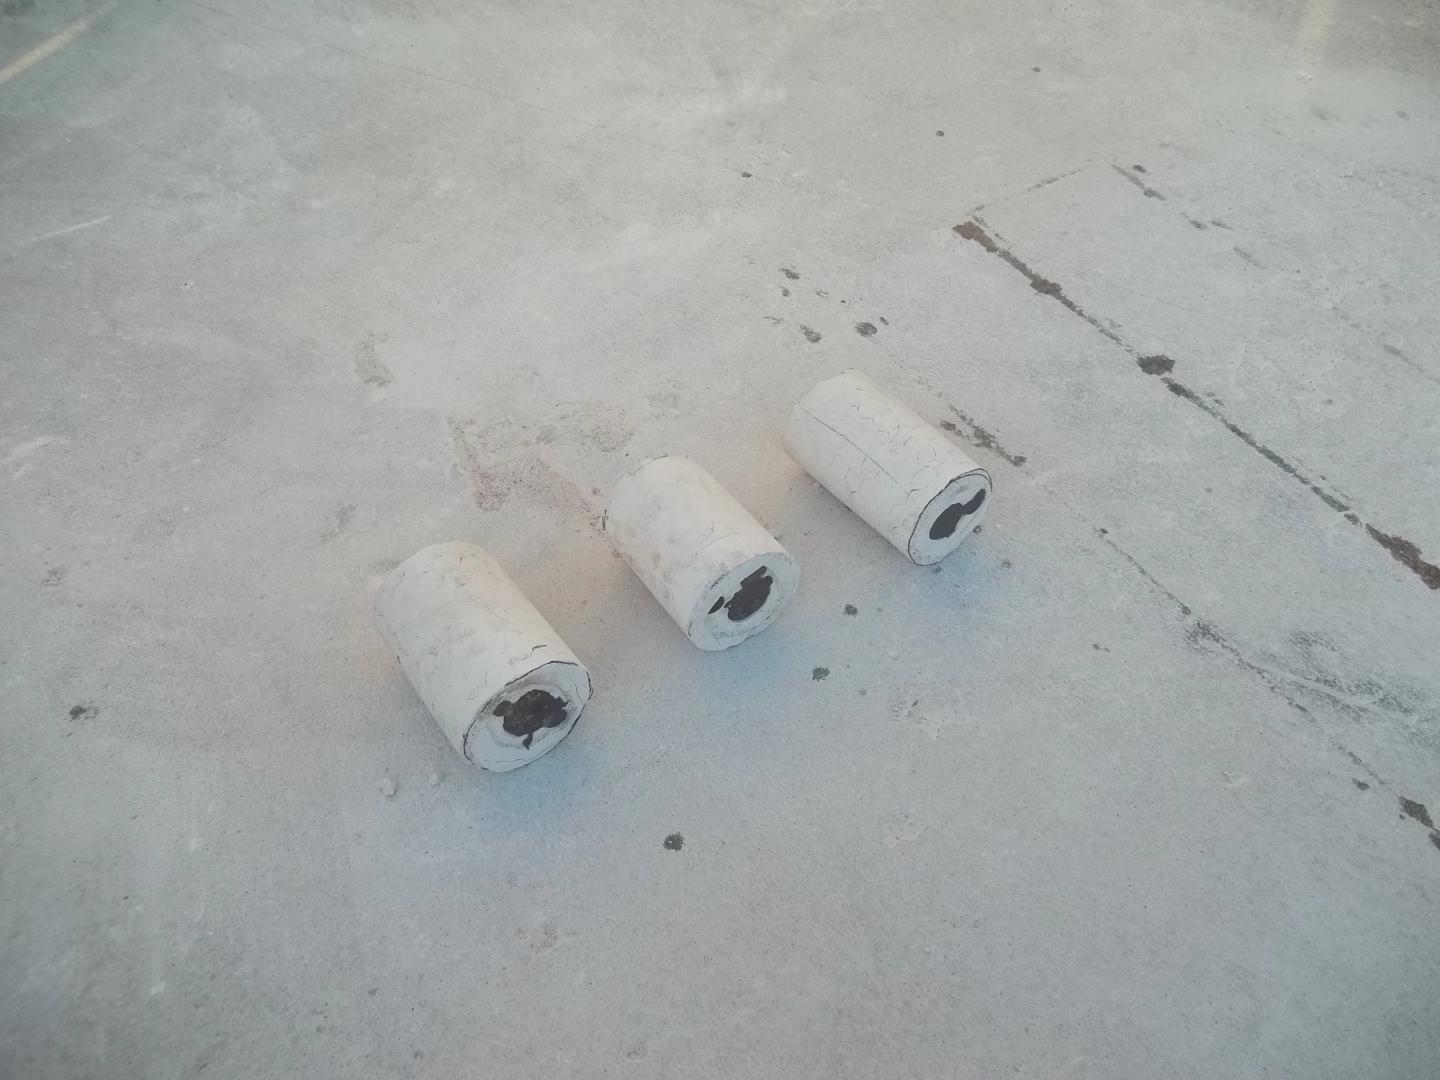
After waiting about a day for the molds to fully cure and harden we could then move them all into the kiln for burnout. Over the next 48 hours or so the kiln runs through a pre-programmed heating and cooling profile to melt out all of our wax and models, then a short period of very high heat to burn away any remaining residue, leaving a bone-white mold inside and out.
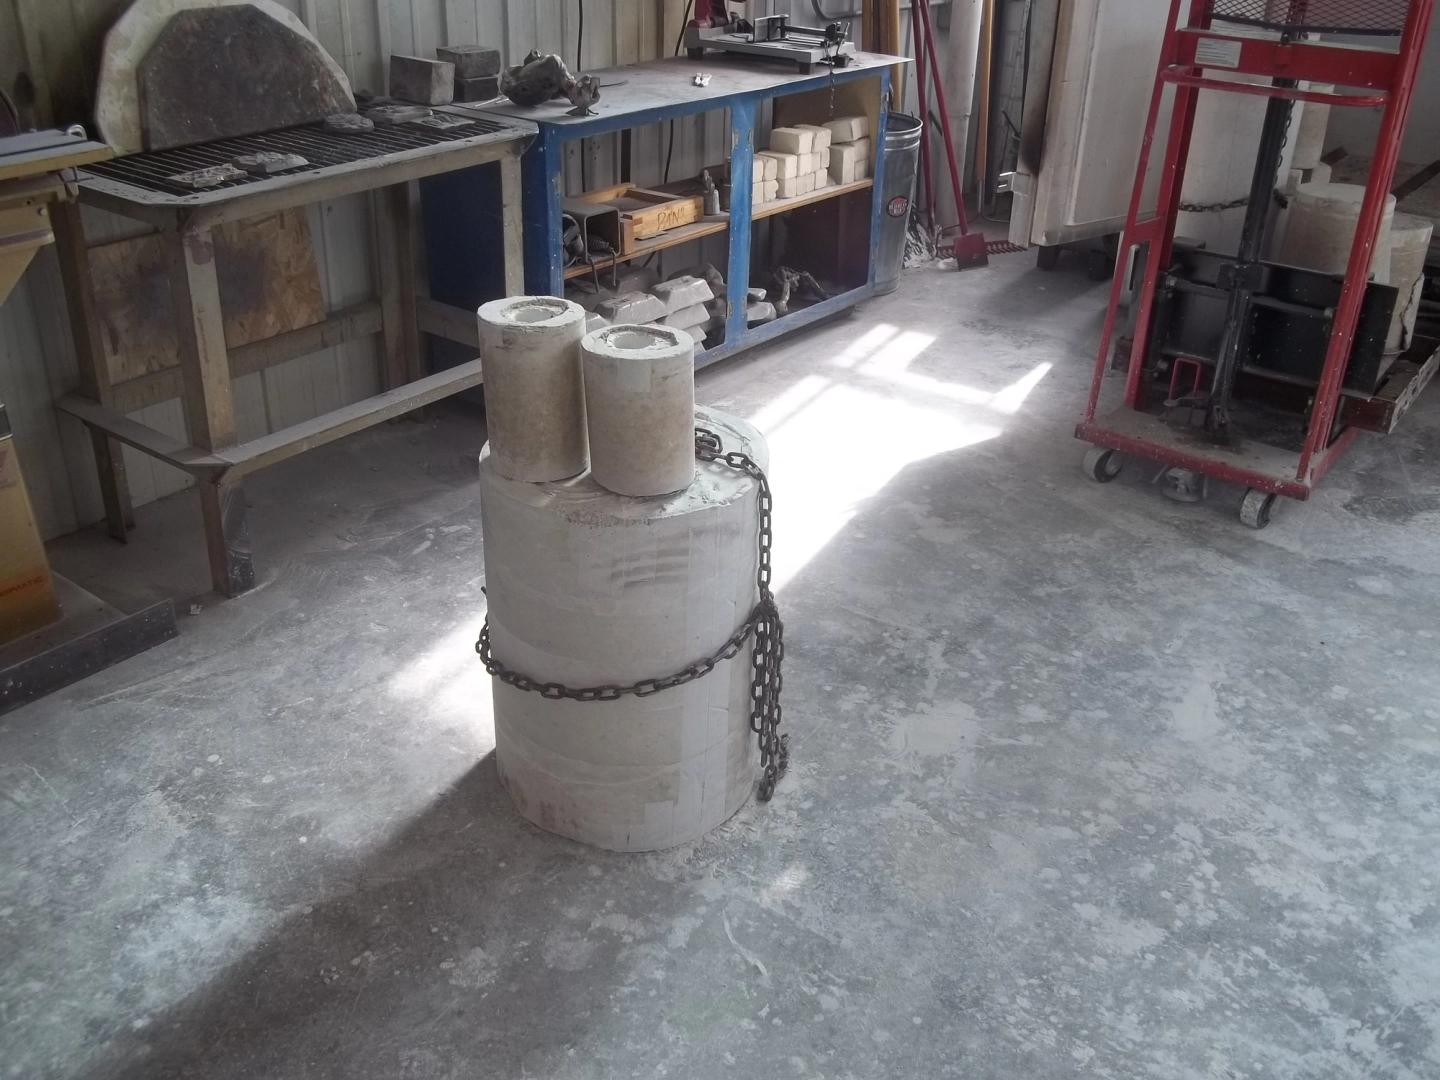

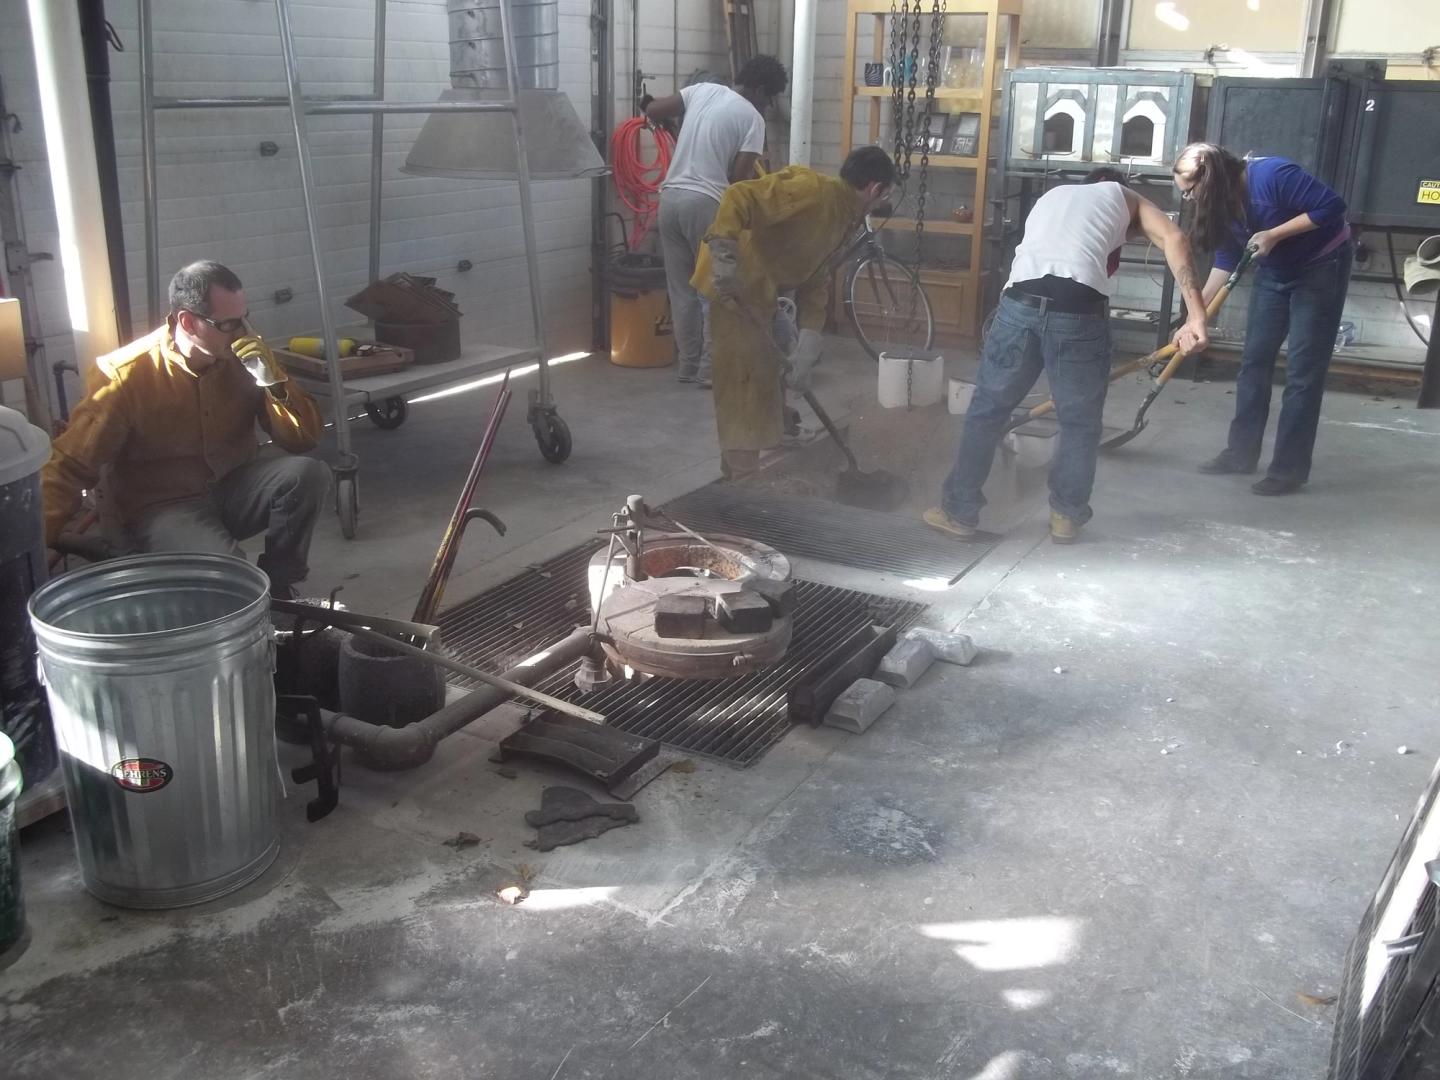
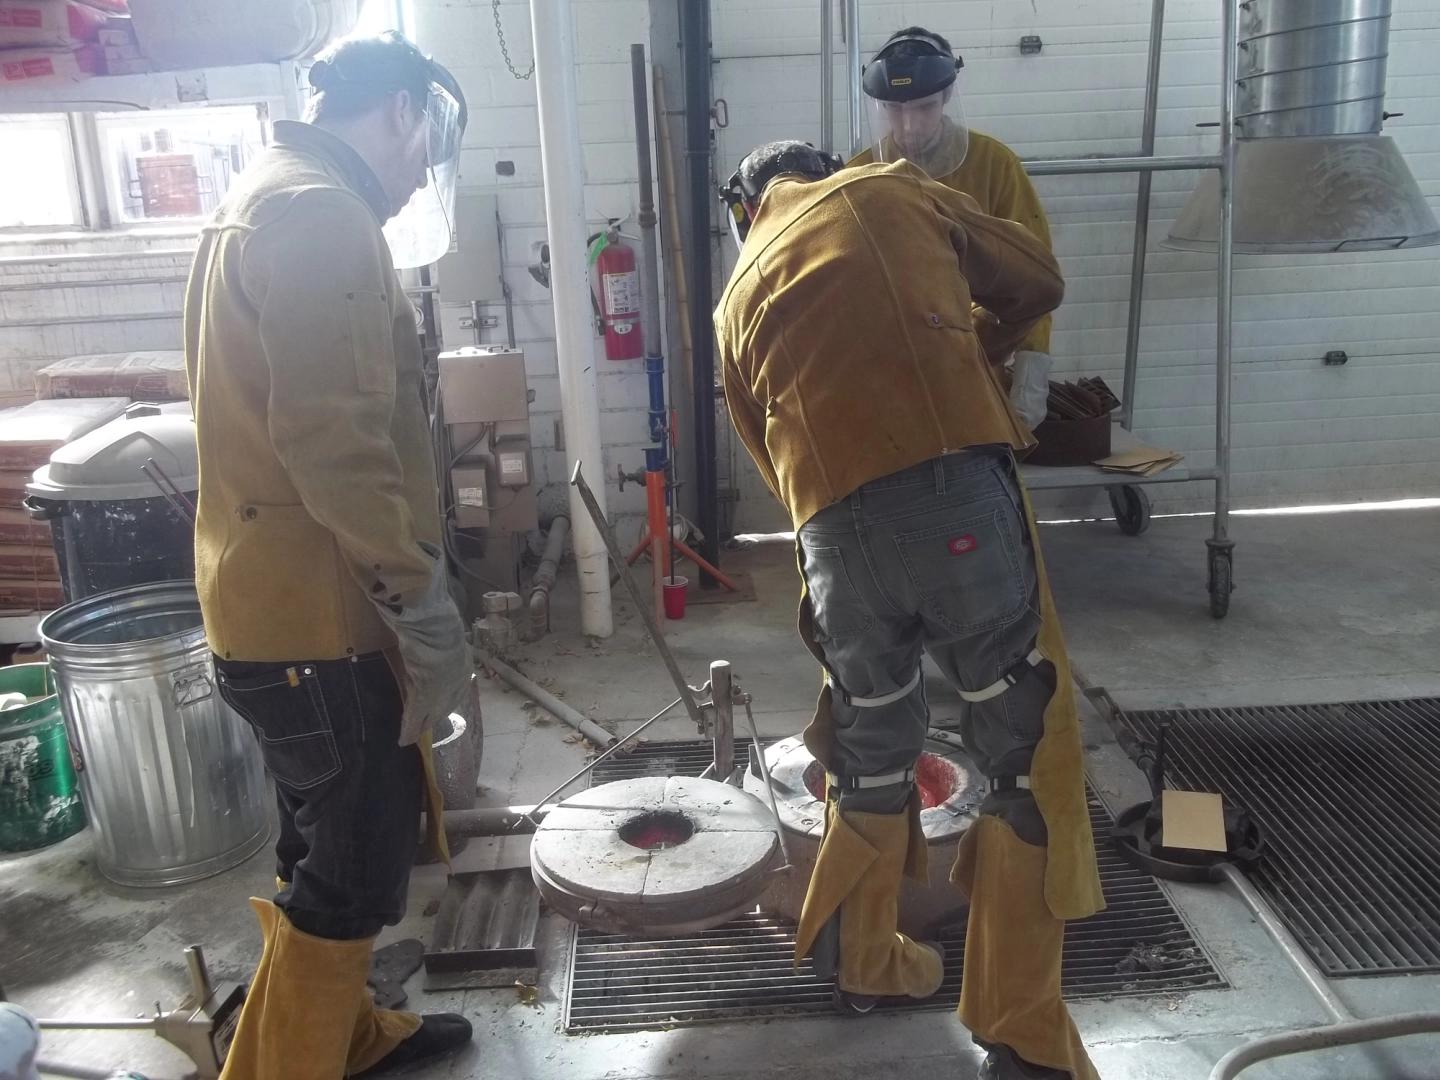
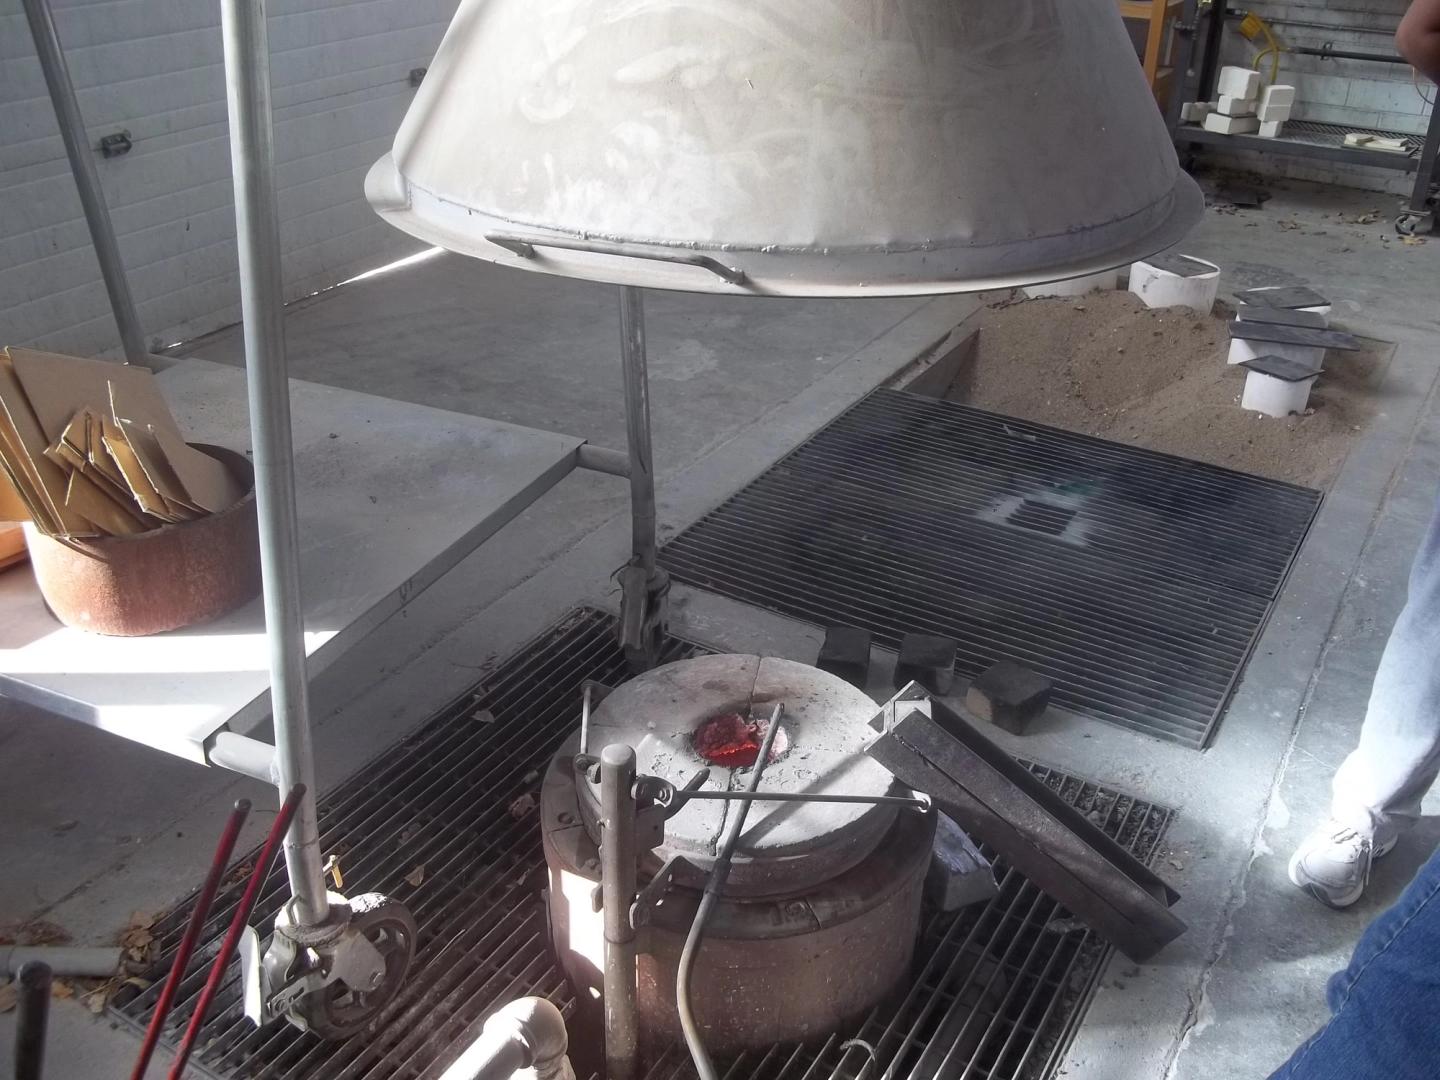
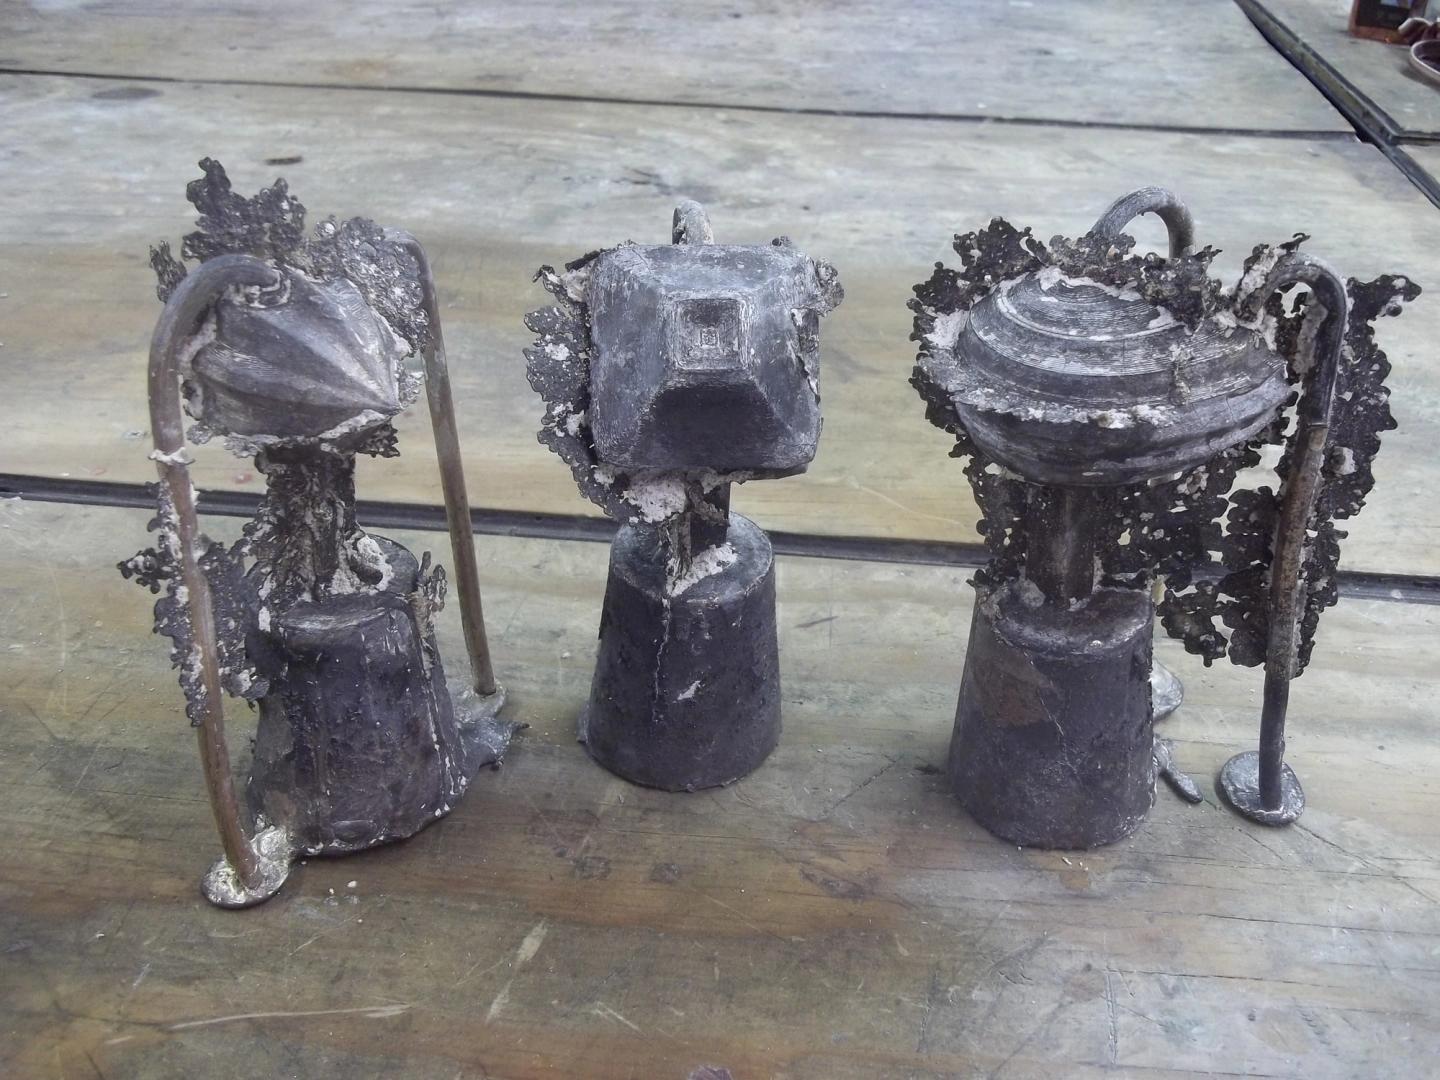
Pouring the bronze
After being yanked from the kiln and set into a pit of sand, my three molds were filled with molten bronze and left to cool for a couple hours. The sculpture professor, Chad Fonfara, invited me to suit up and help pour the molds, which was a pretty awesome experience to say the least.
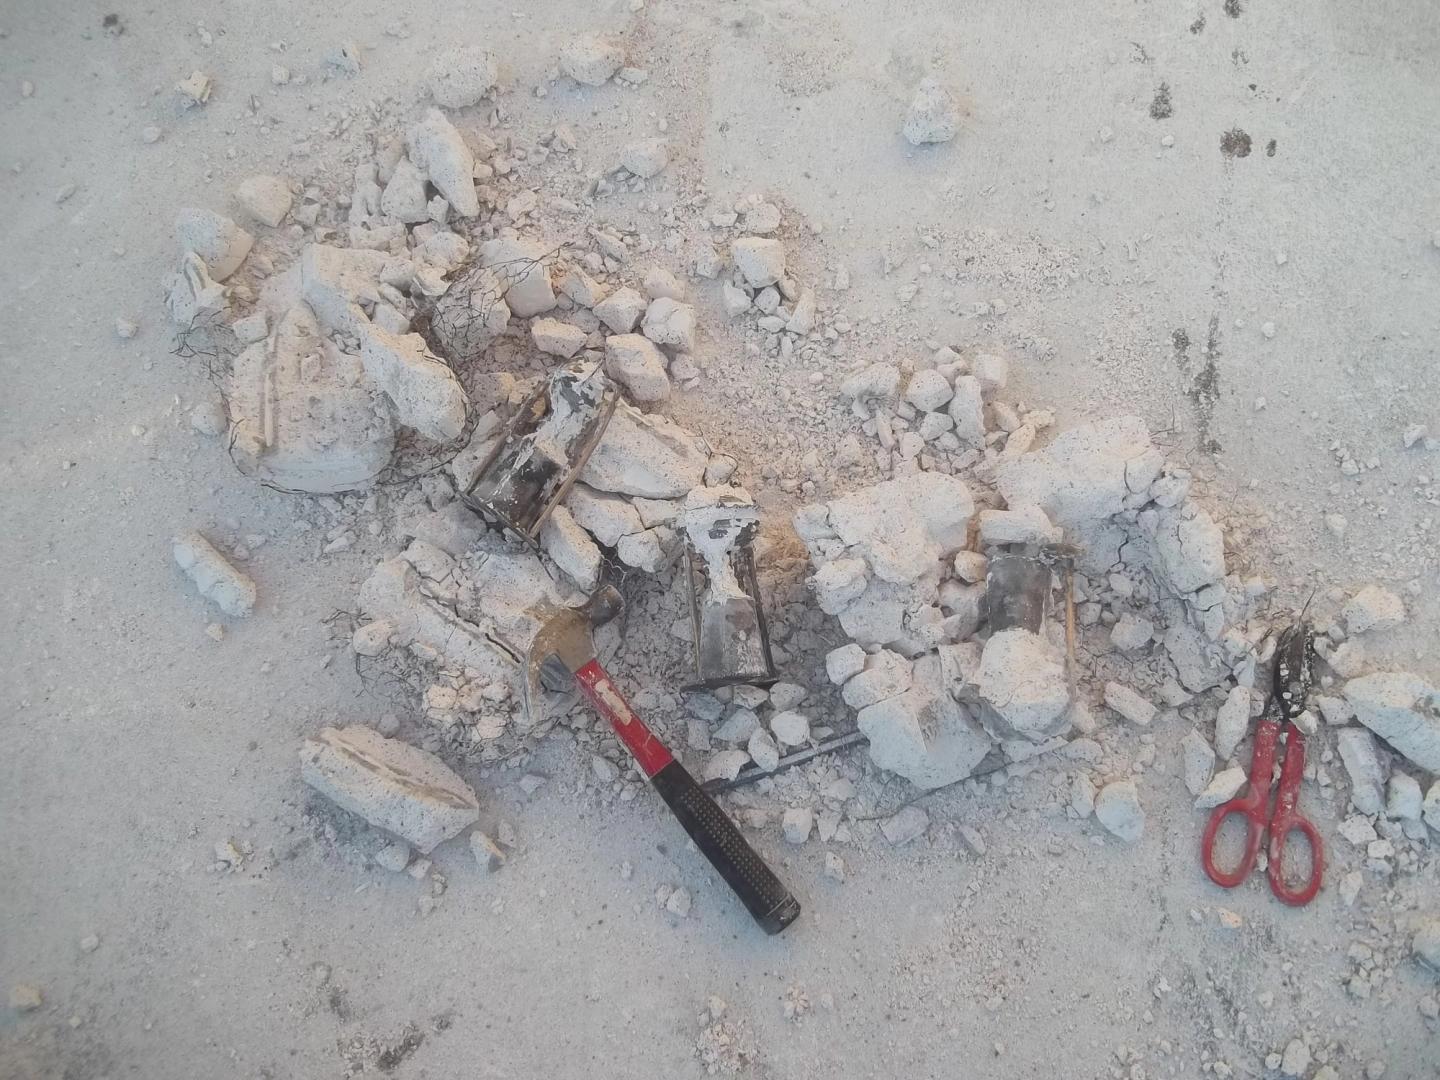
Demolding, cleaning and finishing
Once the bronze is poured into the molds, they are left to cool for a couple hours, at least until they are able to be handled with gloves. The plaster molds are broken open using a claw hammer and some wire cutters, revealing the raw bronze forms. Chisels and wire brushes are used to gently remove any remaining plaster stuck on the objects.
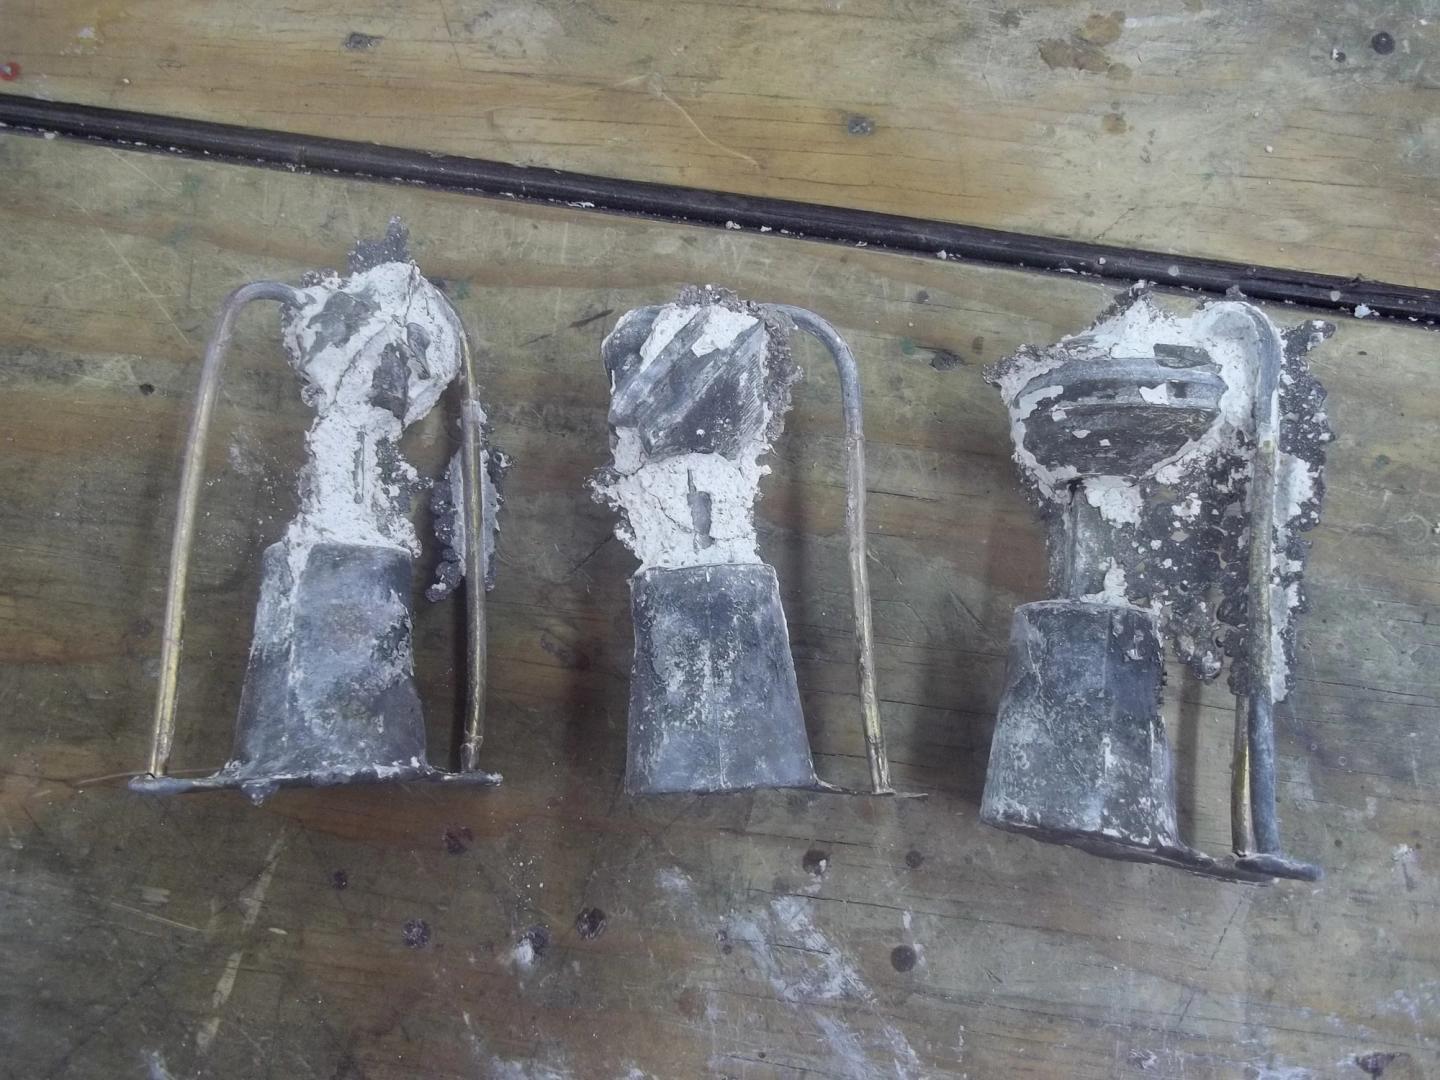
Rough cleaning
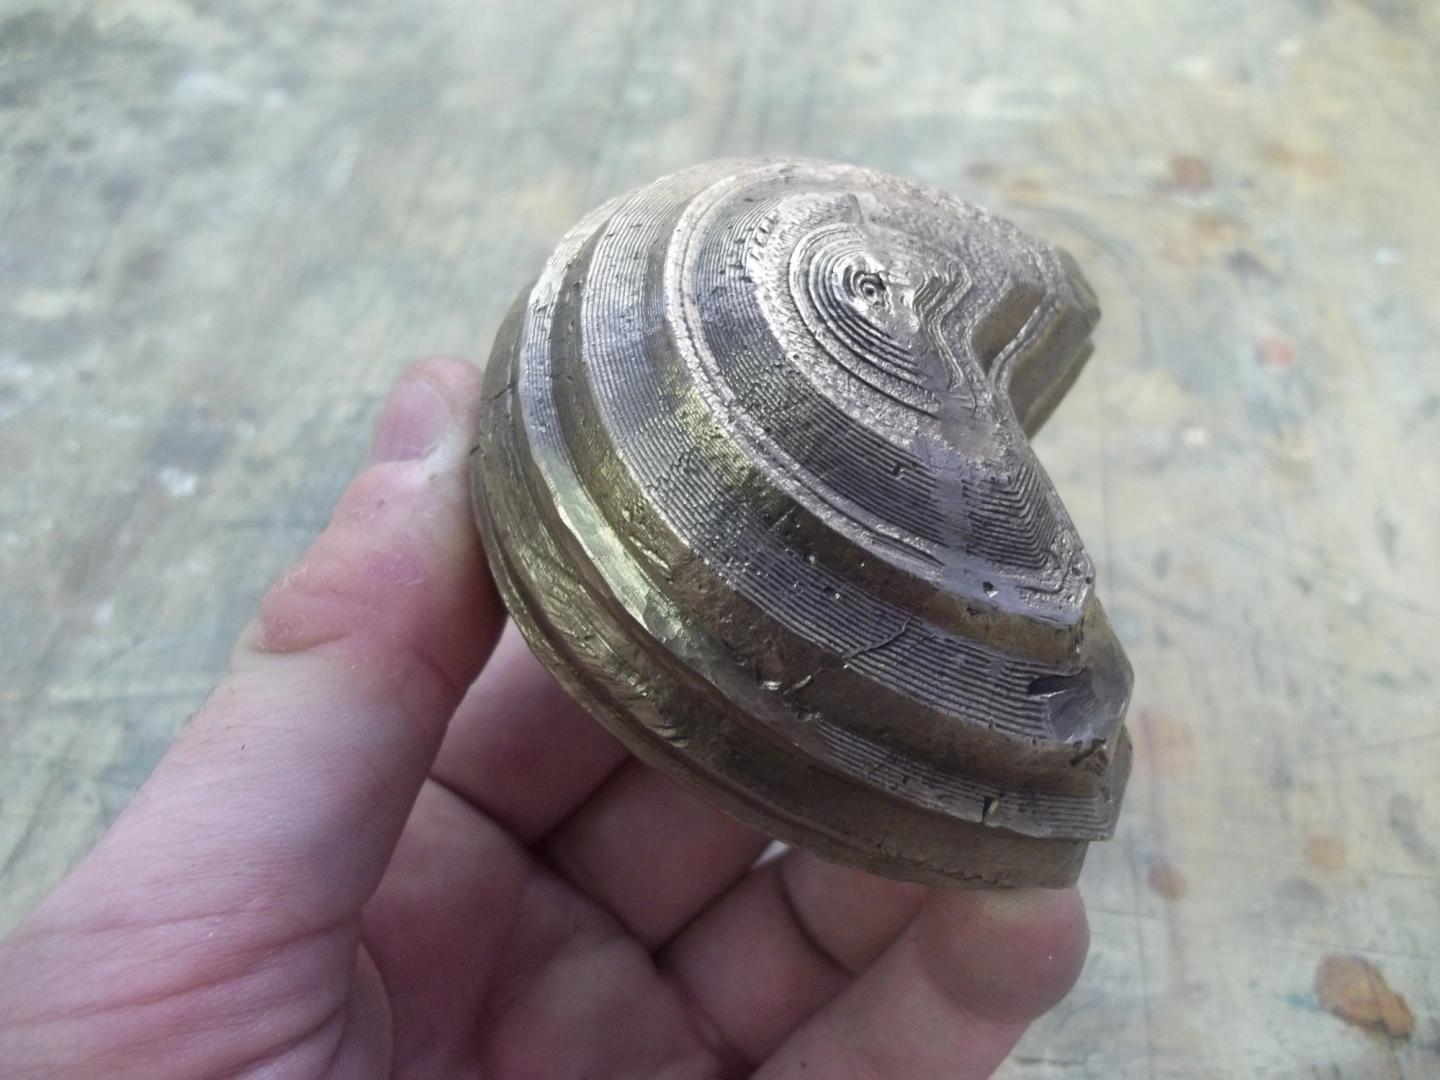
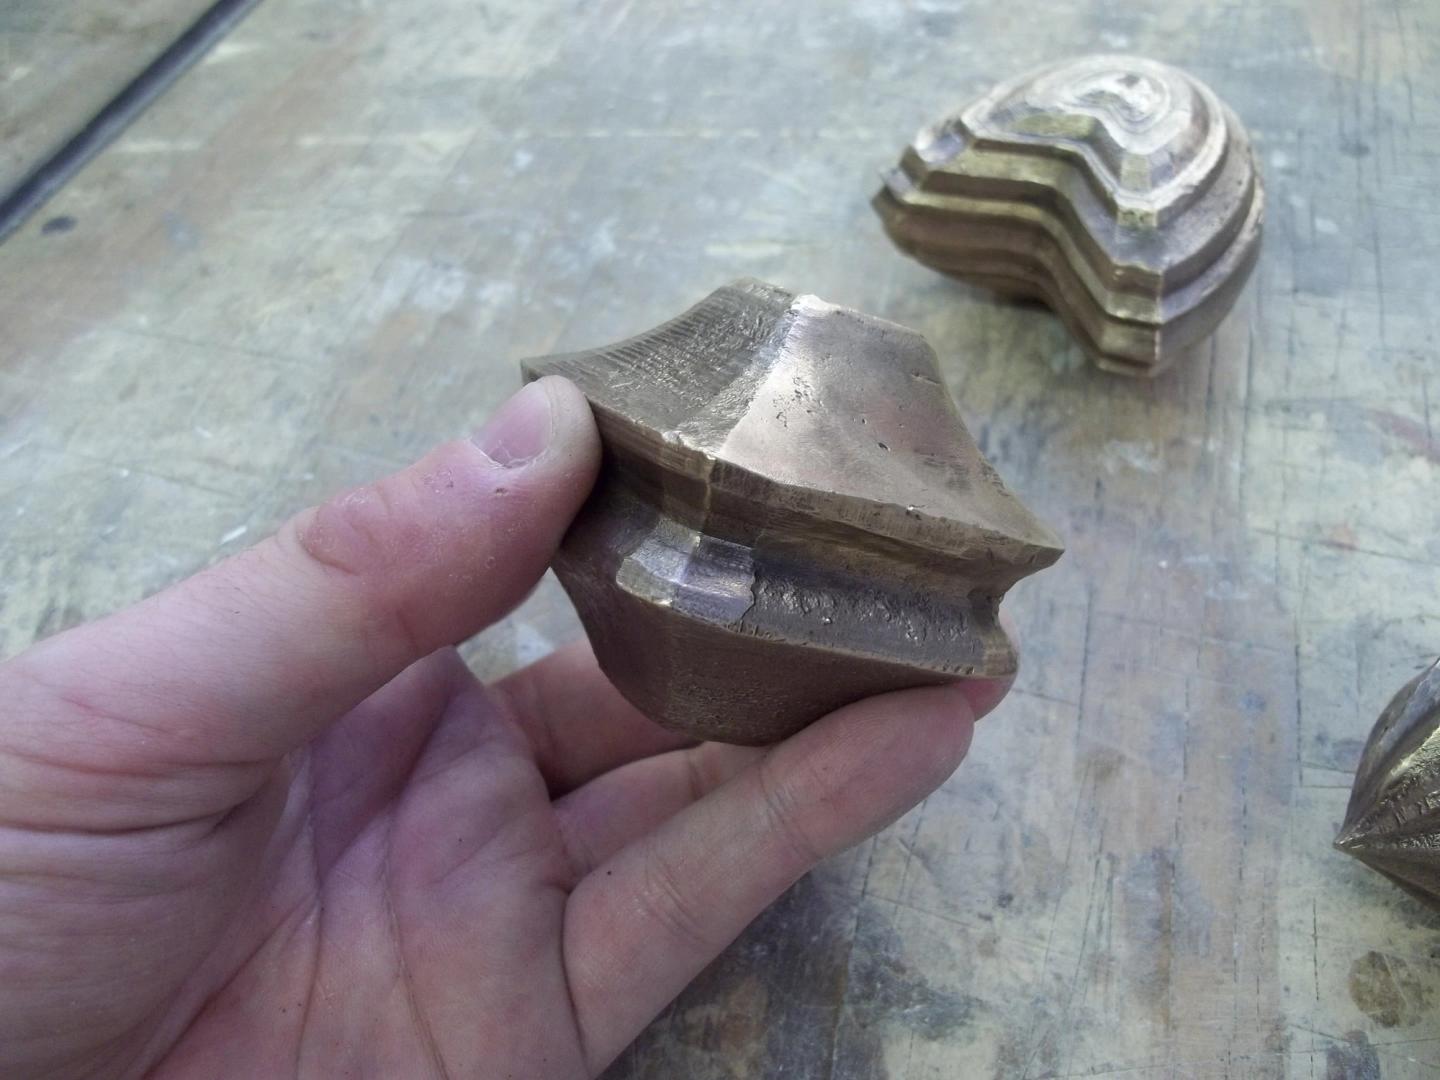
Once cleaned of plaster, the gating system is roughly cut off using an angle grinder, then finely worked away with rotary tools. The real challenge at this point was to remove the gating system while preserving as much of the detail as possible. The grain of the 3D-printed filament lines was really interesting, so the more of that I could keep the better.
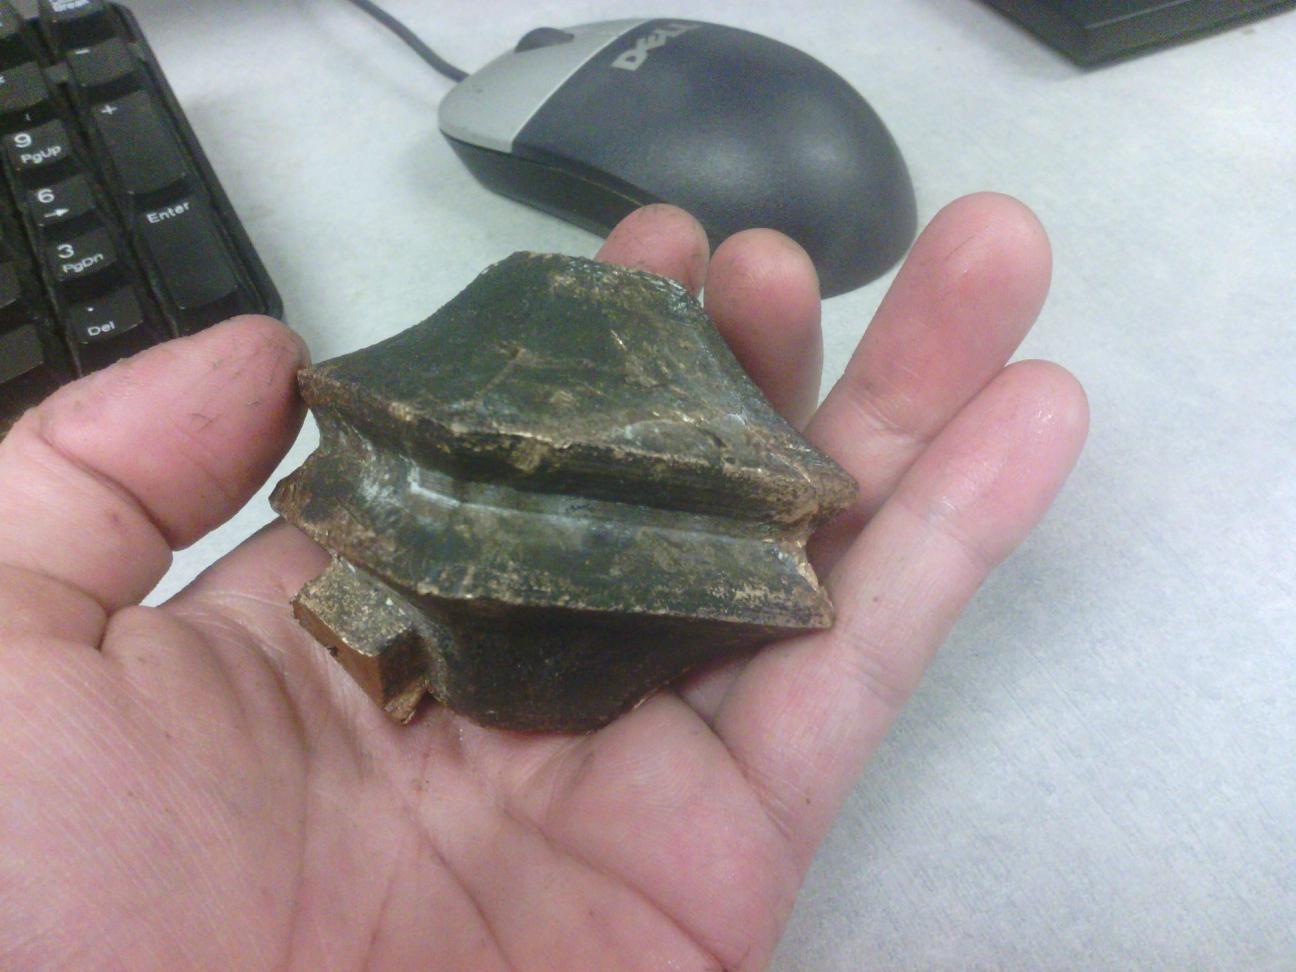
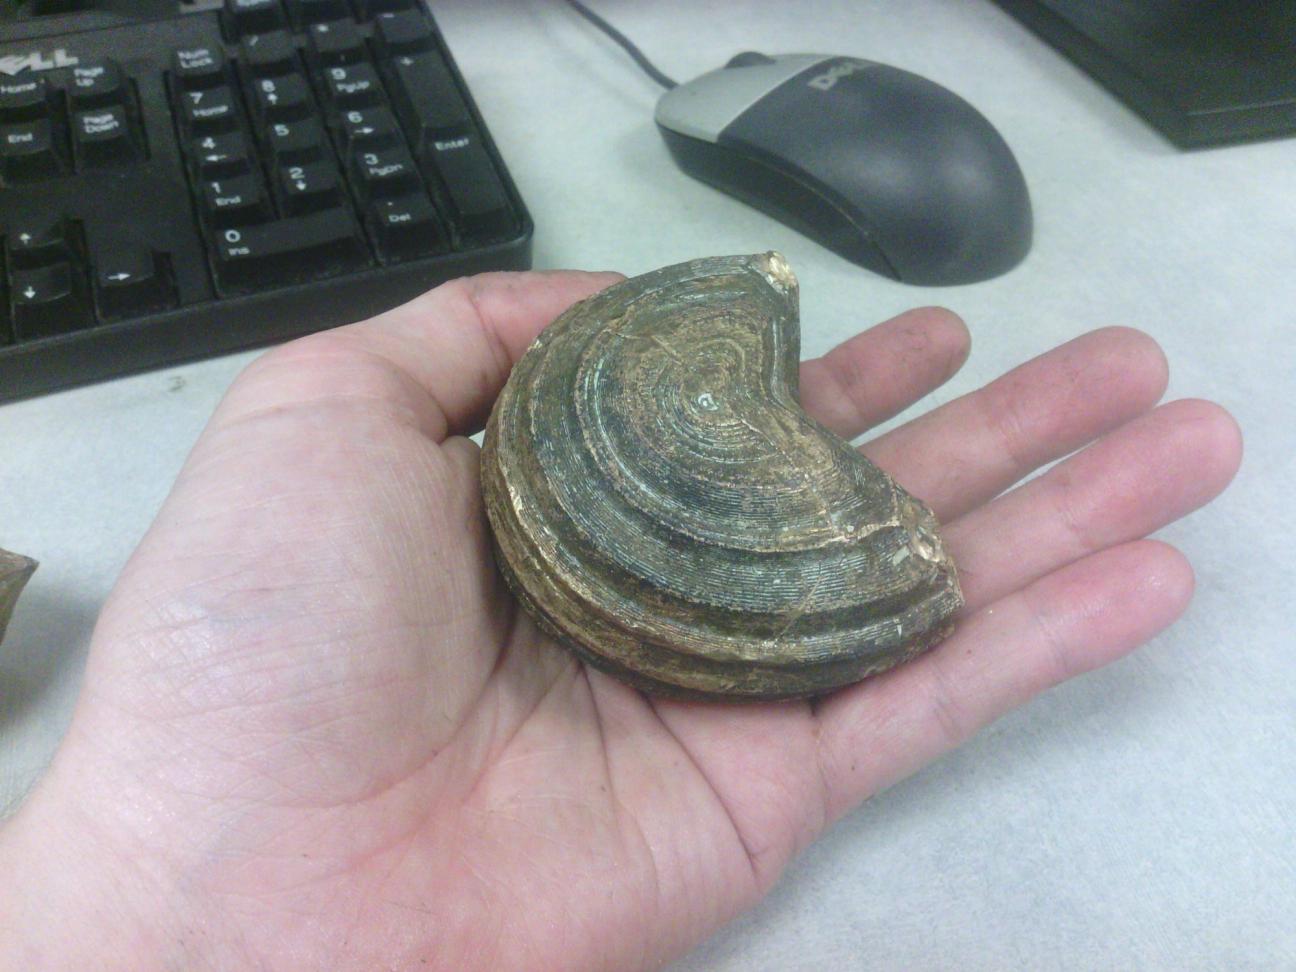
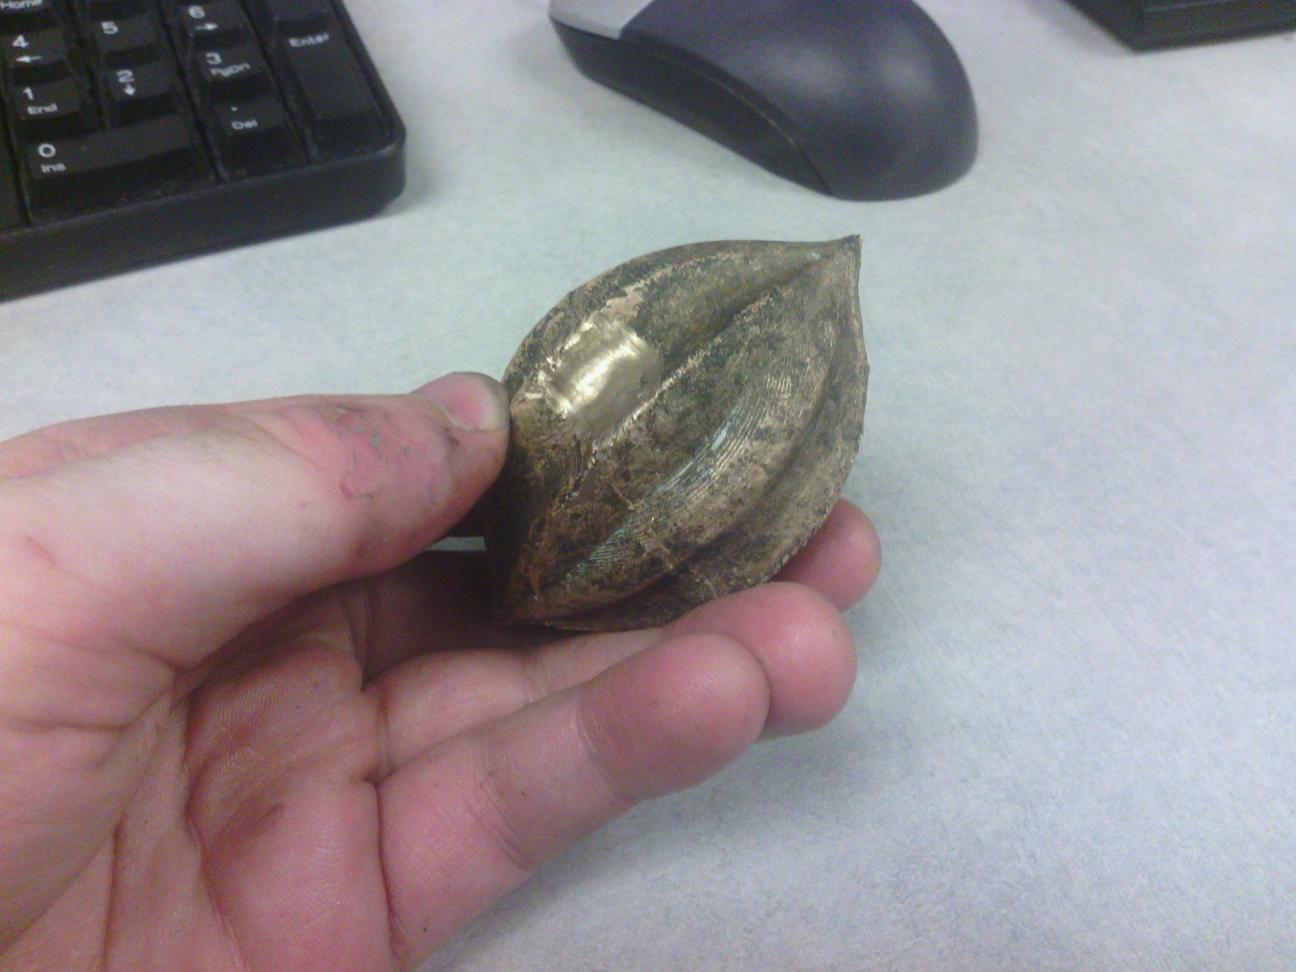
Fine cleaning
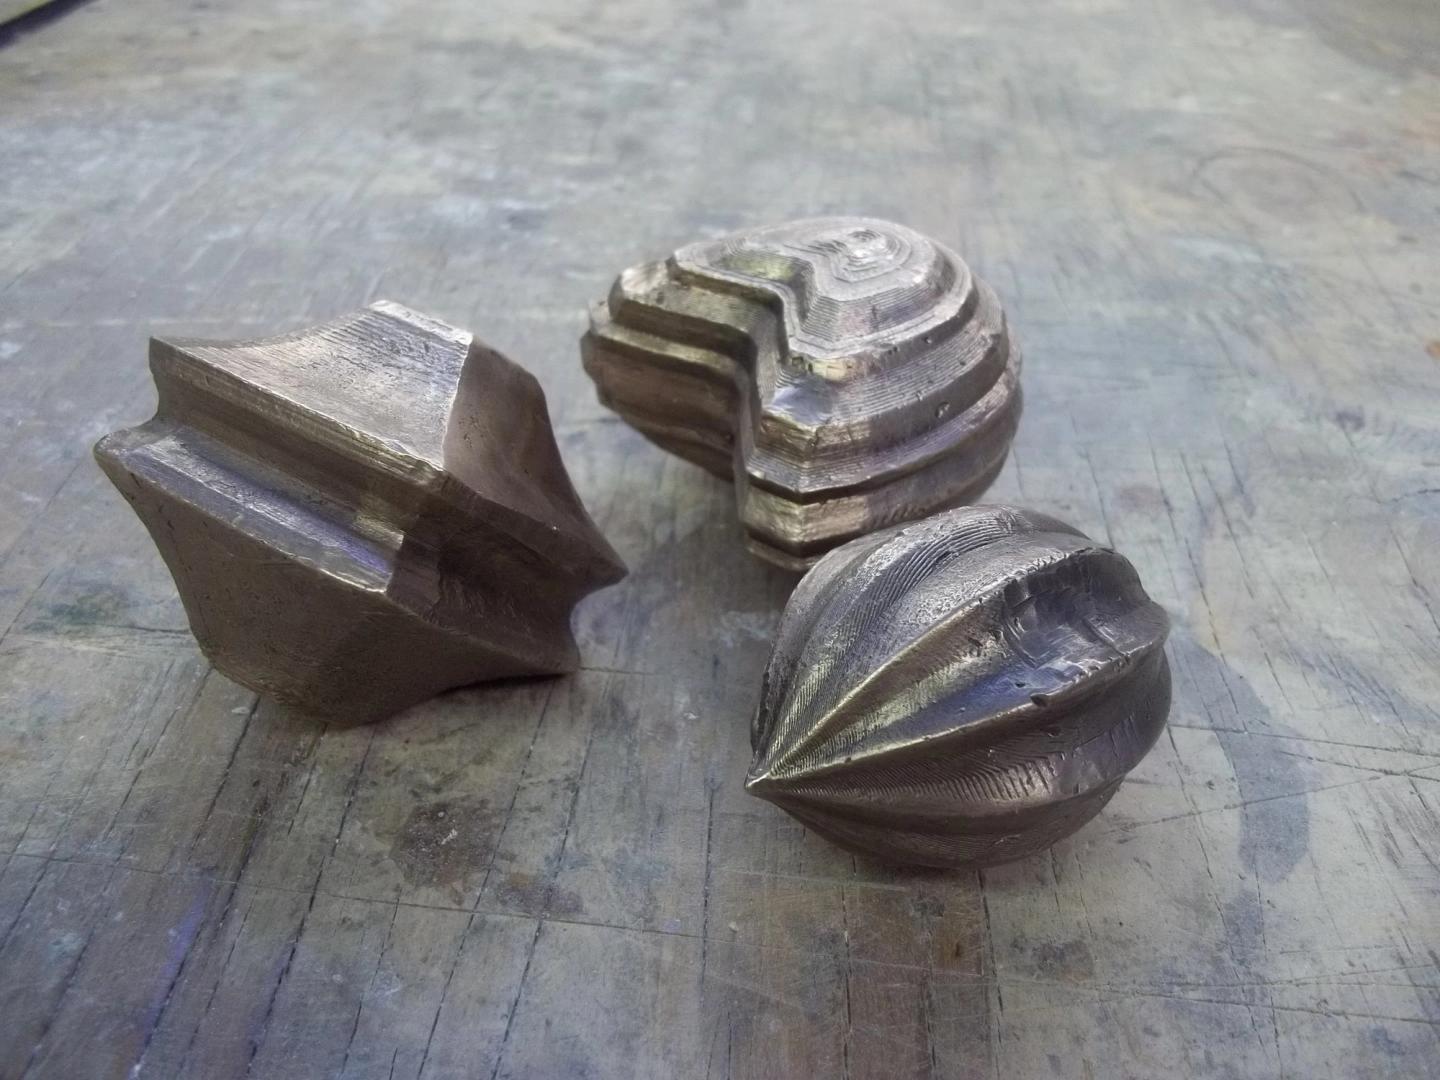
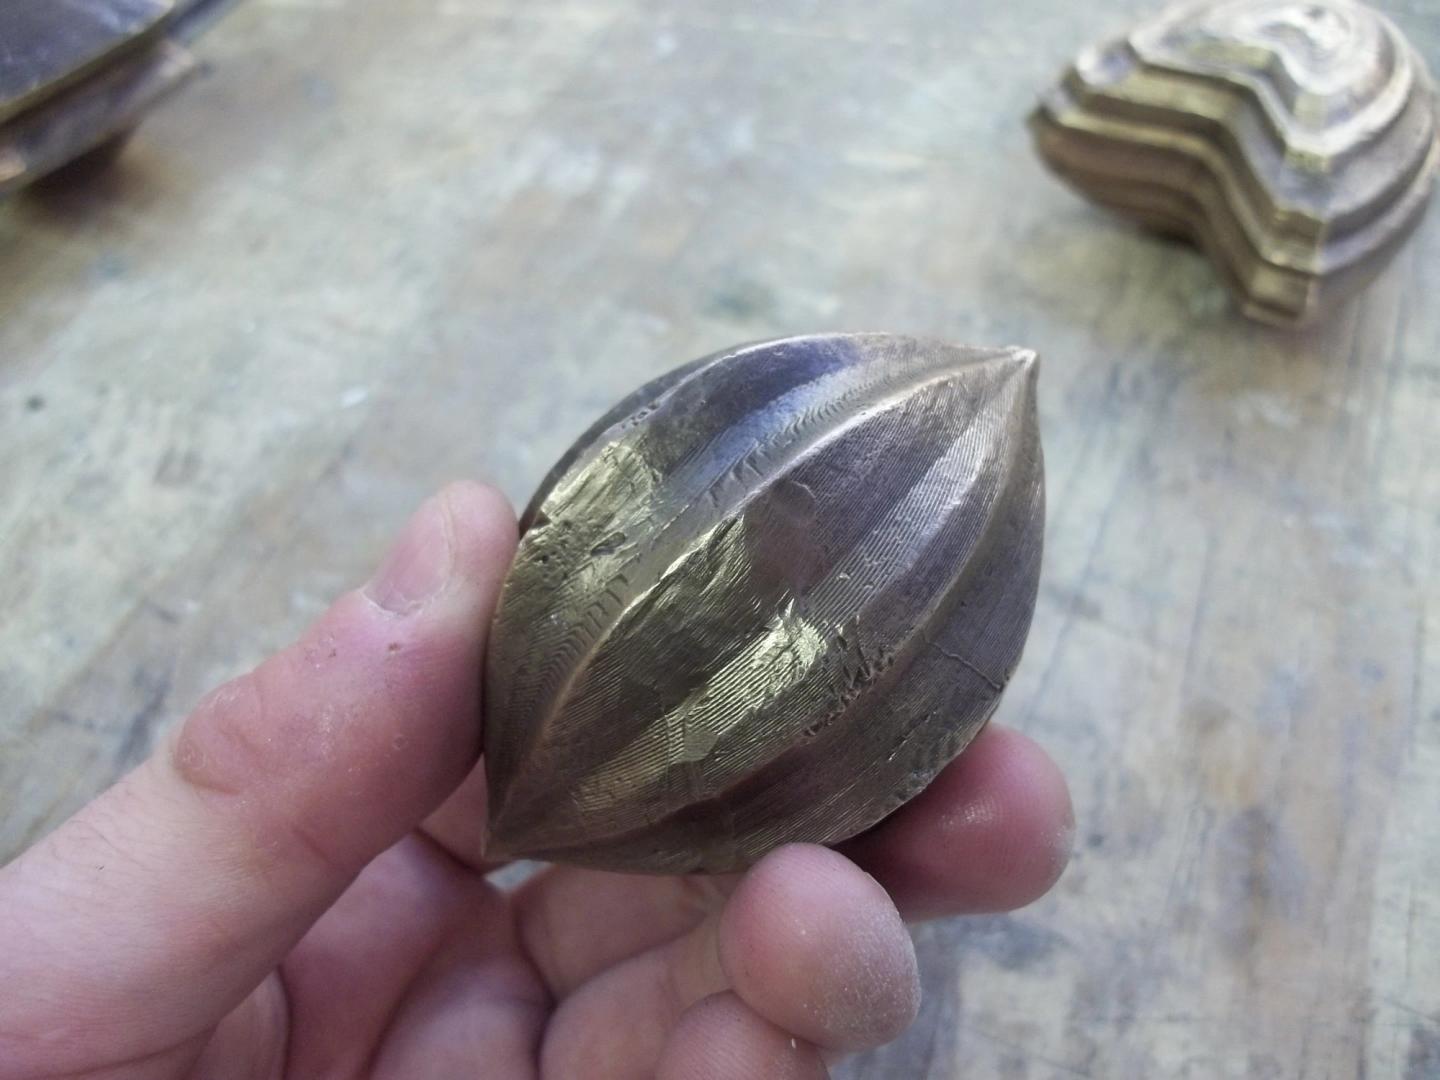
Each piece was sandblasted and worked with steel wool to get a nice shiny appearance. A patina was applied, followed by a brush coat of wax to preserve it all.
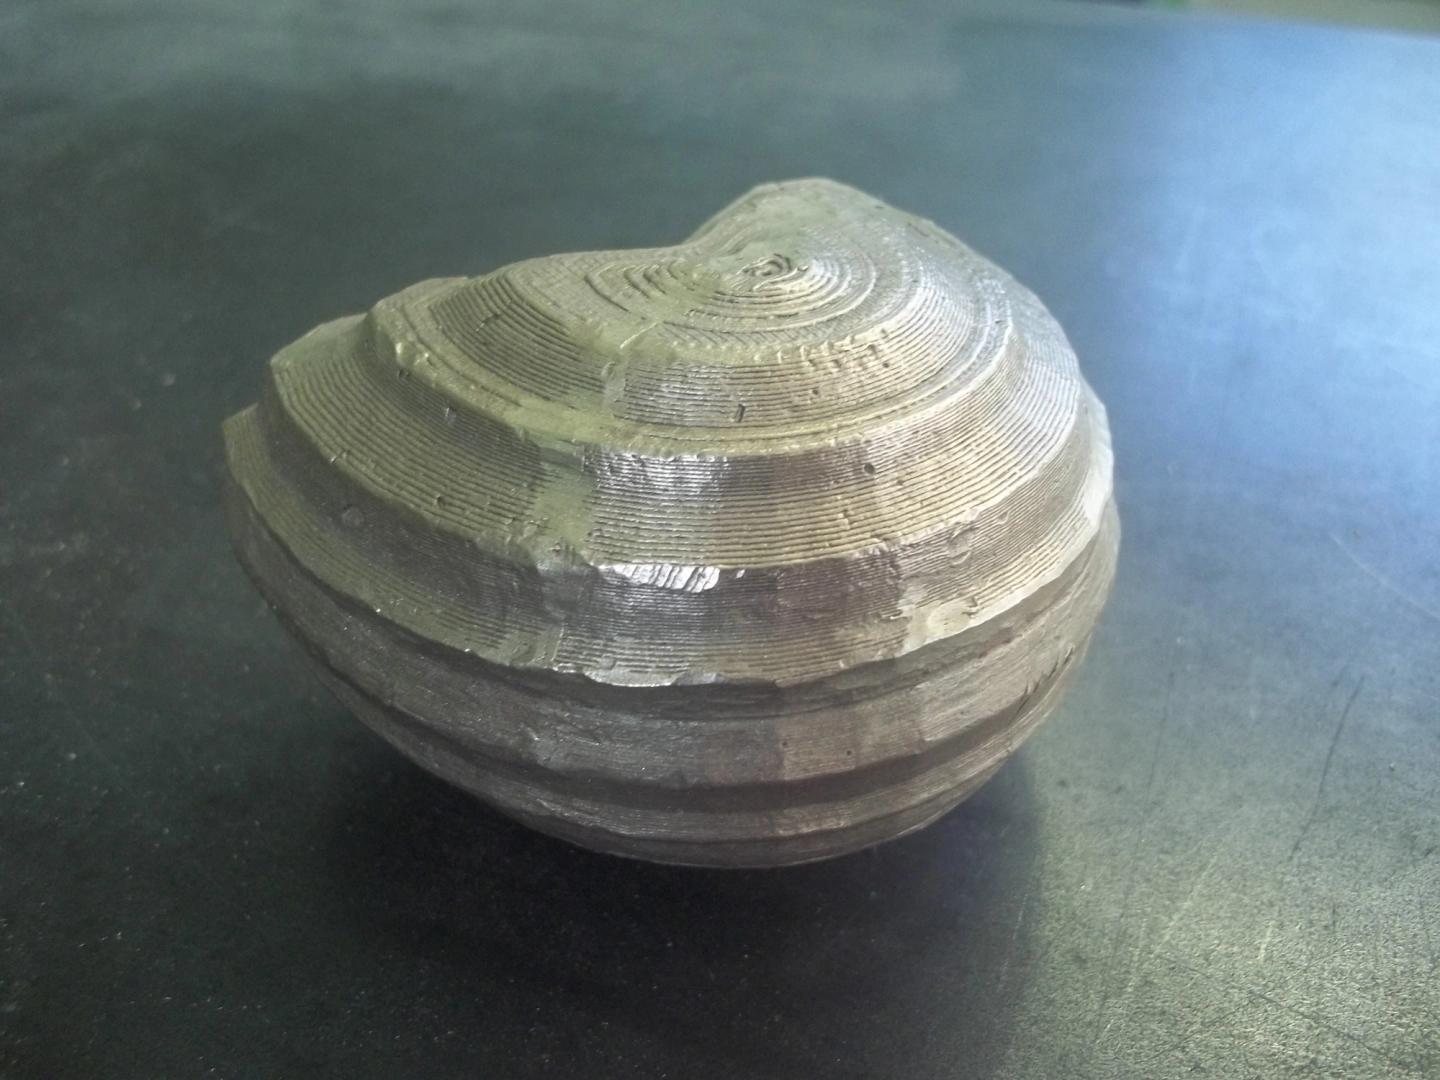
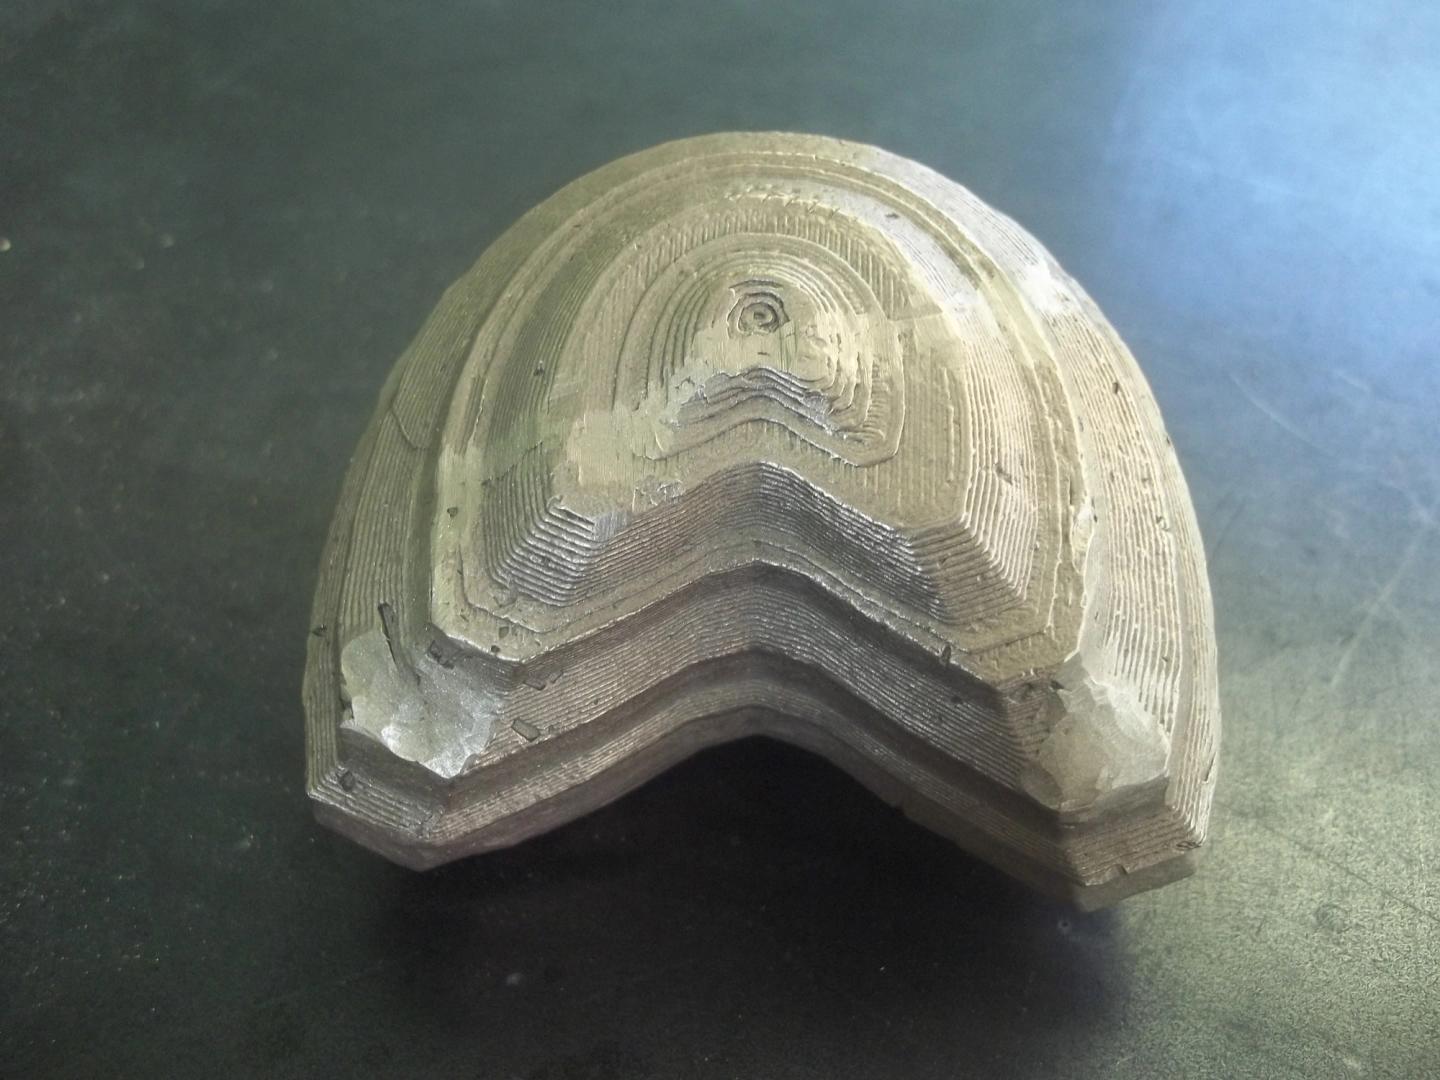
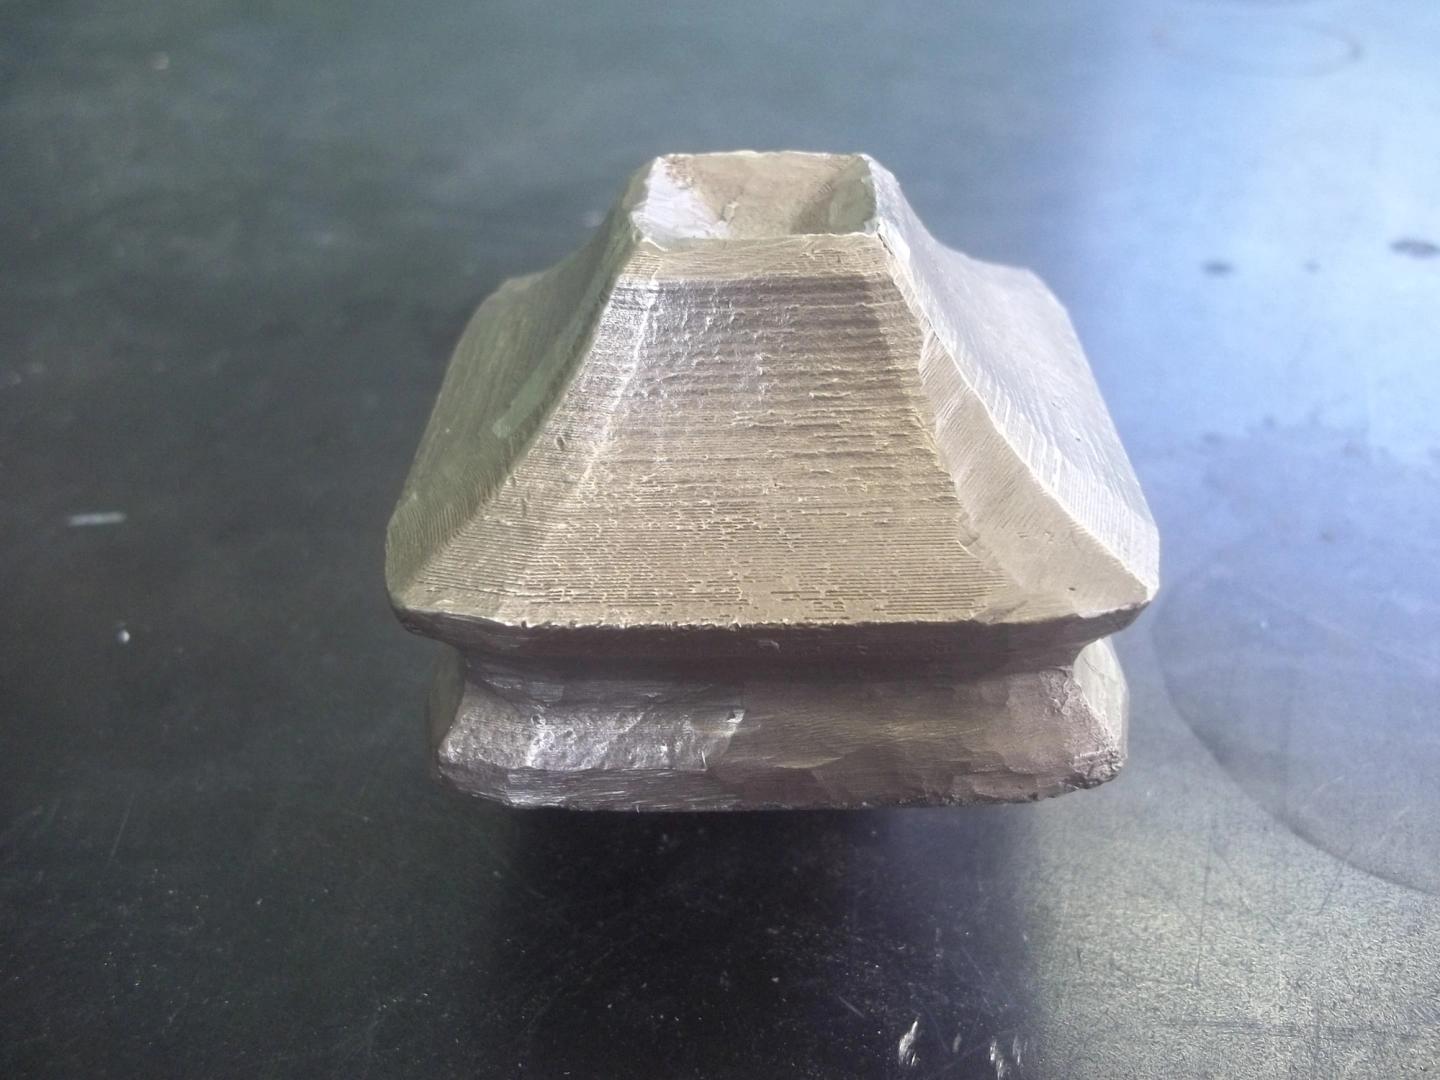
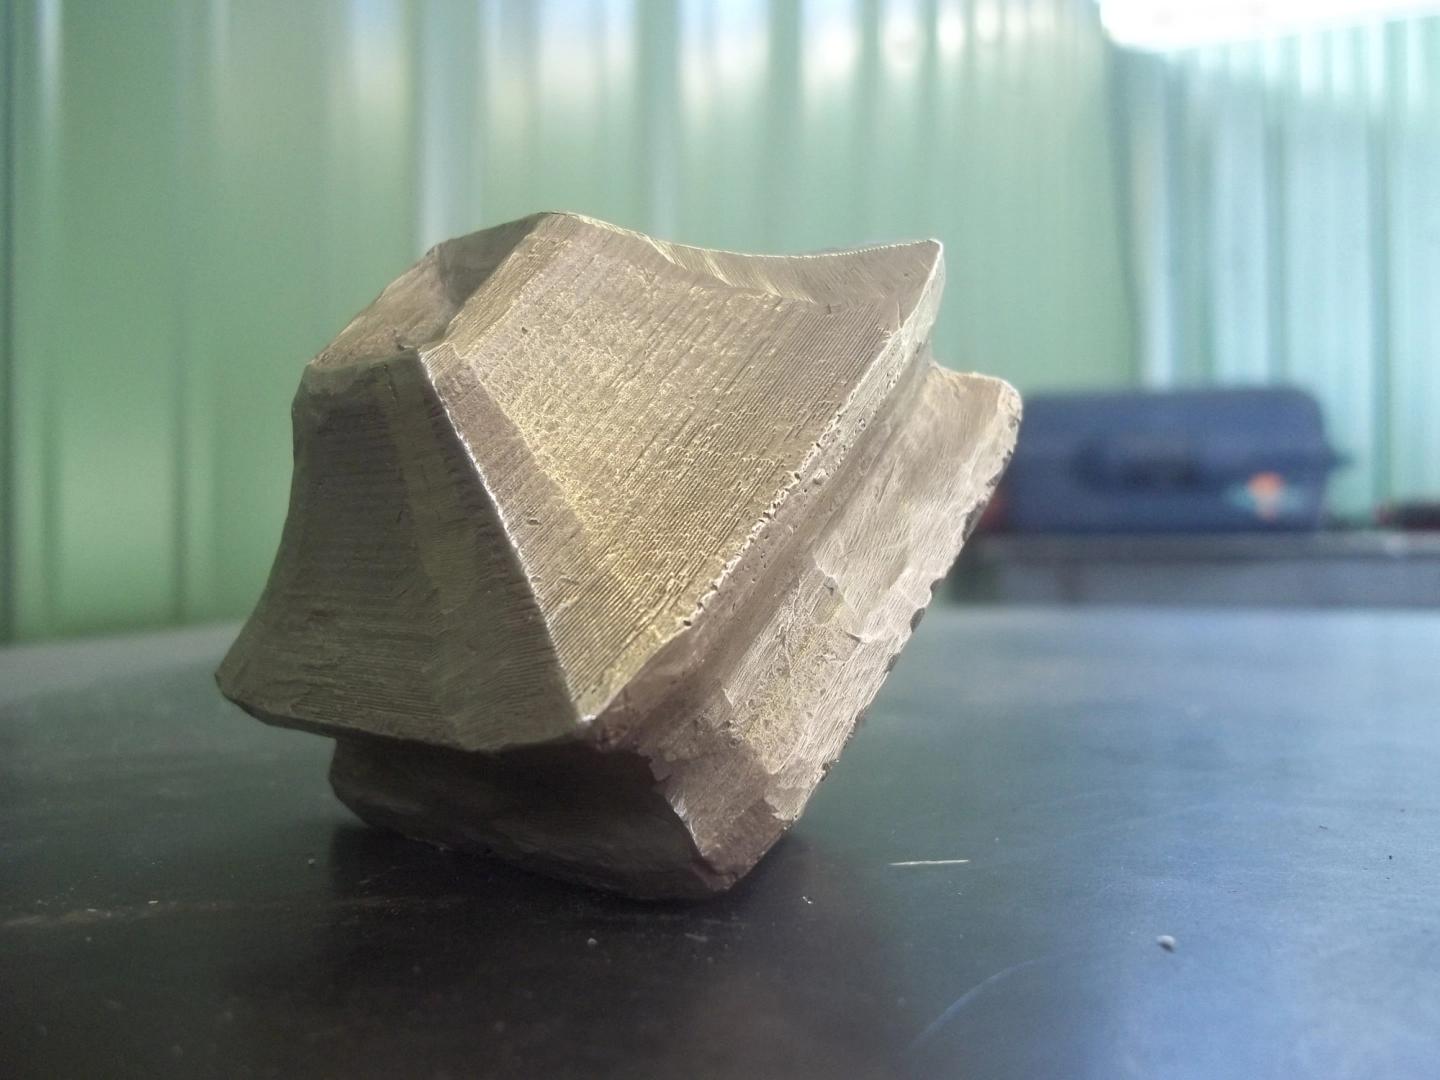
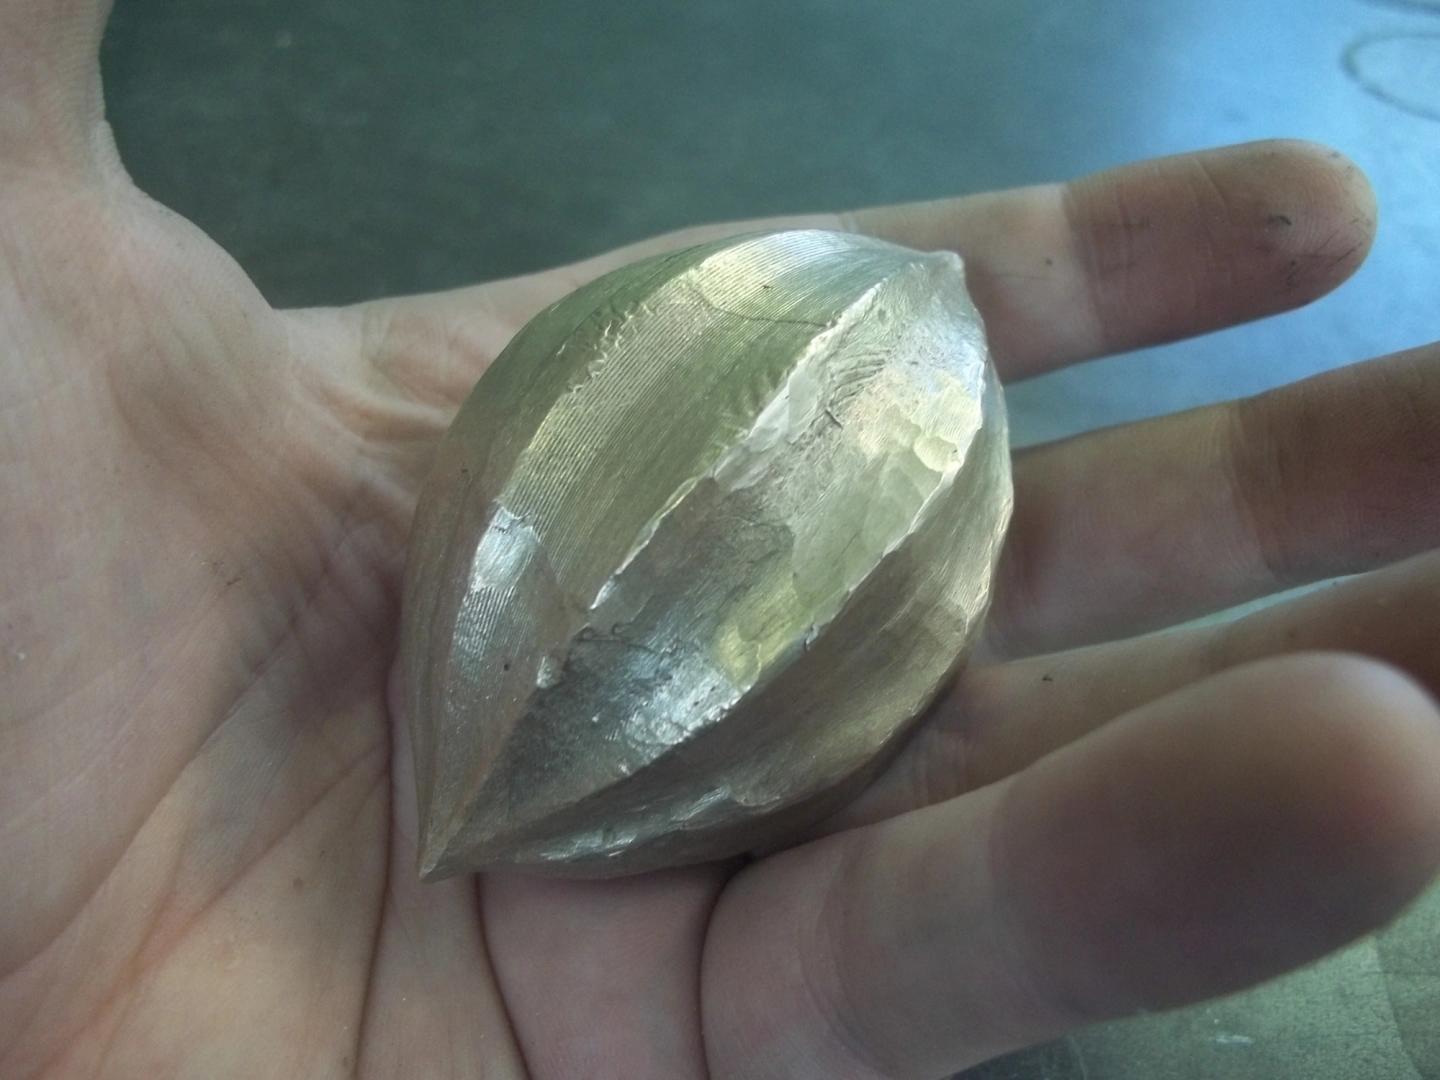
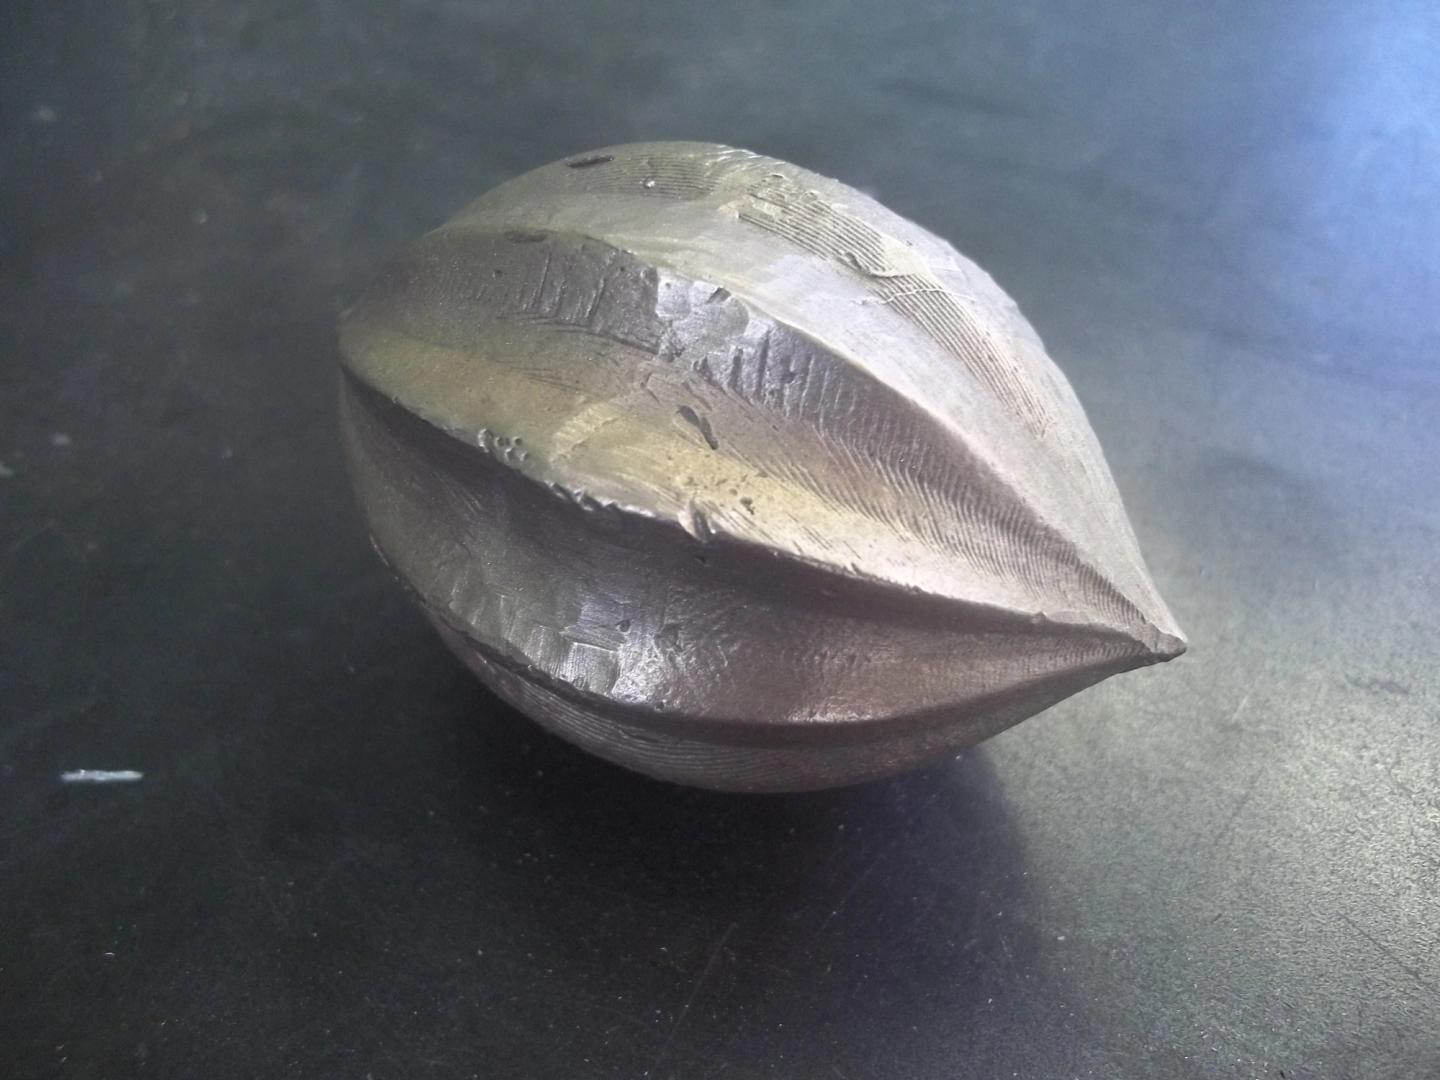
Finished pieces