Flat-pack corner table for CNC routers
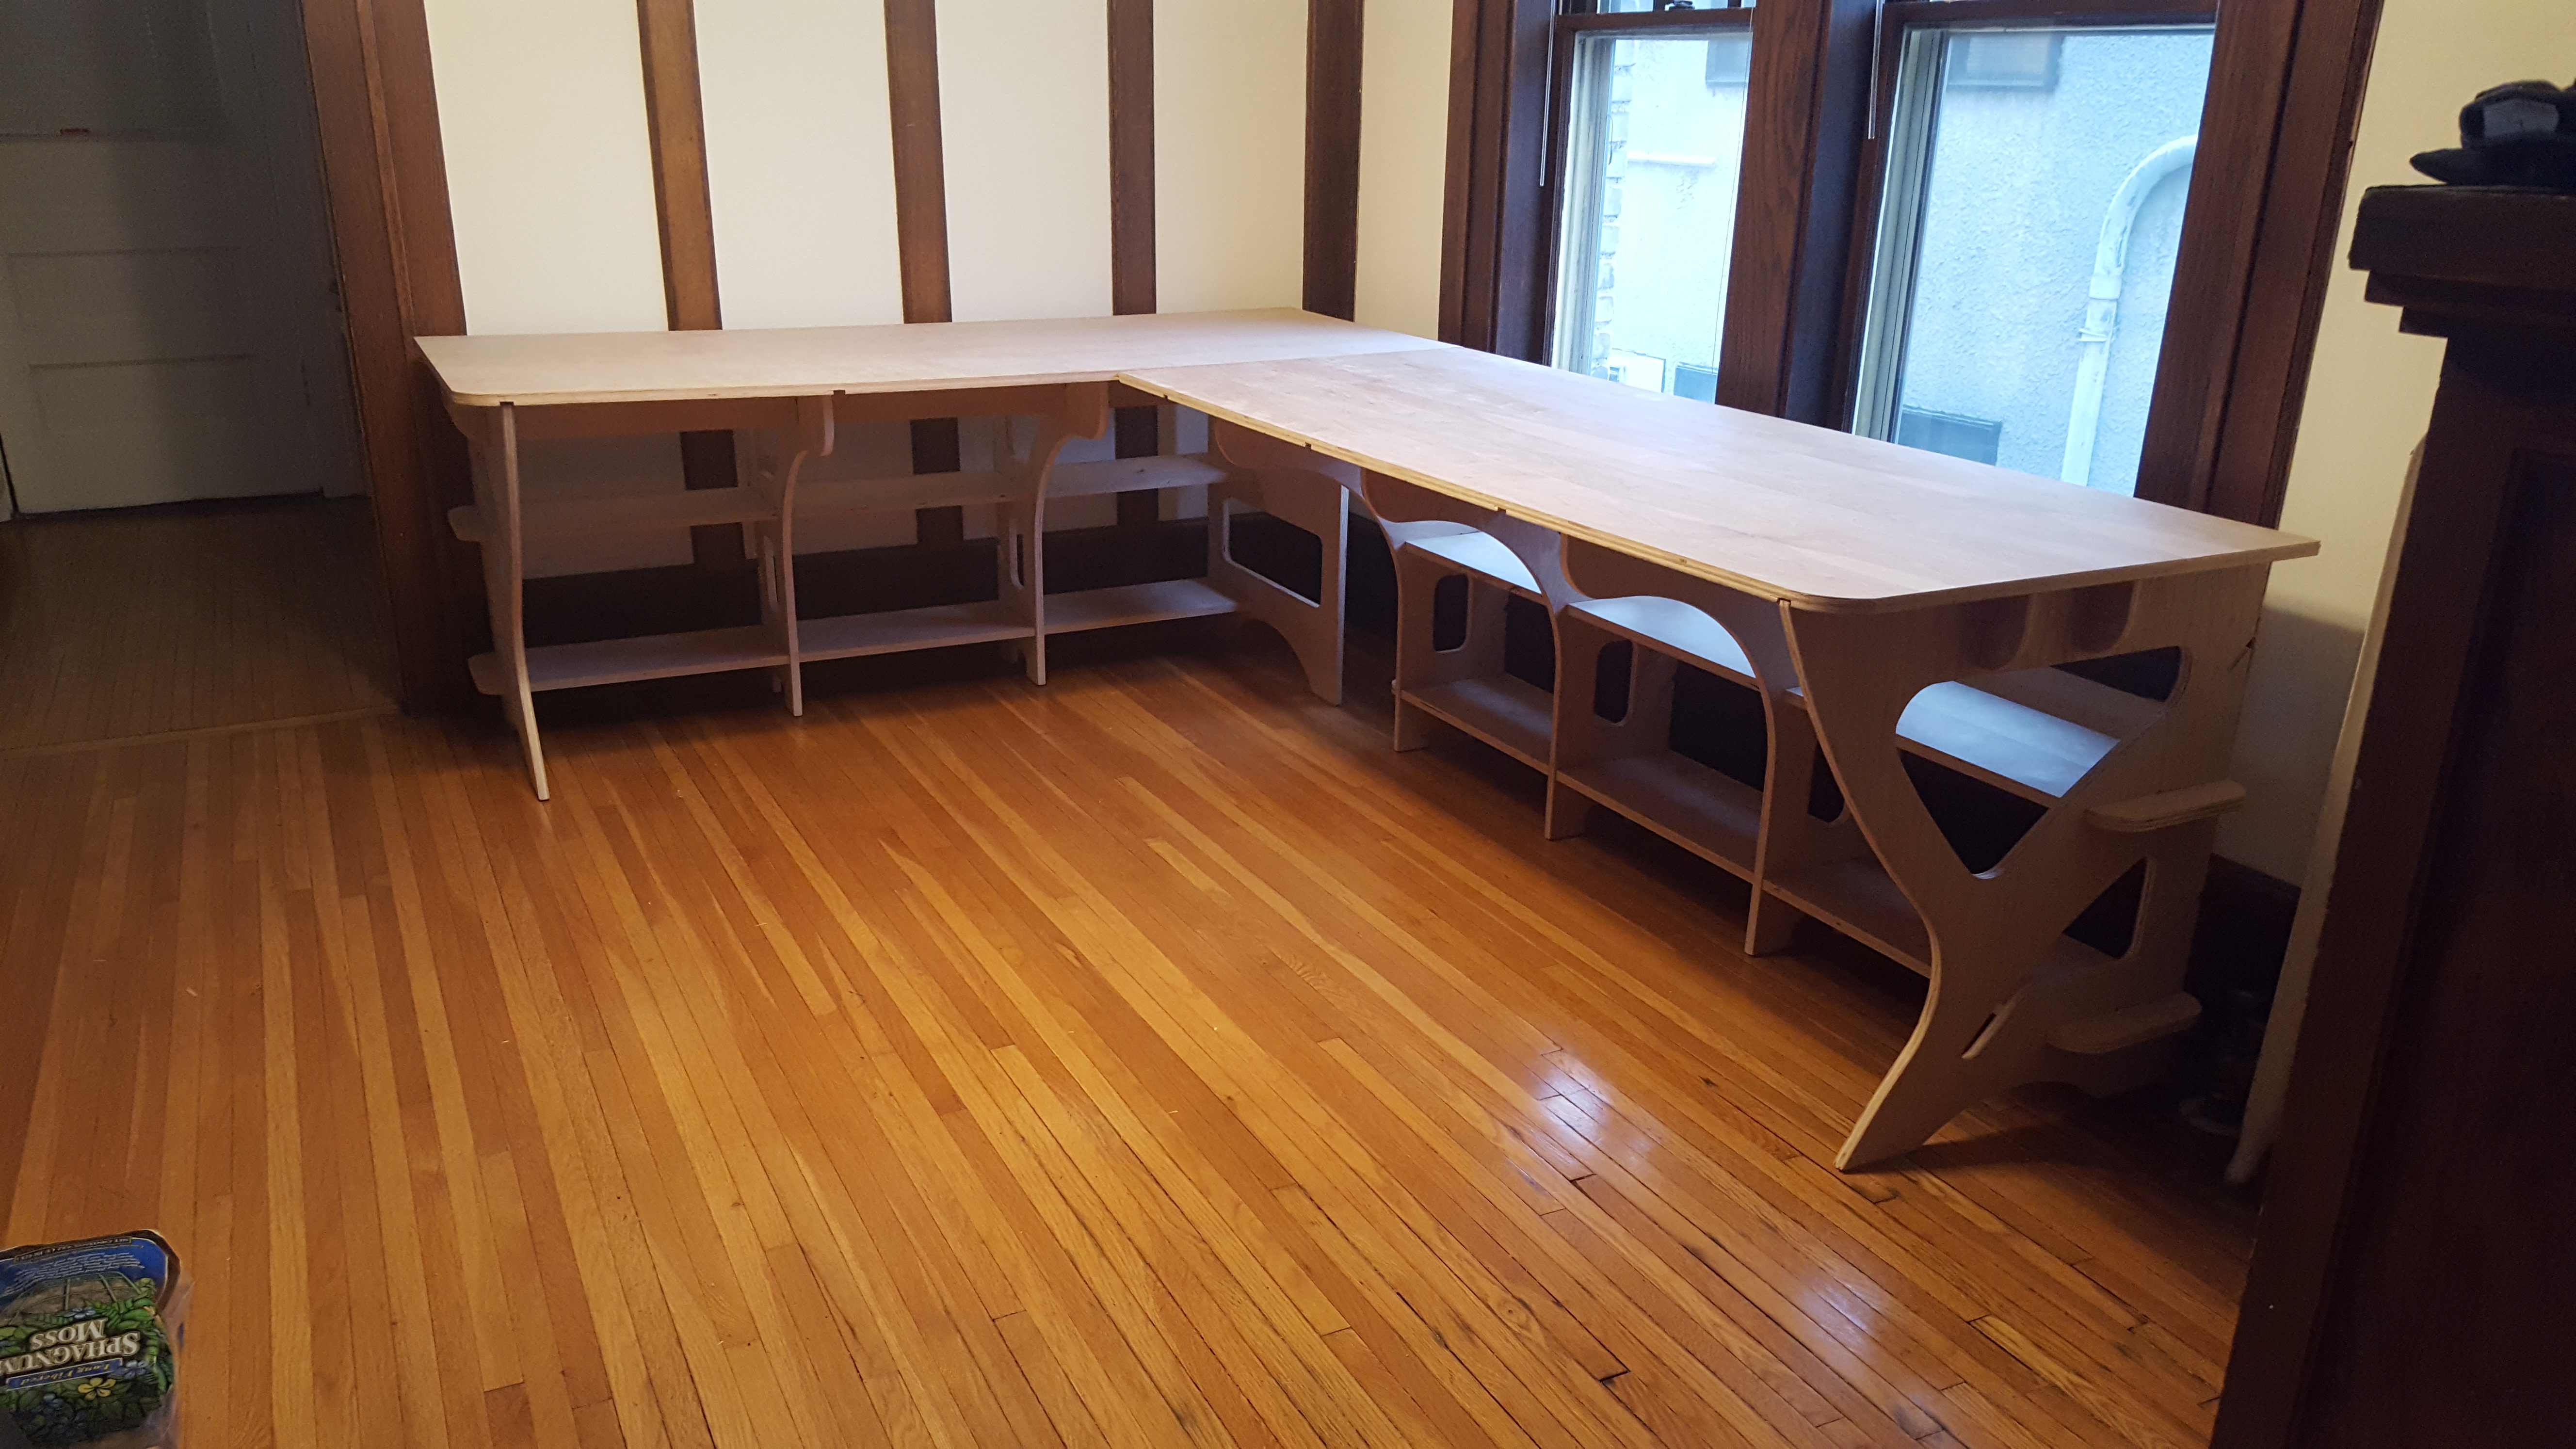
Motivated by a desire for a more mobile, yet practical lifestyle, I designed and built this flat-pack style corner table for my apartment that requires no fasteners or glue, assembles and disassembles in just minutes, and can be transported much more easily than a conventional desk.
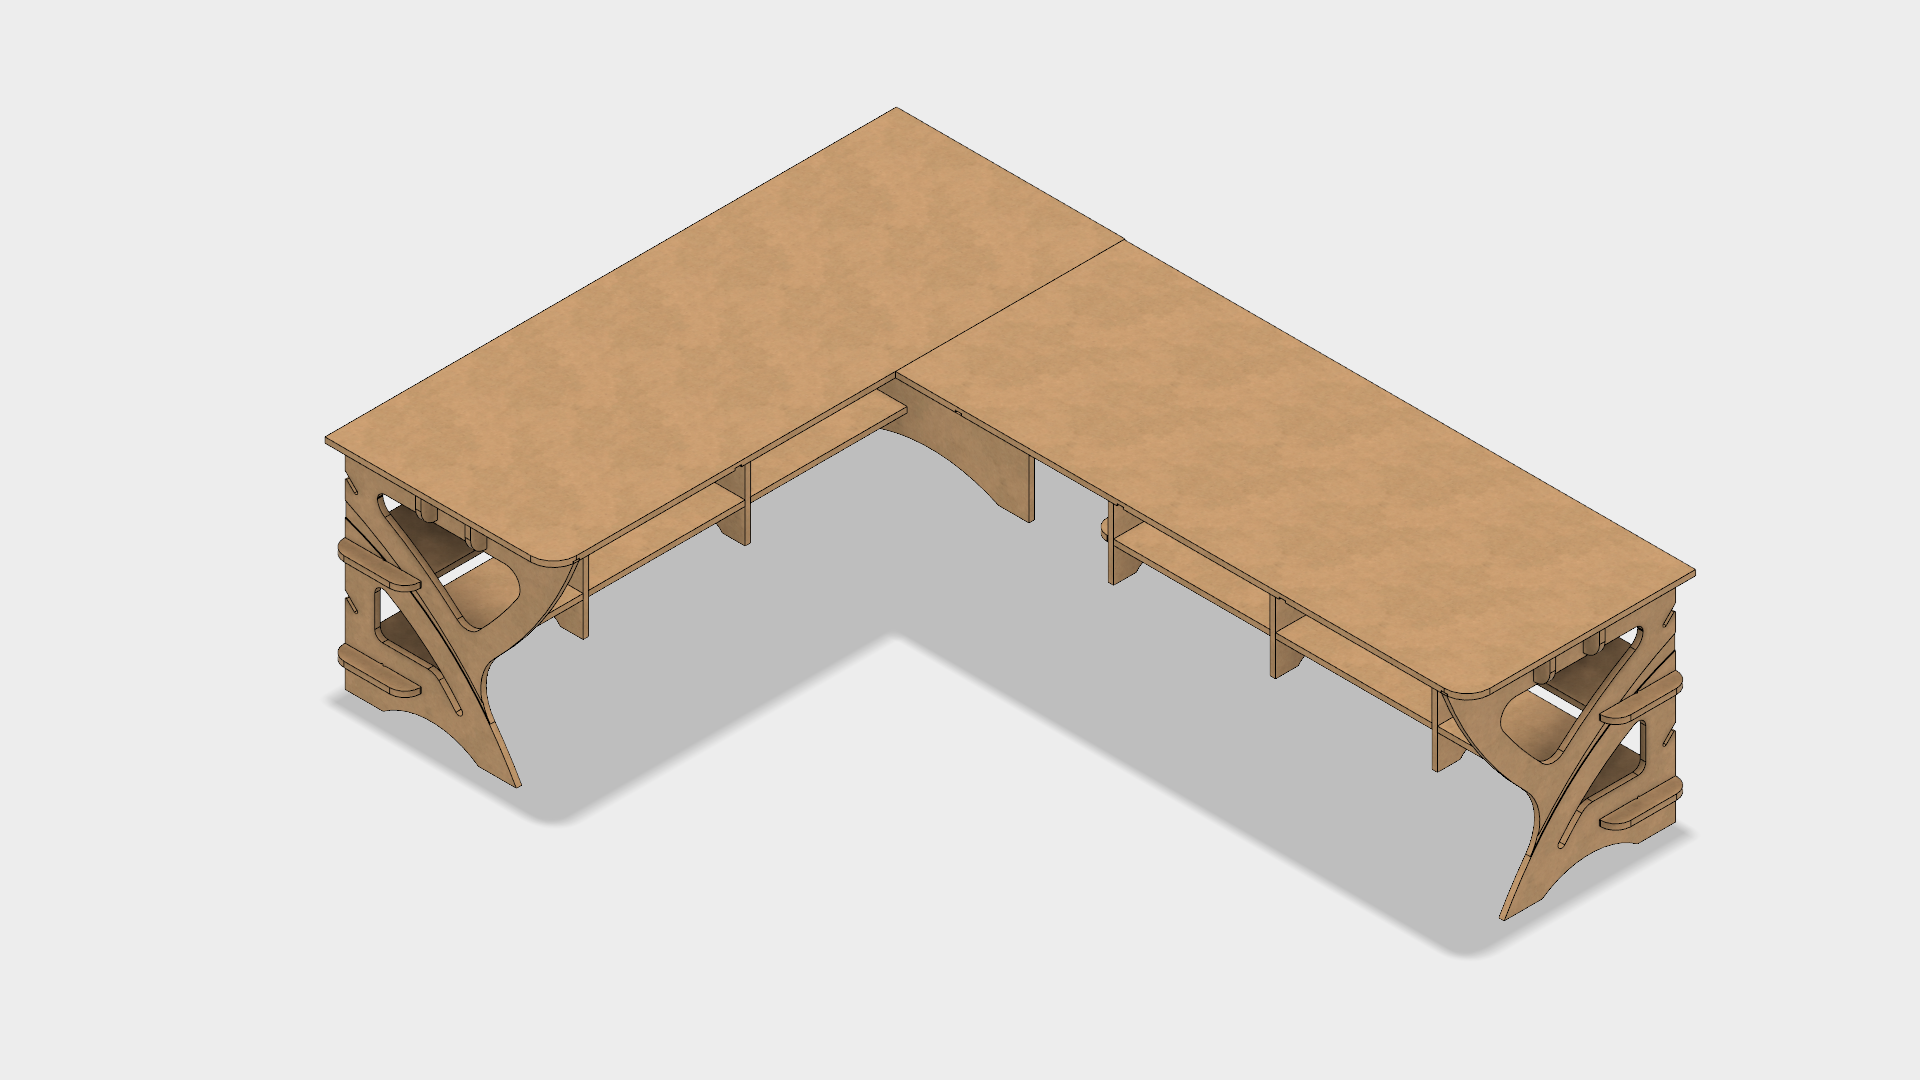
This corner table uses a series of interlocking legs, shelves and spines that all work together to create a solid and functional piece of furniture. It was designed entirely in Fusion 360, which also made the process of generating CNC toolpaths for fabrication (CAM) a breeze.
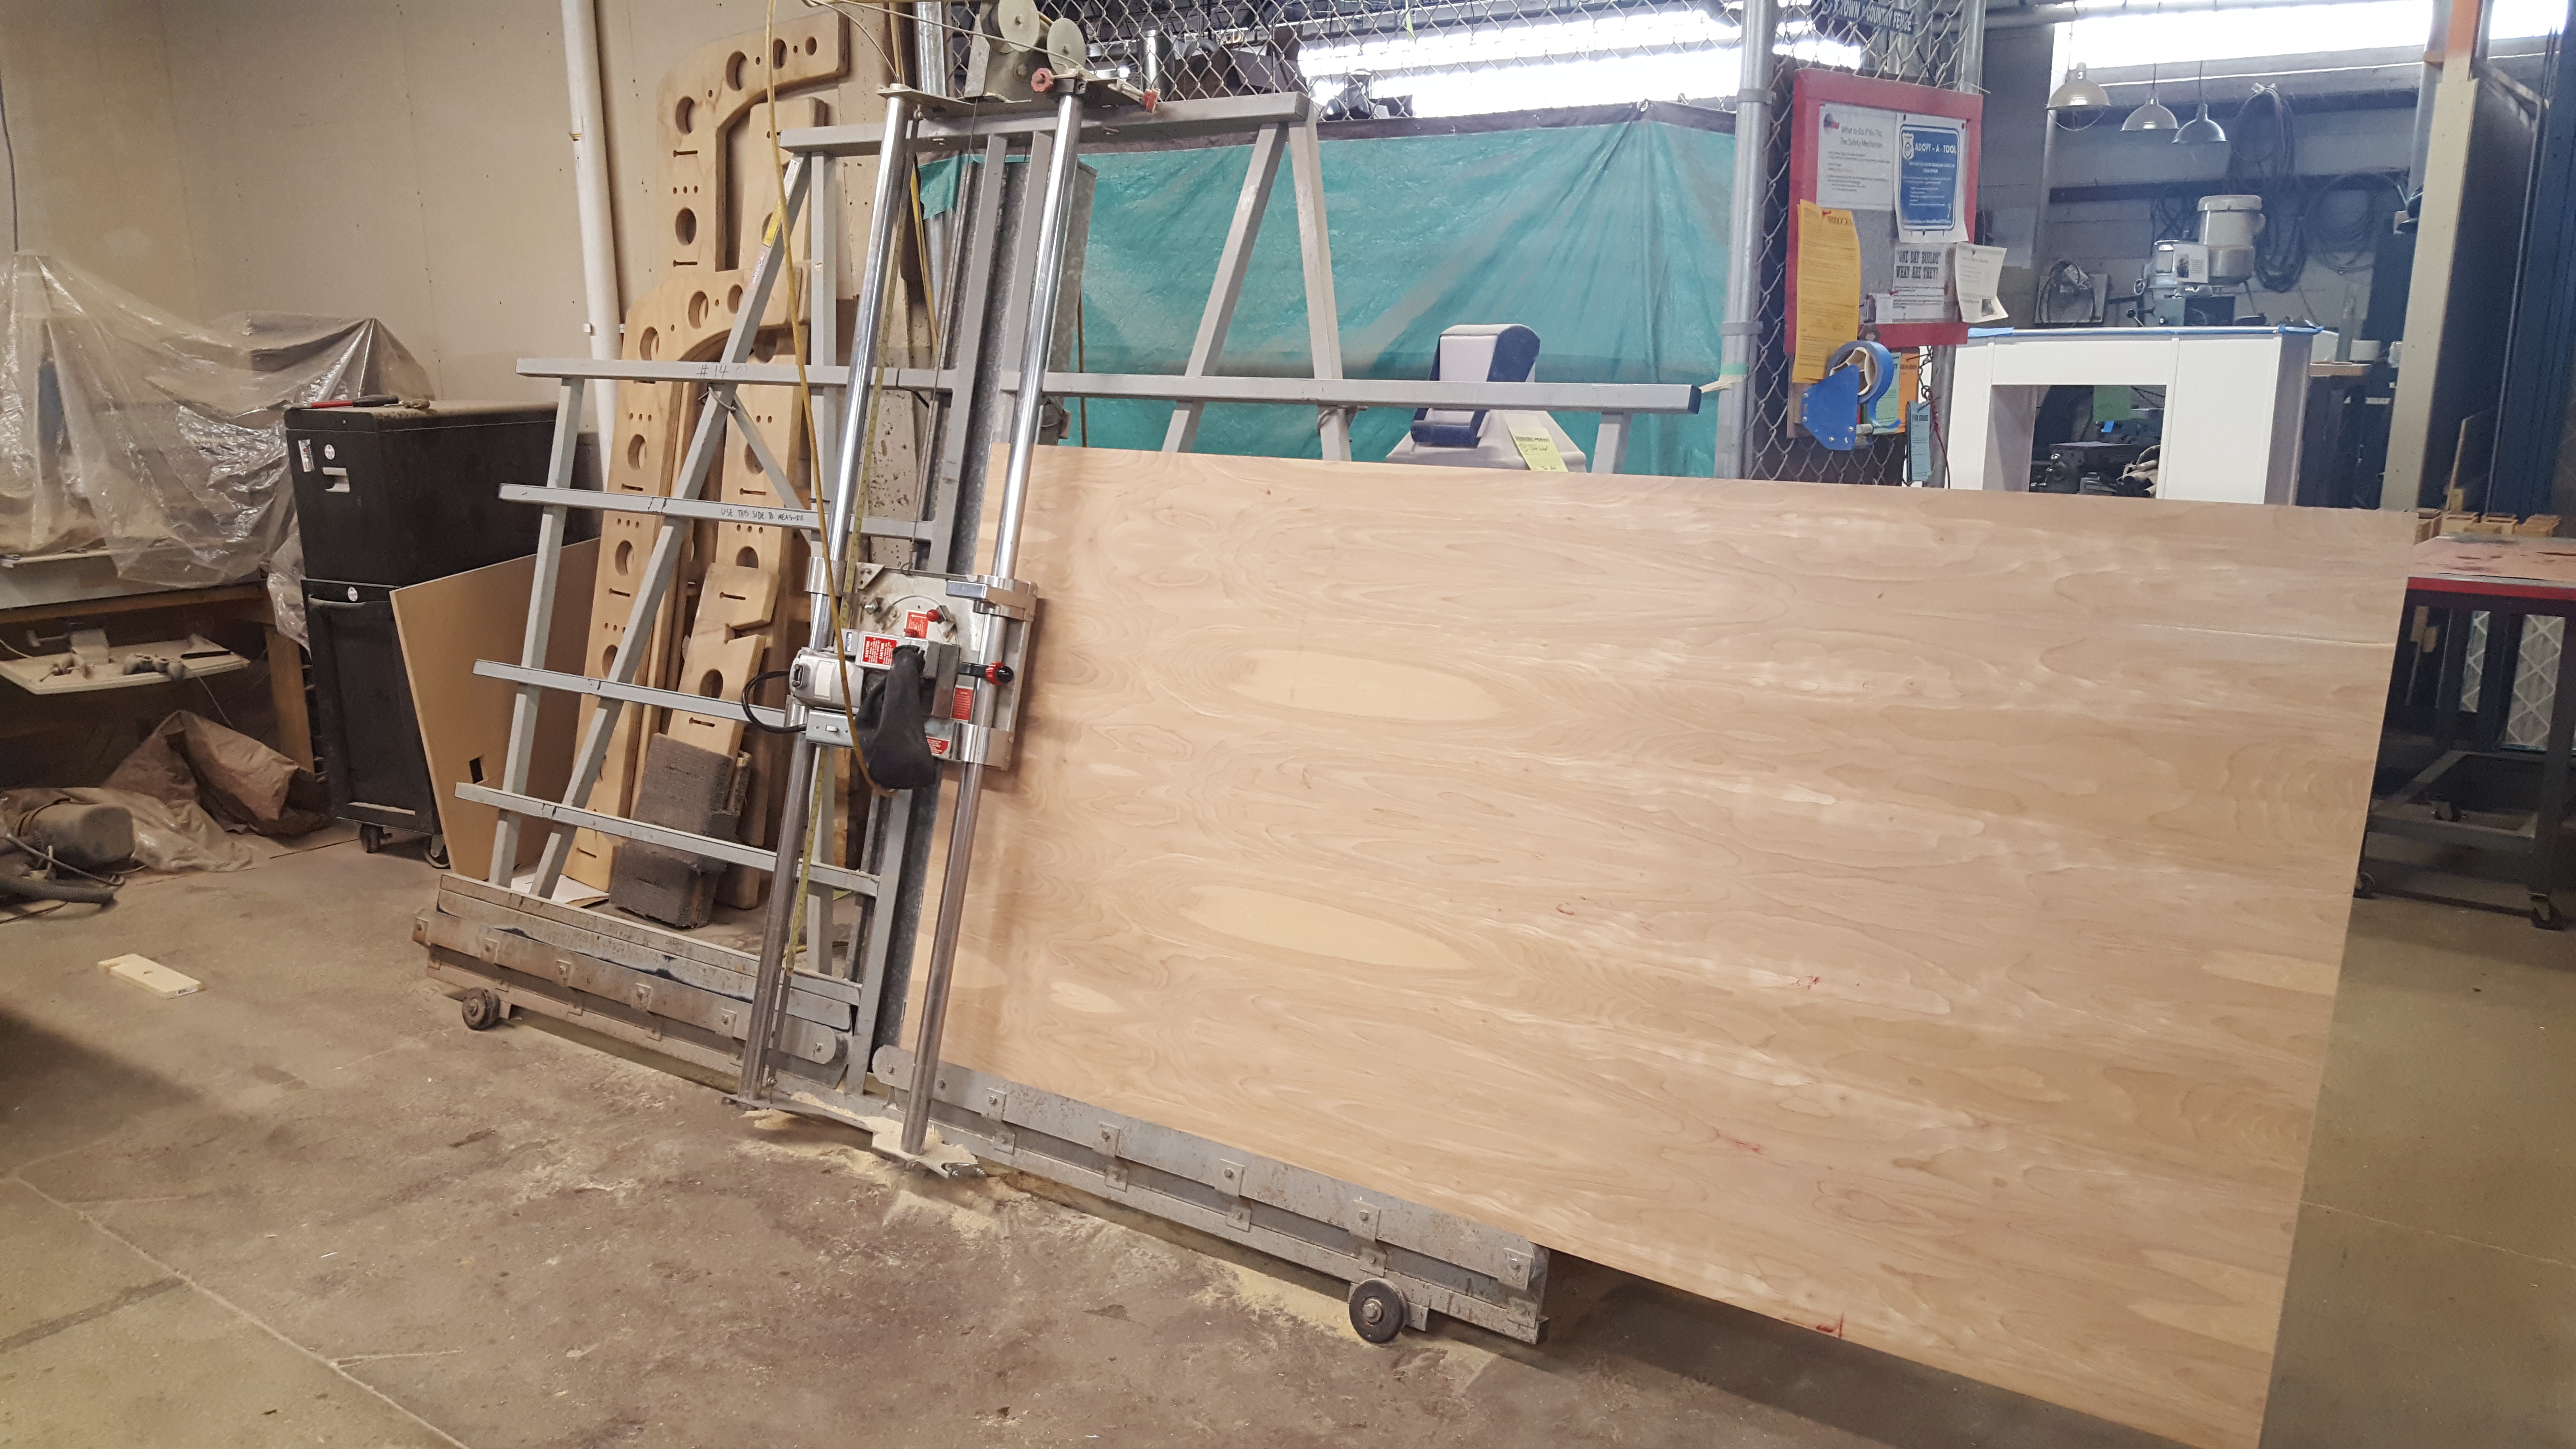
All the parts for this table were cut on a hand-made 4×4′ CNC router at my local hackerspace using 3/4″ birch plywood.
The Fusion 360 project file, along with technical drawings of all parts, is available on both Github and Thingiverse under the Creative Commons Attribution-NonCommercial-ShareAlike (BY-NC-SA) license. This means you are free to use and modify the design files however you’d like so long as you give me a shout-out when you do, and don’t start manufacturing my design for profit on your own. Feel free to ping me if you have any questions about usage!
Design
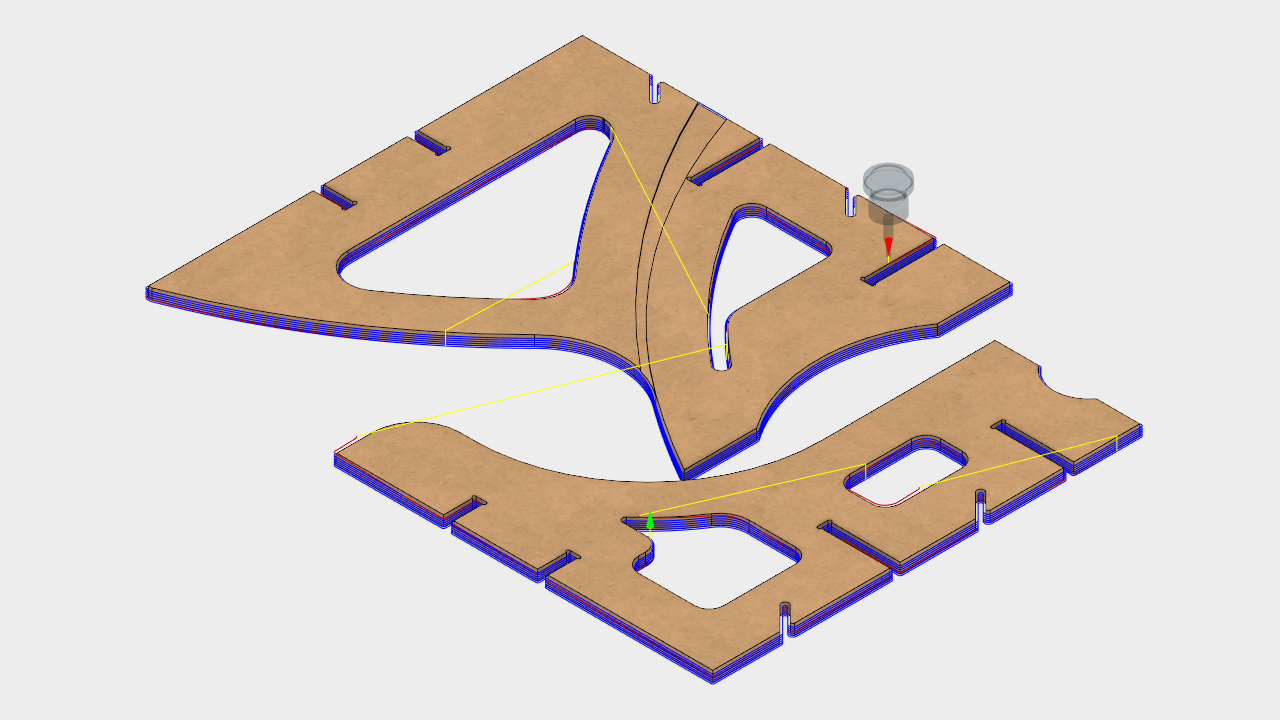
This project was designed entirely in Fusion 360 making use of it’s sketching, assembly, animation, and CAM functionality to capture the project’s entire lifecycle from concept to fabrication.
The design is semi-parametric, allowing for fine adjustments to be easily made throughout to account for material thickness, fit tolerance, end mill diameter, and more.
The table uses a combination of interlocking shelves and spines to provide good compensation against shear and torsion forces, though this depends heavily on how well all of the interlocking joints fit together.
I’ve found that the weakest aspect of this design exists at the end of the right-side surface nearest to the inner corner of the table (where the two sides meet). Due to the relatively little amount of support under this area, the surface likes to twist inward a bit, though not enough to be a deal-breaker for my needs.
Fabrication
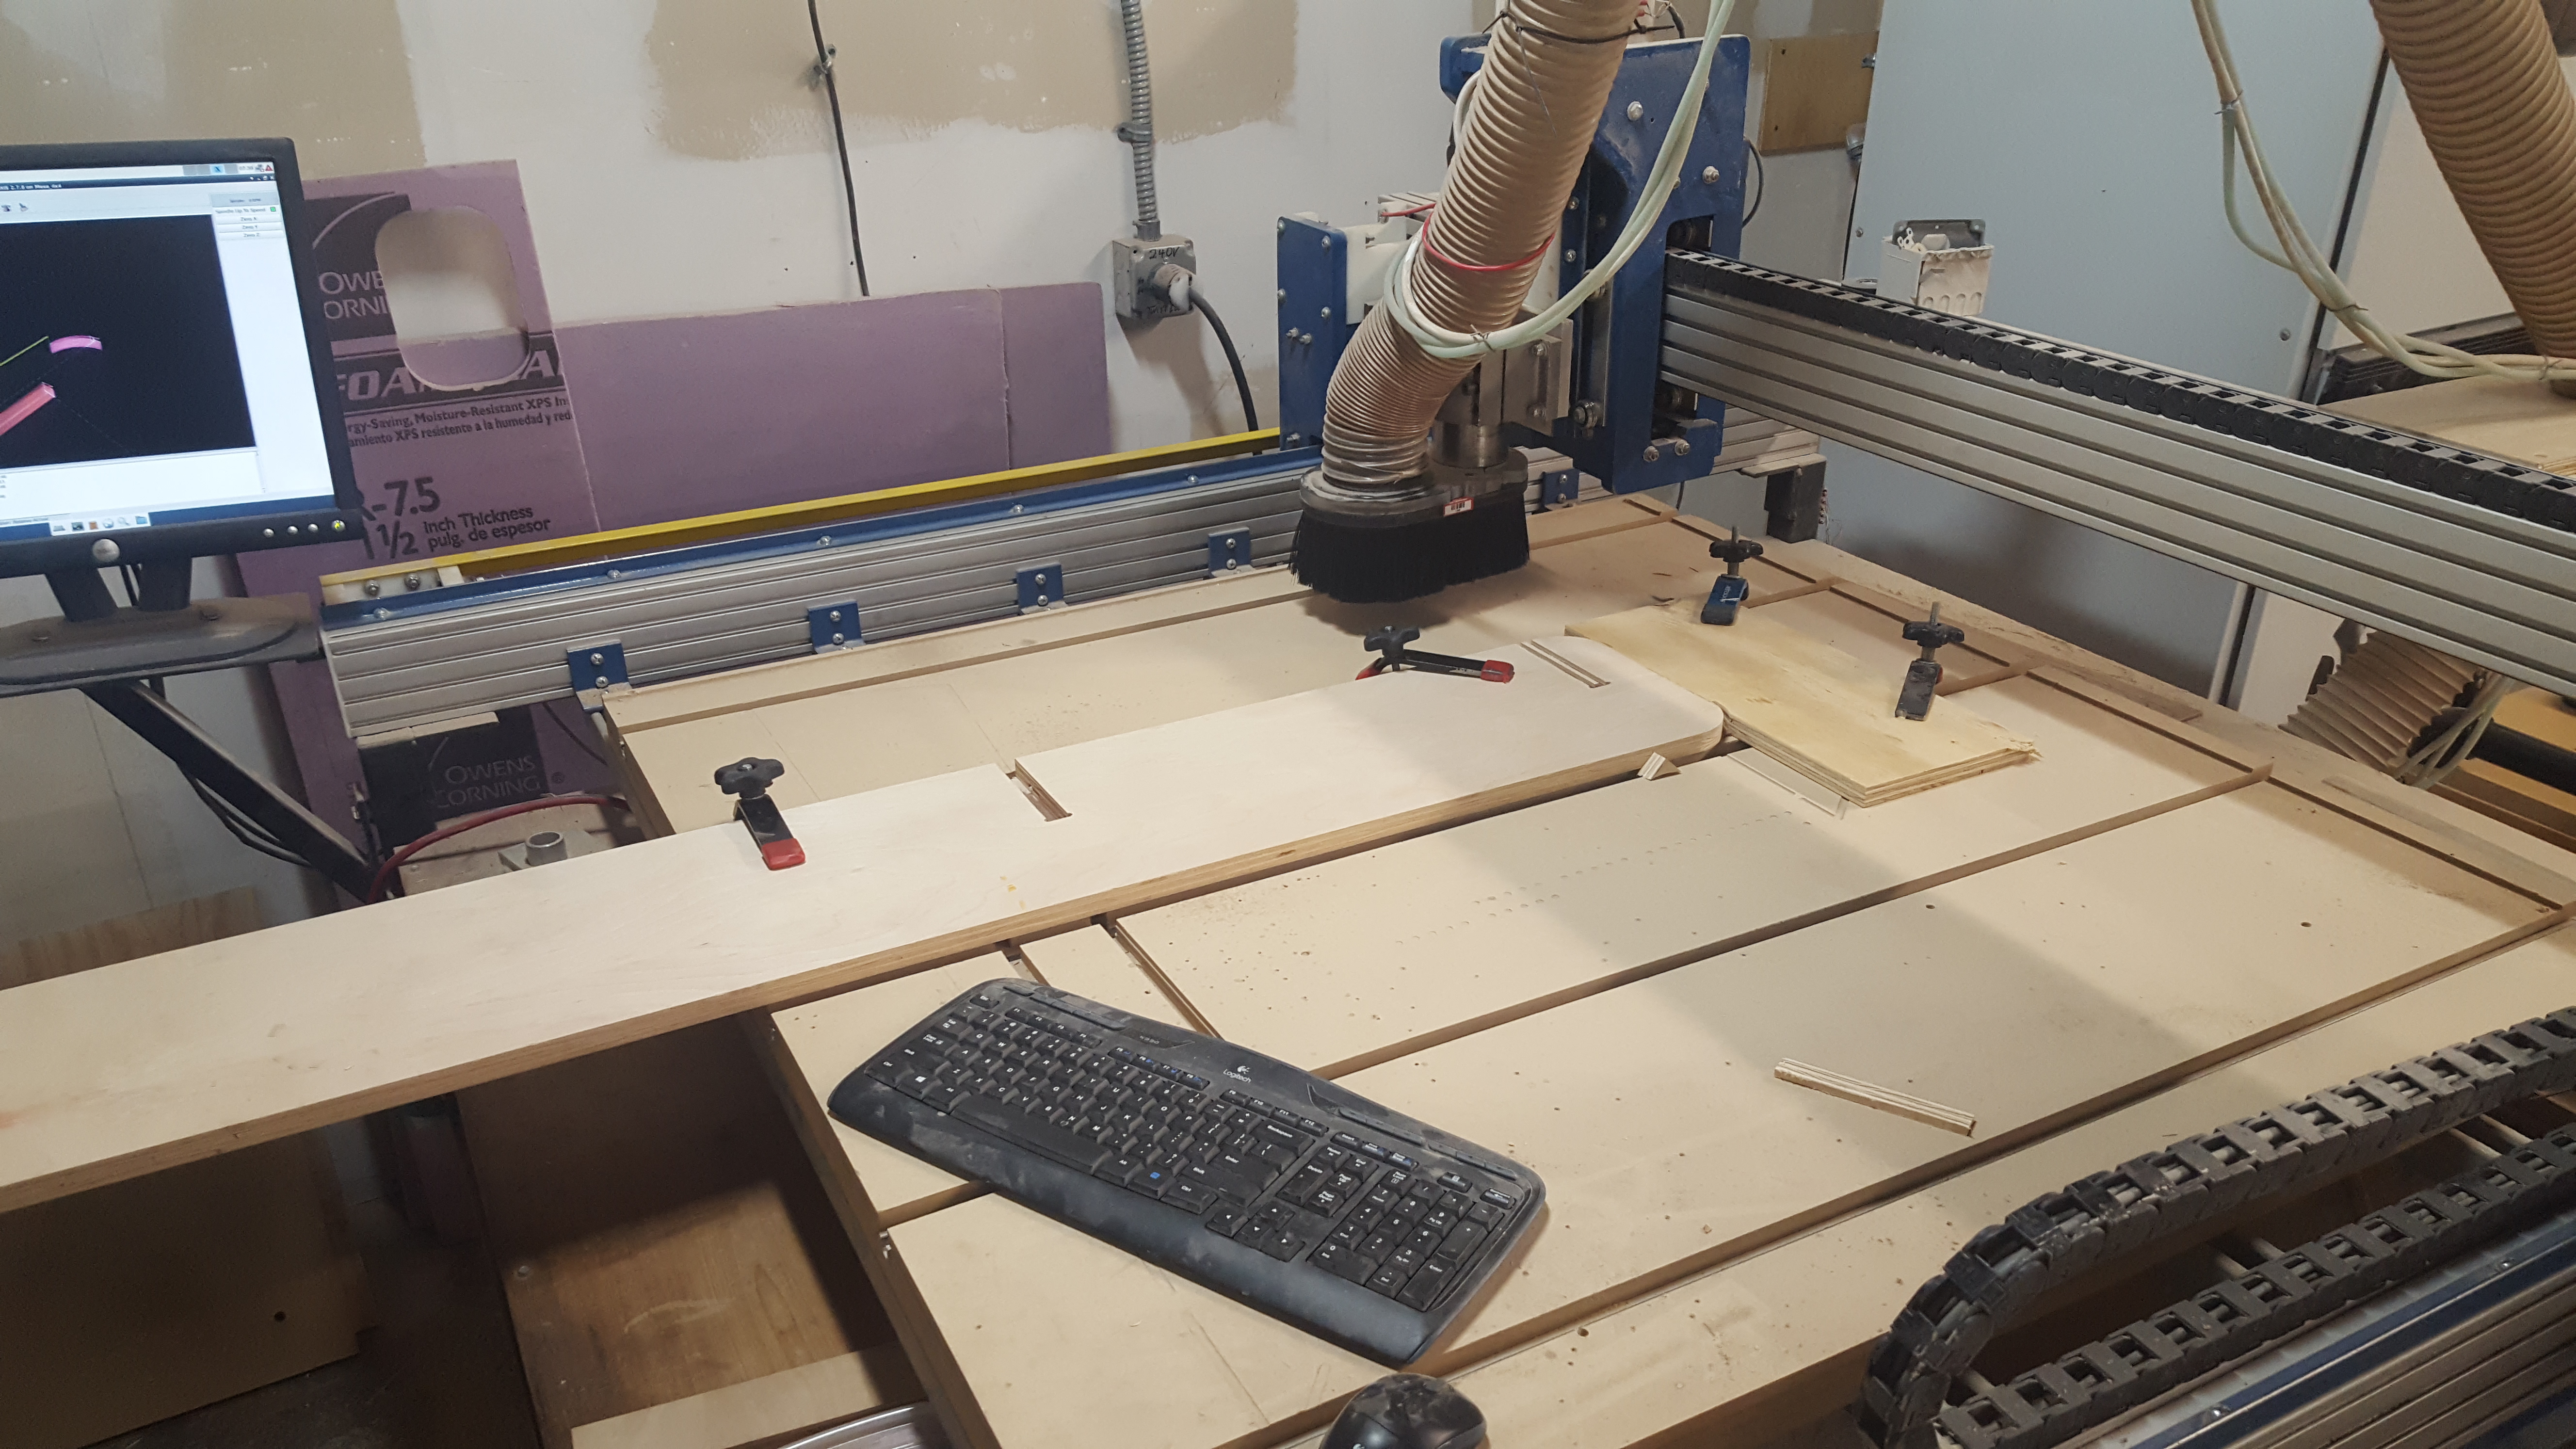
Fusion 360’s integrated CAM workspace was used to dynamically generate toolpaths for all parts throughout the design. This means that as soon as I make a change to a part design, like changing the fit tolerance of a joint, or the placement of a feature, that change is automatically captured by the toolpath generation setups with minimal intervention by me. For me this helps immensely in maintaining a creative flow through the fabrication stage of the project, as I am able to use a common set of part designs rather than have to be sure to constantly be manually updating DXF files and CAM setups each time I make iterative design changes.
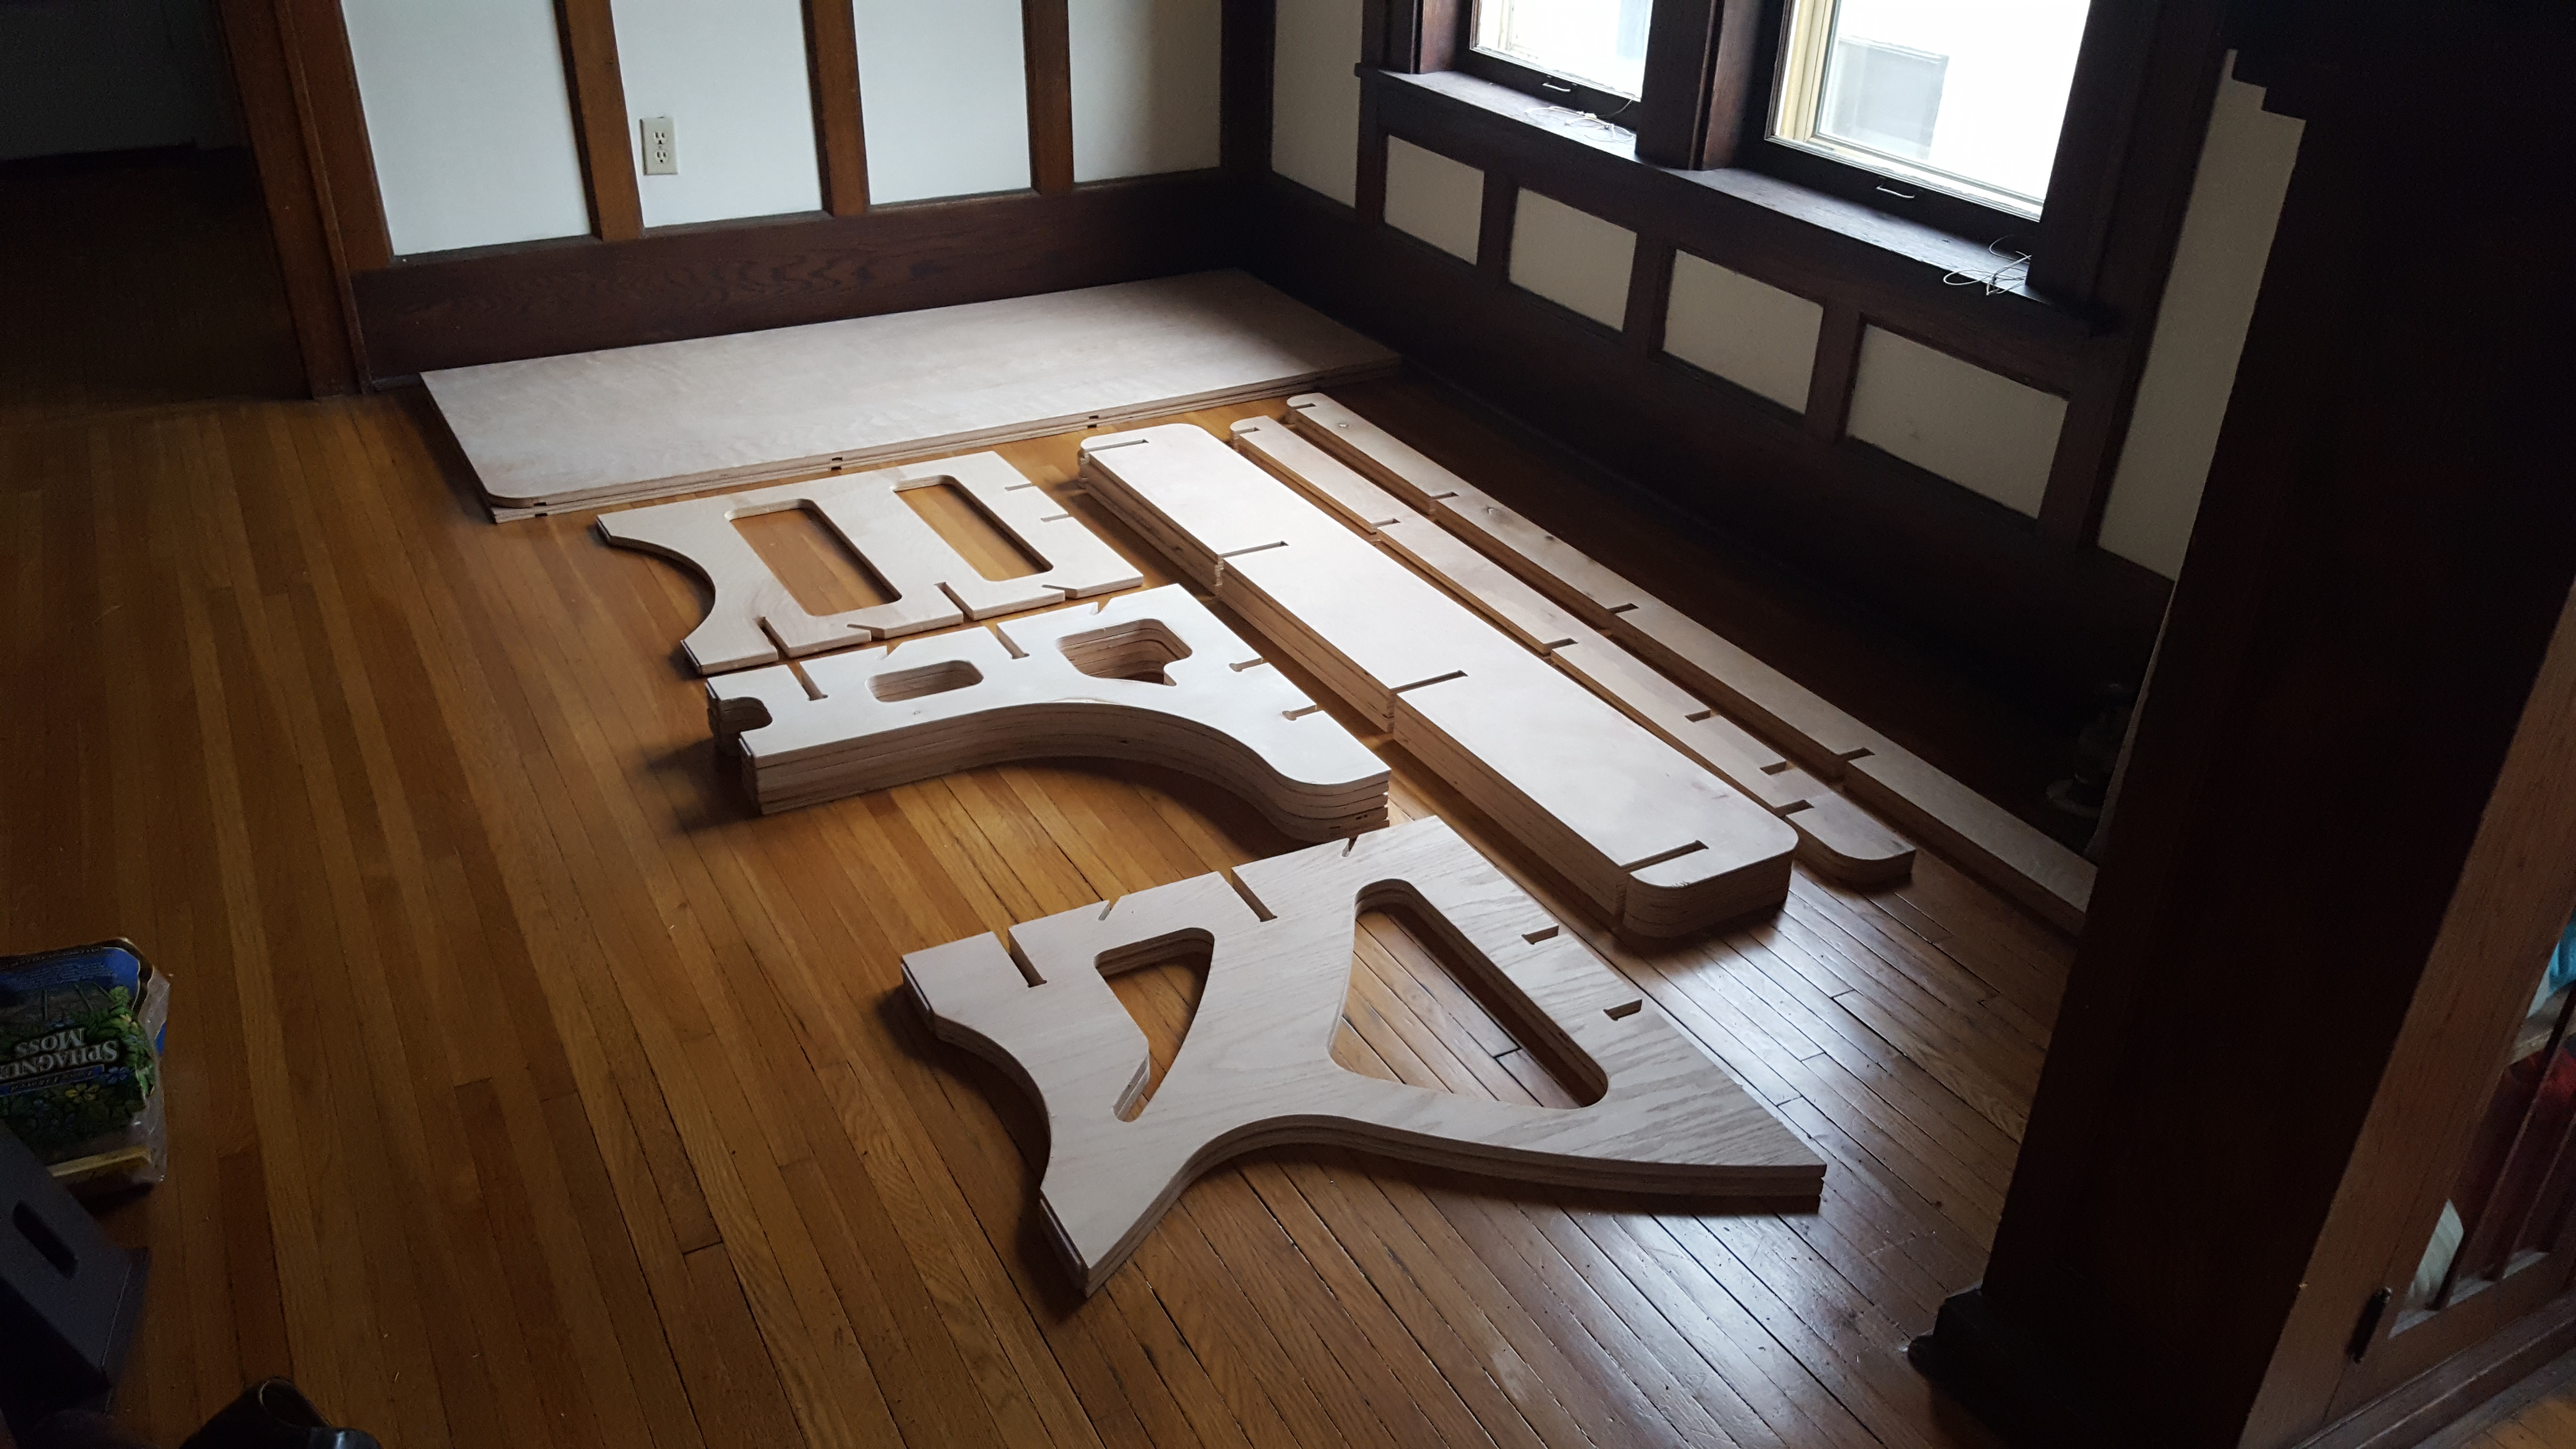
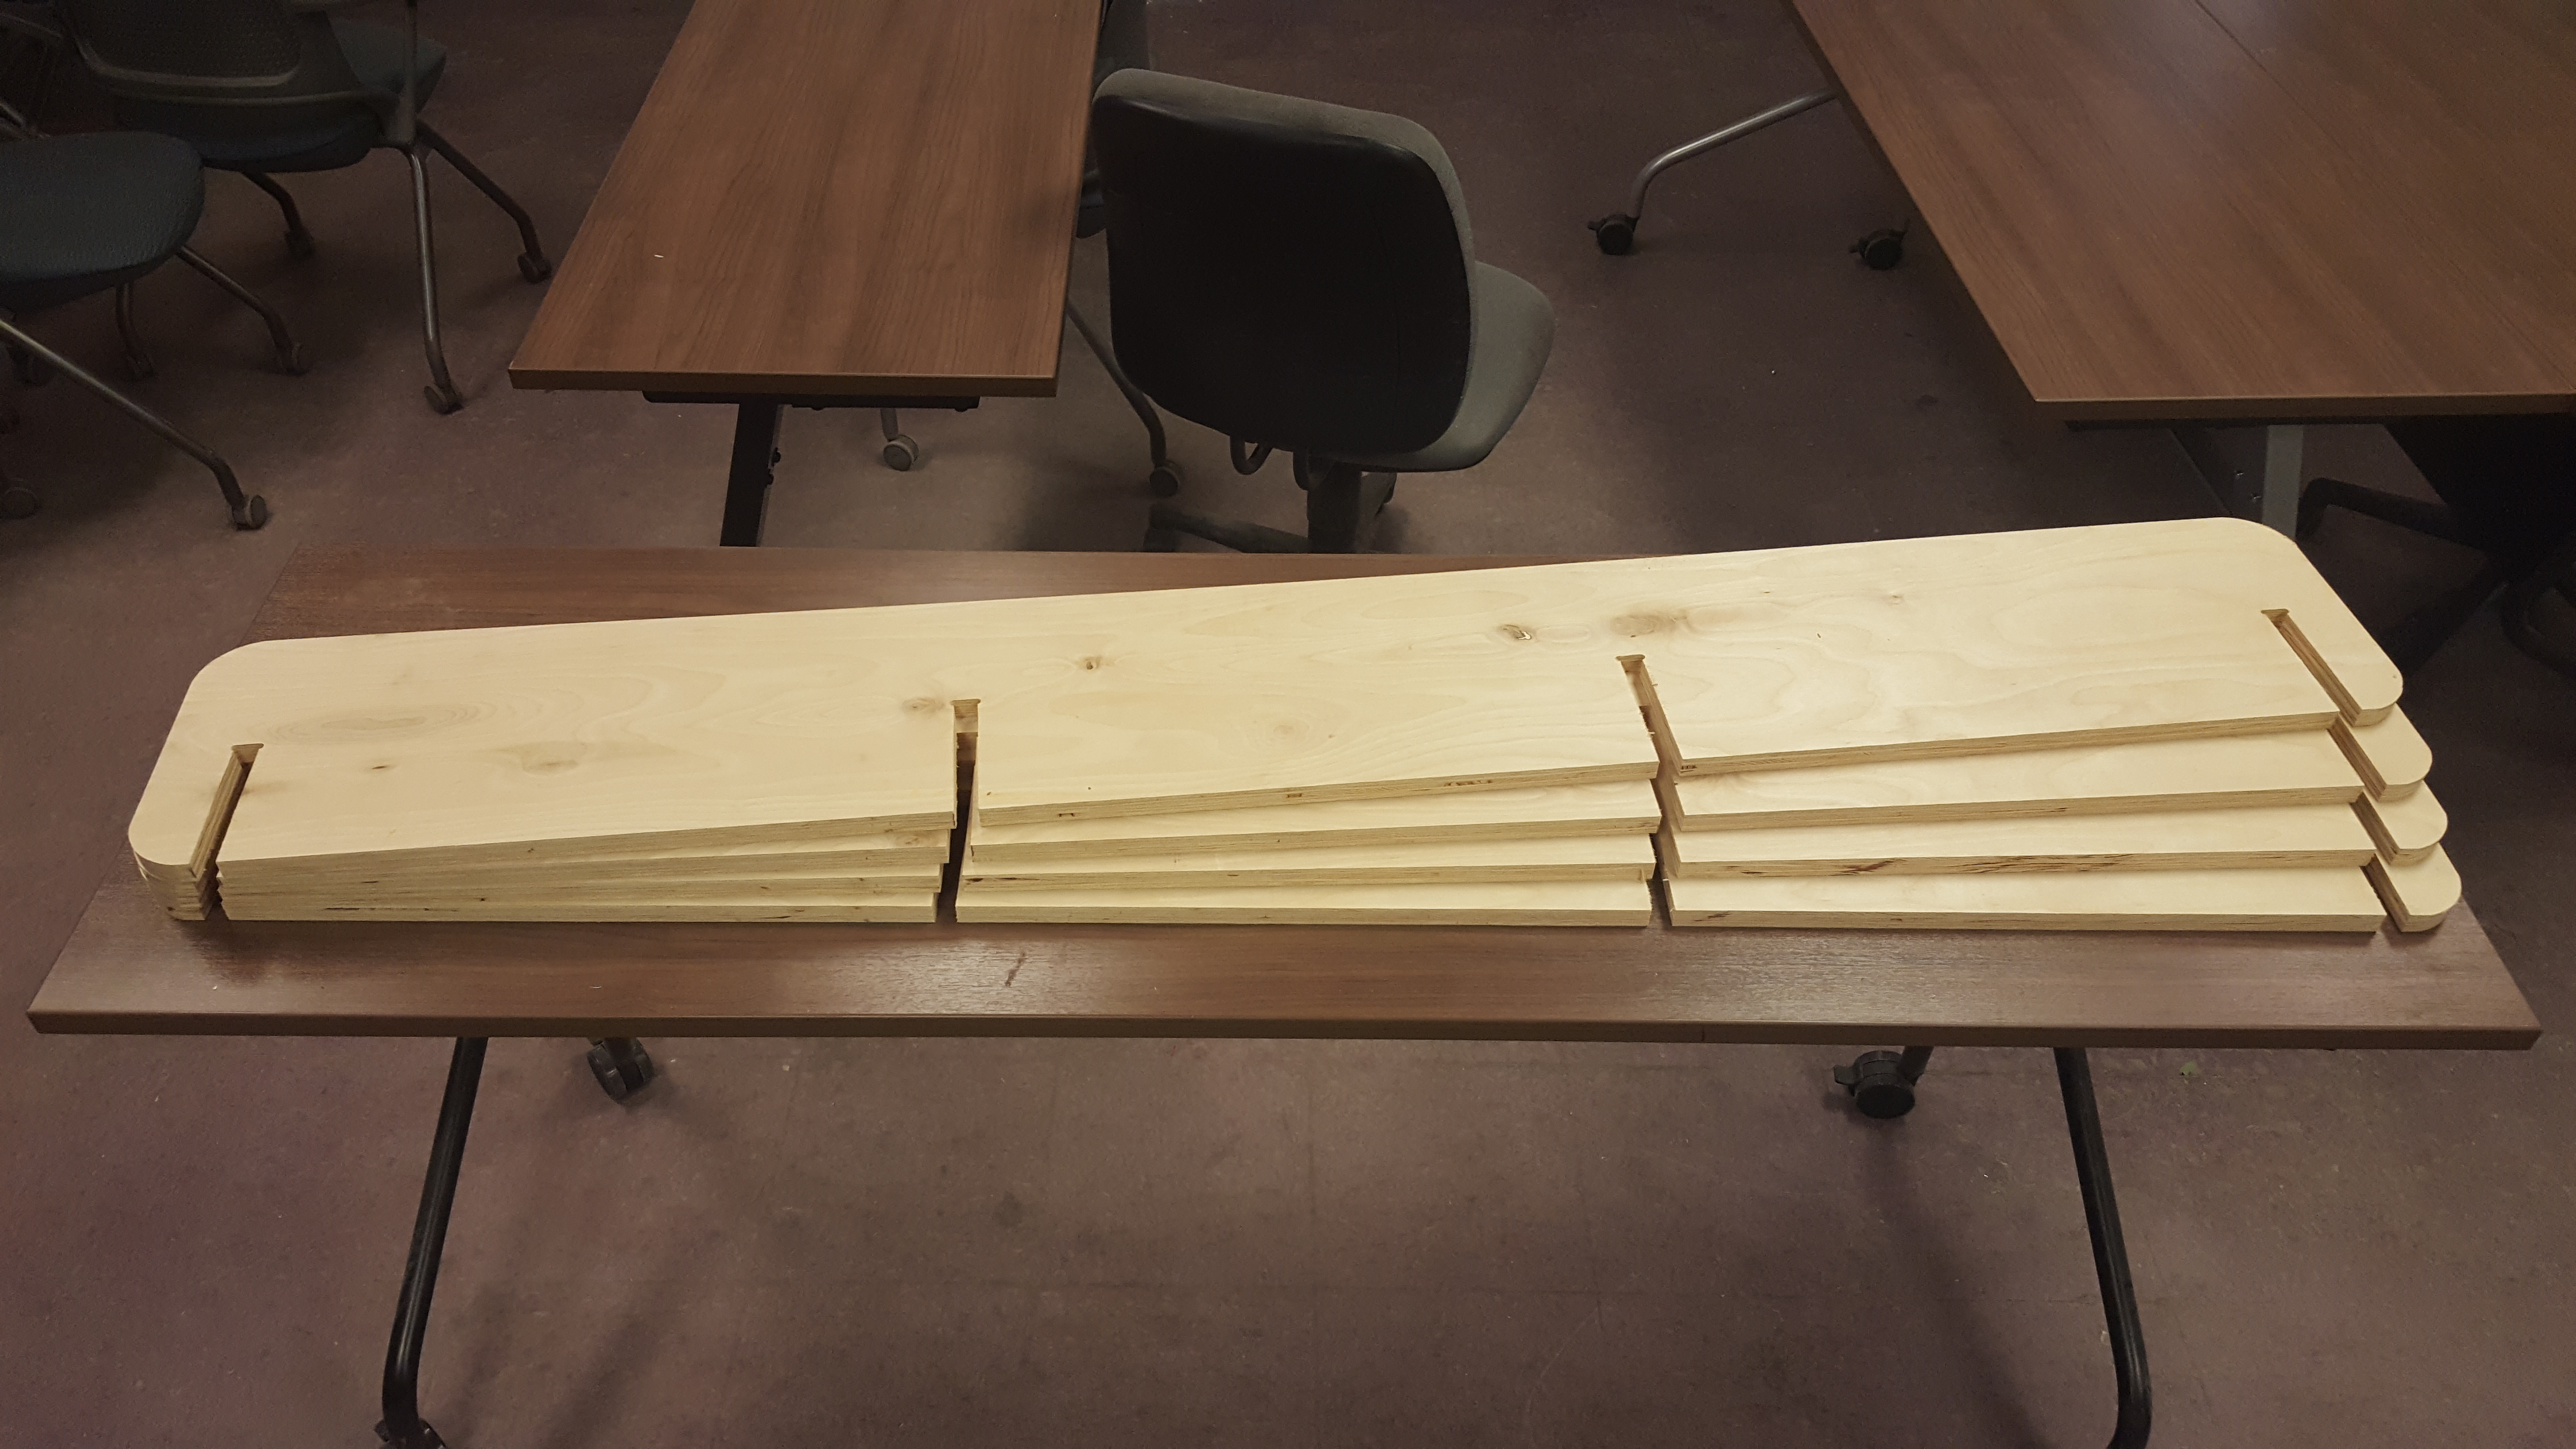
All parts were cut on a hand-made 4×4′ CNC router my local hackerspace out of 3/4″ birch veneer core (VC) plywood using a conventional 1/4″ 2-flute straight router bit.
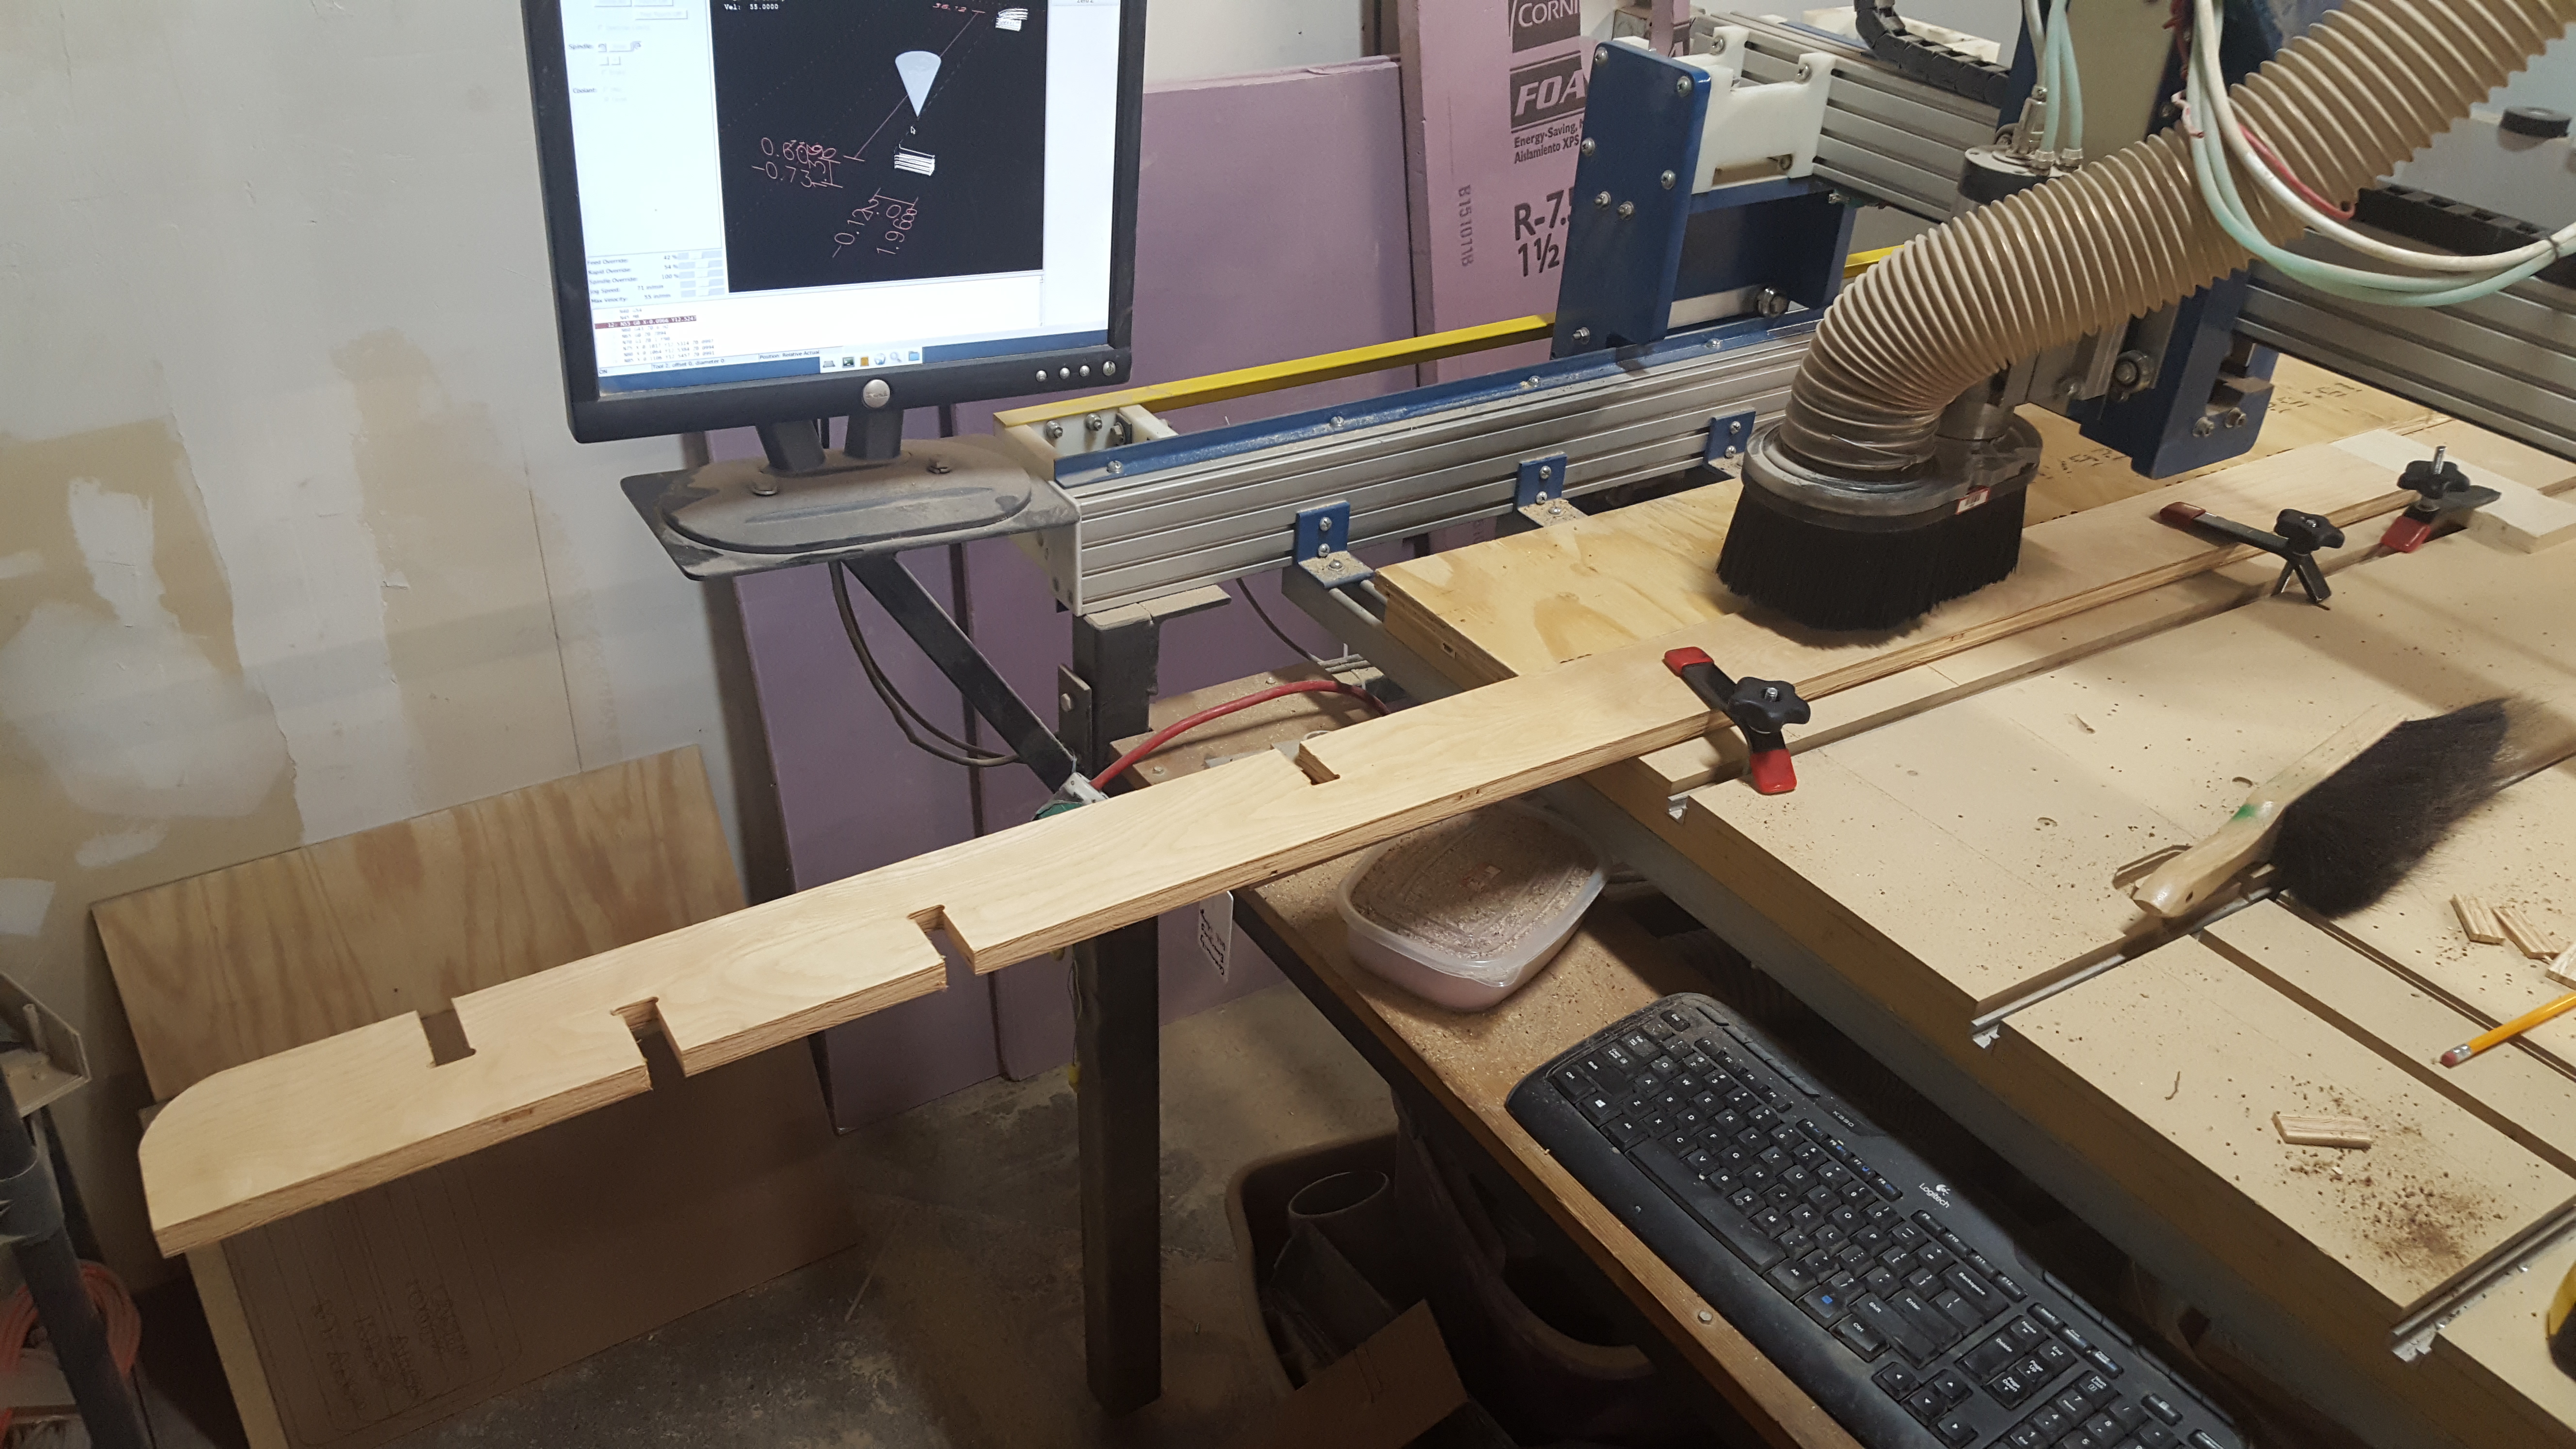
For the more square parts (the legs) I was able to neatly nest a couple parts at a time and cut them entirely out of 4×4′ stock. But for the long pieces (the shelves and spines) I needed to flip the pieces over to make all the cuts, resulting in some very small offsets that affected fit later on.
For the surfaces I opted to accurately mark the locations of each of the underside slots, then cut them one at a time by moving the workpieces between cuts and repeating the same toolpath (a single slot) as needed.
The router is pretty quirky and not the most accurate, so my fit tolerances were not quite as accurate as I was hoping for. In most cases the fit was too tight, which is easily remedied with a hand file and some sandpaper. A couple joints felt a little too loose, which is also easily fixed with paper or scrap wood shims.

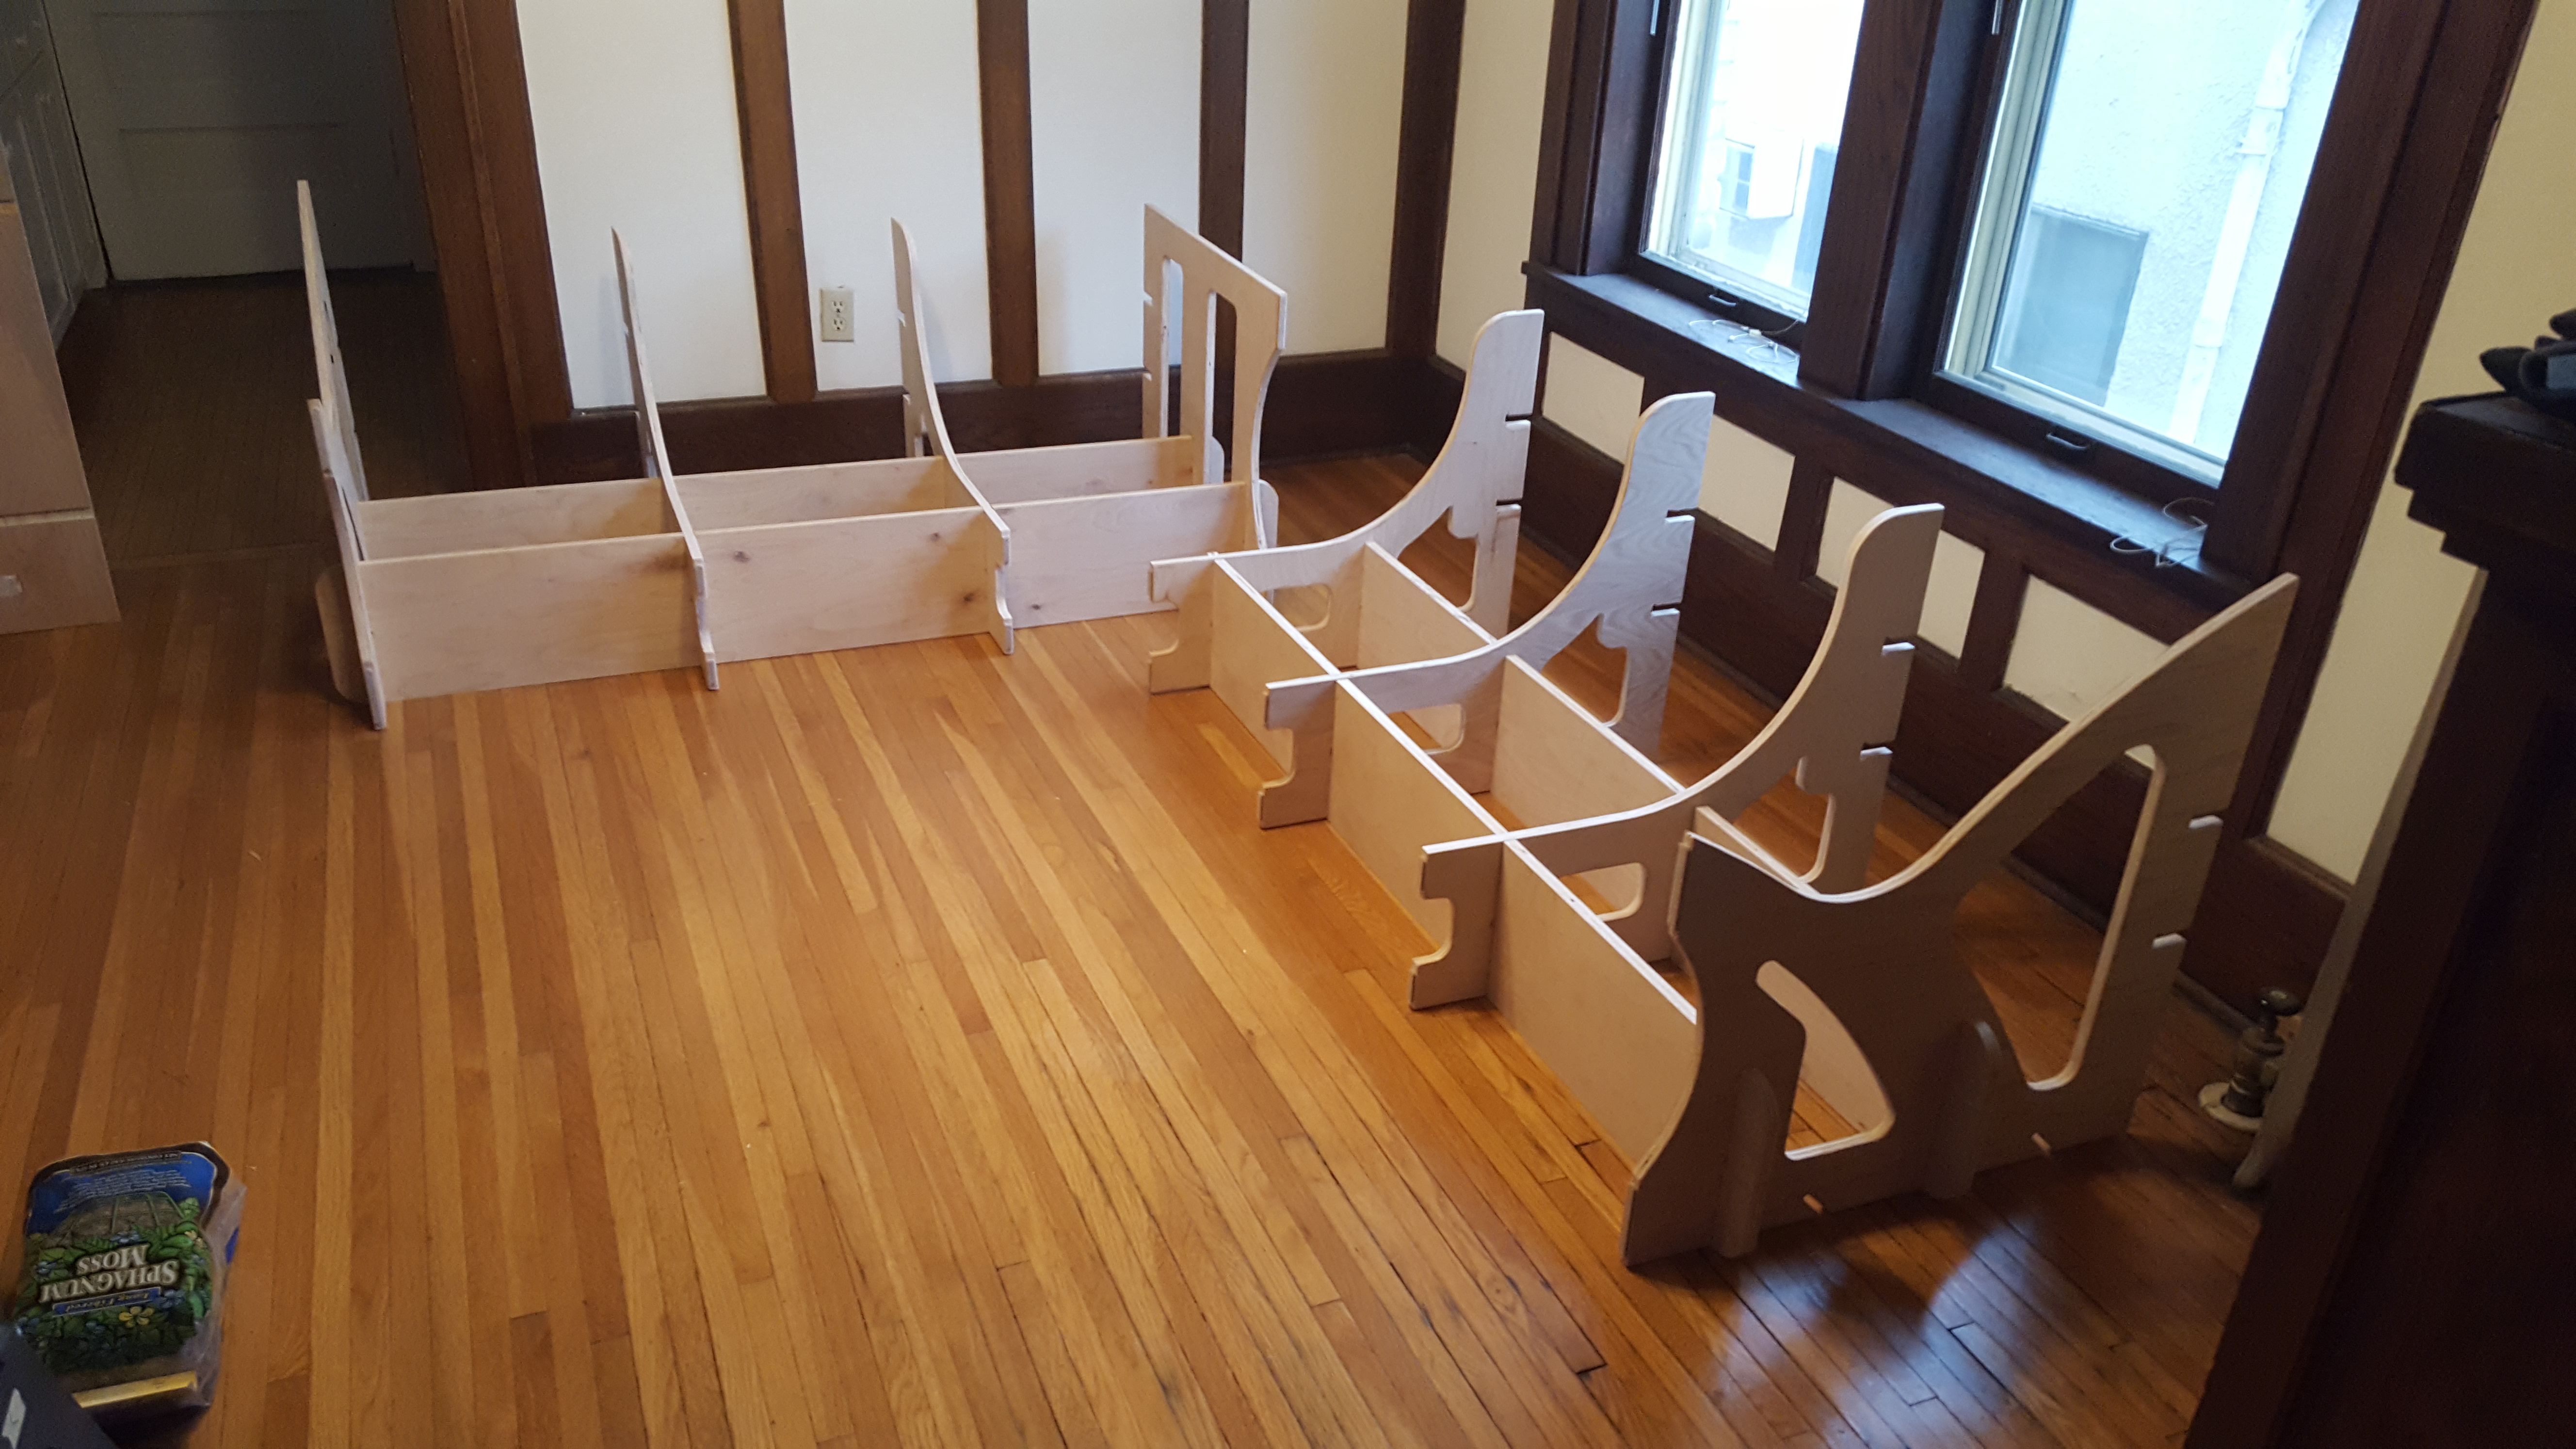
Assembly
Assembling the corner table is very easy and does not require any tools whatsoever. Due to the fit tolerance issues introduced by the poor-quality CNC machine I used I did have to file and sand some joints, but that should not be an issue for nicer machines.
Adhesive felt strips were added to the bottoms of each of the legs to protect my hardwood floors, improve leveling (slightly), and allow the assembled table to be slid around for easy placement.
I assembled my table by first installing each of the legs onto pairs of shelves, then installing the spines to join the two table sides together. The table tops simply lay on top and are guided into place with the underside slots that correspond to legs underneath. In my experience the sheer size and weight of these surfaces is adequate to keep them flat, while friction with supporting components is enough to keep them from moving around too easily.