Prusa Mendel build update #7: building and early use of Universal Paste Extruder (printing frosting on cookies!)
When I made the decision to build my own Prusa Mendel i2 3D printer I did so with a very specific goal in mind; to be able to make 3D prints using various pastes such as chocolate, frosting and peanut butter. In fact, I don’t even have a working plastic extruder yet!
Last year I saw this awesome Universal Paste Extruder for the Quick-Fit X Carriage (both designed by RichRap) and my head started spinning with all the possibilities for 3D prints! I knew I wanted to work with the extruder, even though that required me building a 3D printer for it all to go on. Over the past few months I have done just that, and even have assembled a Universal Paste Extruder of my own to play with!
Sourcing the vitamins
Using the bill of materials provided by RichRap, I sourced the parts and made my own BOM. I already had most of the required parts left over from building my 3D printer, but hopefully this list is helpful to someone:
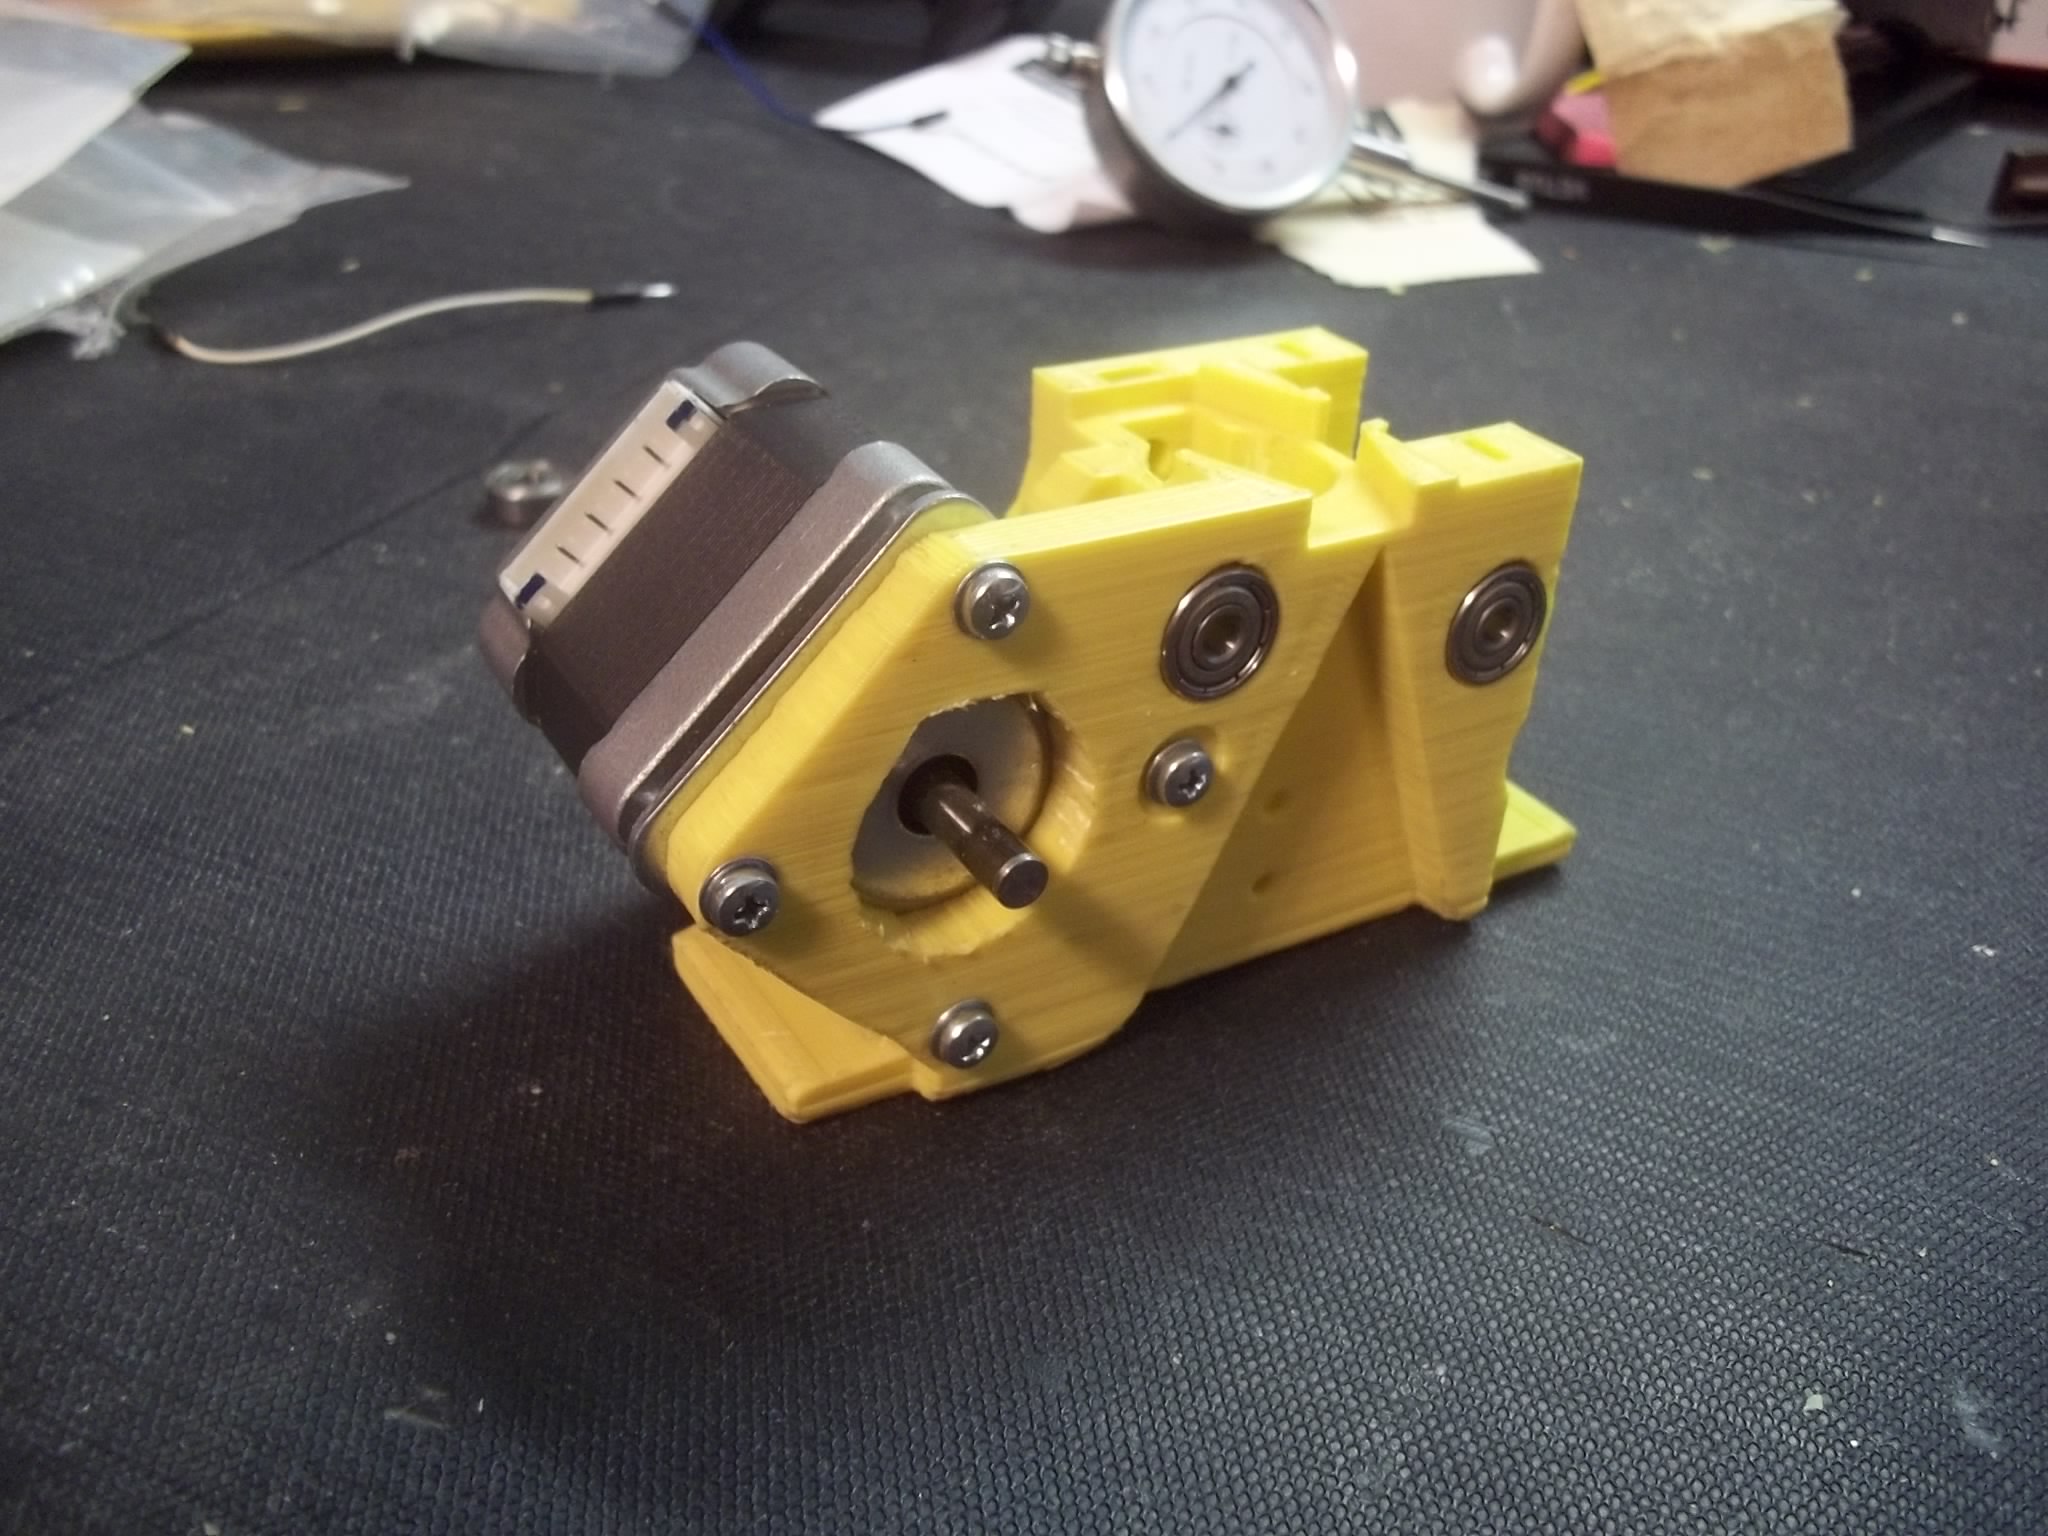
In addition to the parts in this BOM, you will need one NEMA17 motor and a T5 10 tooth pulley.
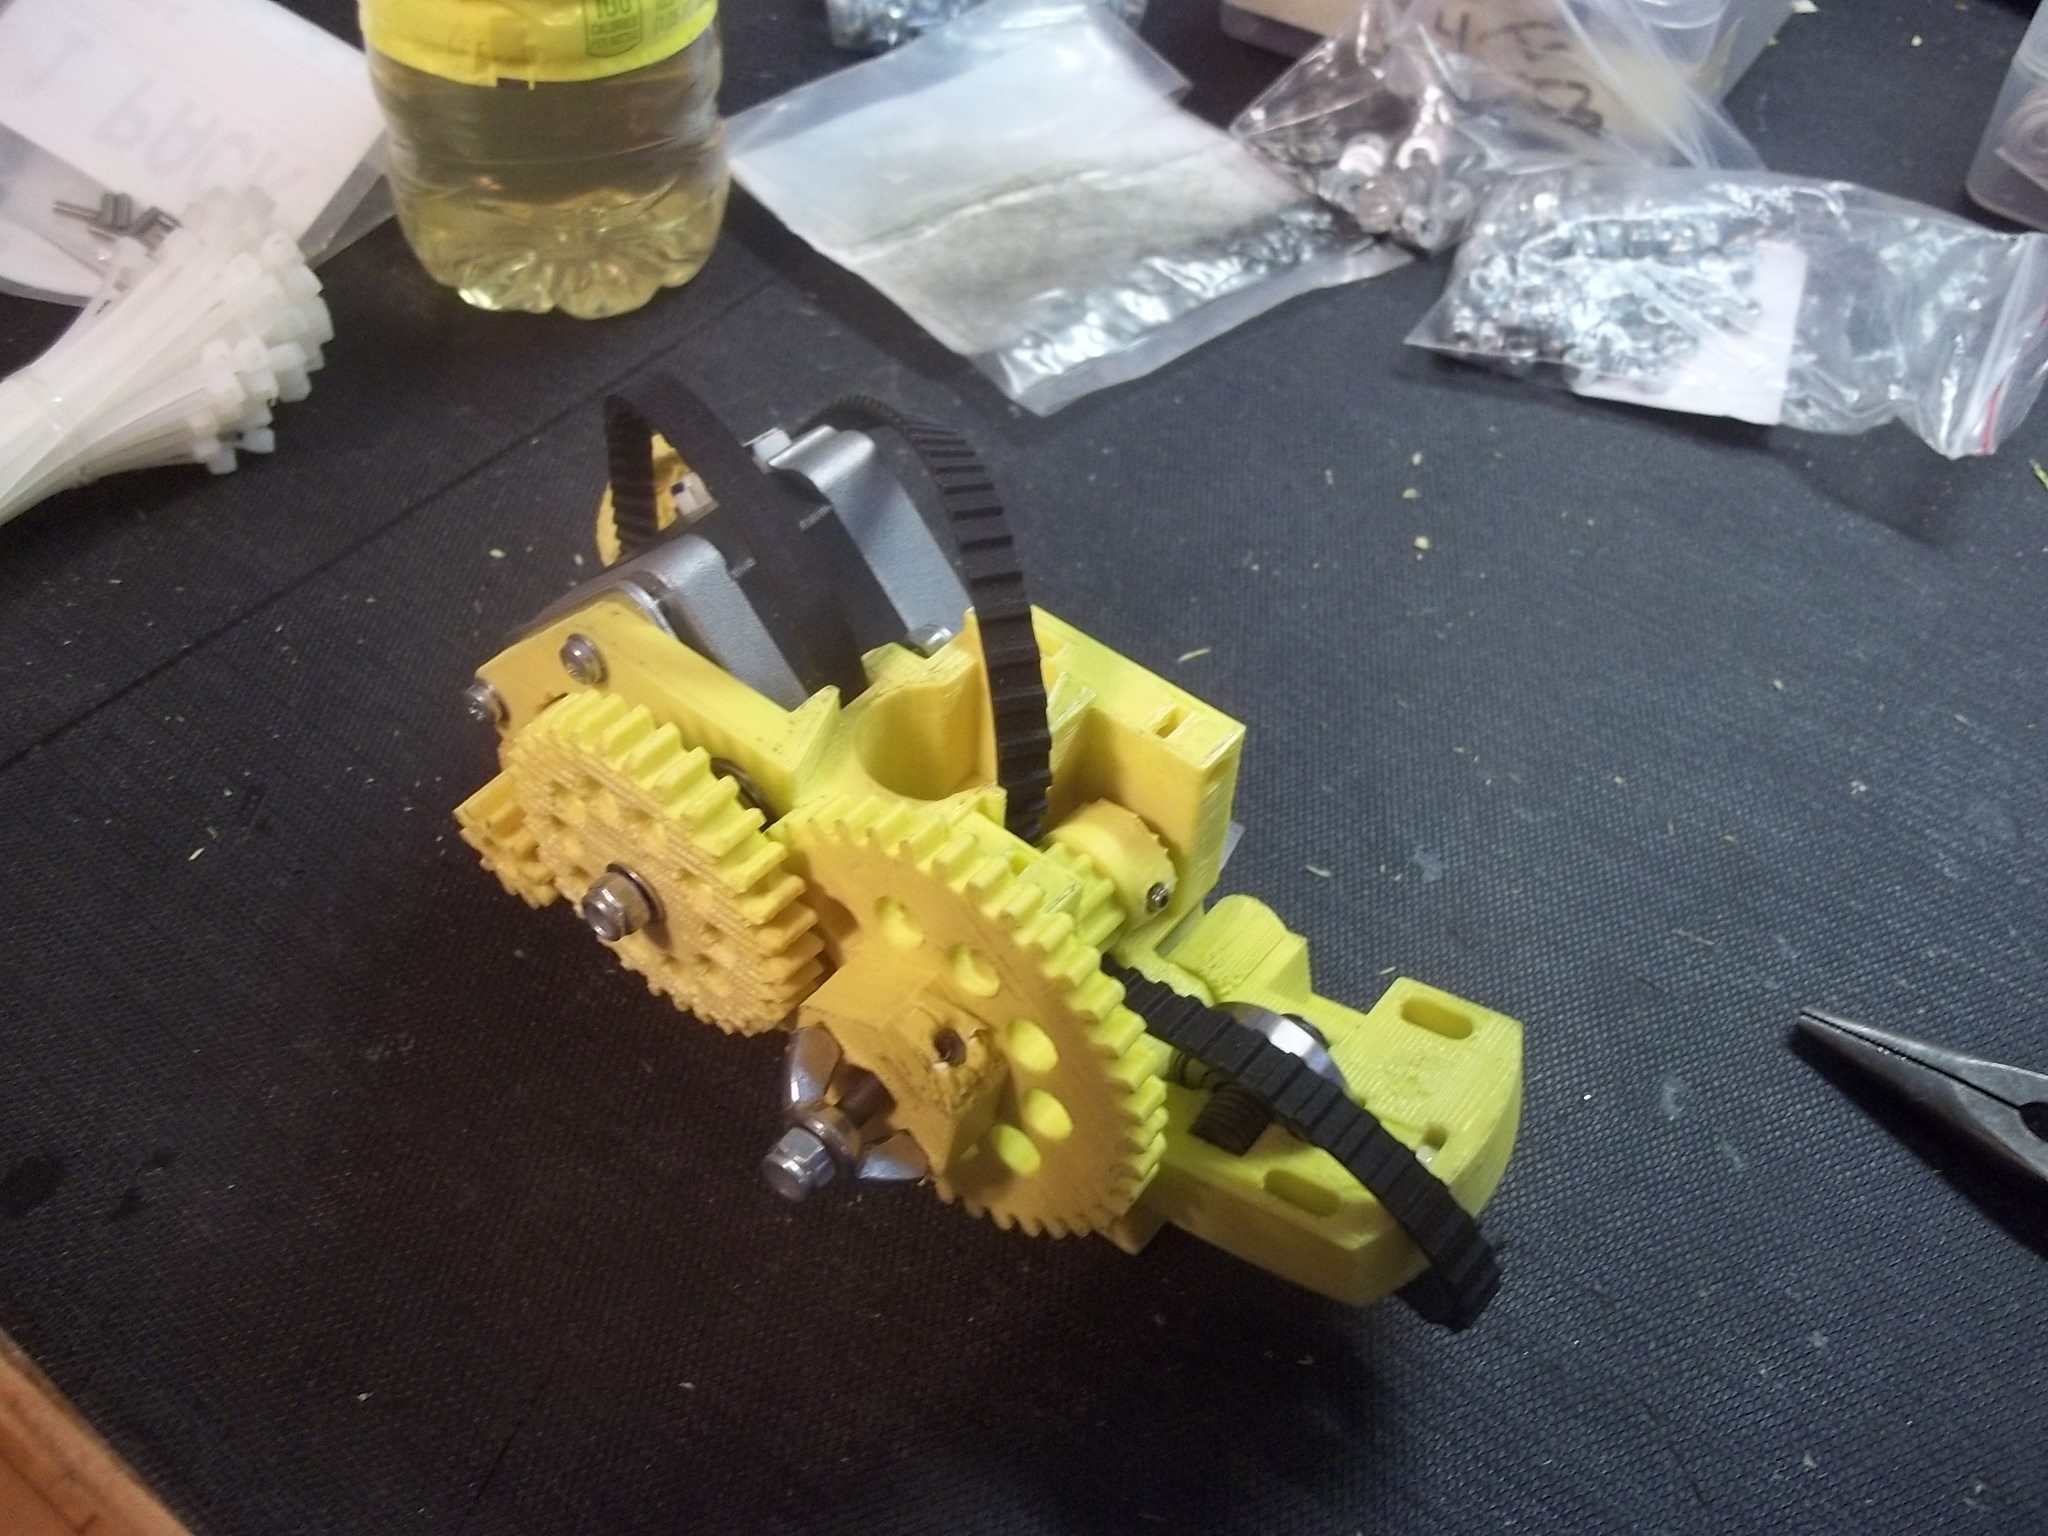
Printing a T5 pulley
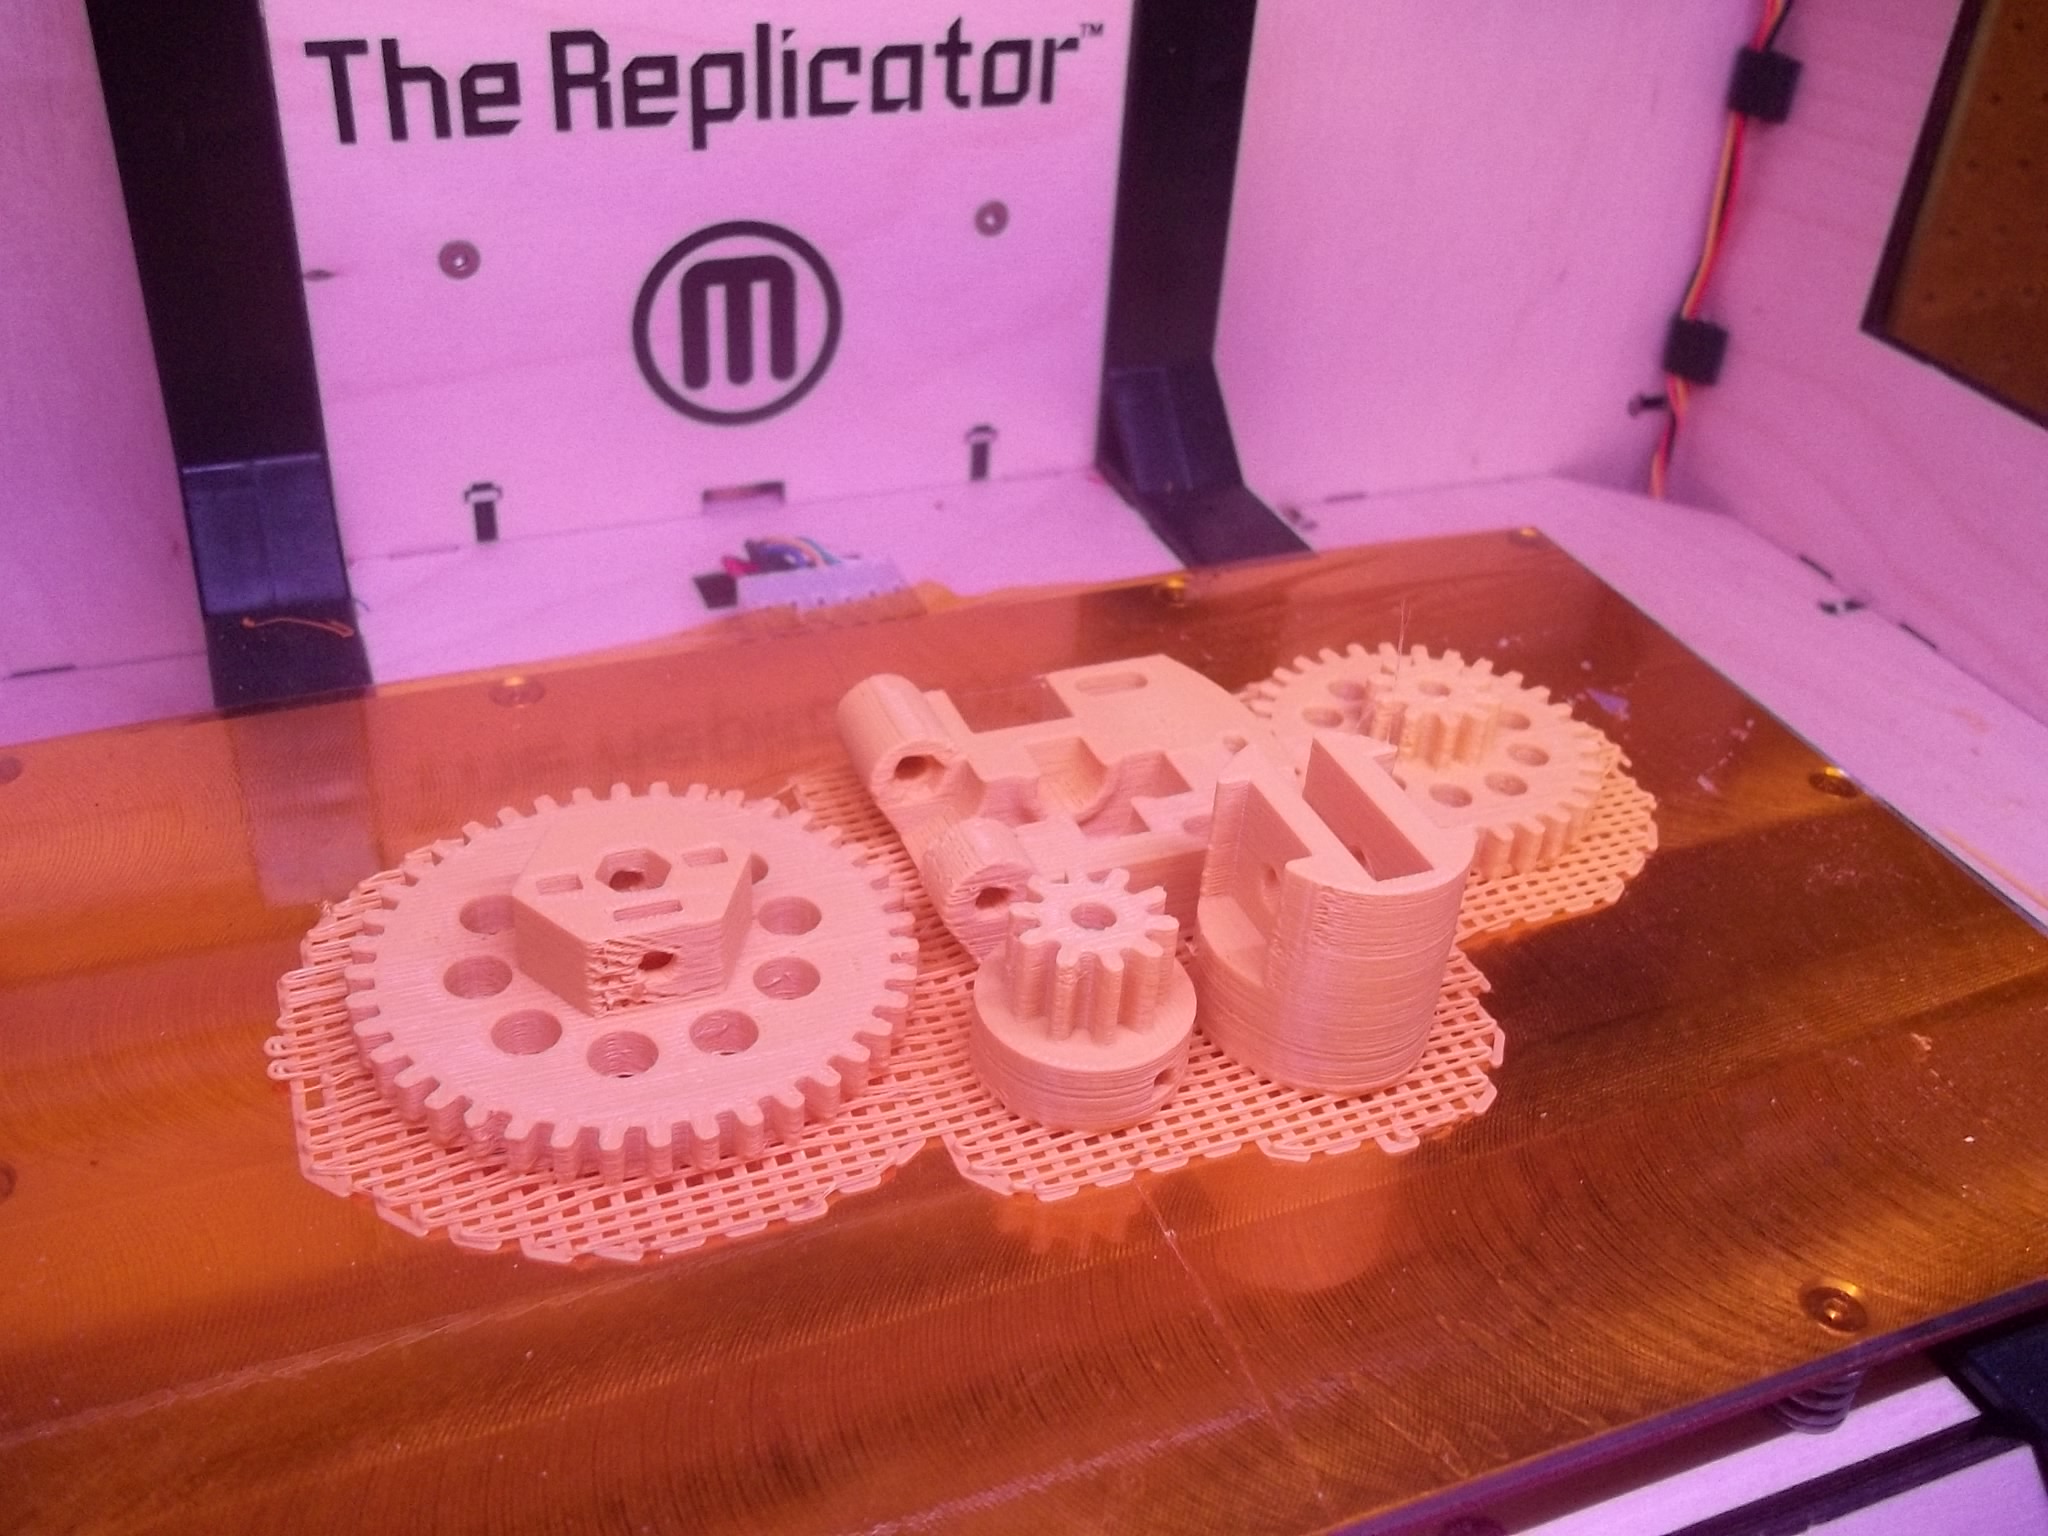
The original bill of materials provided on the Thingiverse page call for a metal T5 pulley, but I went ahead and printed my own using this great parametric pulley OpenSCAD script. I configured the script to generate a T5 pulley with 10 teeth, then printed it with 40% infill and 0 shells on a Makerbot Replicator in ABS.
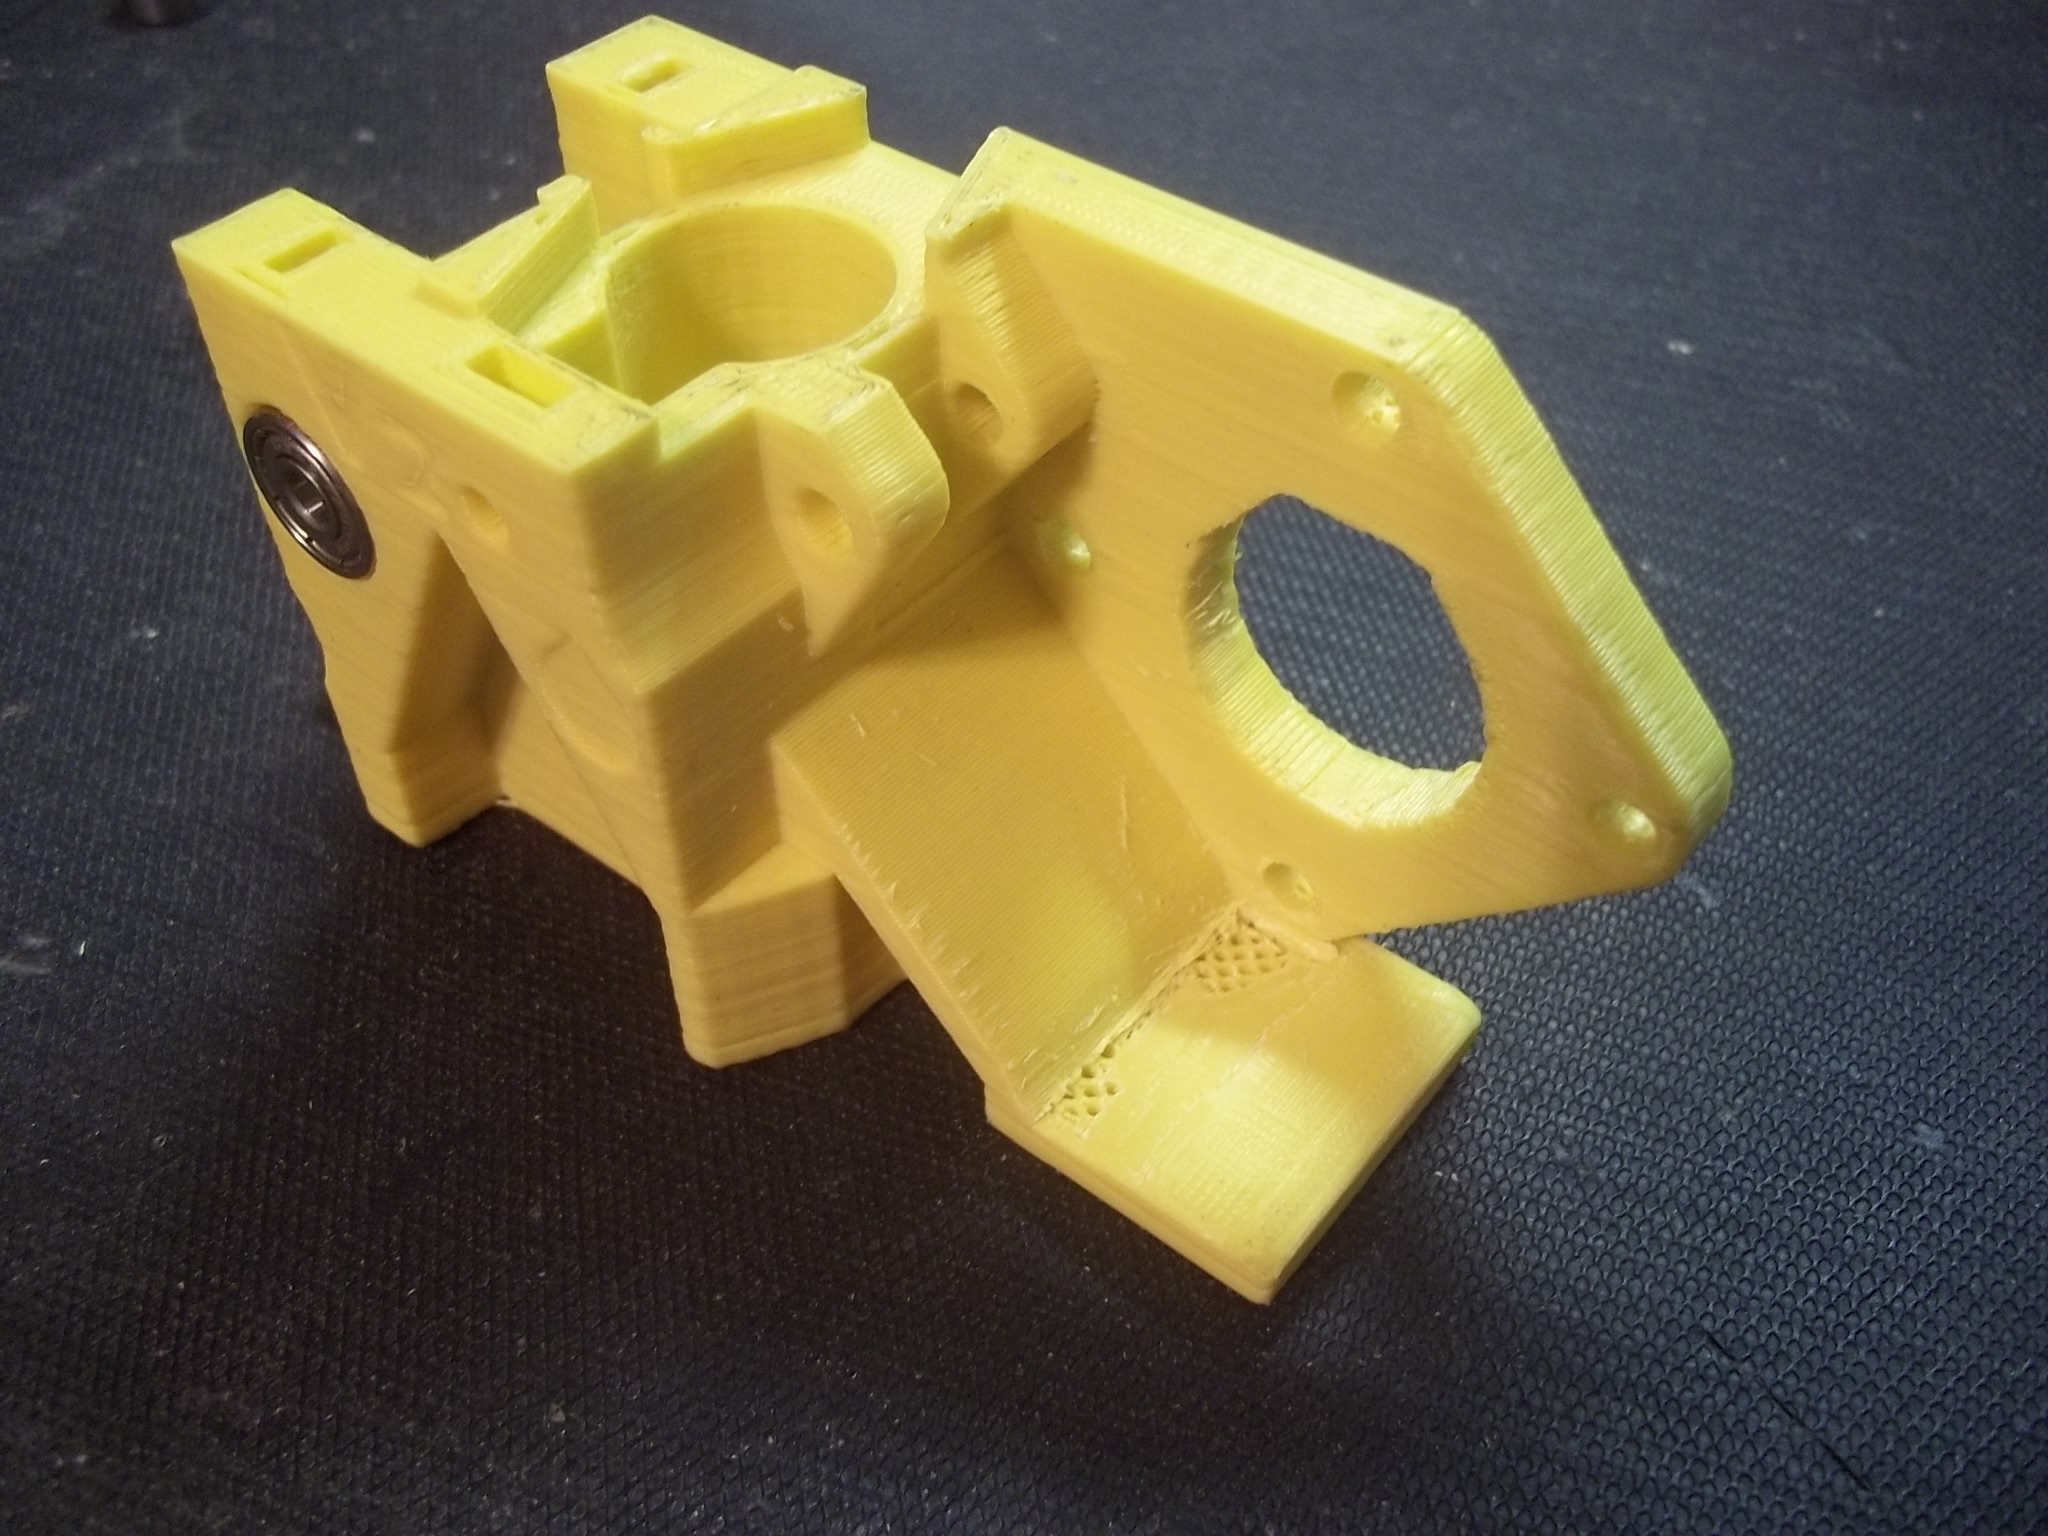
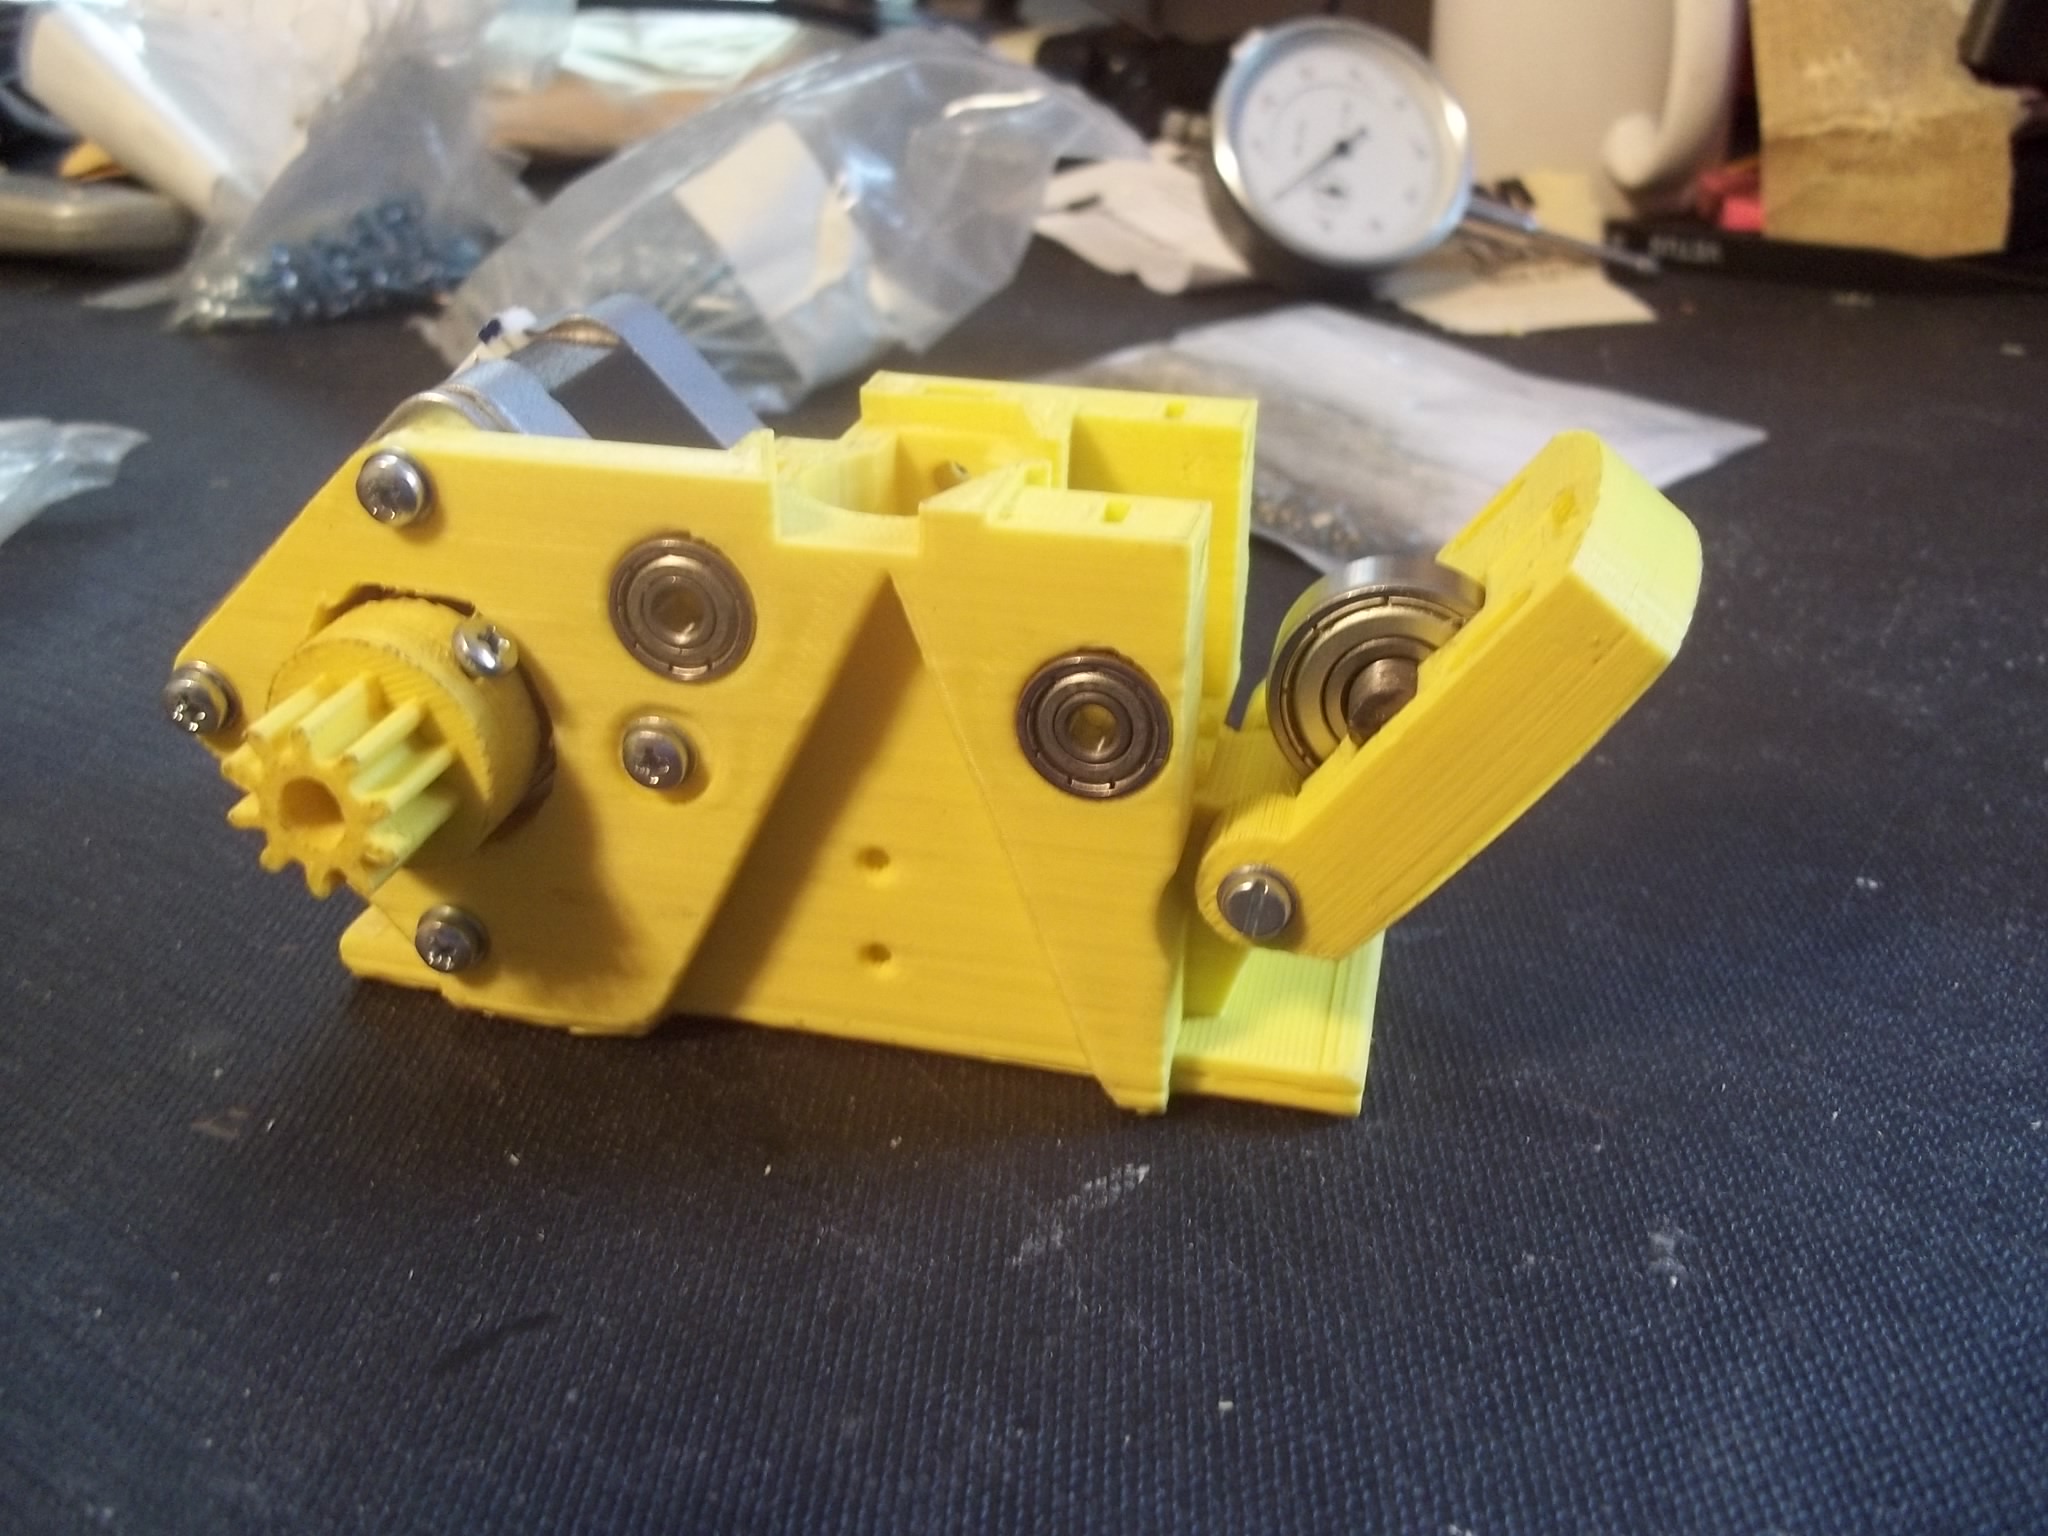
Assembling the Universal Paste Extruder
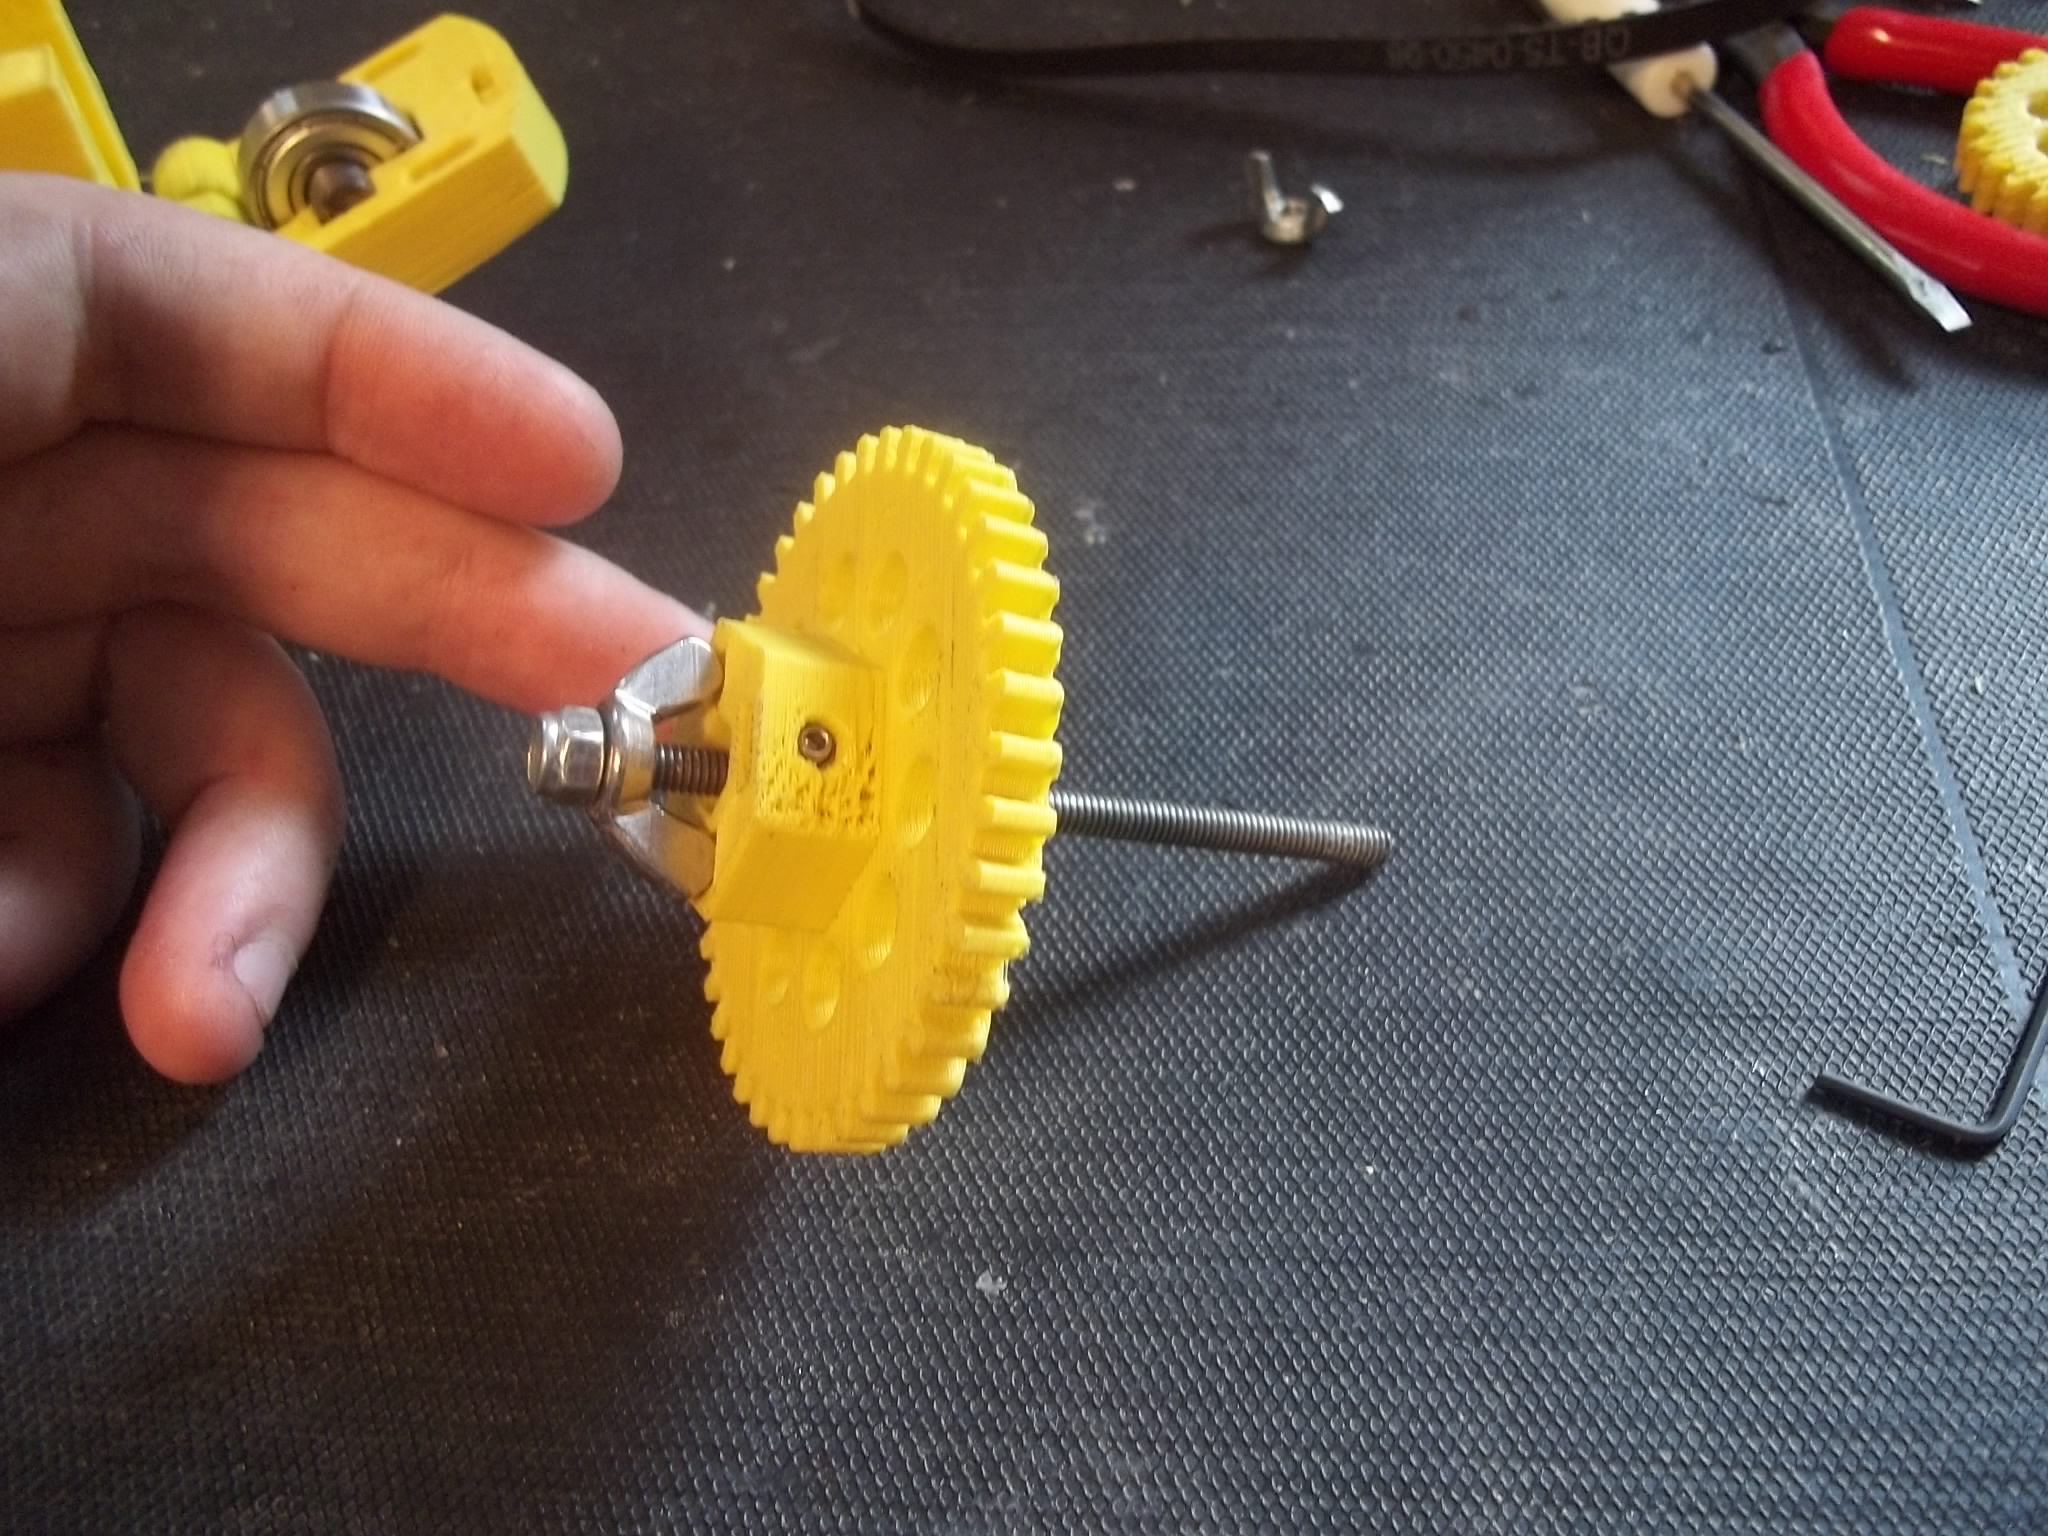
The Universal Paste Extruder is very well-designed, and is therefore very easy and fun to assemble. The designer used a few cool tricks to save cost and reduce complexity, such as making your own super-long bolt using threaded rod, a nyloc nut and a wing nut.
RichRap provided a lot of great documentation that I found very helpful in assembling this extruder, such a step-by-step assembly video and a very detailed blog post about using it.

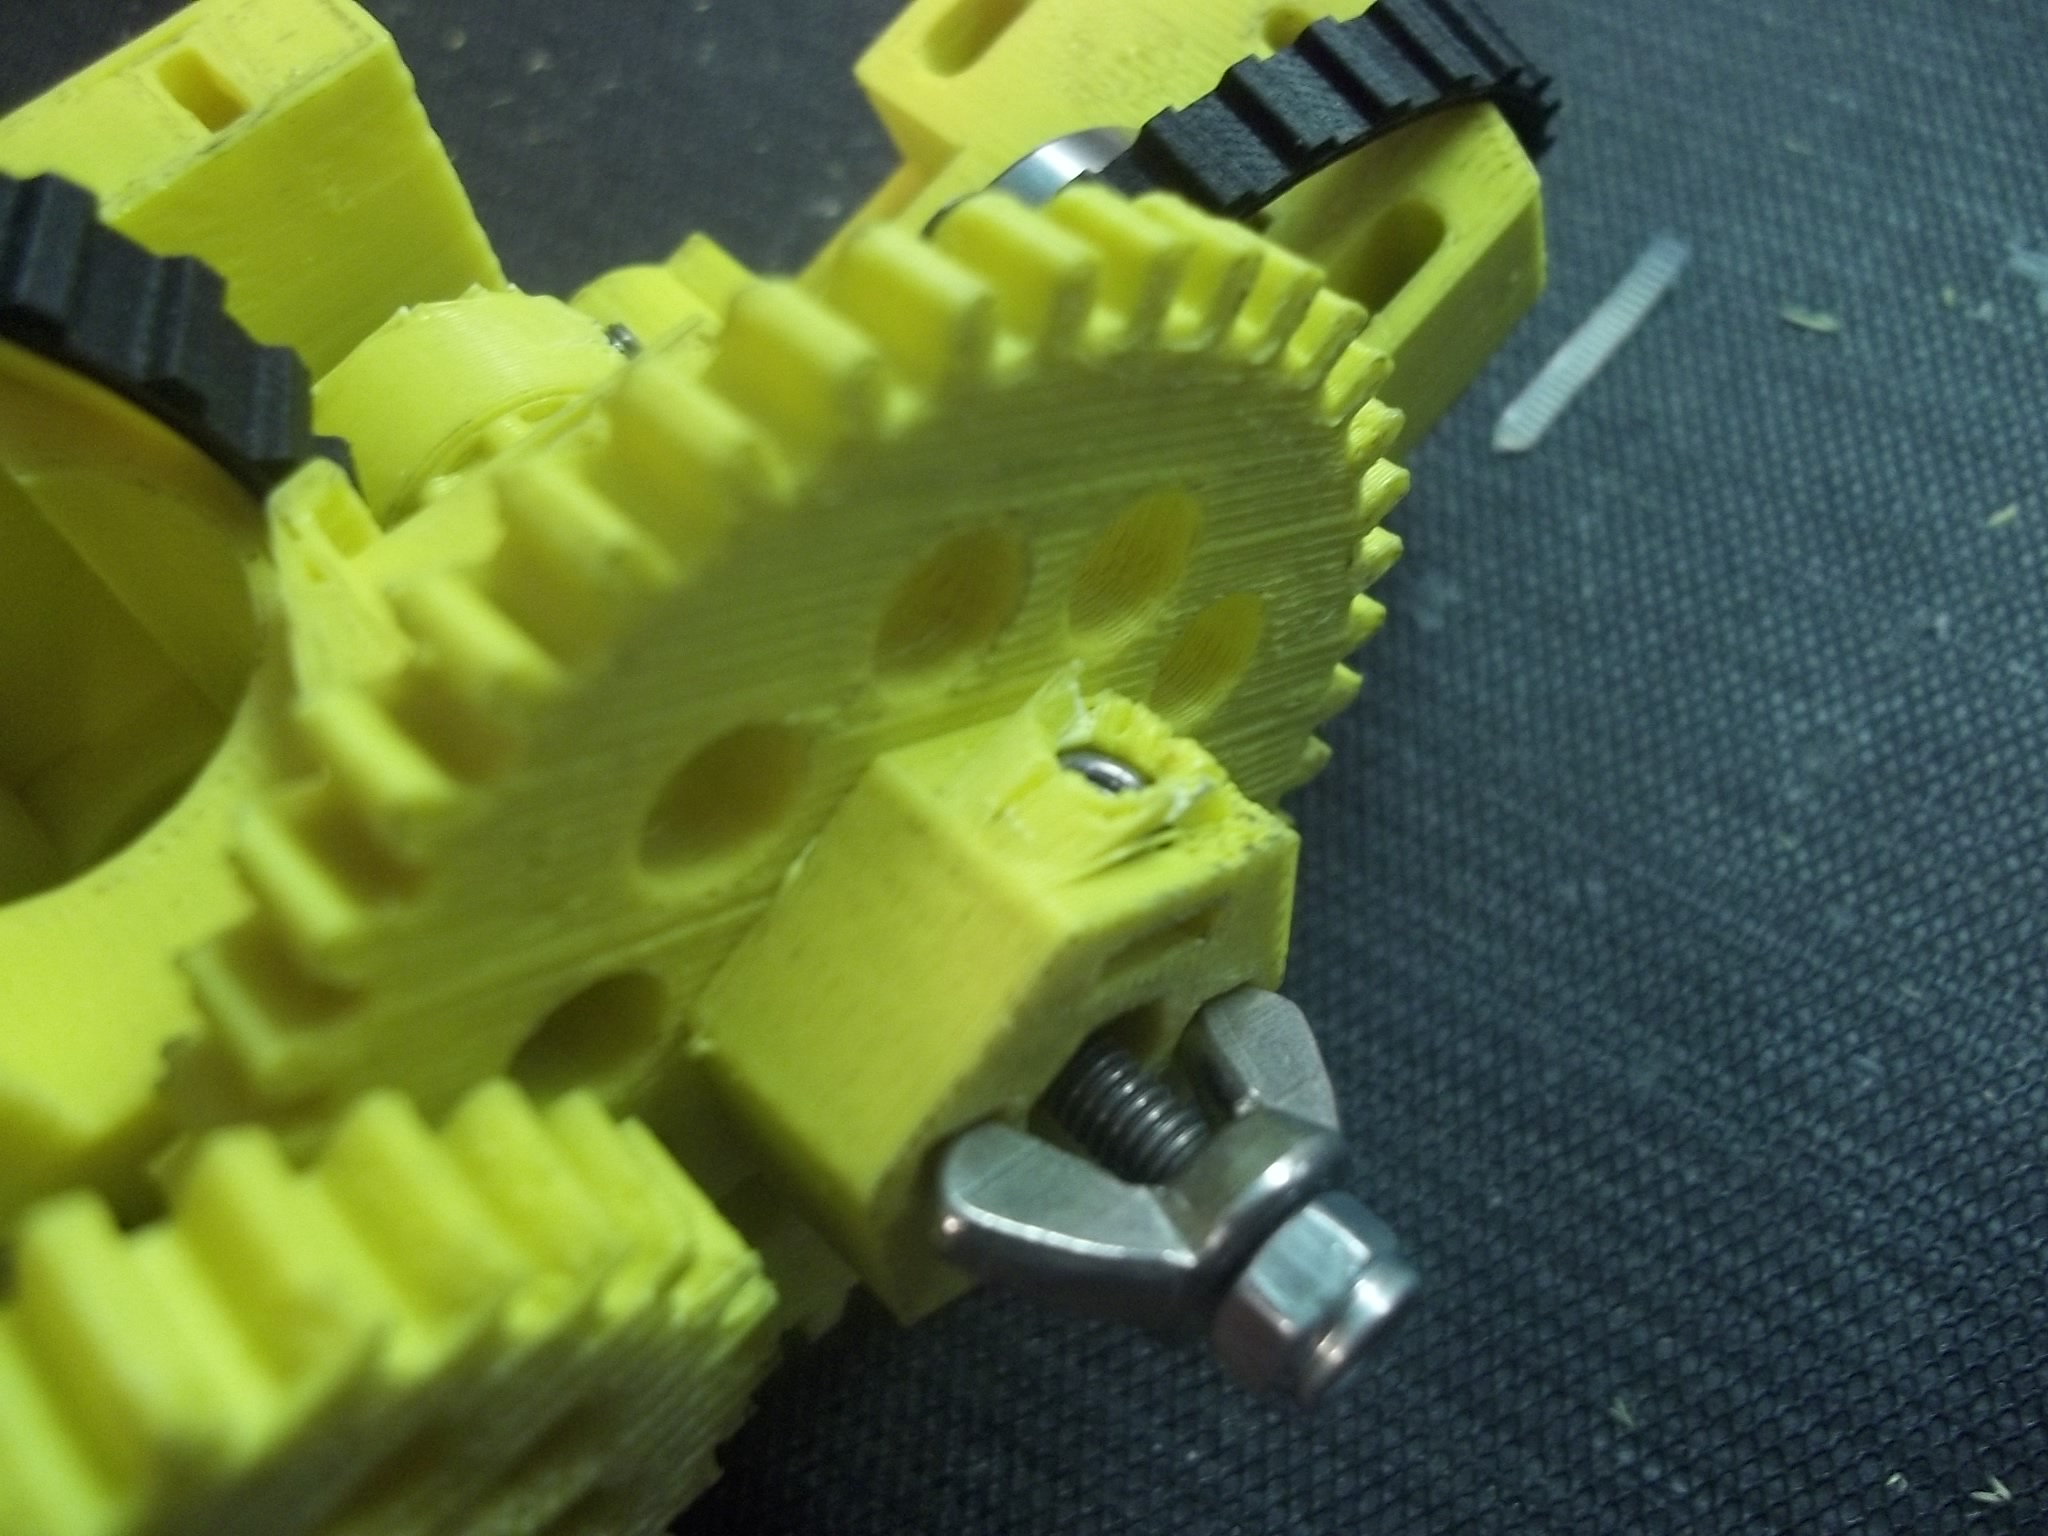
After assembling the extruder I connected it to my RUMBA electronics board and used Repetier-Host to test out the gears. The movement was extremely smooth and quiet, and works exactly as I hoped!
Printing using frosting onto sugar cookies
I actually assembled most of the 3D printer in about one week, then tested out the Universal Paste Extruder the night before demoing it all at the grand opening of the Omaha Children’s Museum’s new Makerspace for kids. I ordered small needles that attach to the syringes I have so I could create much finer prints, but they never arrived, so I printed directly using the syringes’ outlets without any needles.
I brought along some frosting to the event and attempted to print some very crude 20mm calibration cubes onto sugar cookies. It worked surprisingly well, though I still need to spend time tweaking the flow rate of the extruder. I’m happy with the way the cubes came out, but obviously more tweaking is required.
Next steps
First and foremost I need to get needles that fit my syringes that would allow me to print much finer lines. Not only will this allow me to print at higher quality, but this should also solve some other annoying problems I’ve been having. Without needles the X carriage cannot be lowered far enough for the syringe to be in contact with the build platform, which means I need to usually need to add a plate or something for the syringe to print onto to make up some of that difference.
Also, I had to use longer bolts on my Quick Fit X Carriage, which actually extend slightly beyond the bottom of the syringe without any needles installed. With the X carriage lowered down to build platform, these bolts tend to hit whatever object I am trying to print onto and mess things up royally. I will need to find some shorter bolts, but I’m hoping that once I receive my needles it won’t be much of an issue anyway.