
Snap-together 3D-printable clamshell housing for openSip+Puff
Last week I spent a couple of days iterating through prototypes of a design for a snap-together housing for my openSip+Puff project (an open-source sip-and-puff interface). A couple of weeks ago I sent my circuit board designs off to be fabricated, which I’ve since received and soldered a few components to. Now I’m ready to create a cool little housing for the circuit board to make it easier to work with for end users.
How its made
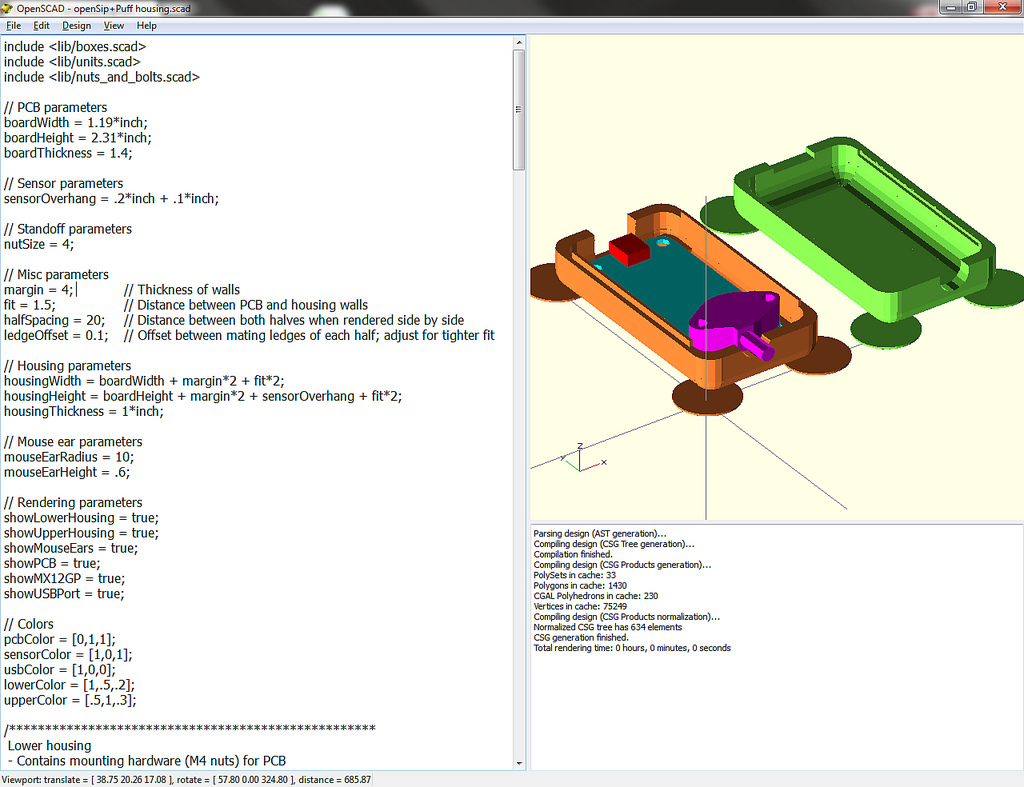
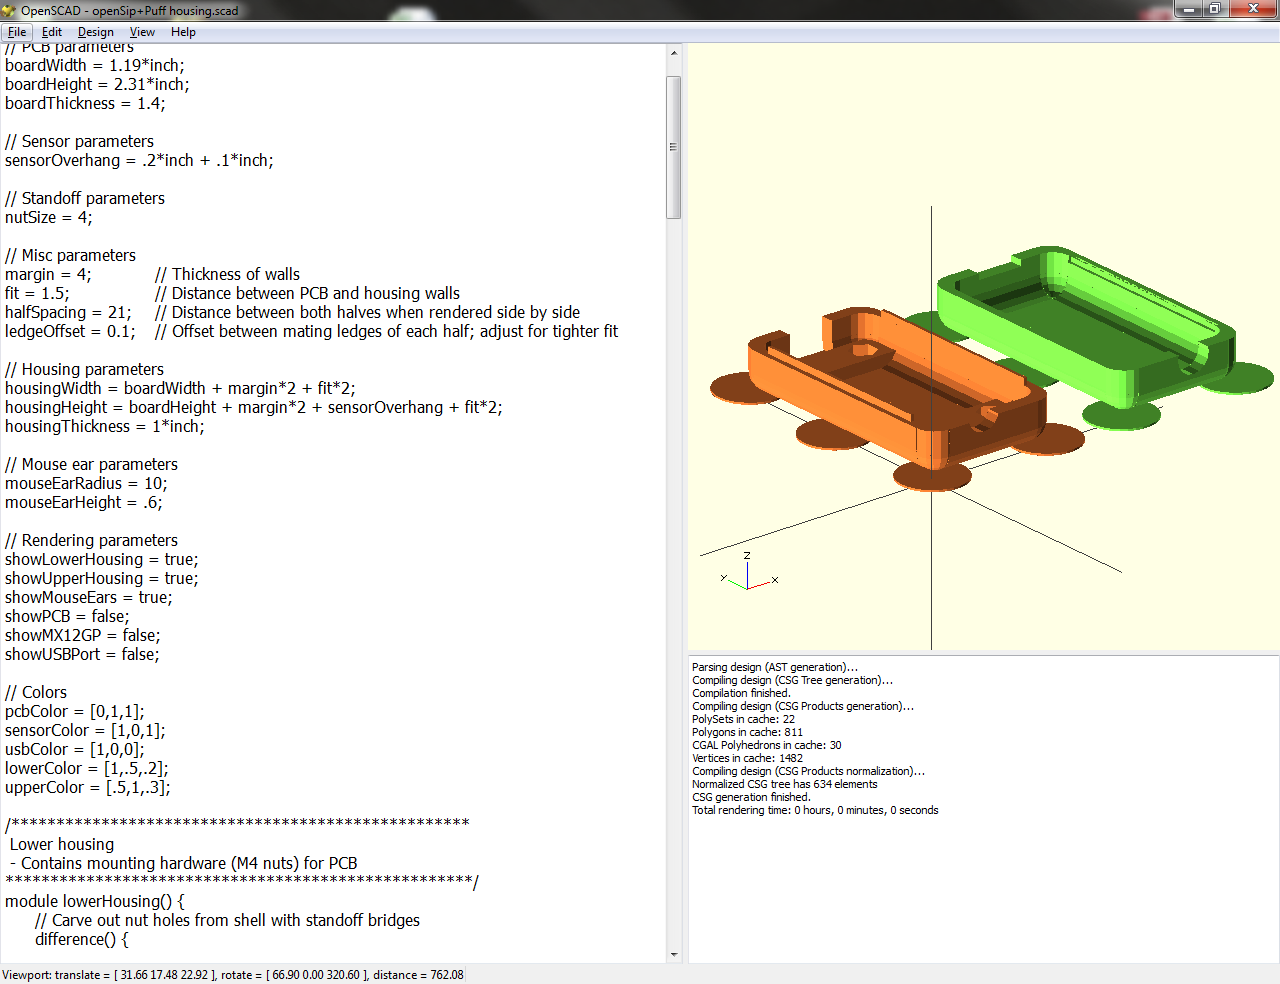 To create this housing I used my current favorite 3D modelling program, OpenSCAD, along with my university’s Makerbot Replicator. Over the course of a week or so I built the basic structure using OpenSCAD, then iteratively improved it by printing out one copy, observing and measuring the effects and adjusting the script. Through trial and error I was eventually able to get a housing that I was happy with. Below are some snapshots from the process!
Download all of the source files on Thingiverse!
First attempt
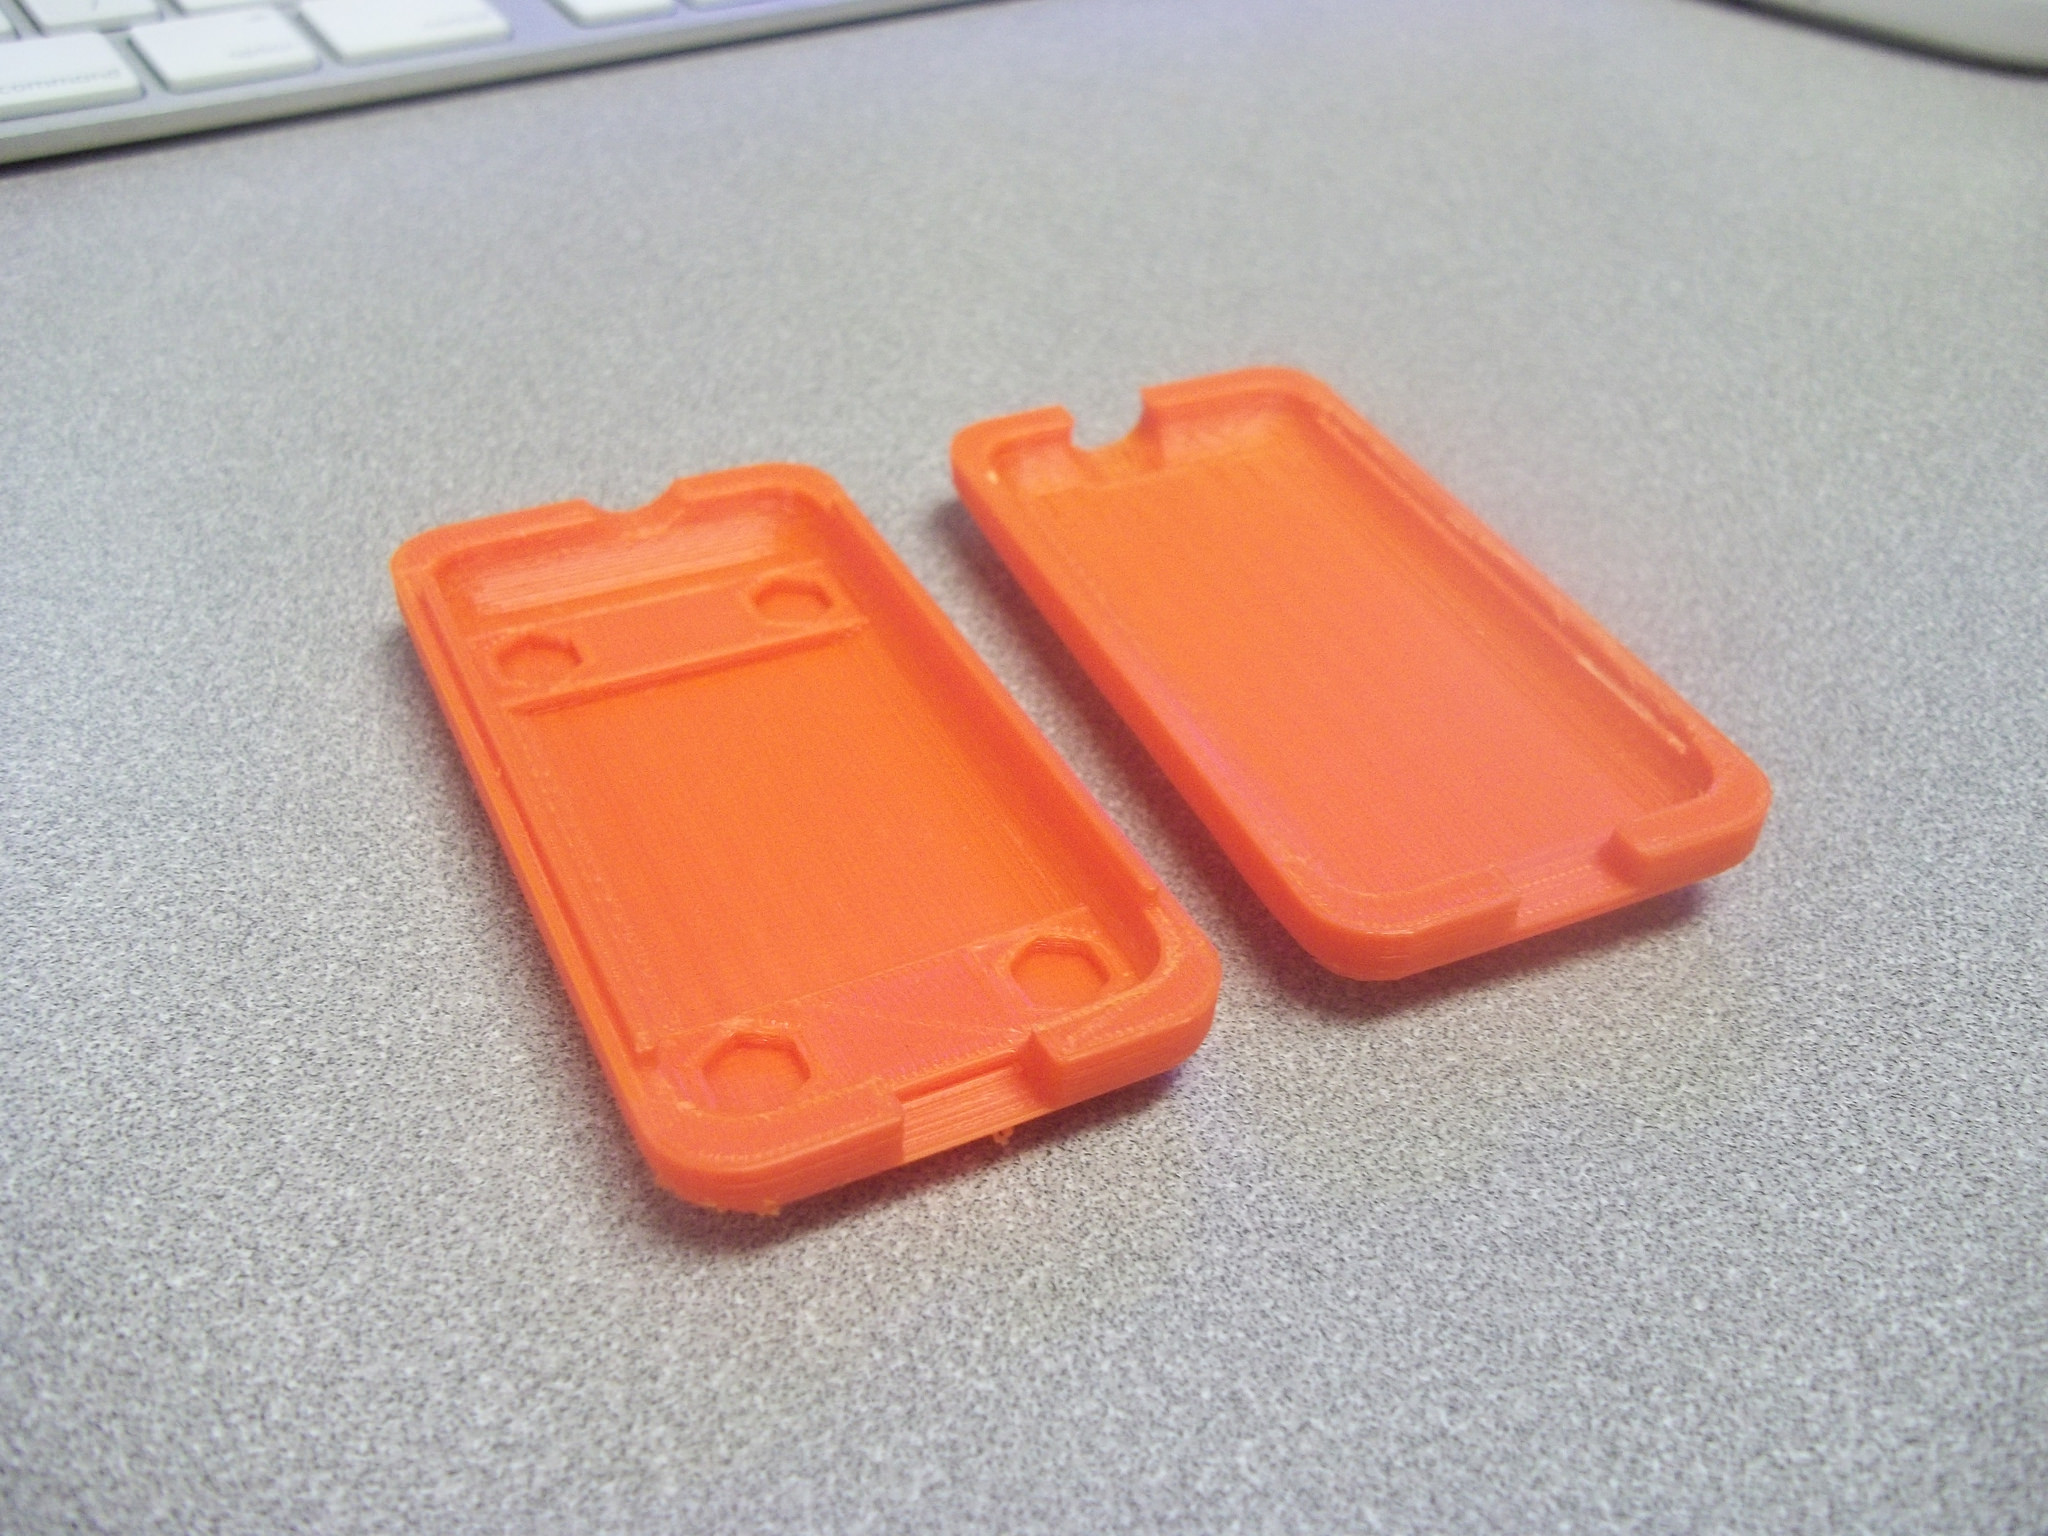
First I tried just printing the housing exactly as I had designed it in OpenSCAD, but I noticed a couple of issues right away:
- The overall height of the housing was too small to accommodate the sensor and screws I had chosen.
- There was very noticeable curling on the top half, causing the circular hole to be distorted quite a bit.
- The two halves did not fit together at all, even with considerable force.
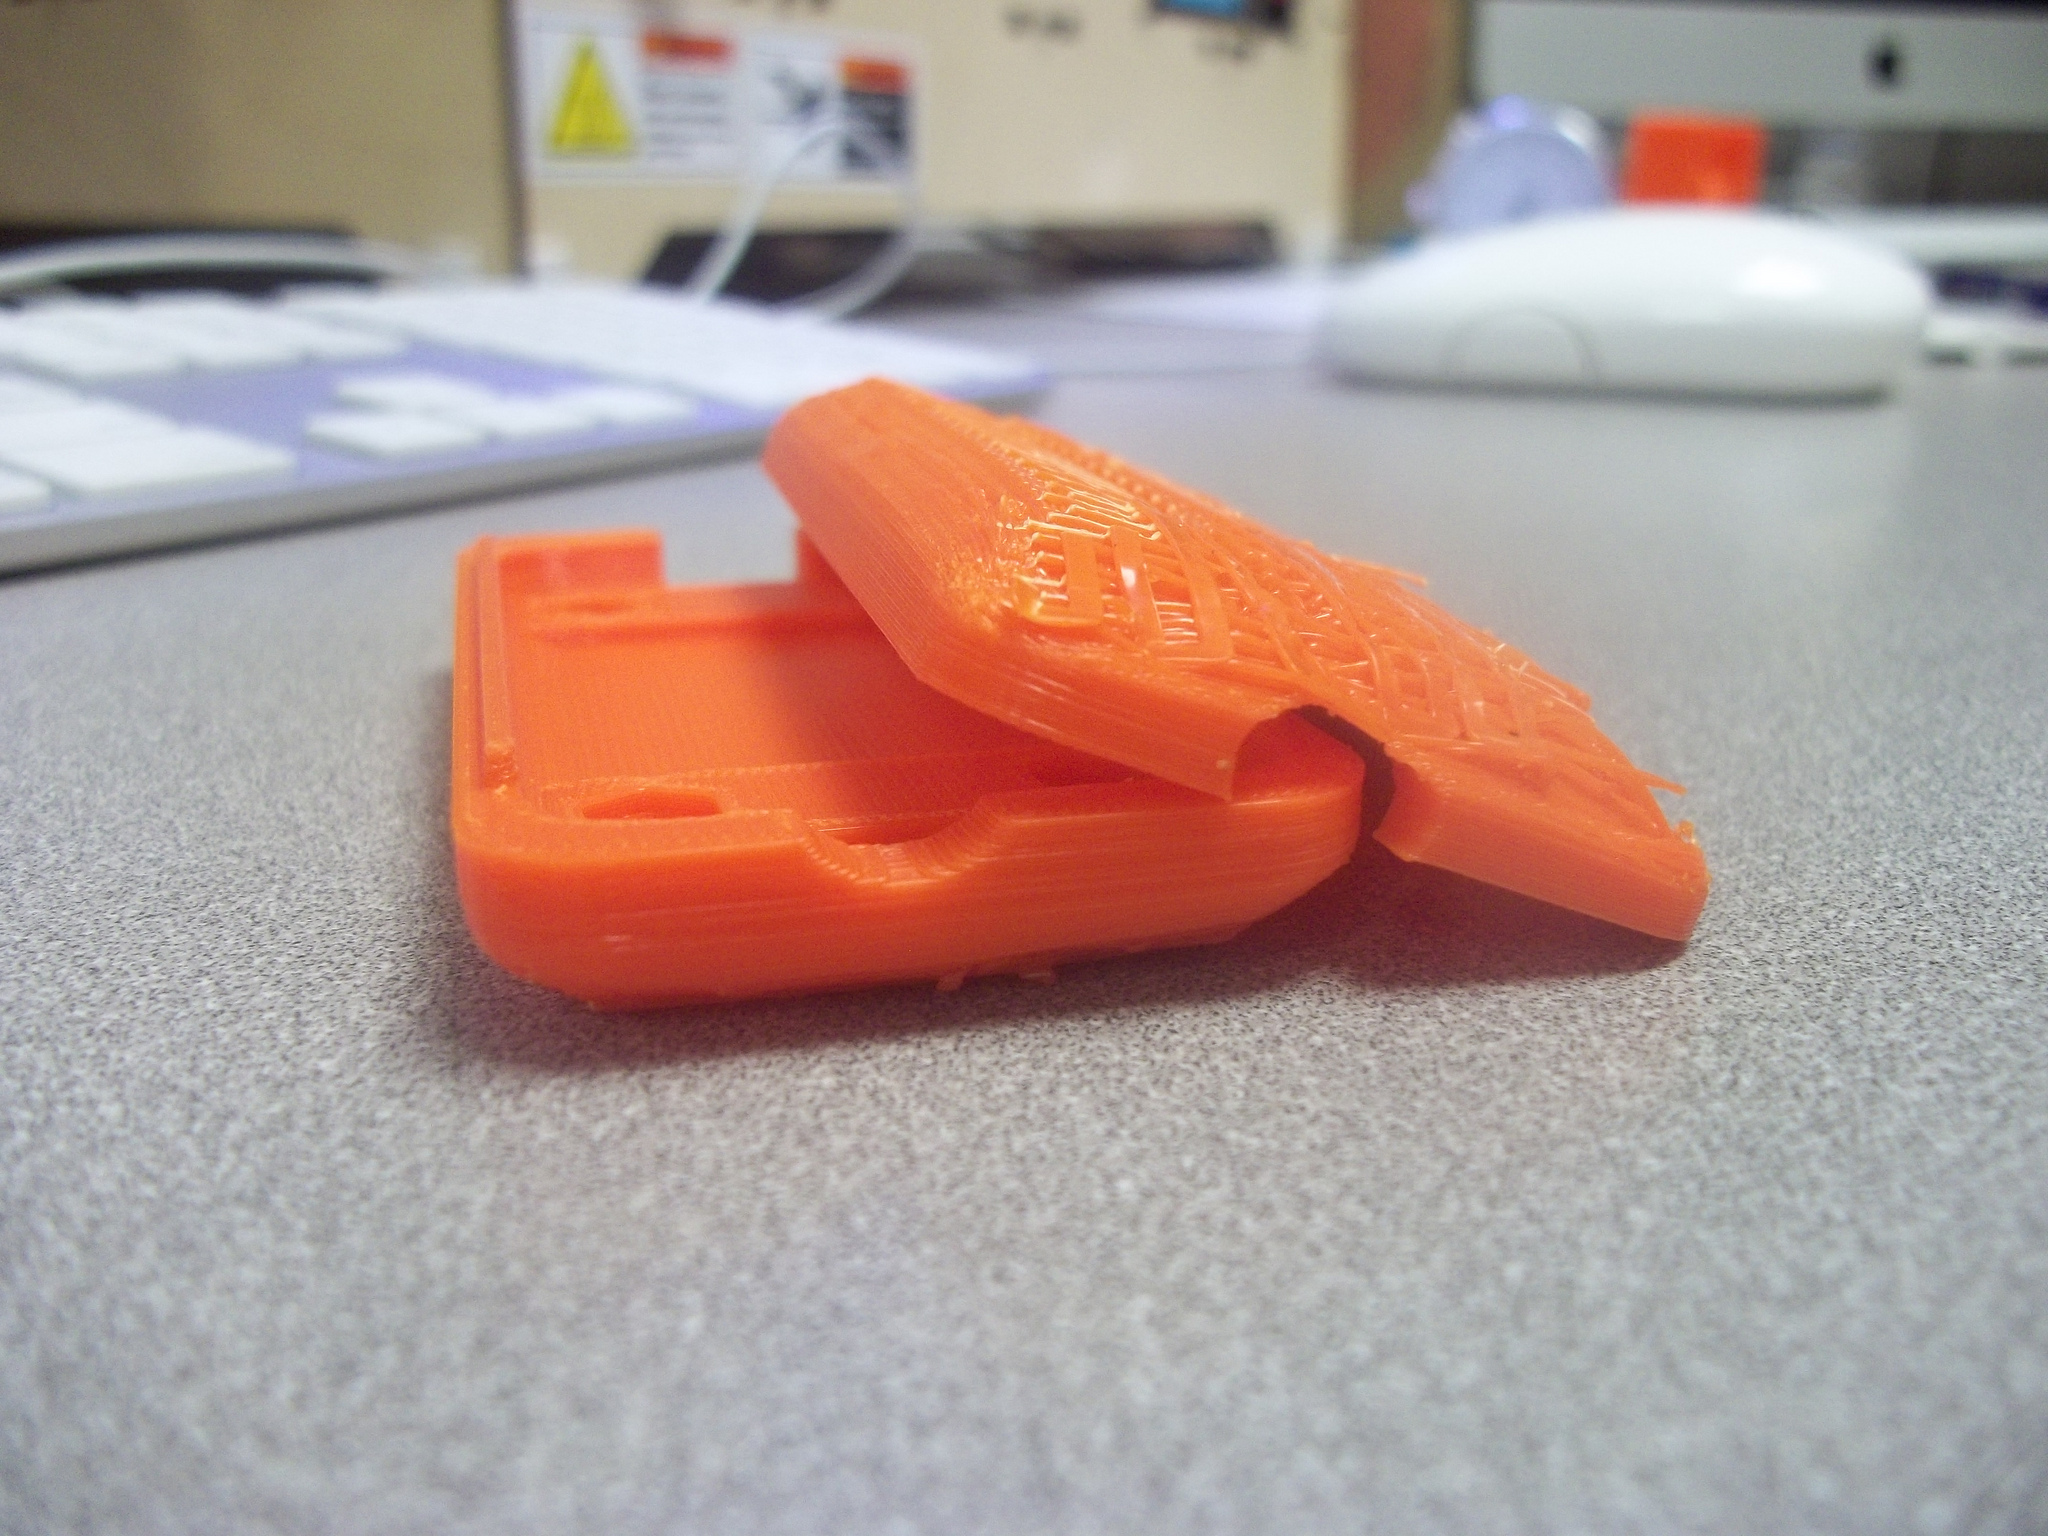
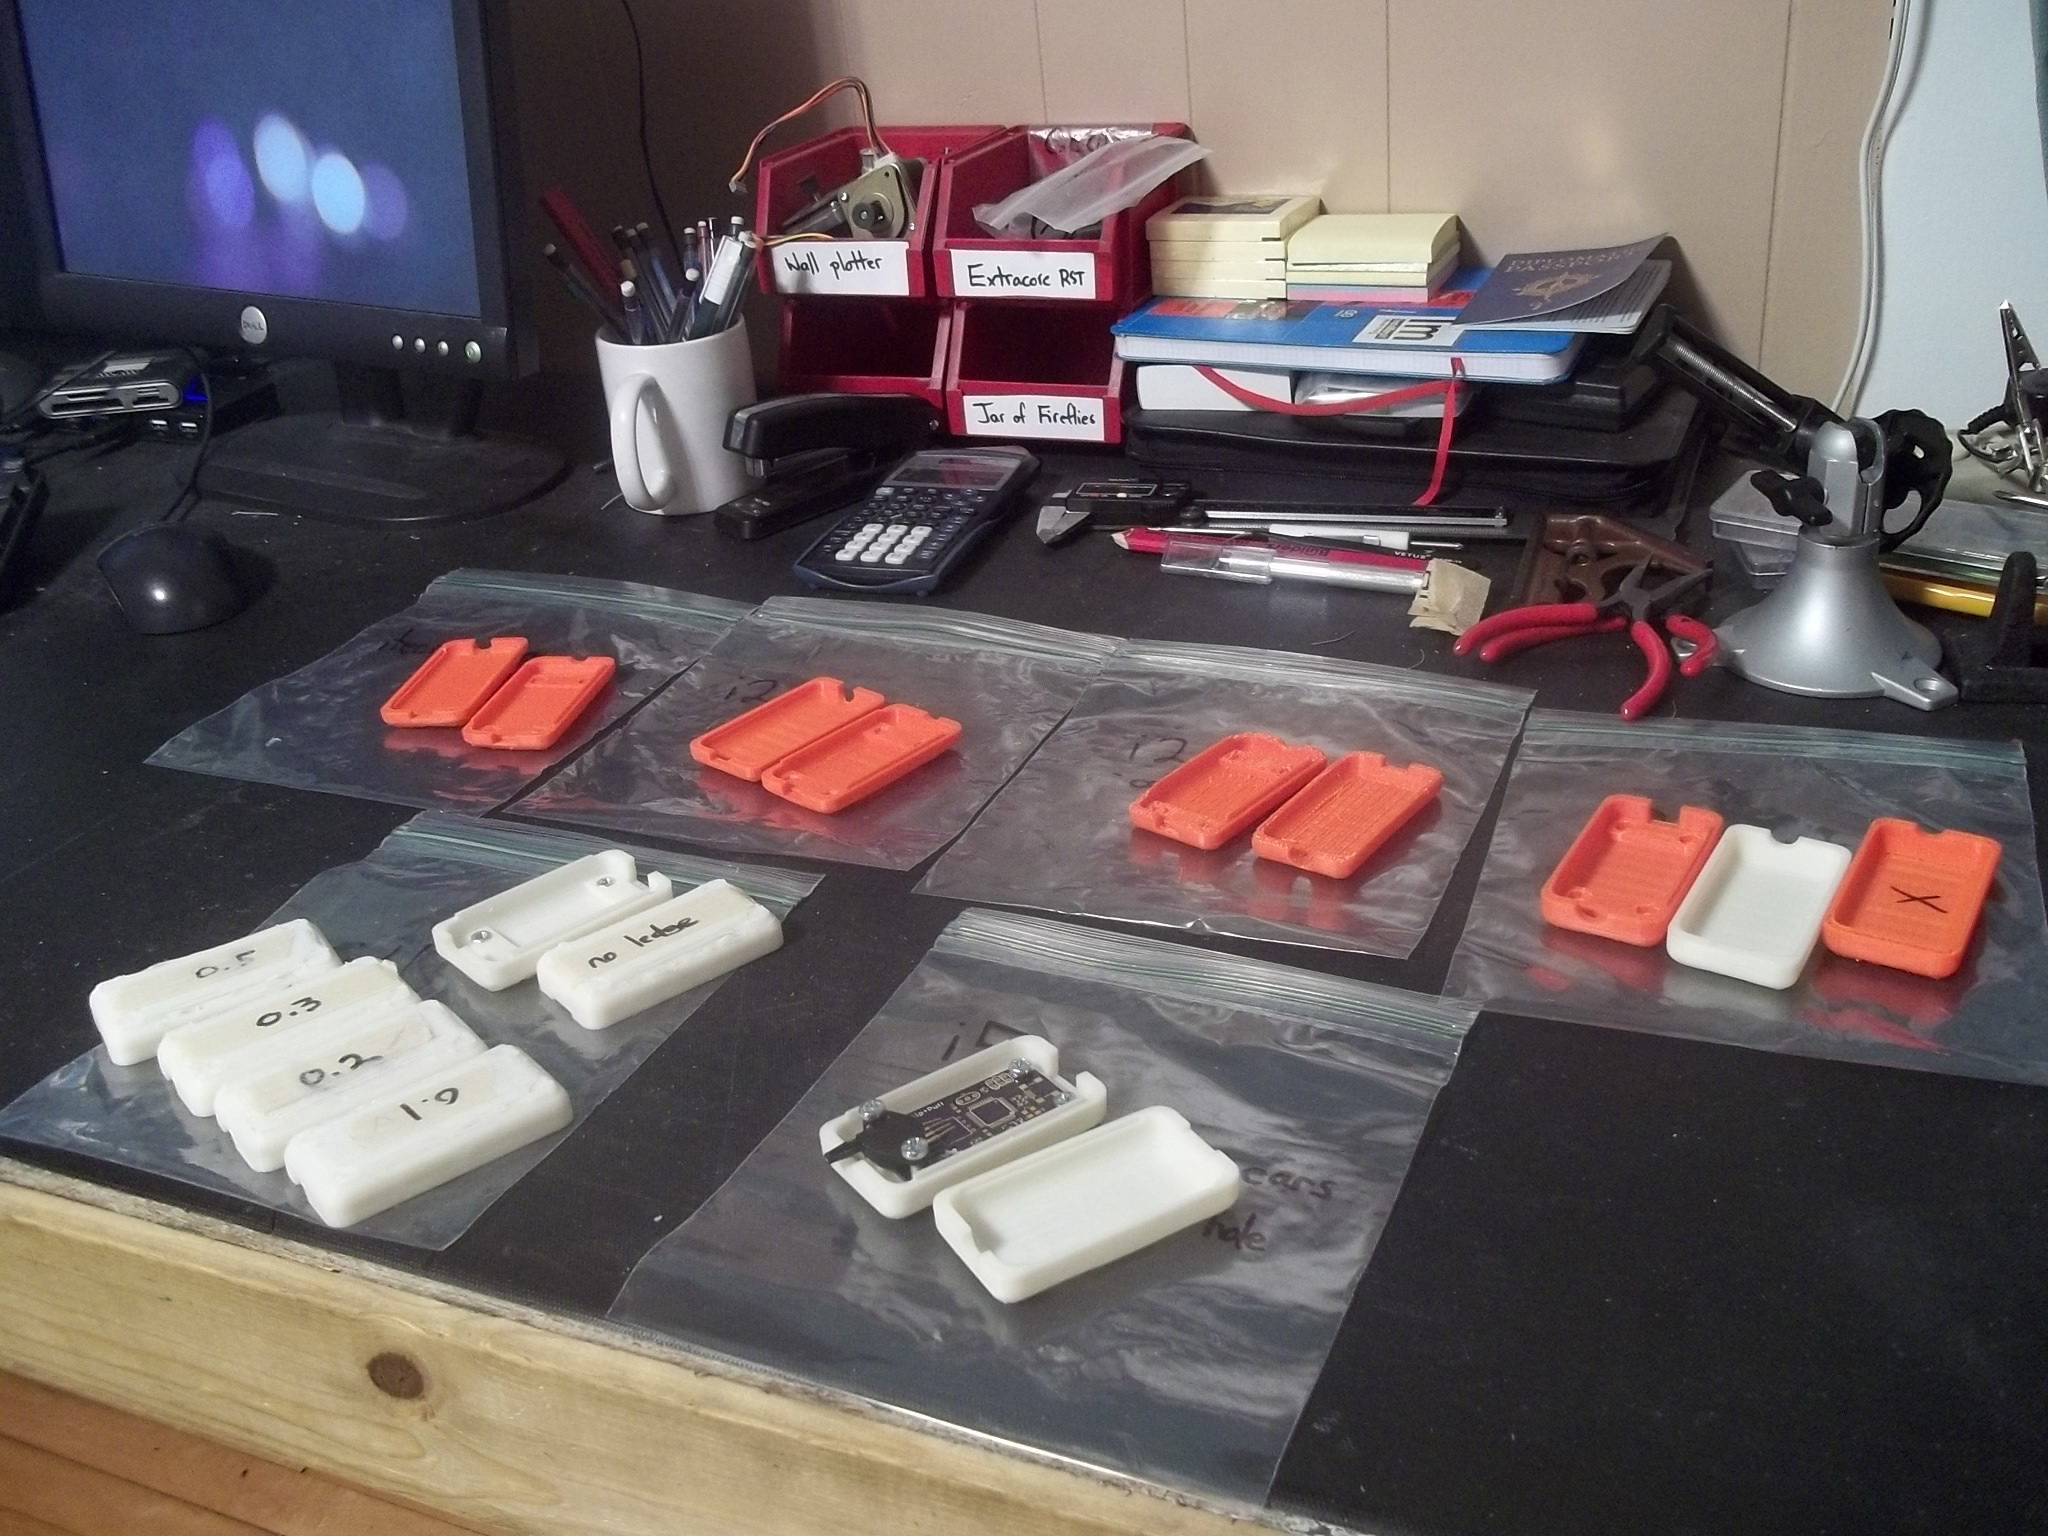
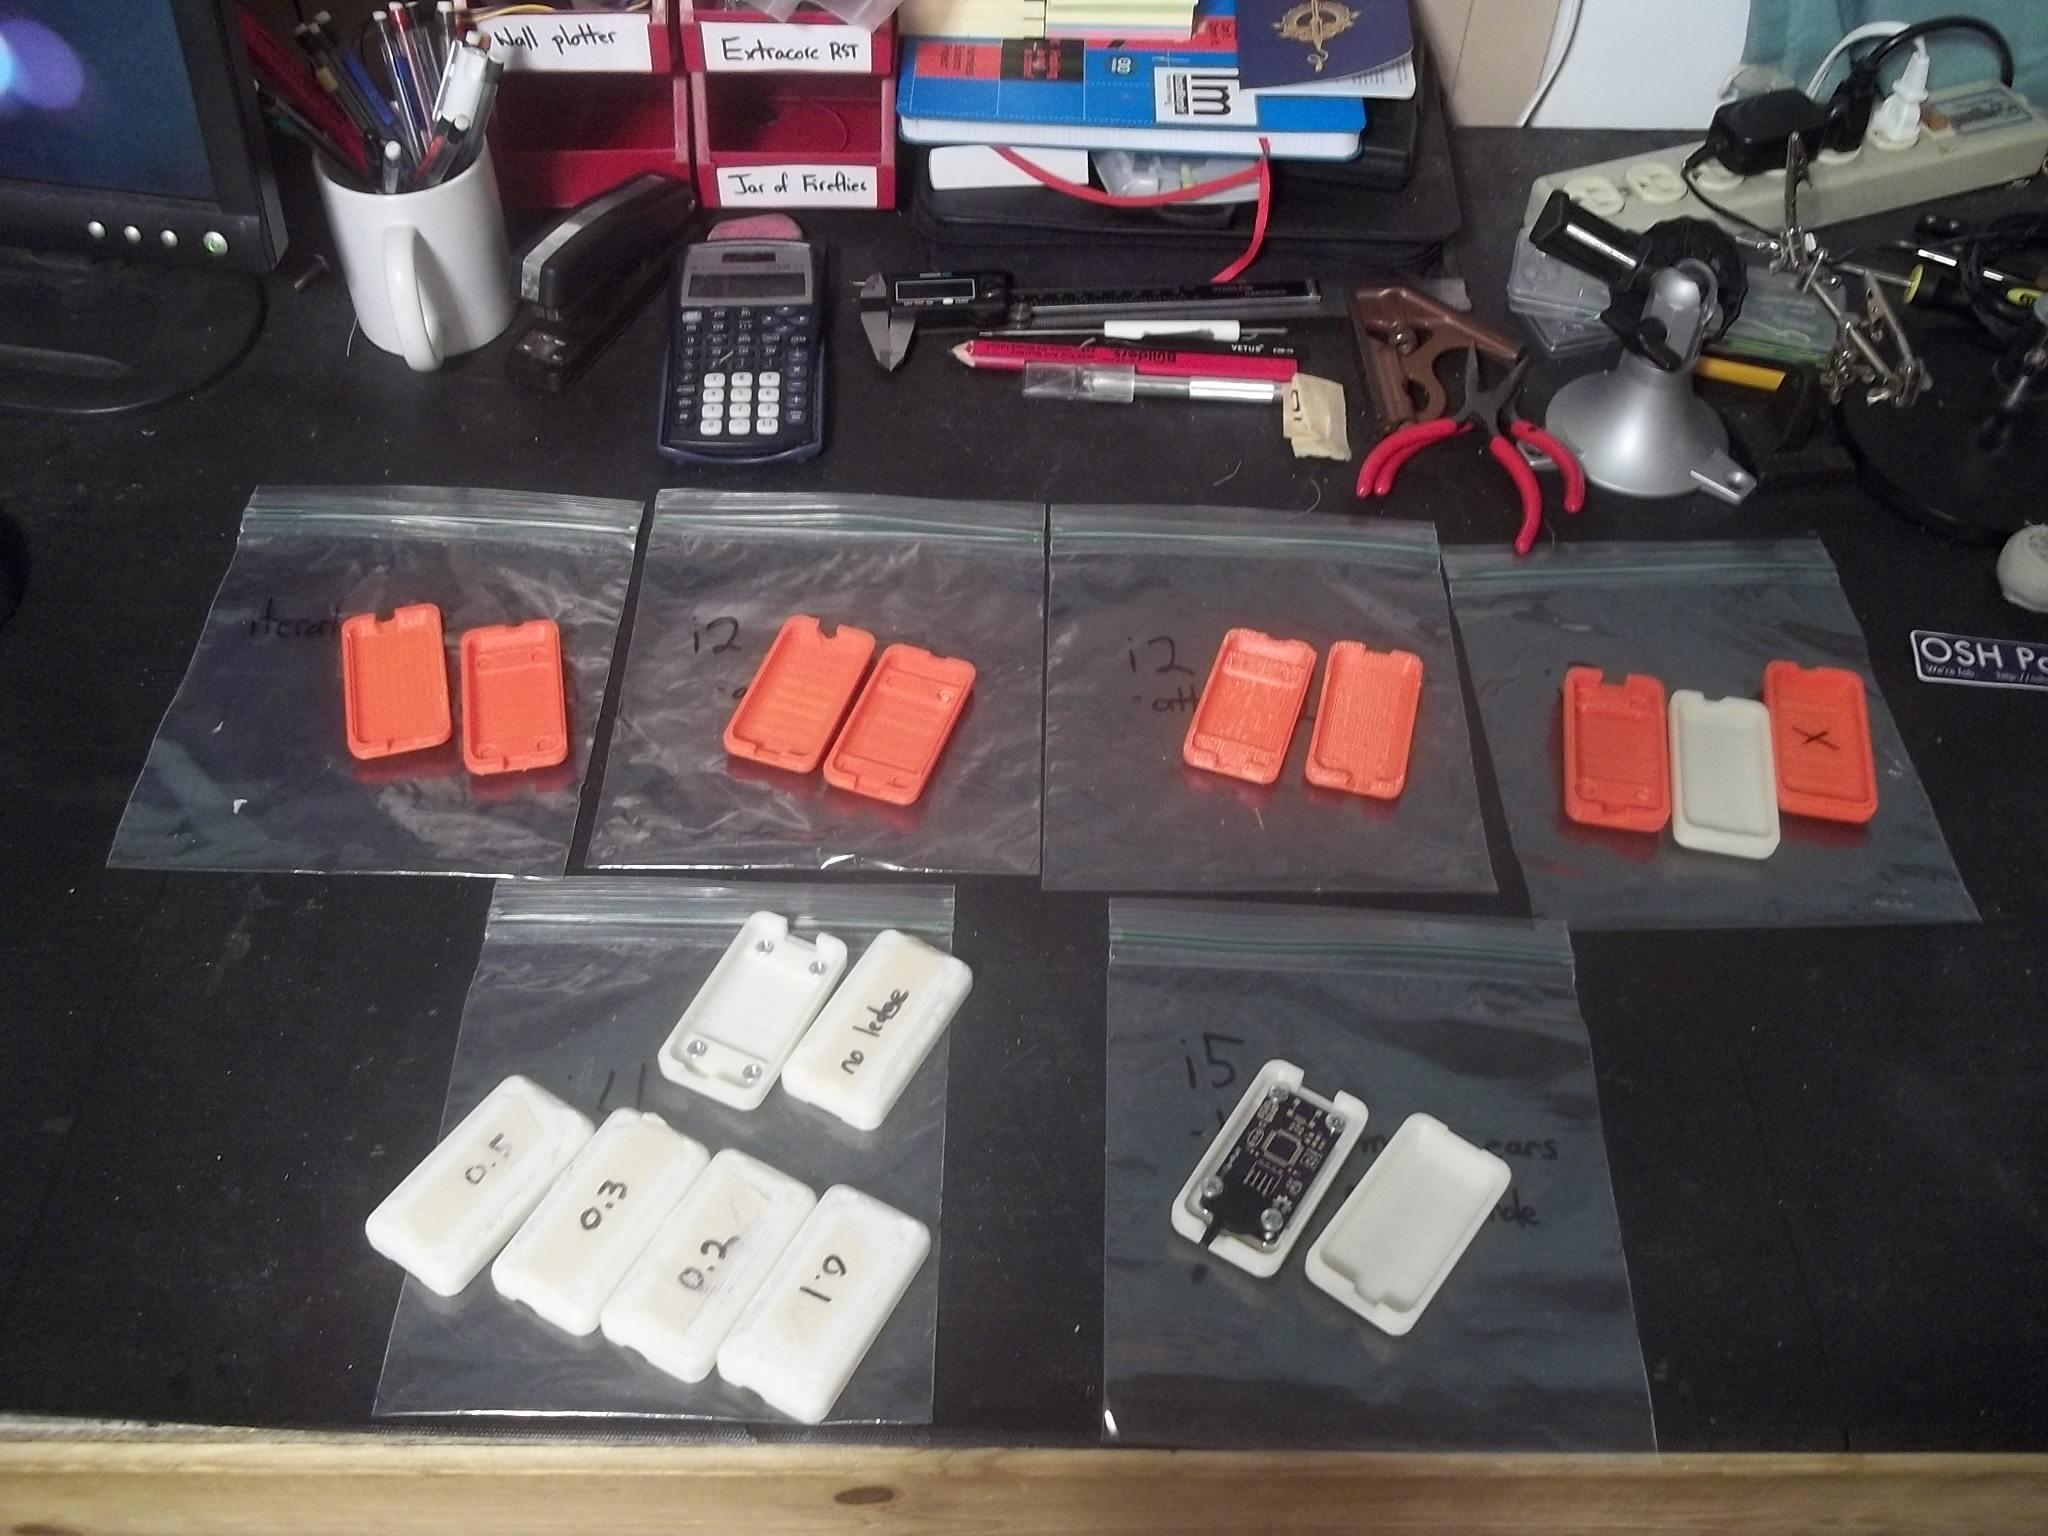
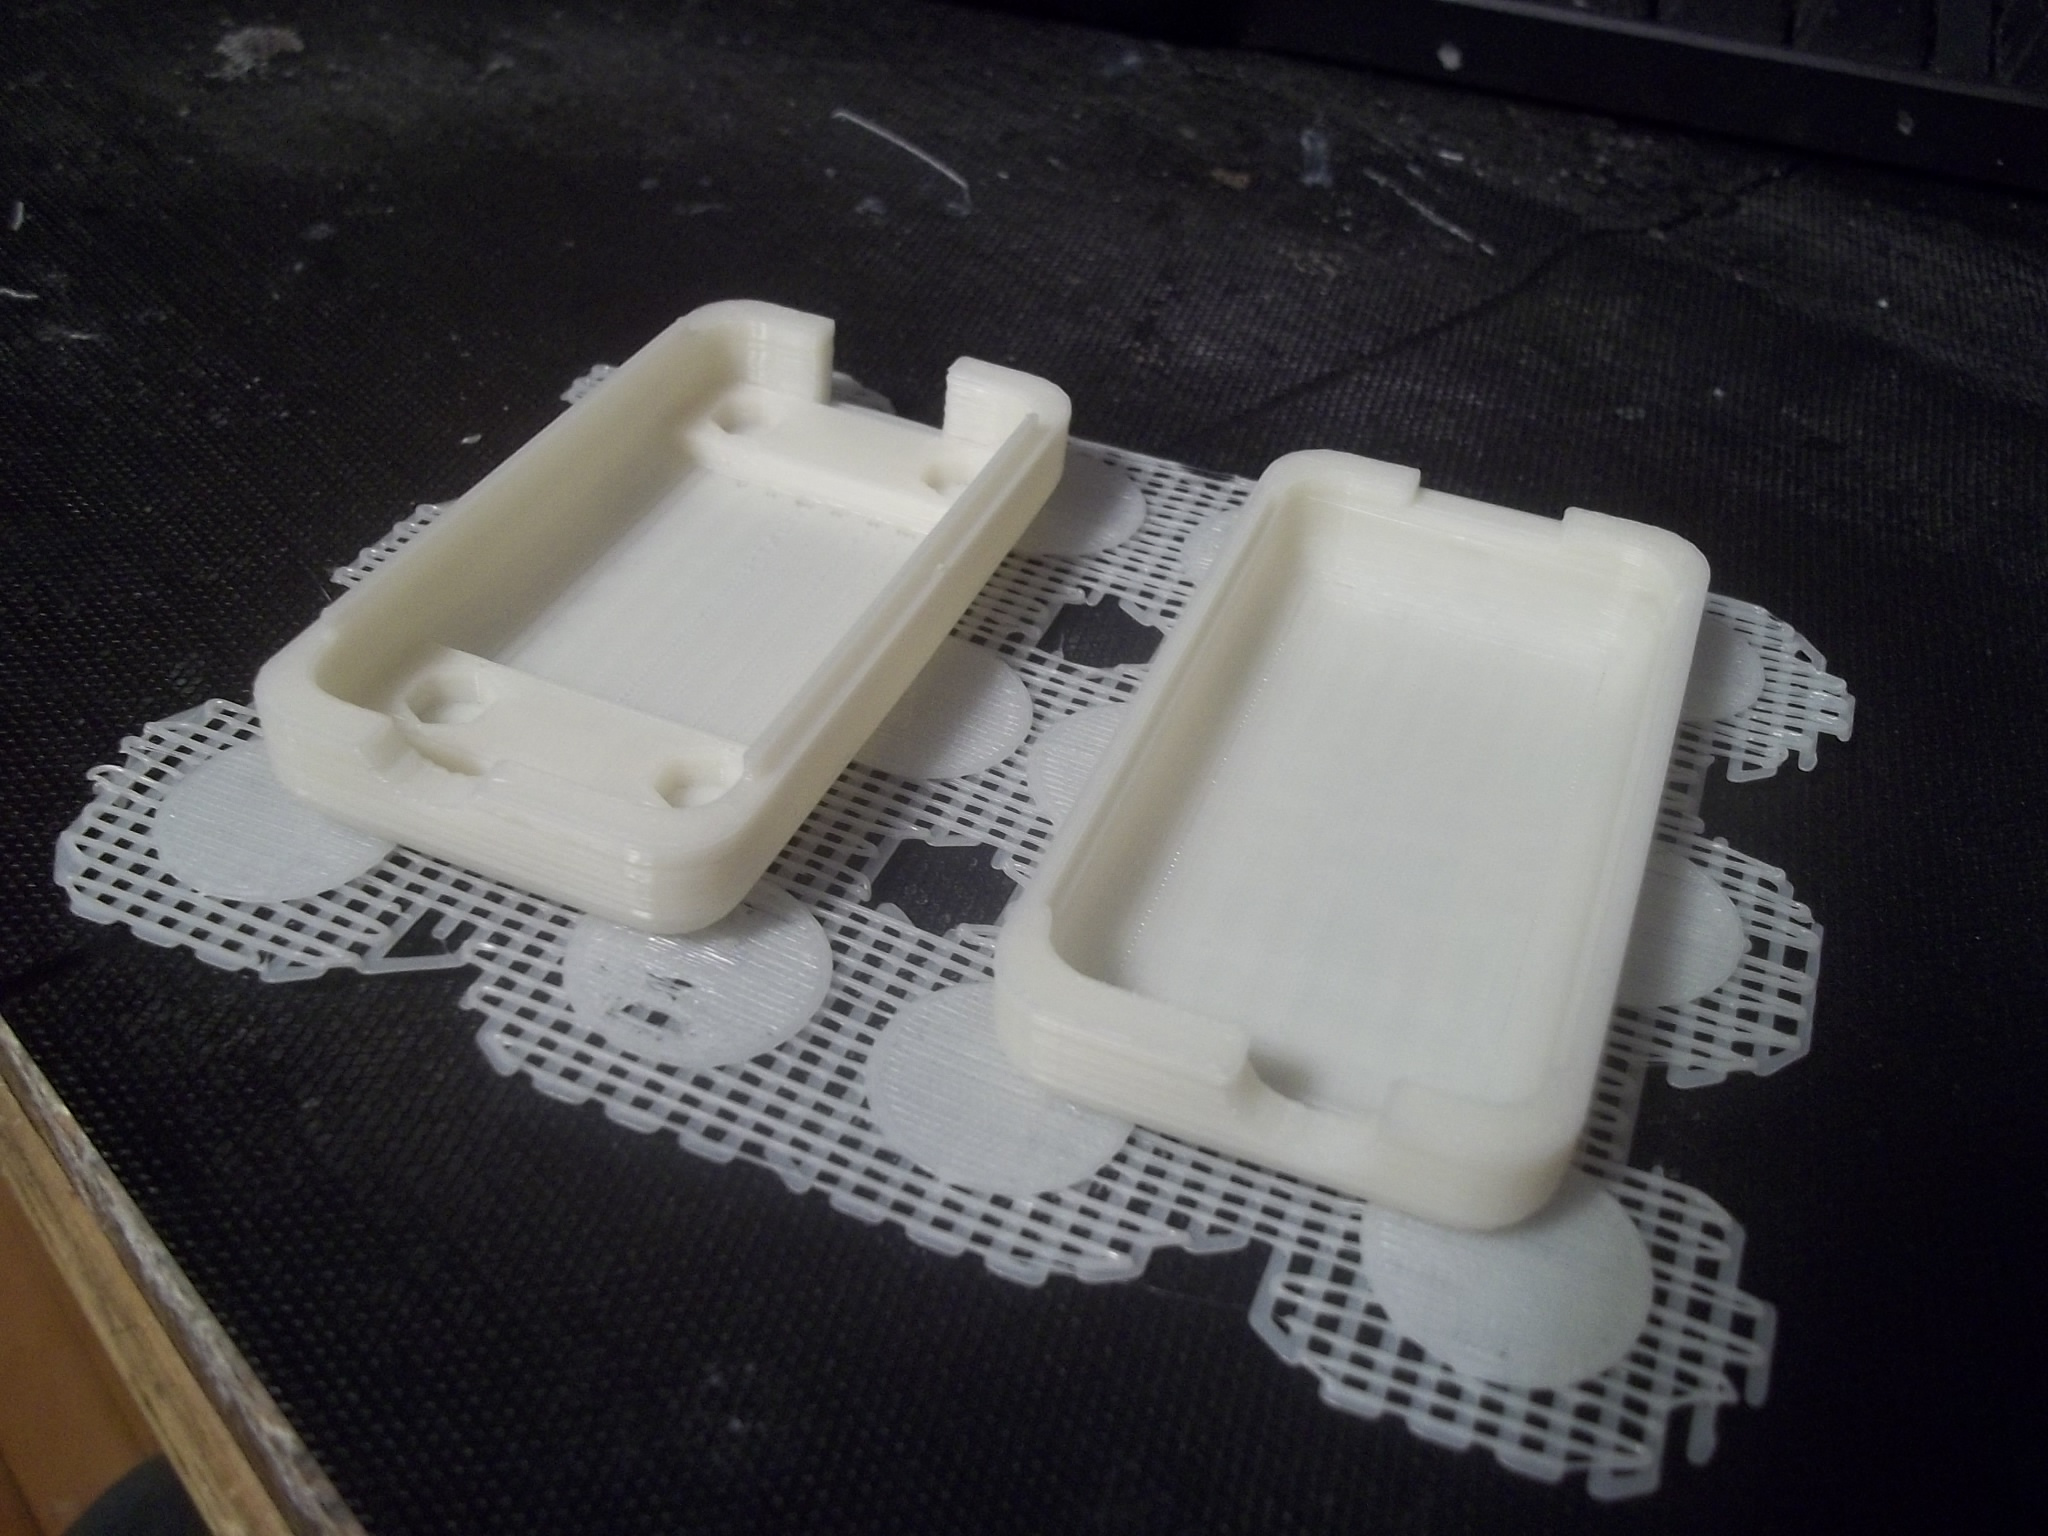
Development iterations
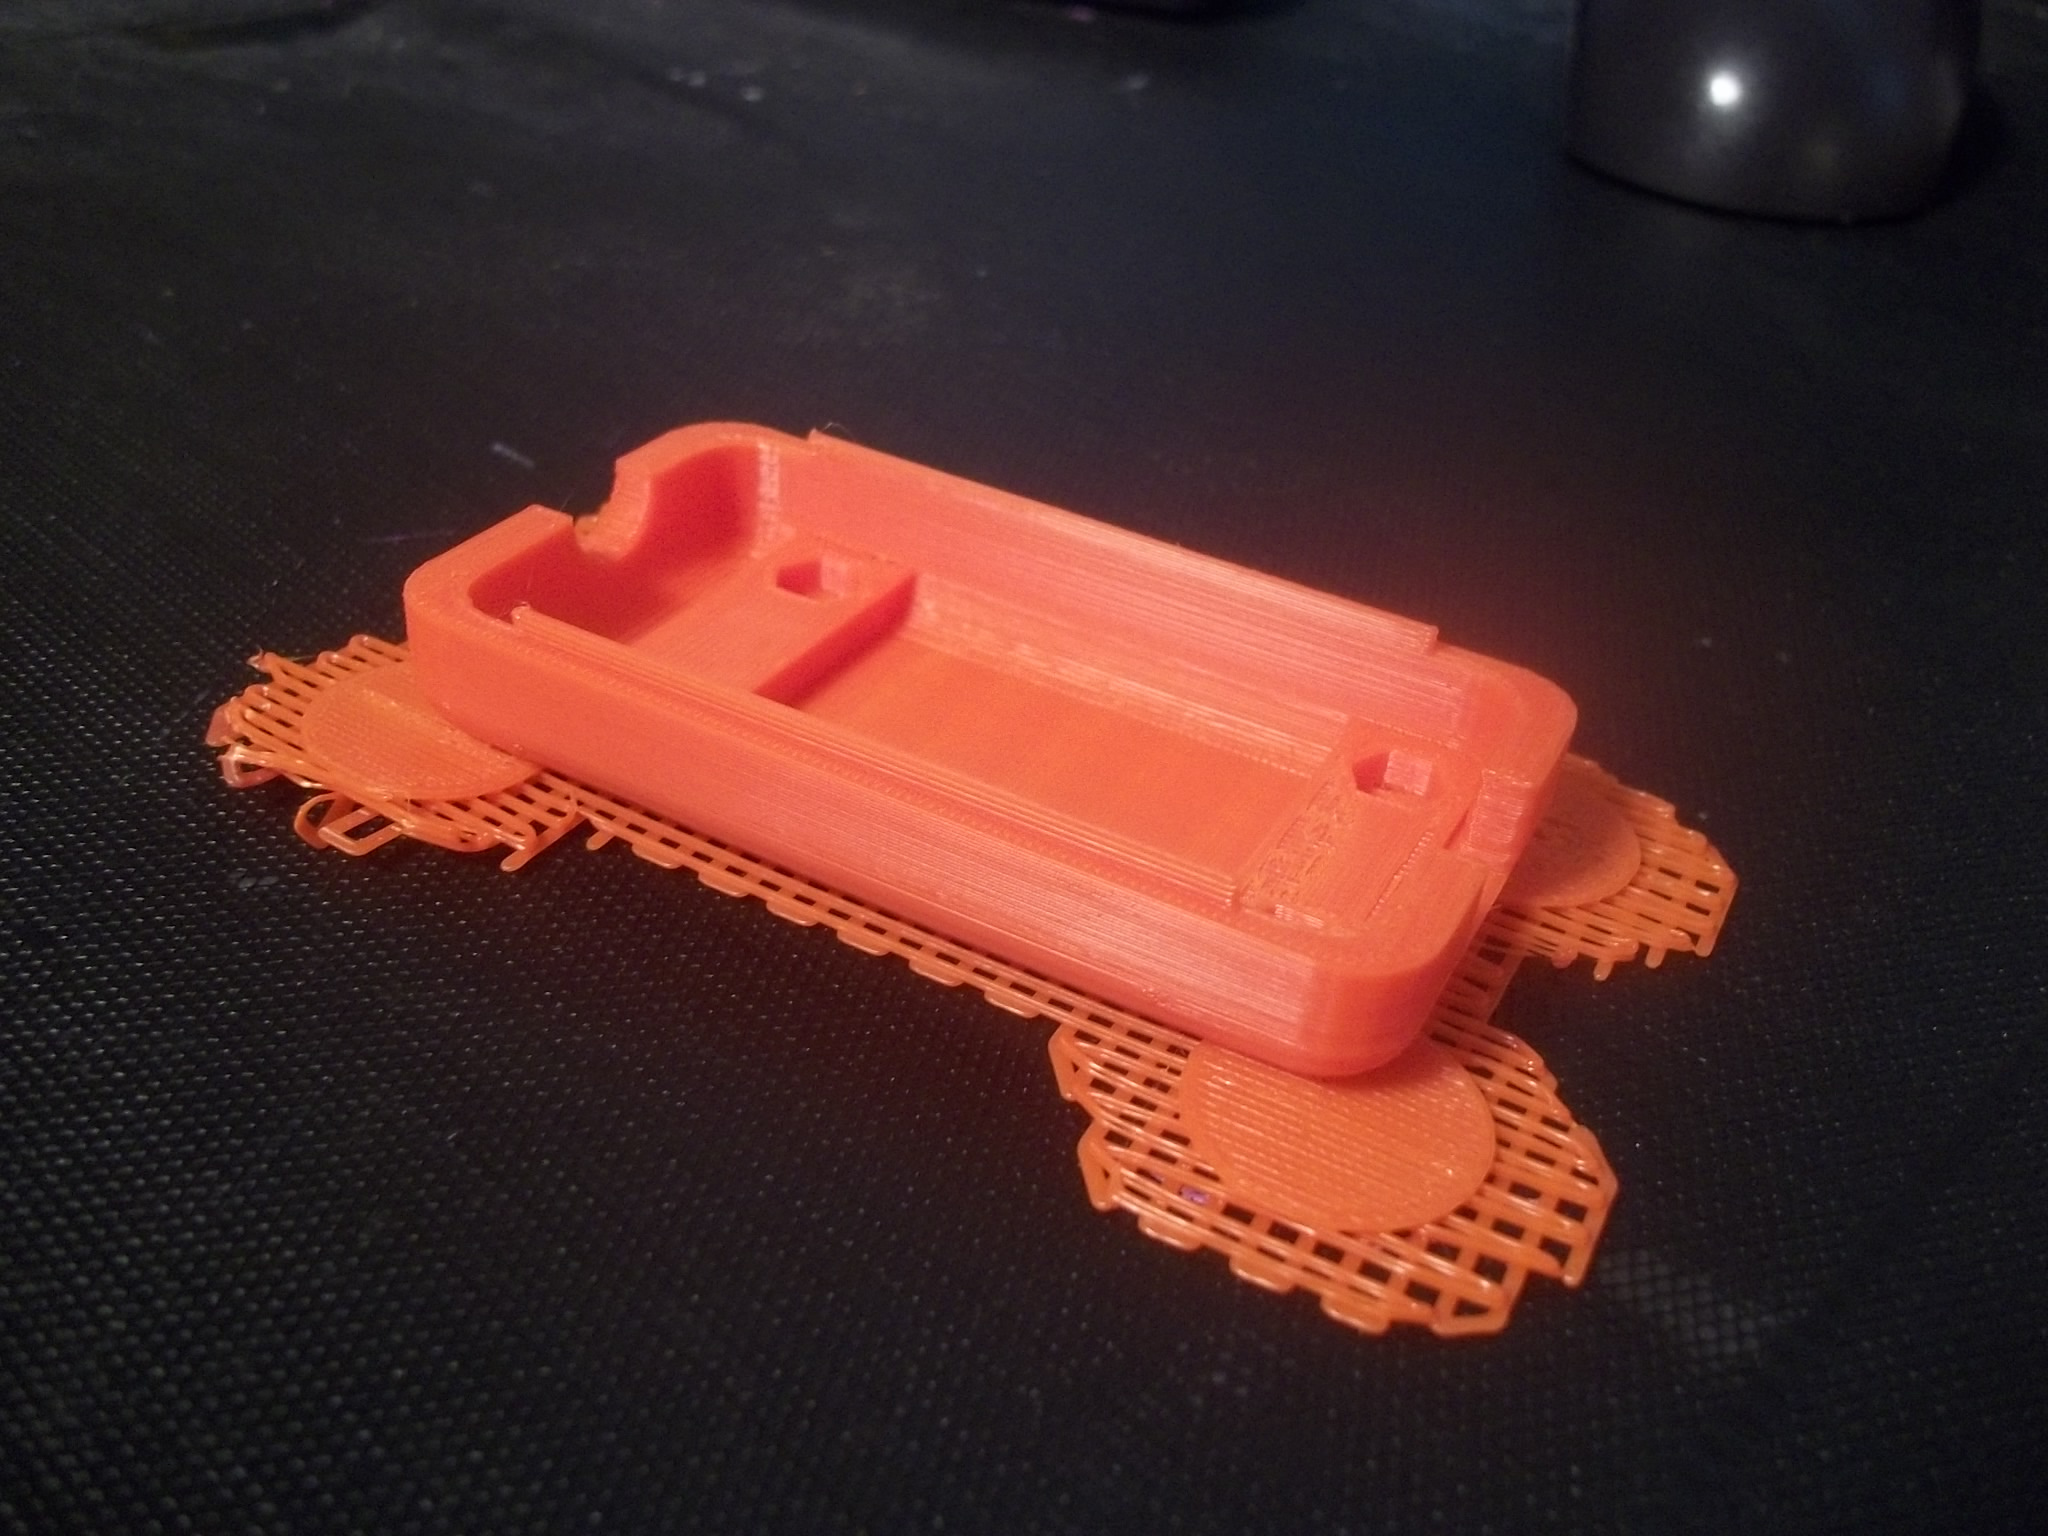
Following the observations made from the first iteration, I immediately adjusted the height of the housing and the ‘fit’ of the two halves. But there was still curling for the first few iterations, which reminded me that using mouse ears could help out a lot. In fact they do, so I added mouse ears into the OpenSCAD script!
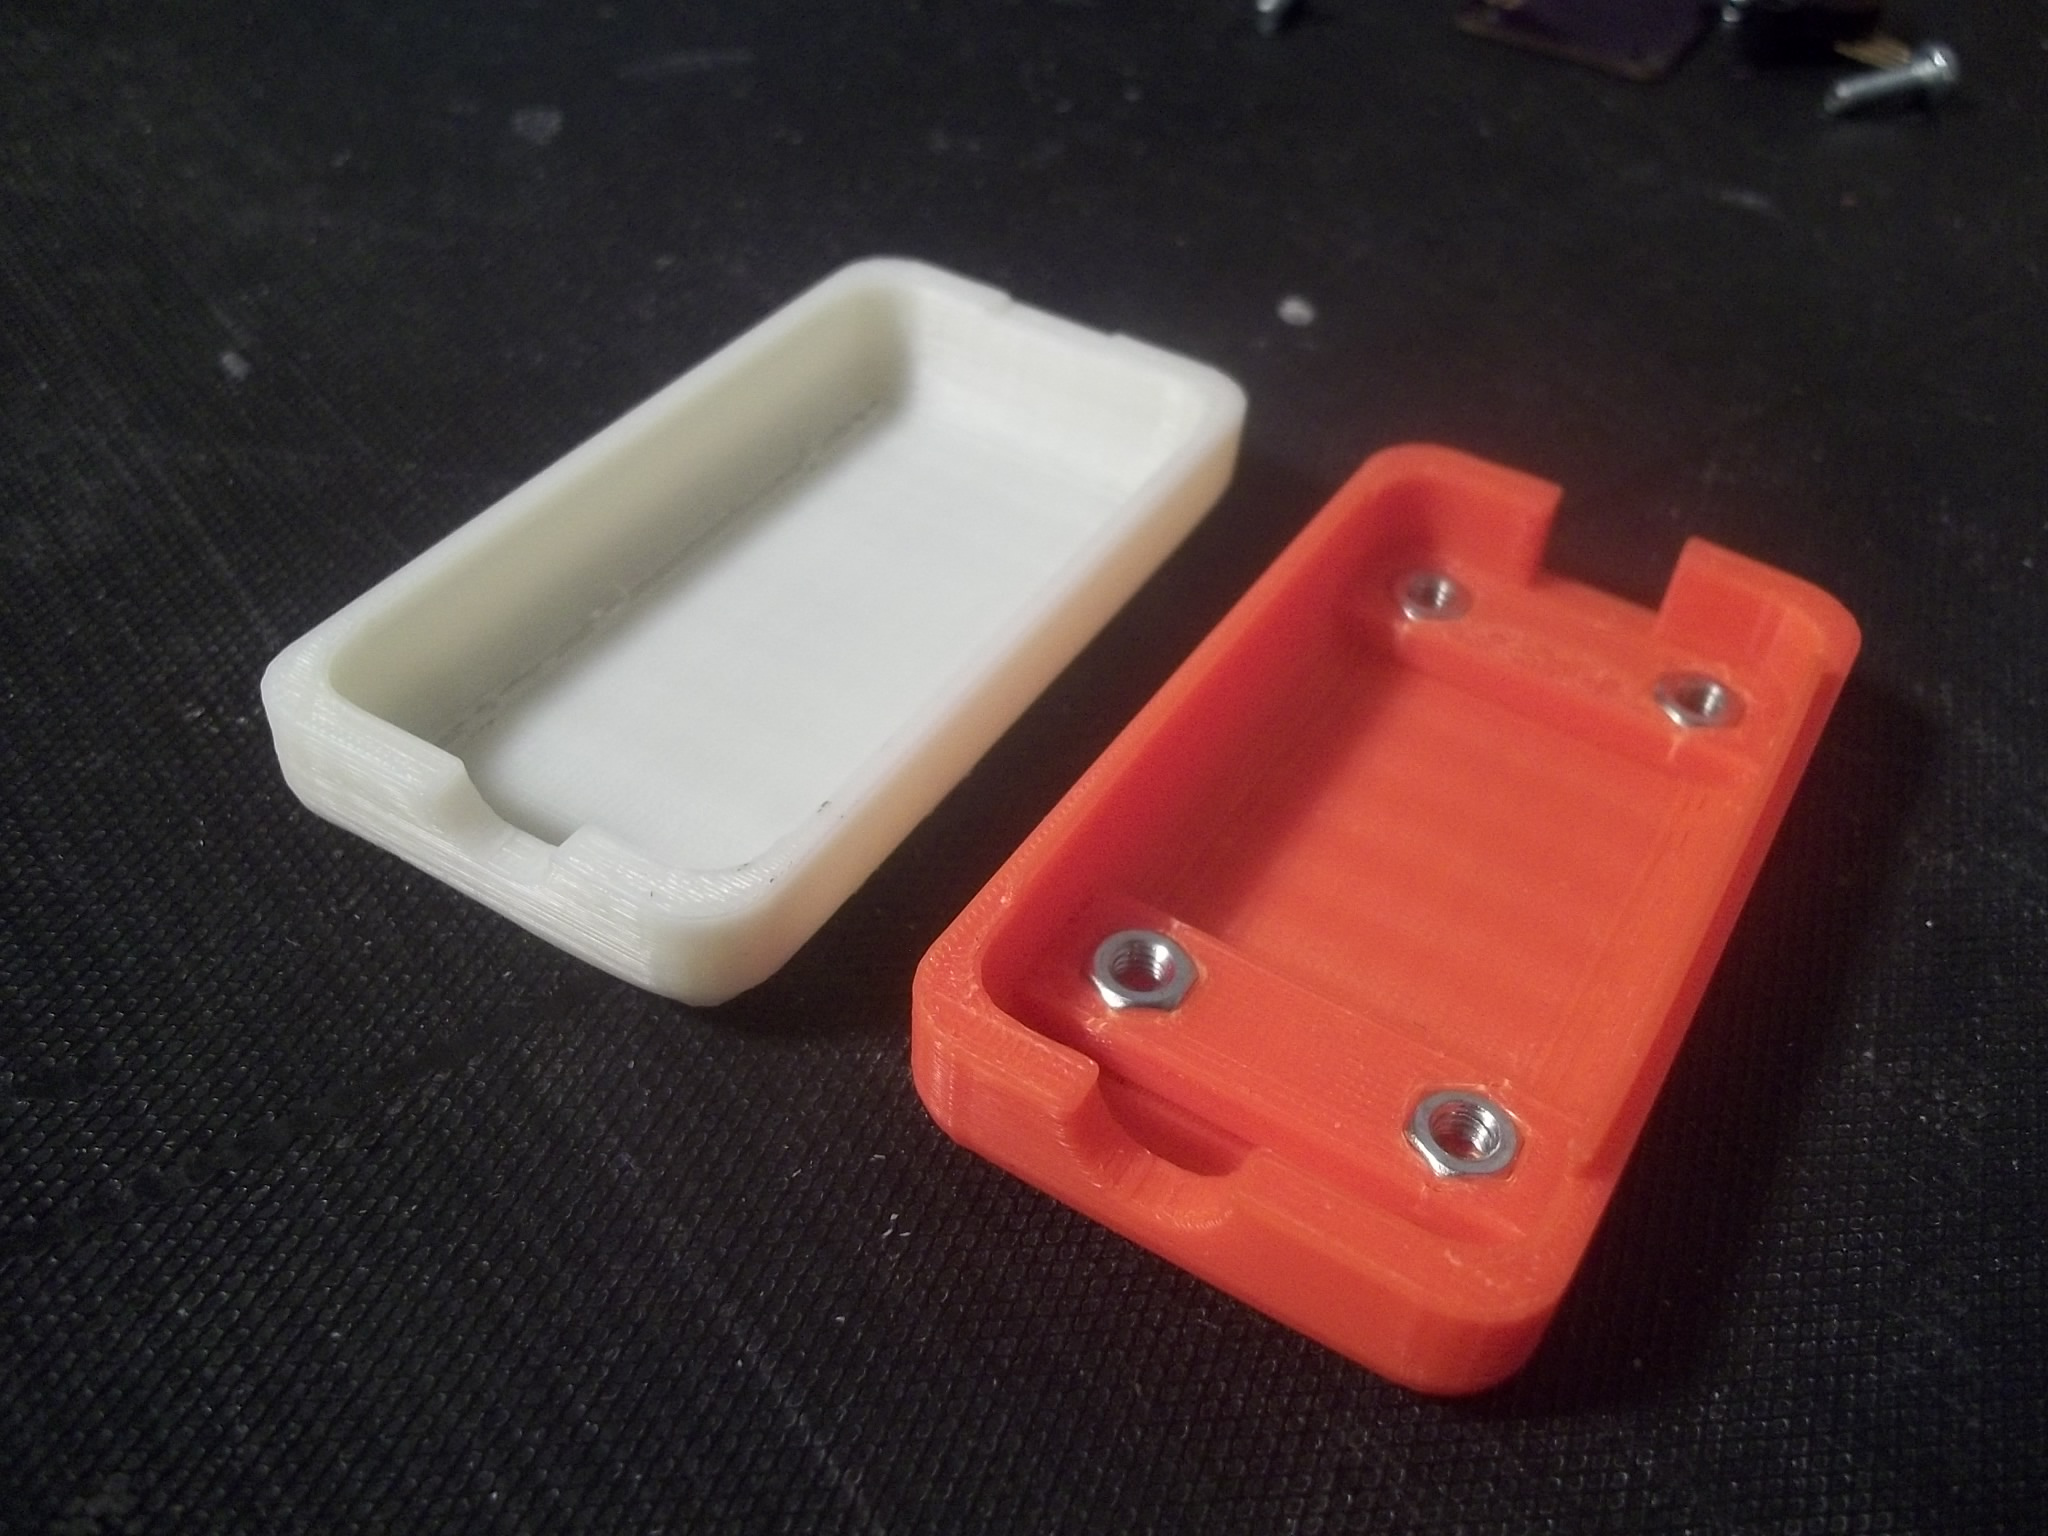
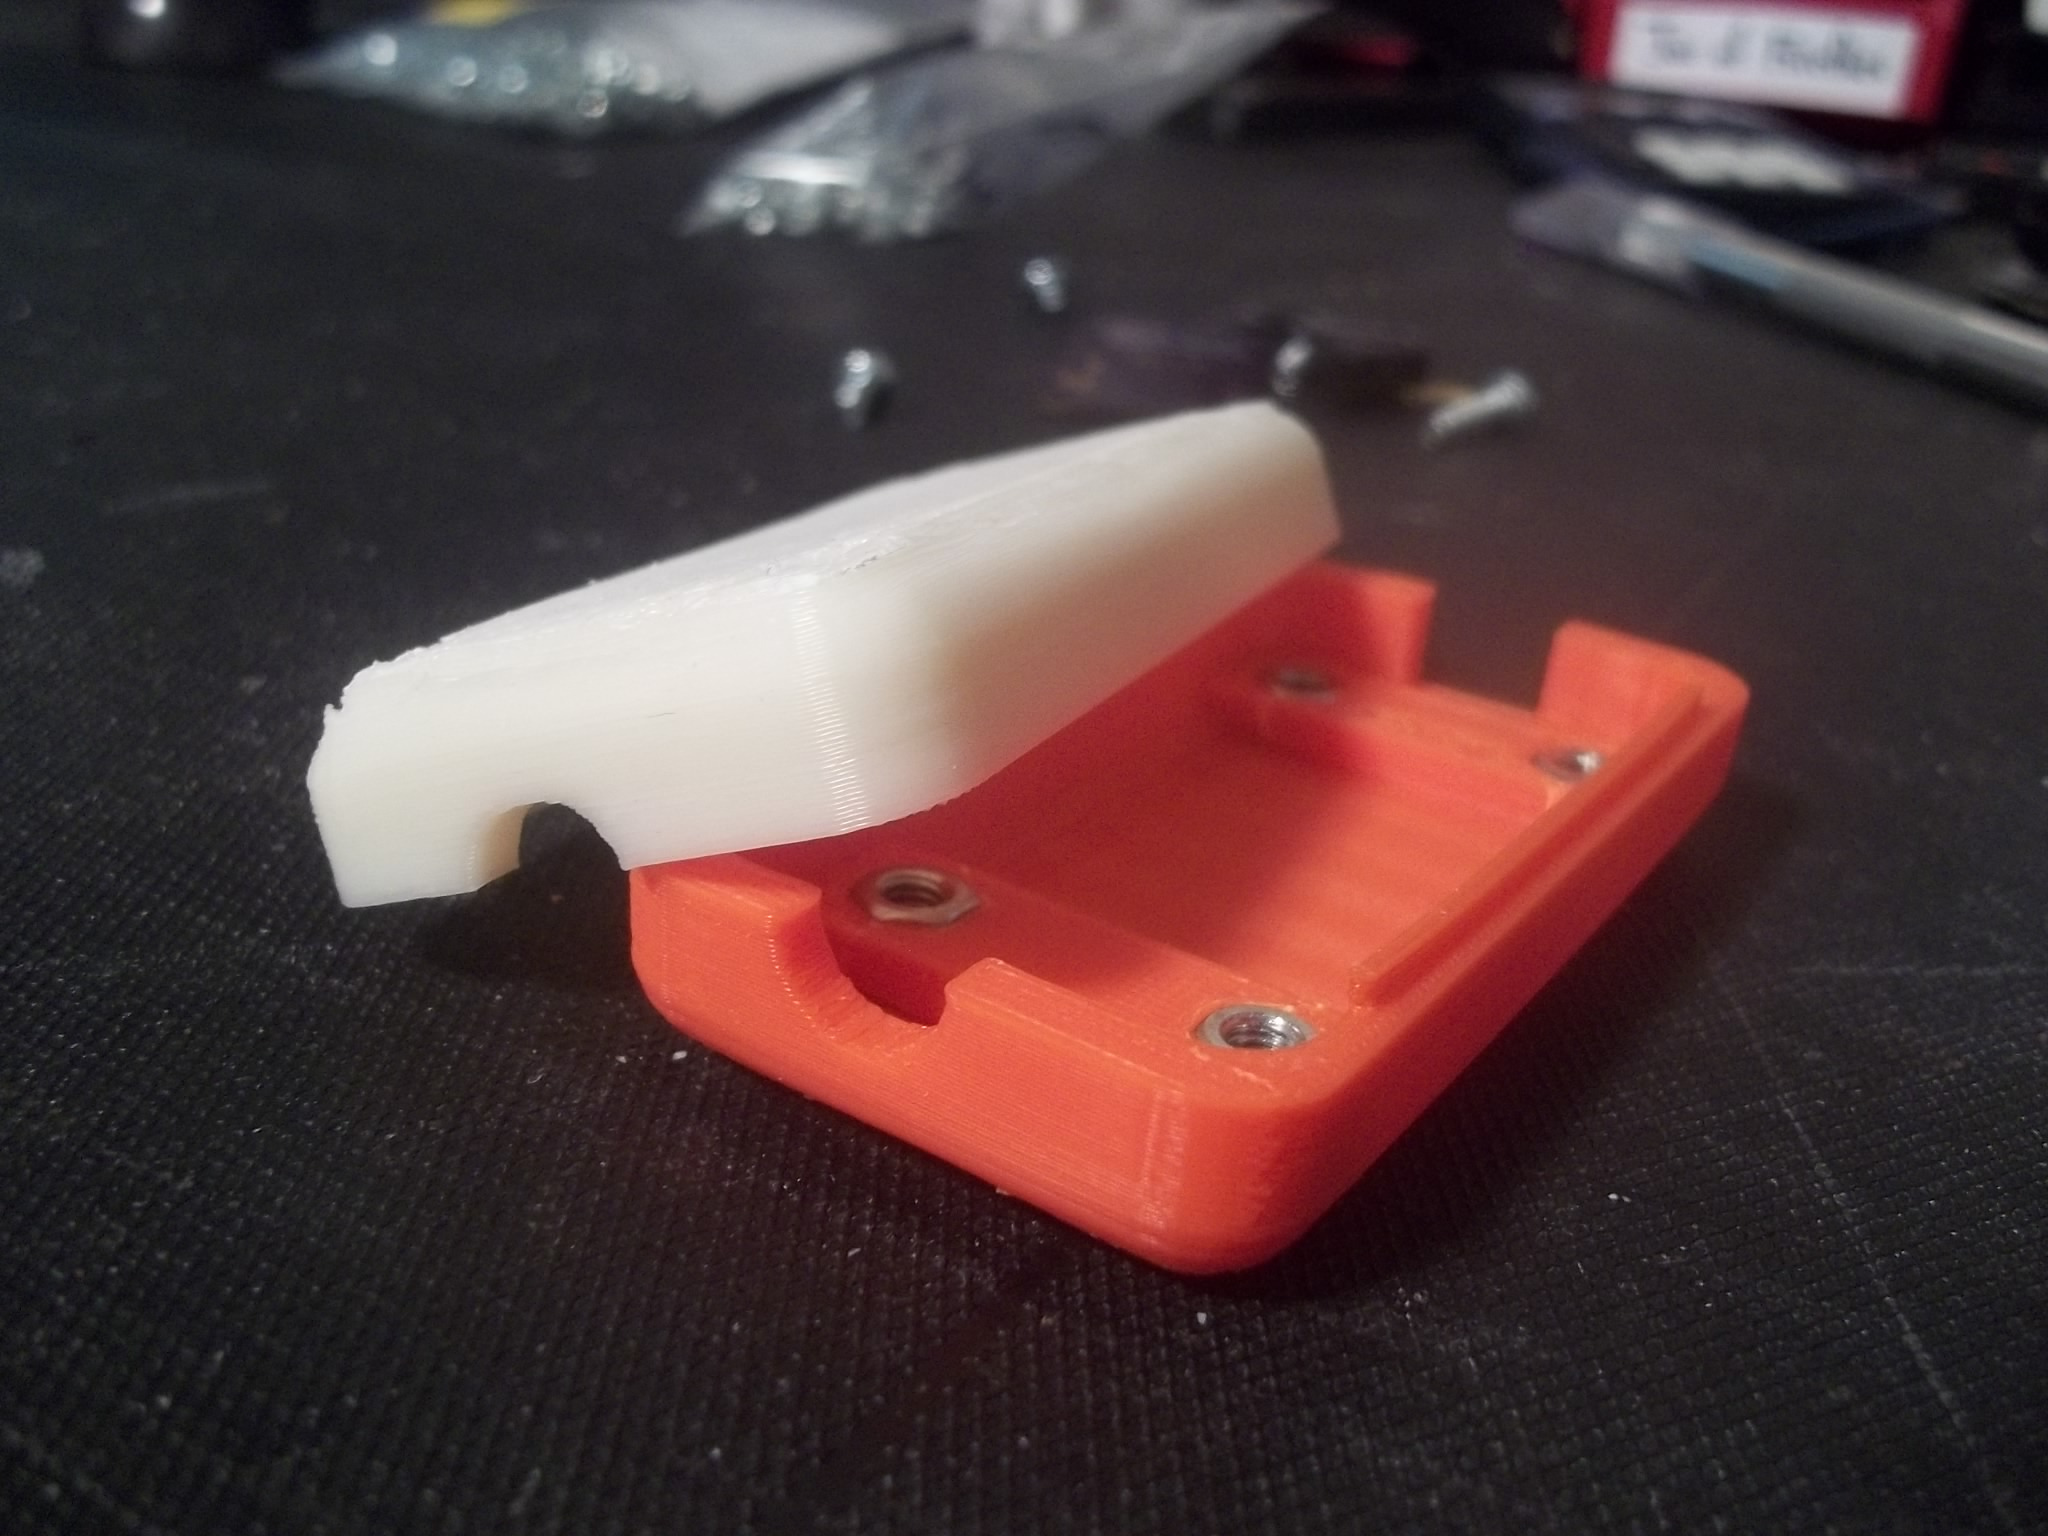
After a couple iterations I realized that in order to dial in the ‘fit’ of the two halves, I didn’t need to print the lower housing more than once; the upper housing has a configurable ledge that is translated to adjust the ‘fit’. So I printed a handful of iterations of just the upper housing, adjusting the fit of the ledges each time. Eventually I found that when the ledges are offset by 0.2mm the halves fit together great!
- Added mouse ears to the OpenSCAD script to help with ABS printing.
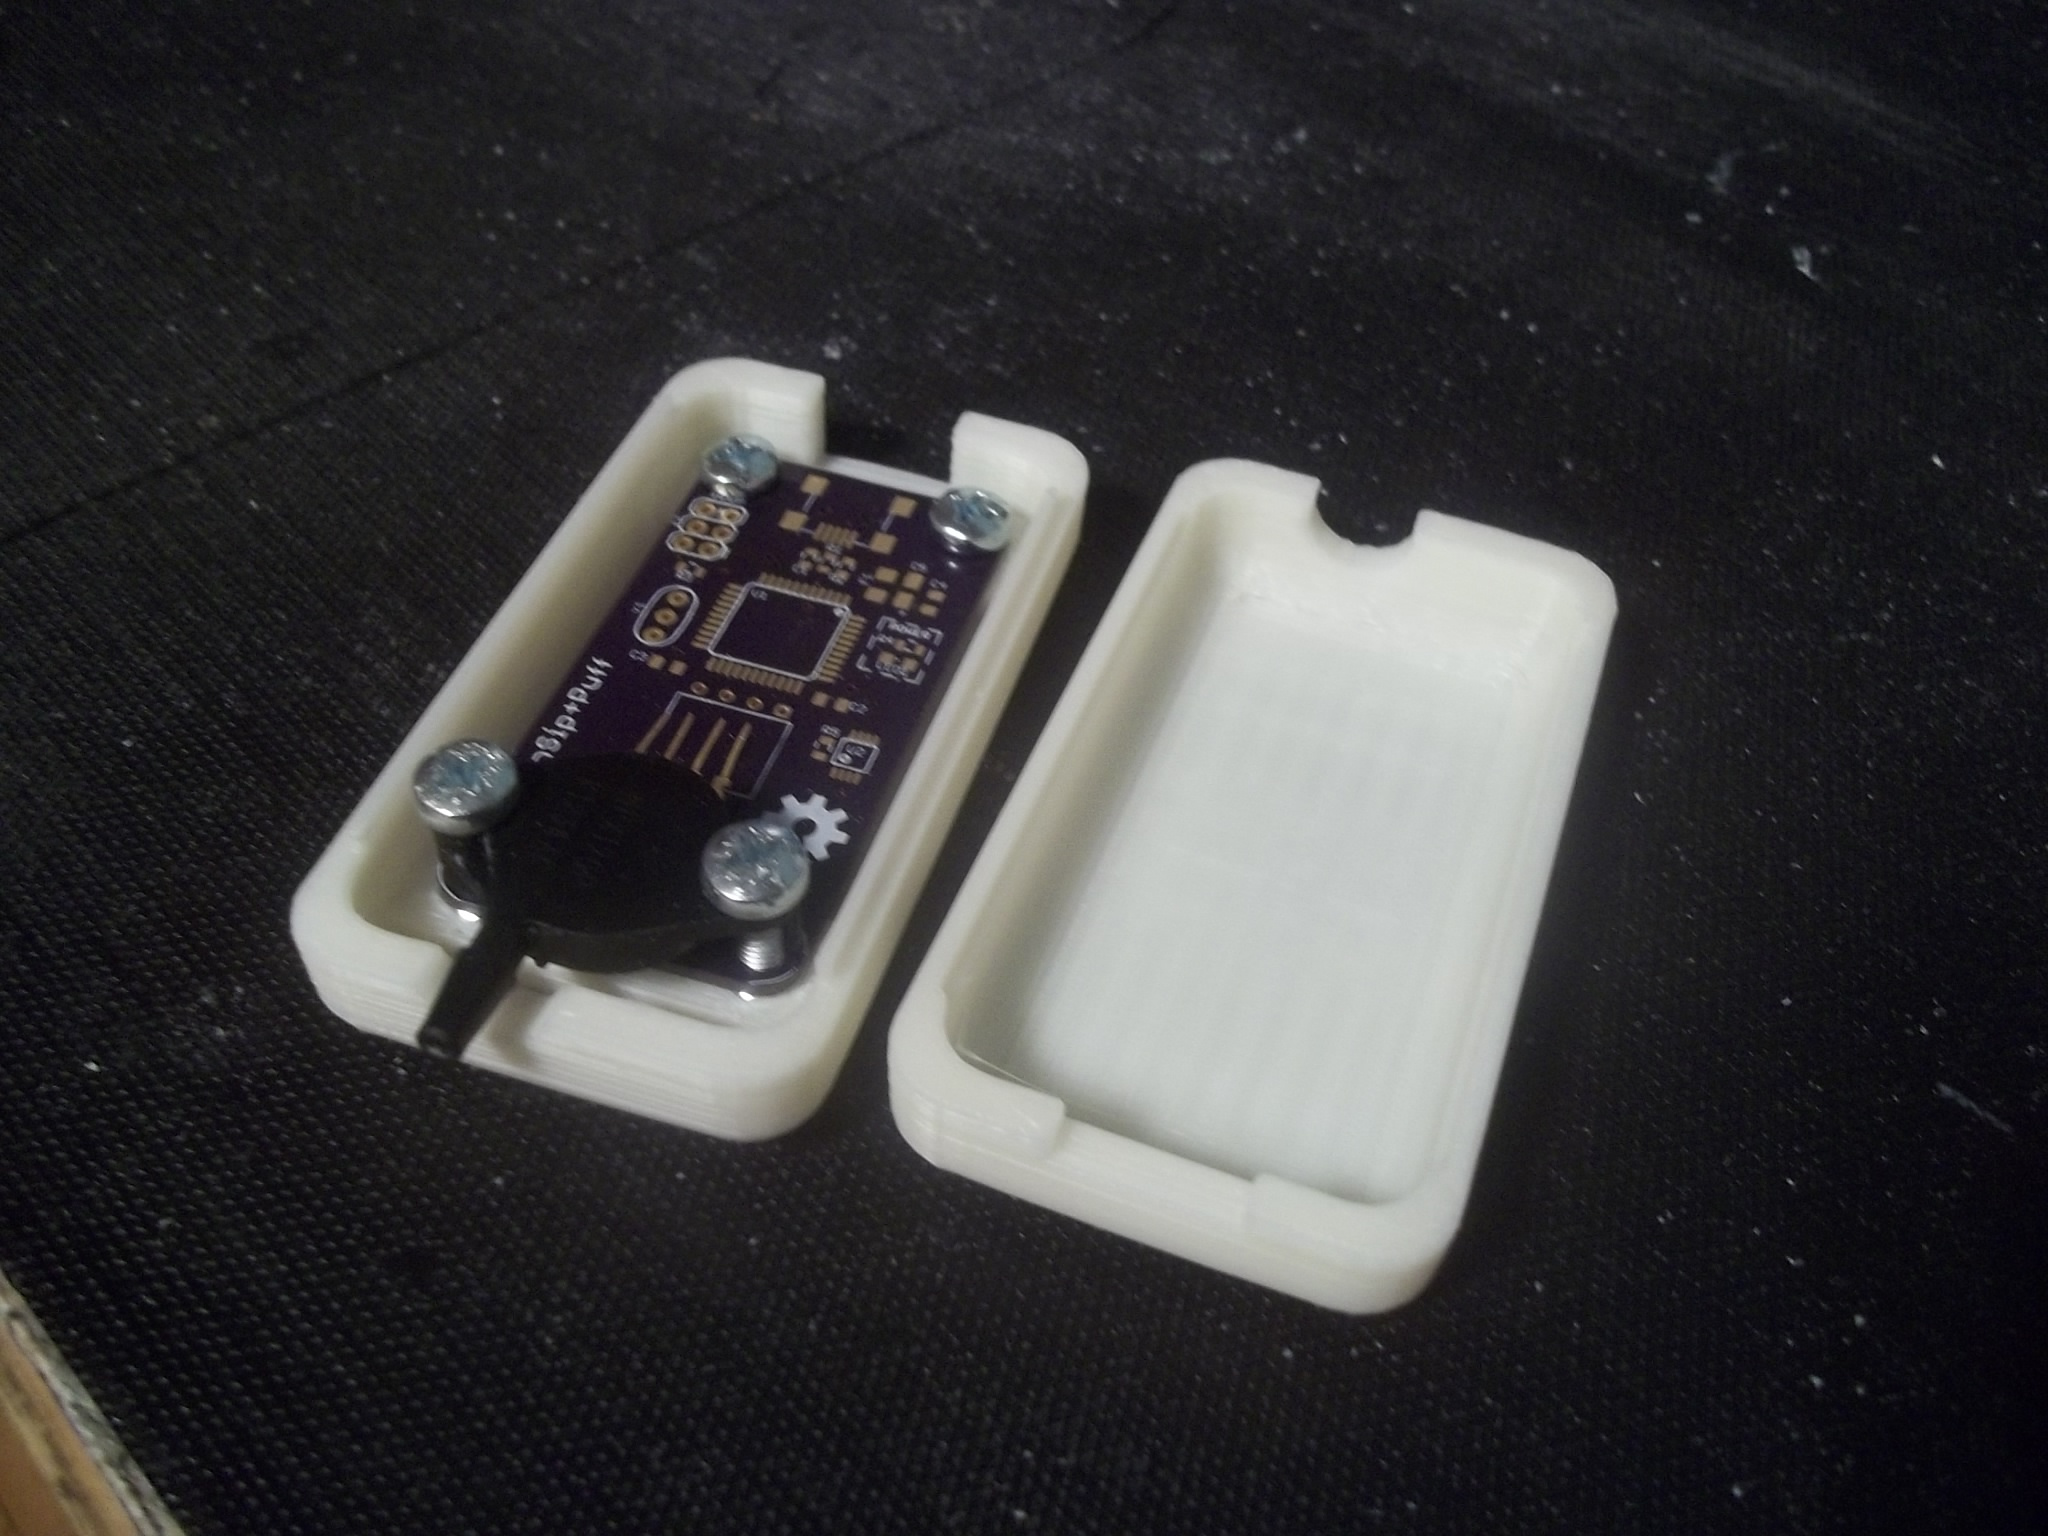
- Changed the overall height of the housing to have plenty of room for all the guts.
- Adjusted the ledge_offset parameter to get the halves to fit together perfectly.
- Adjusted the placement and size of access holes (for the pressure sensor and USB port).
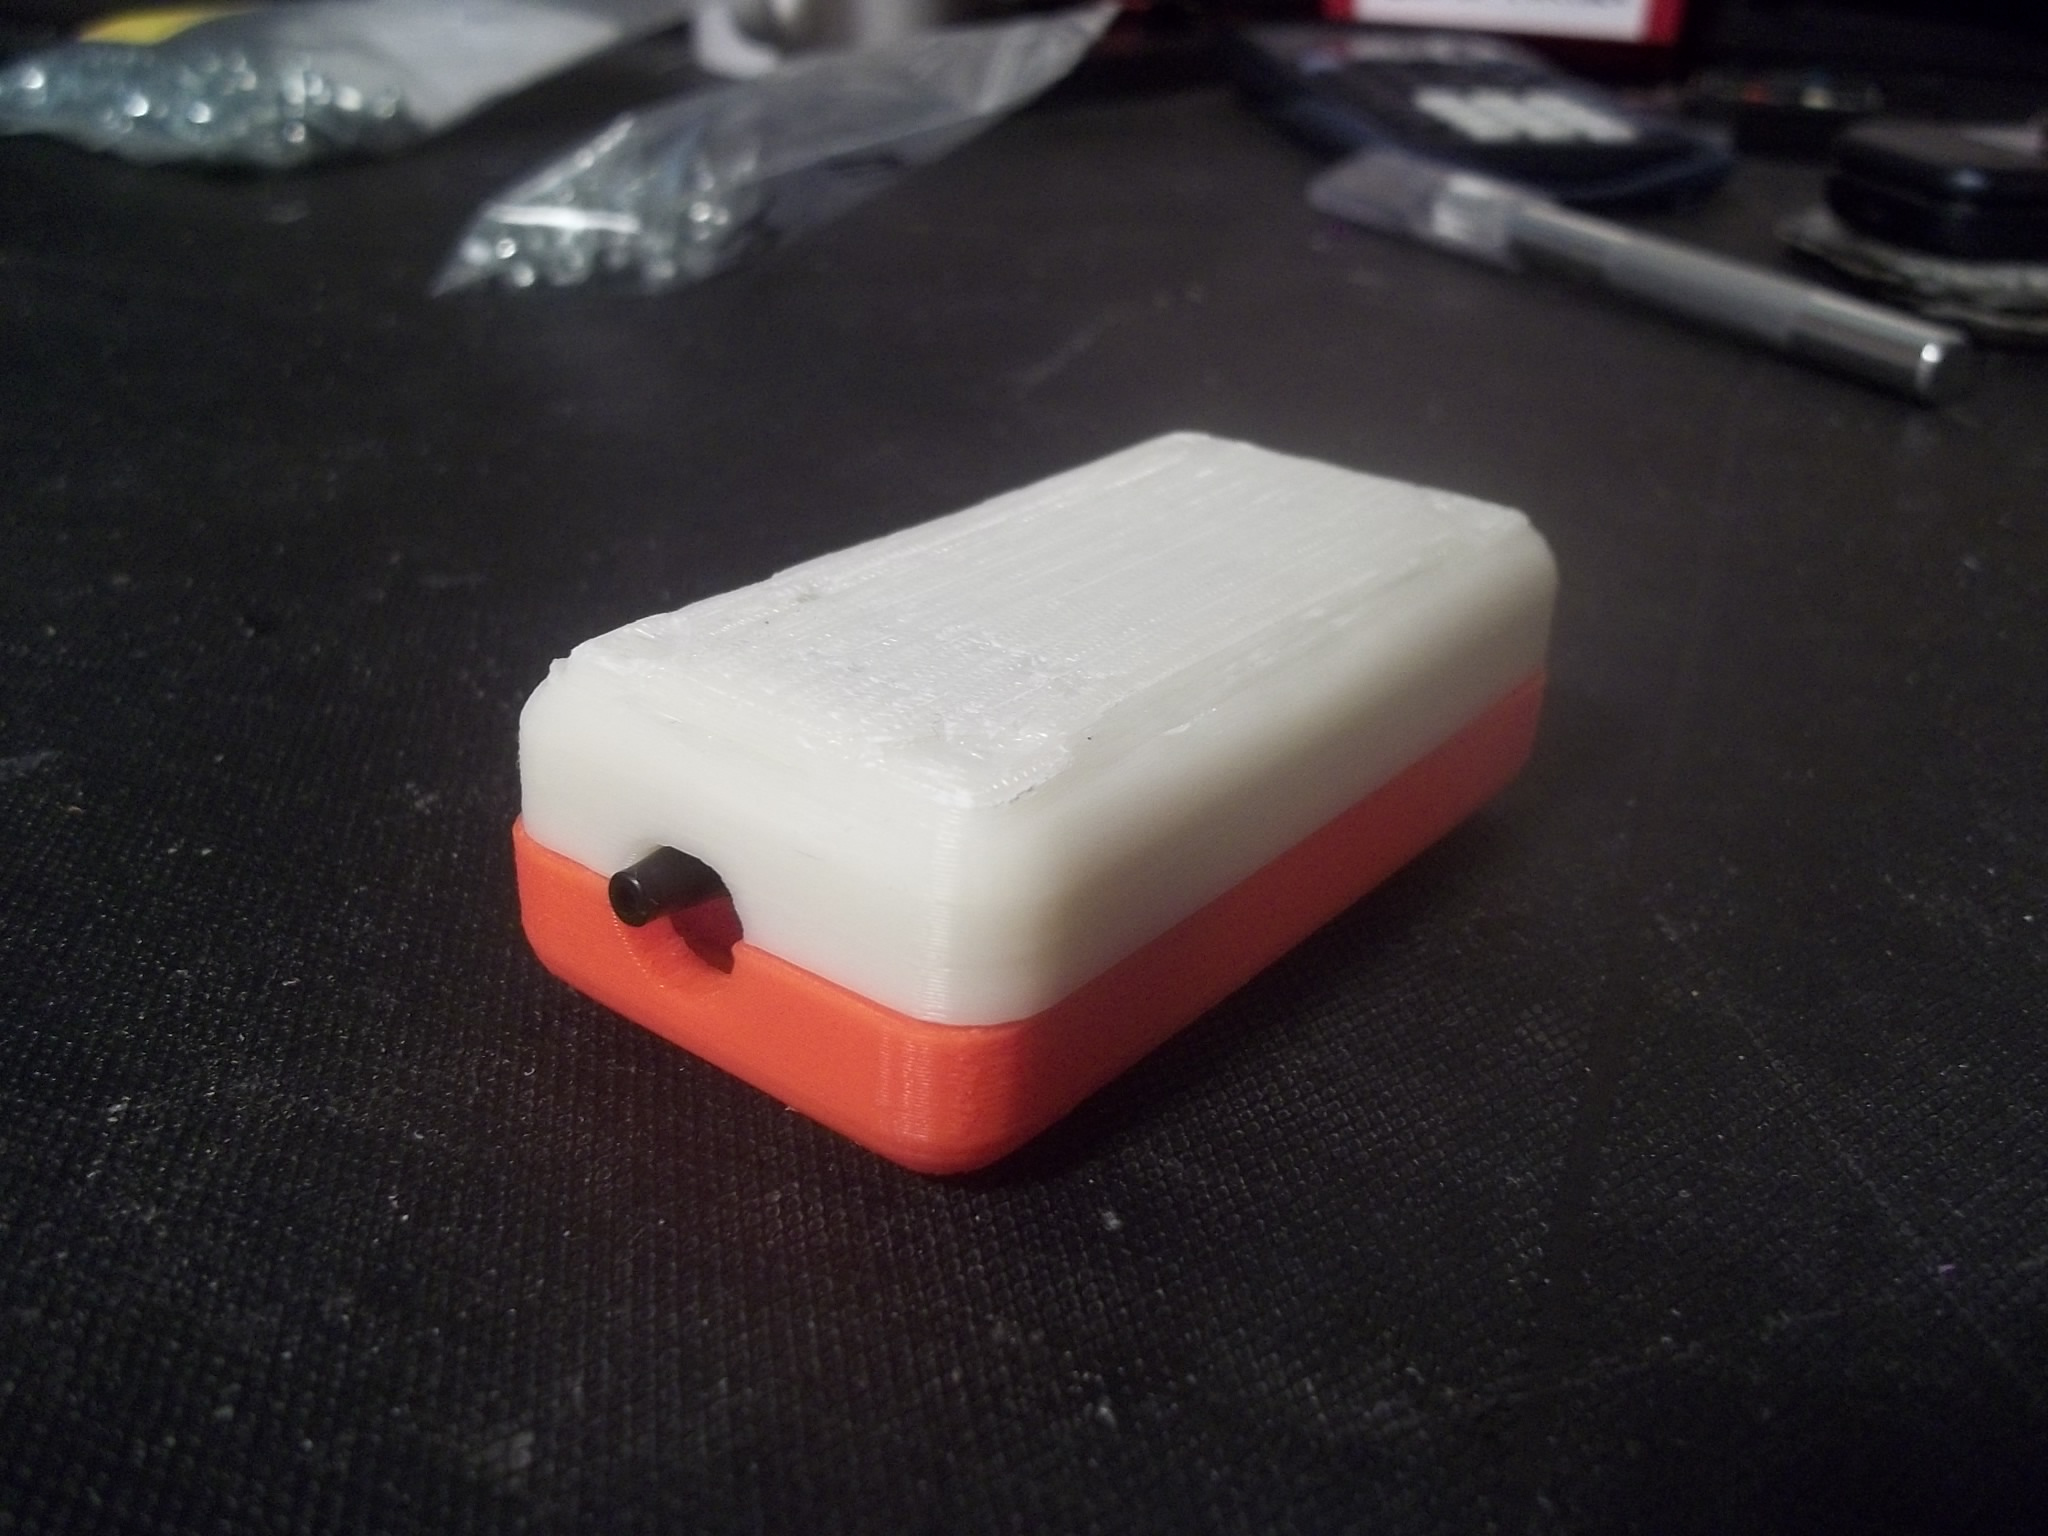
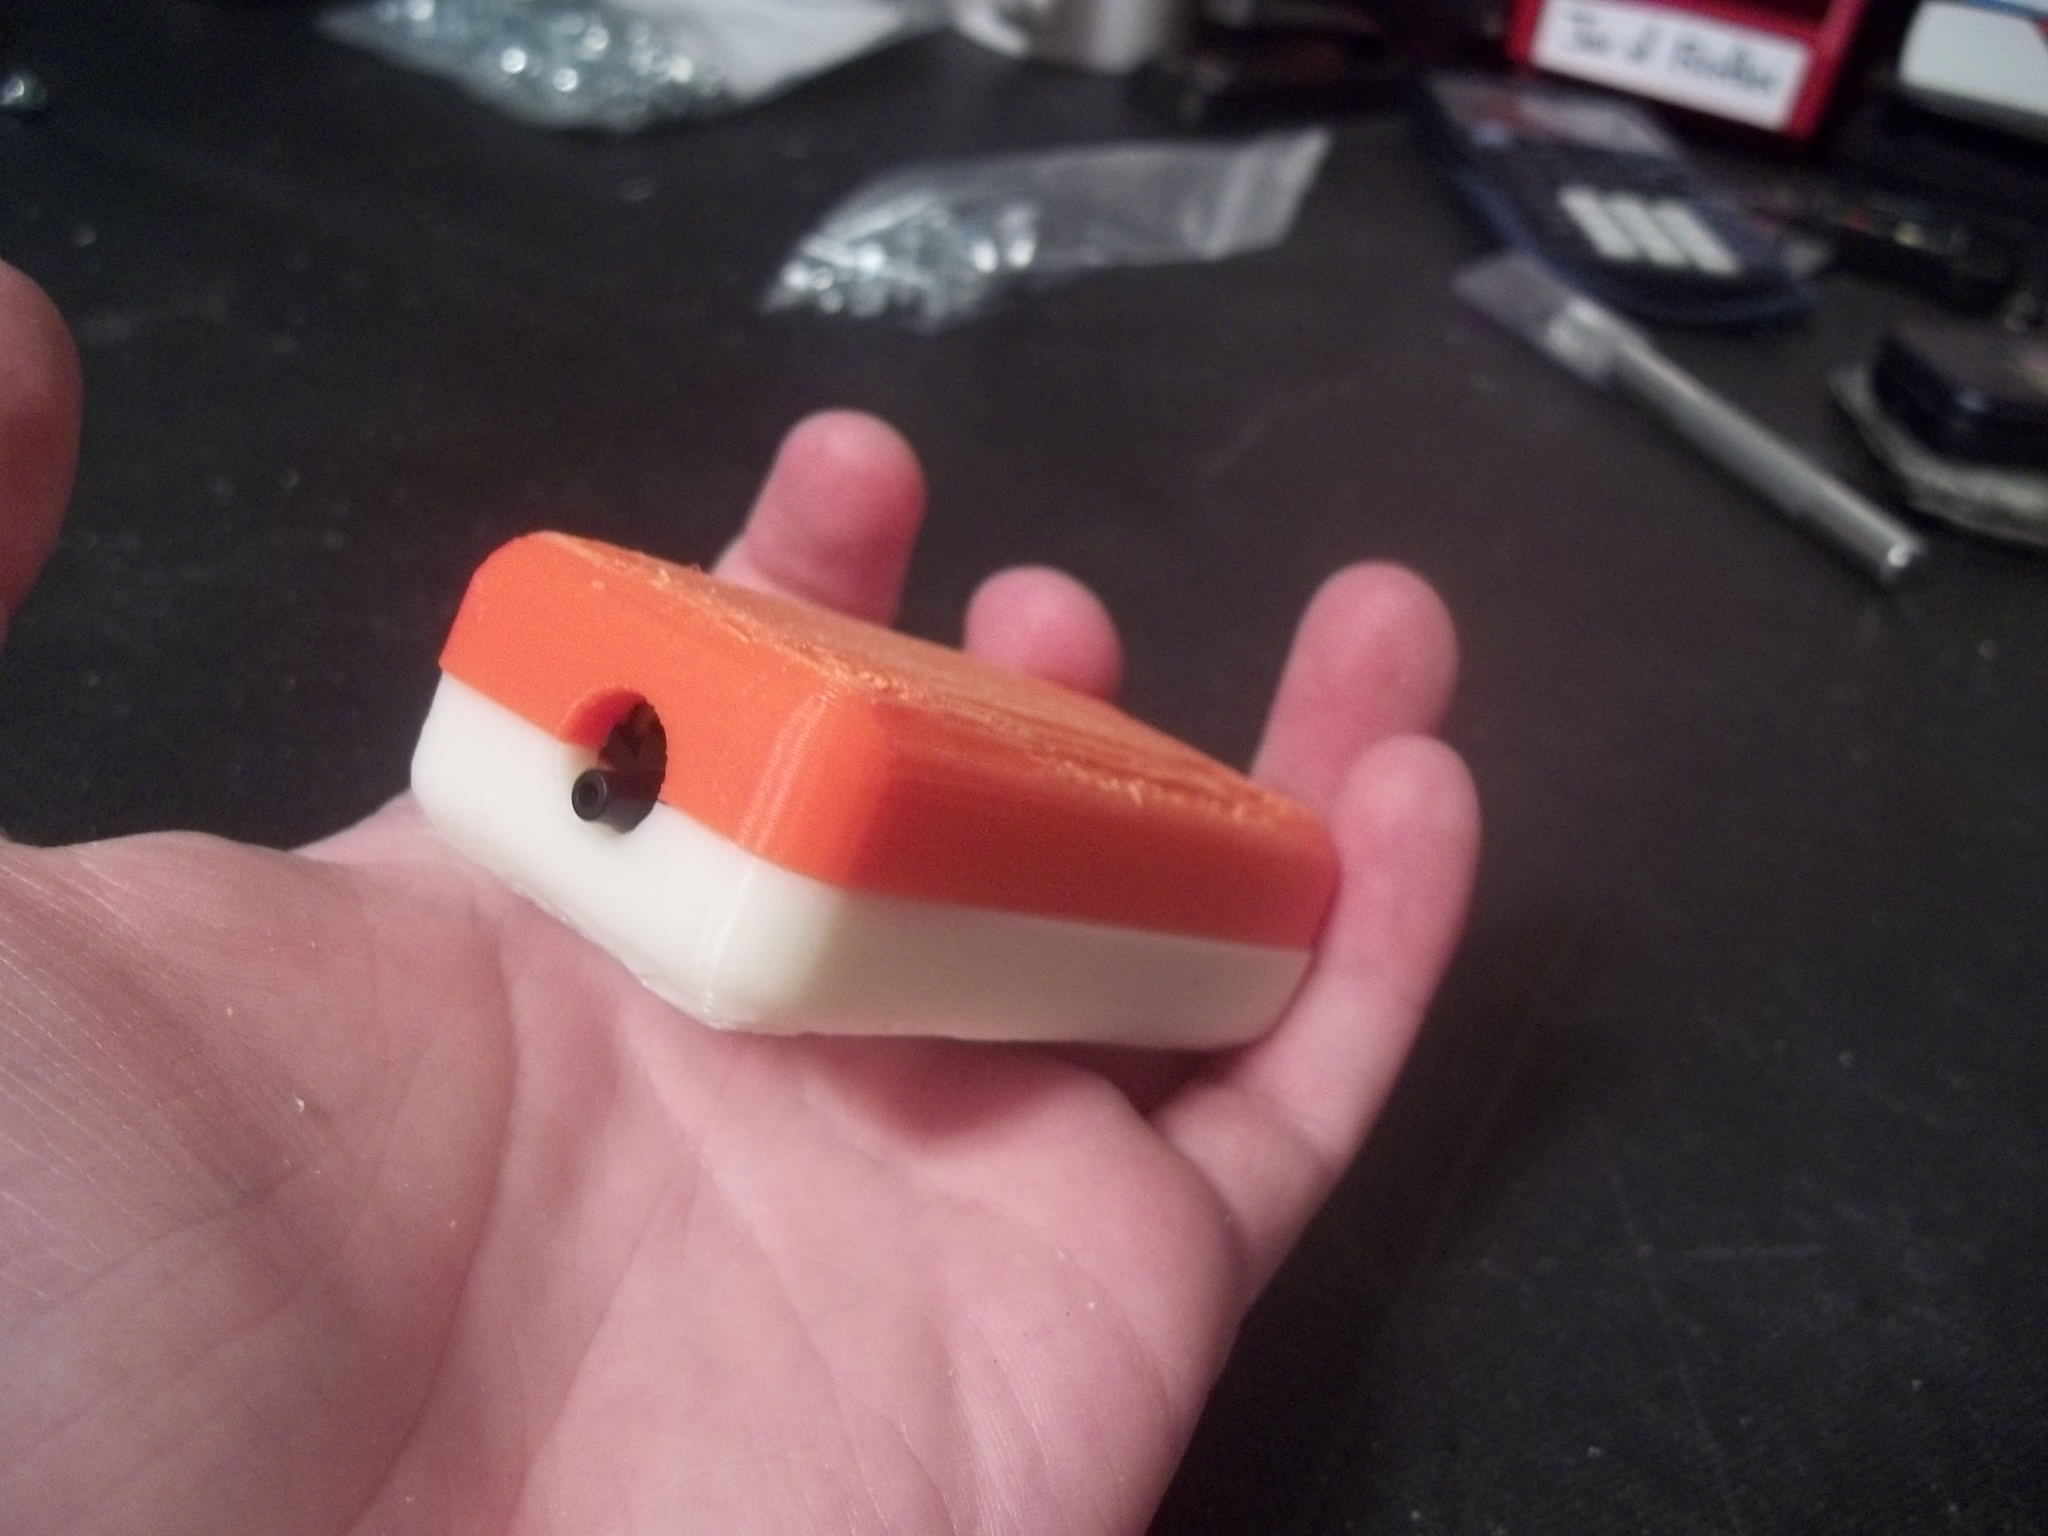
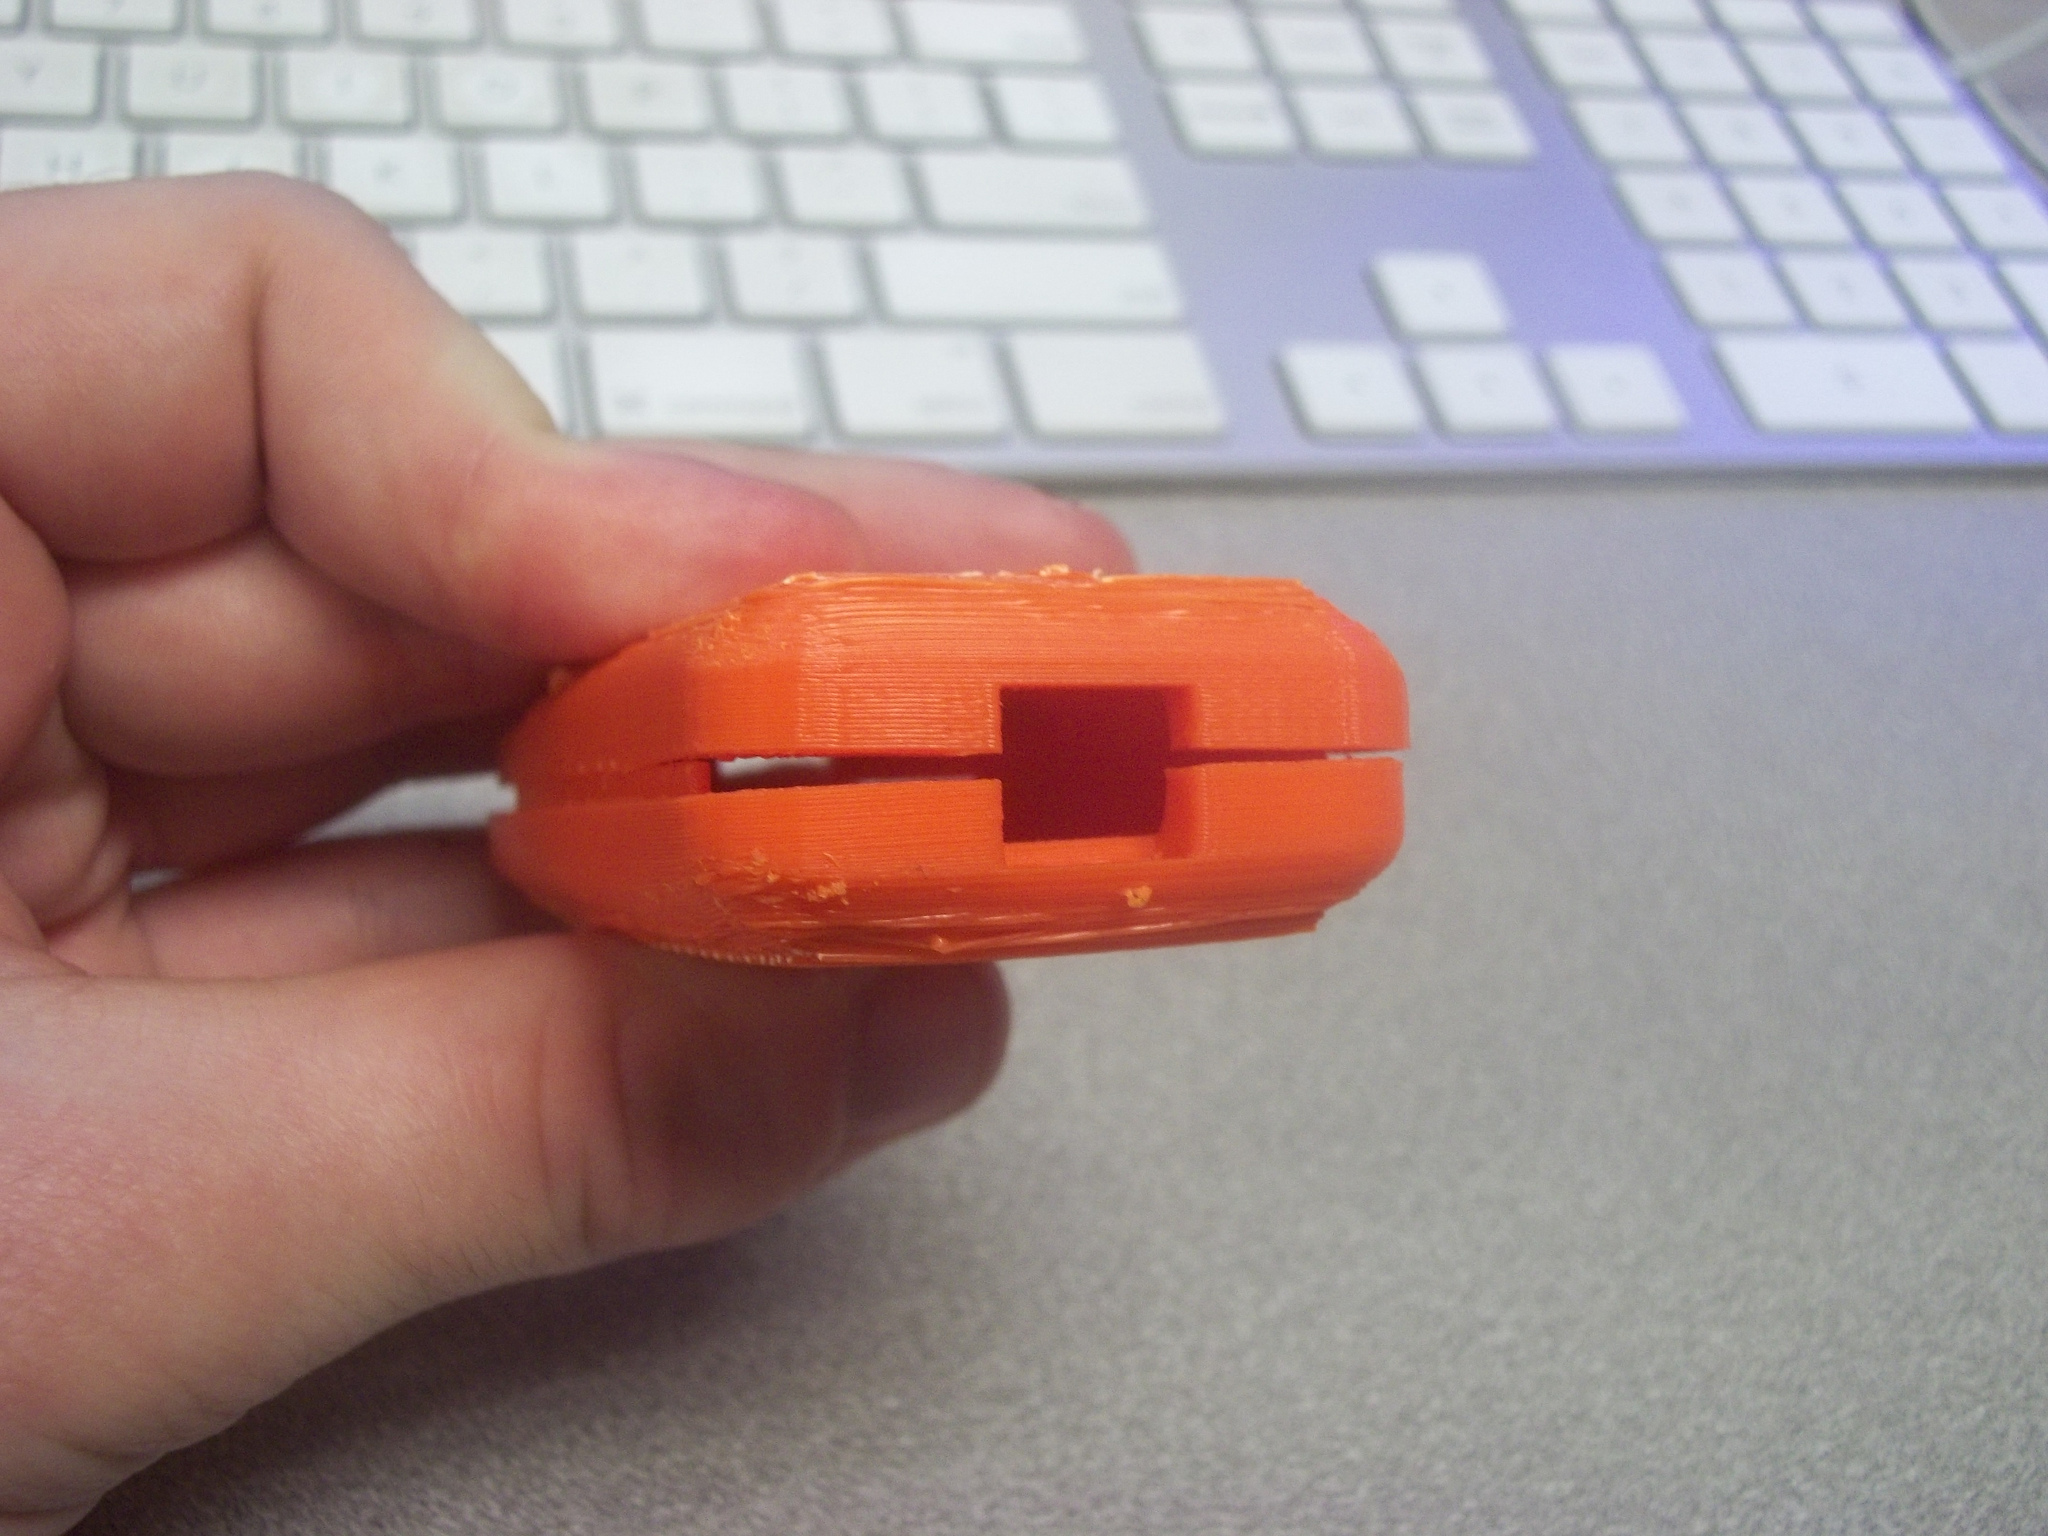
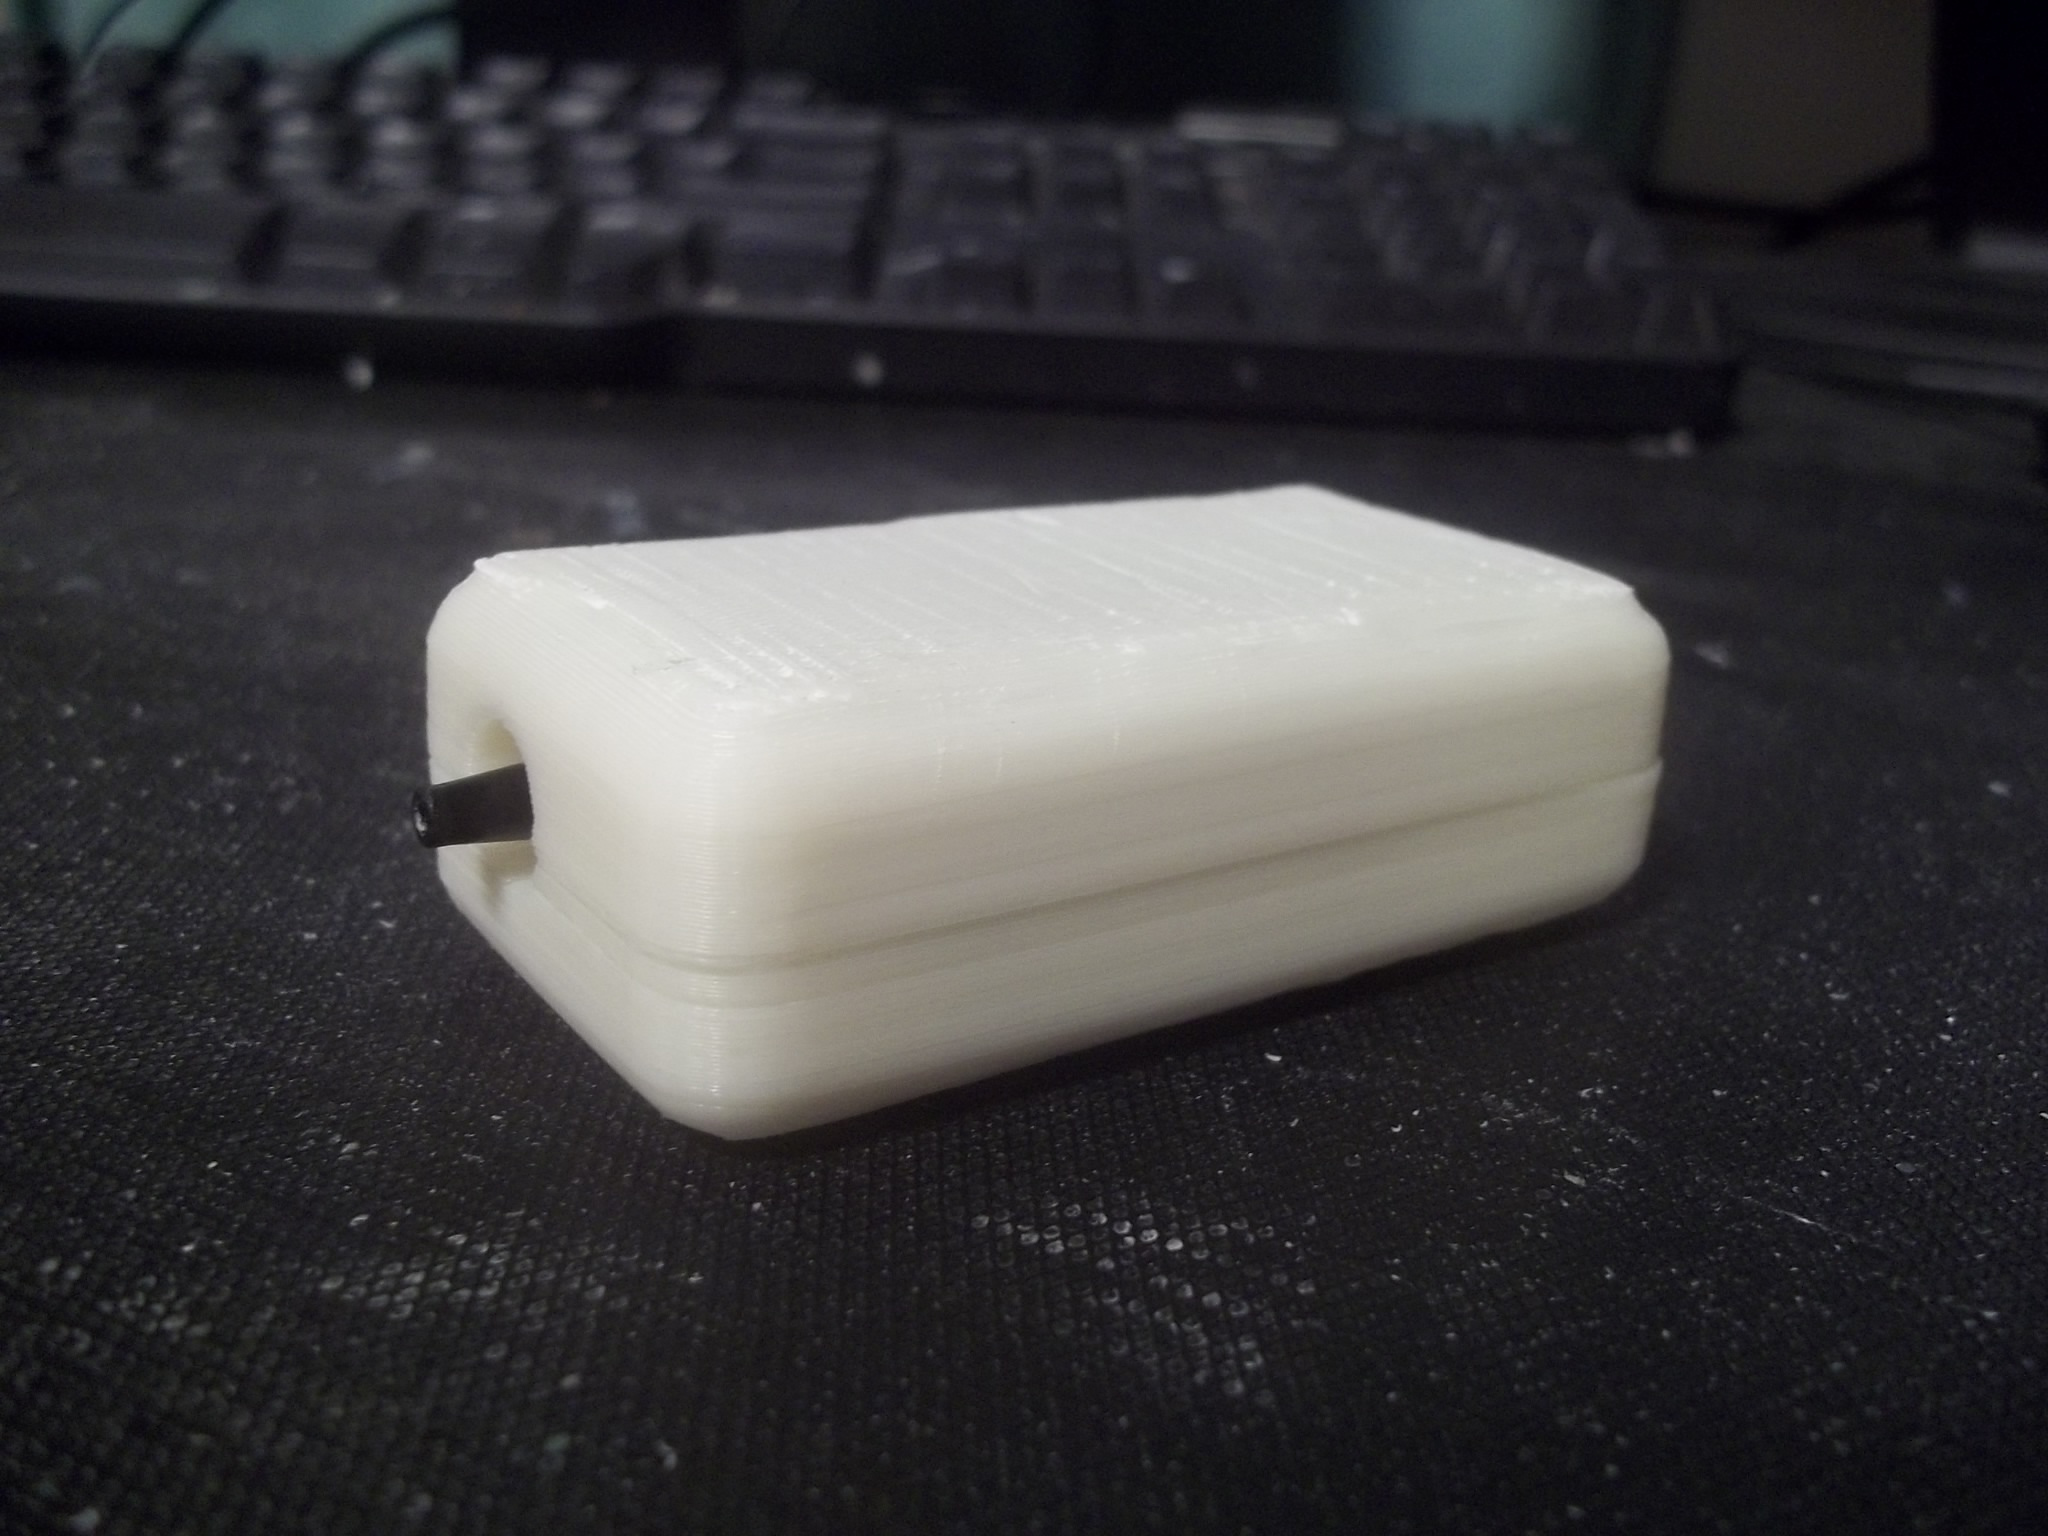
Final result
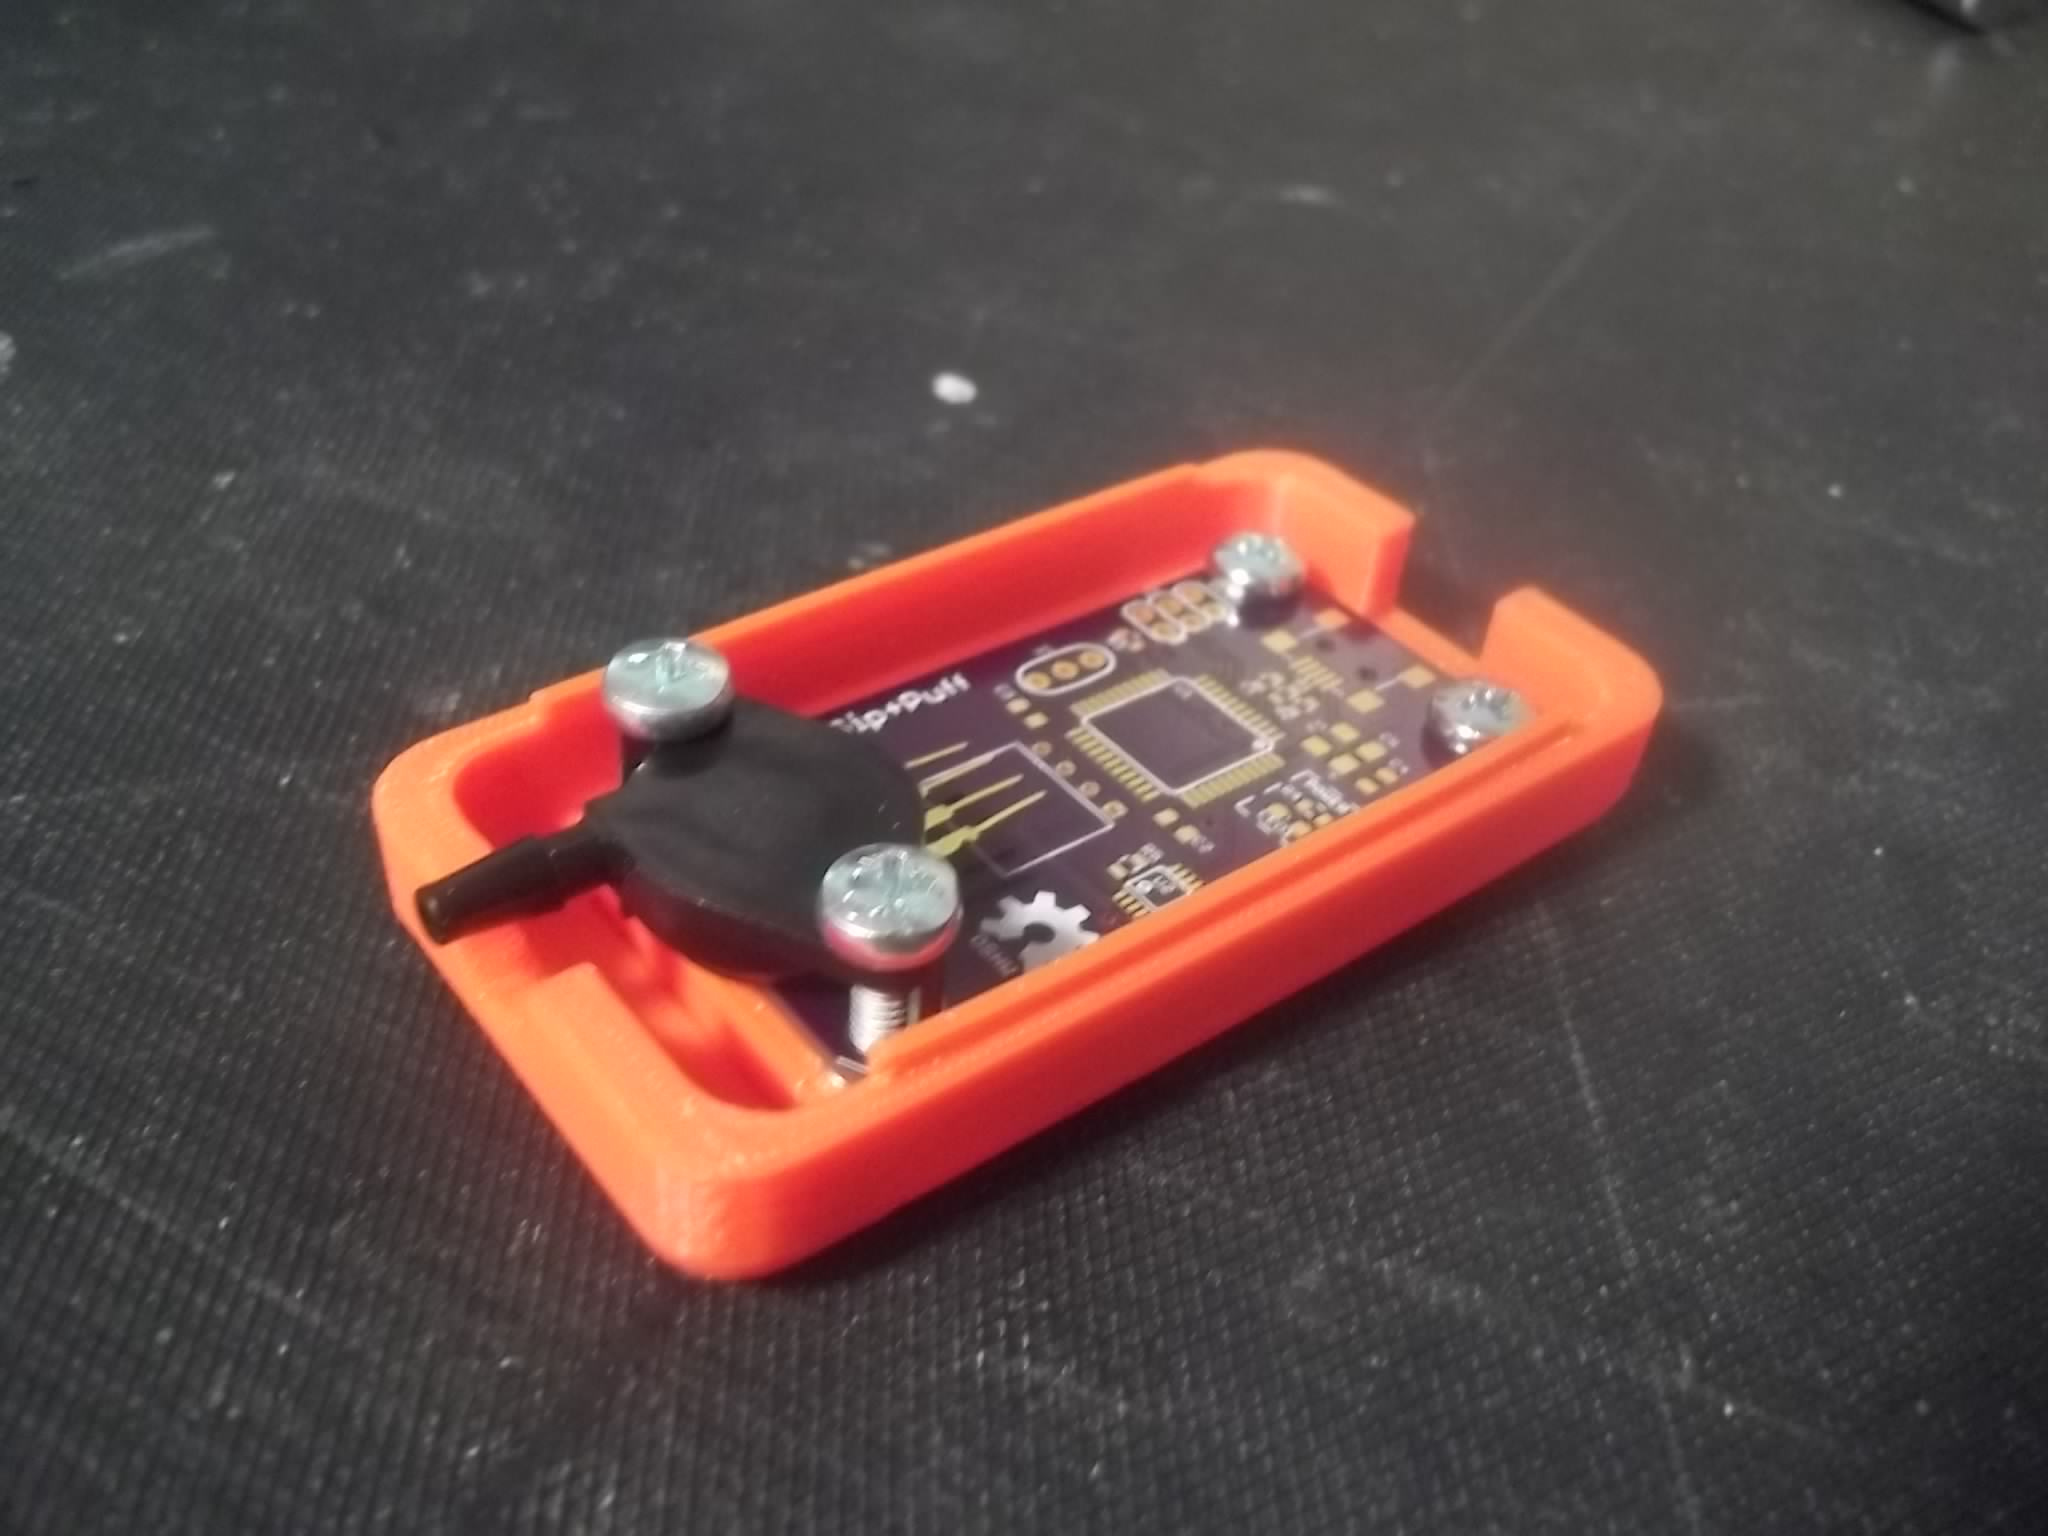
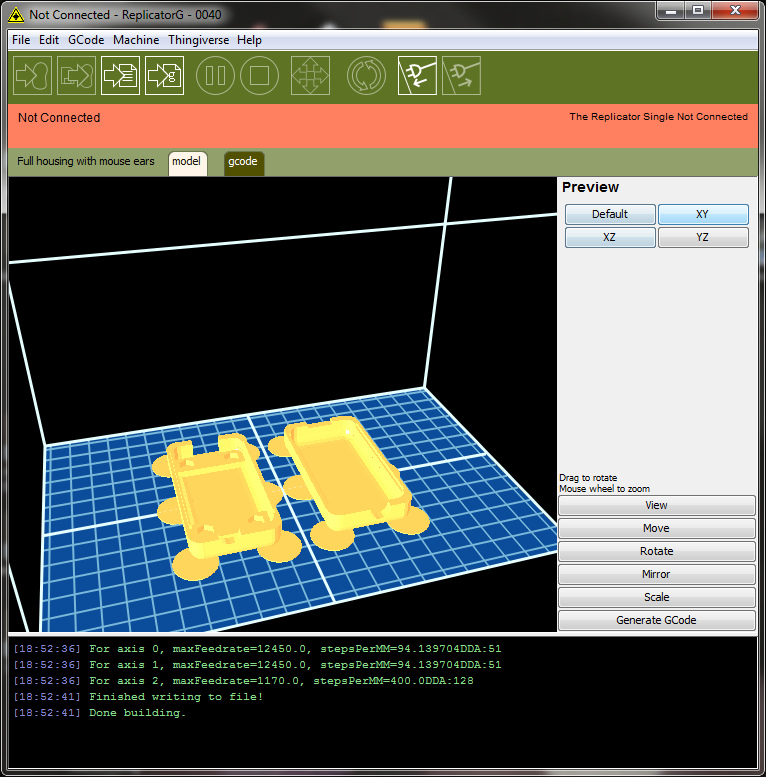
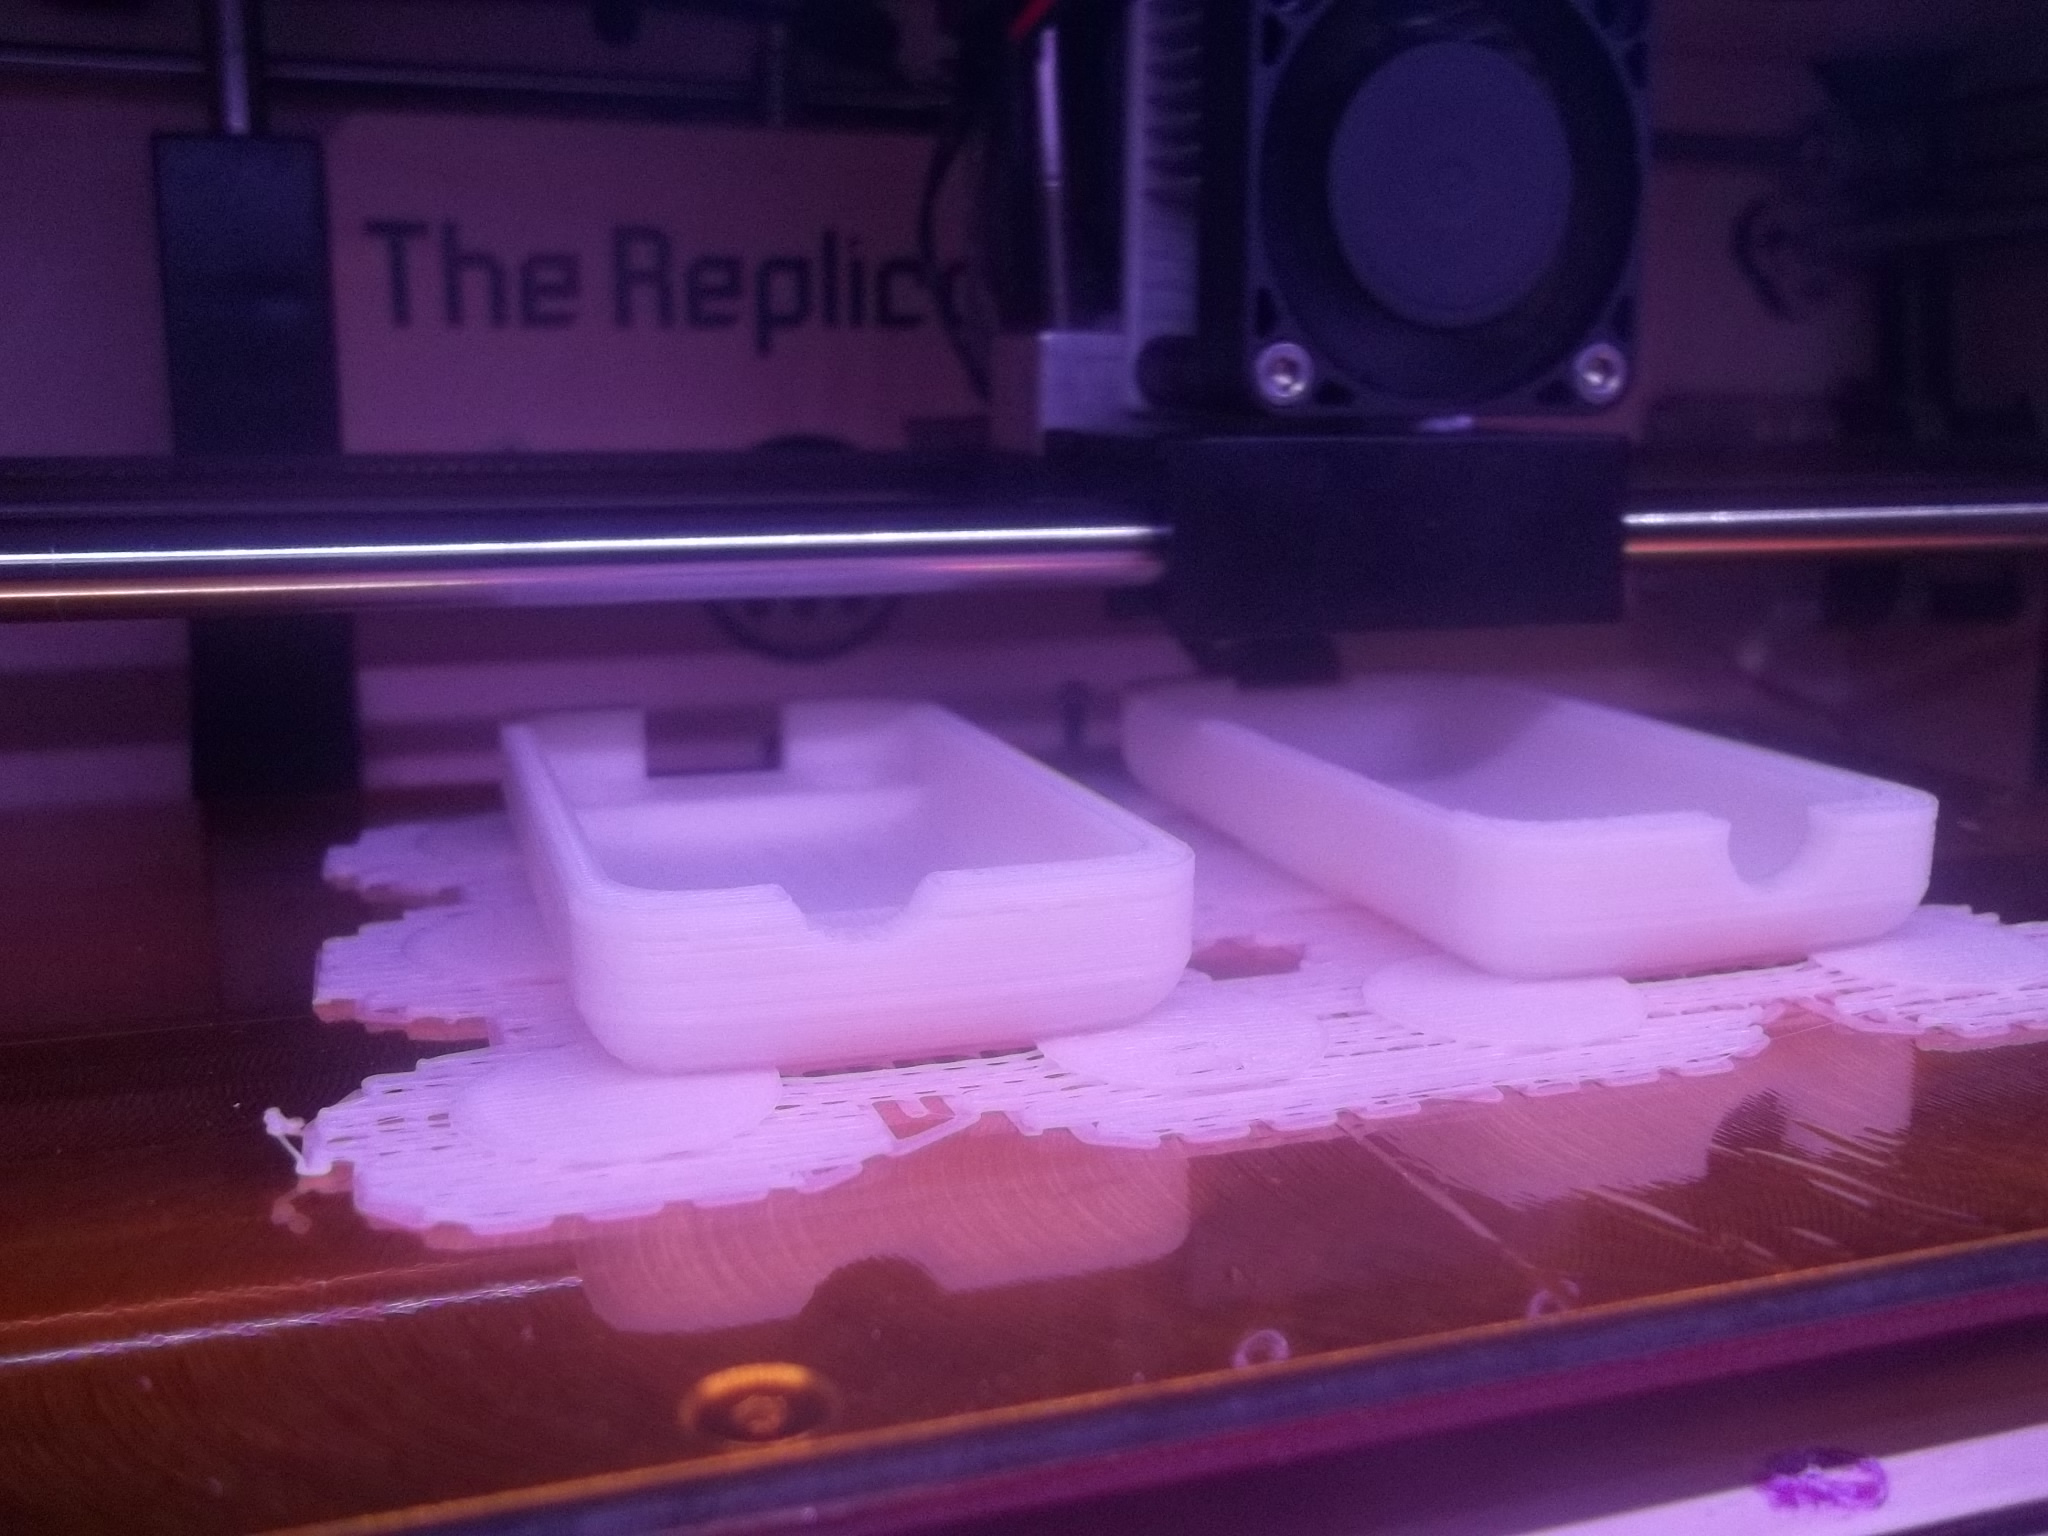
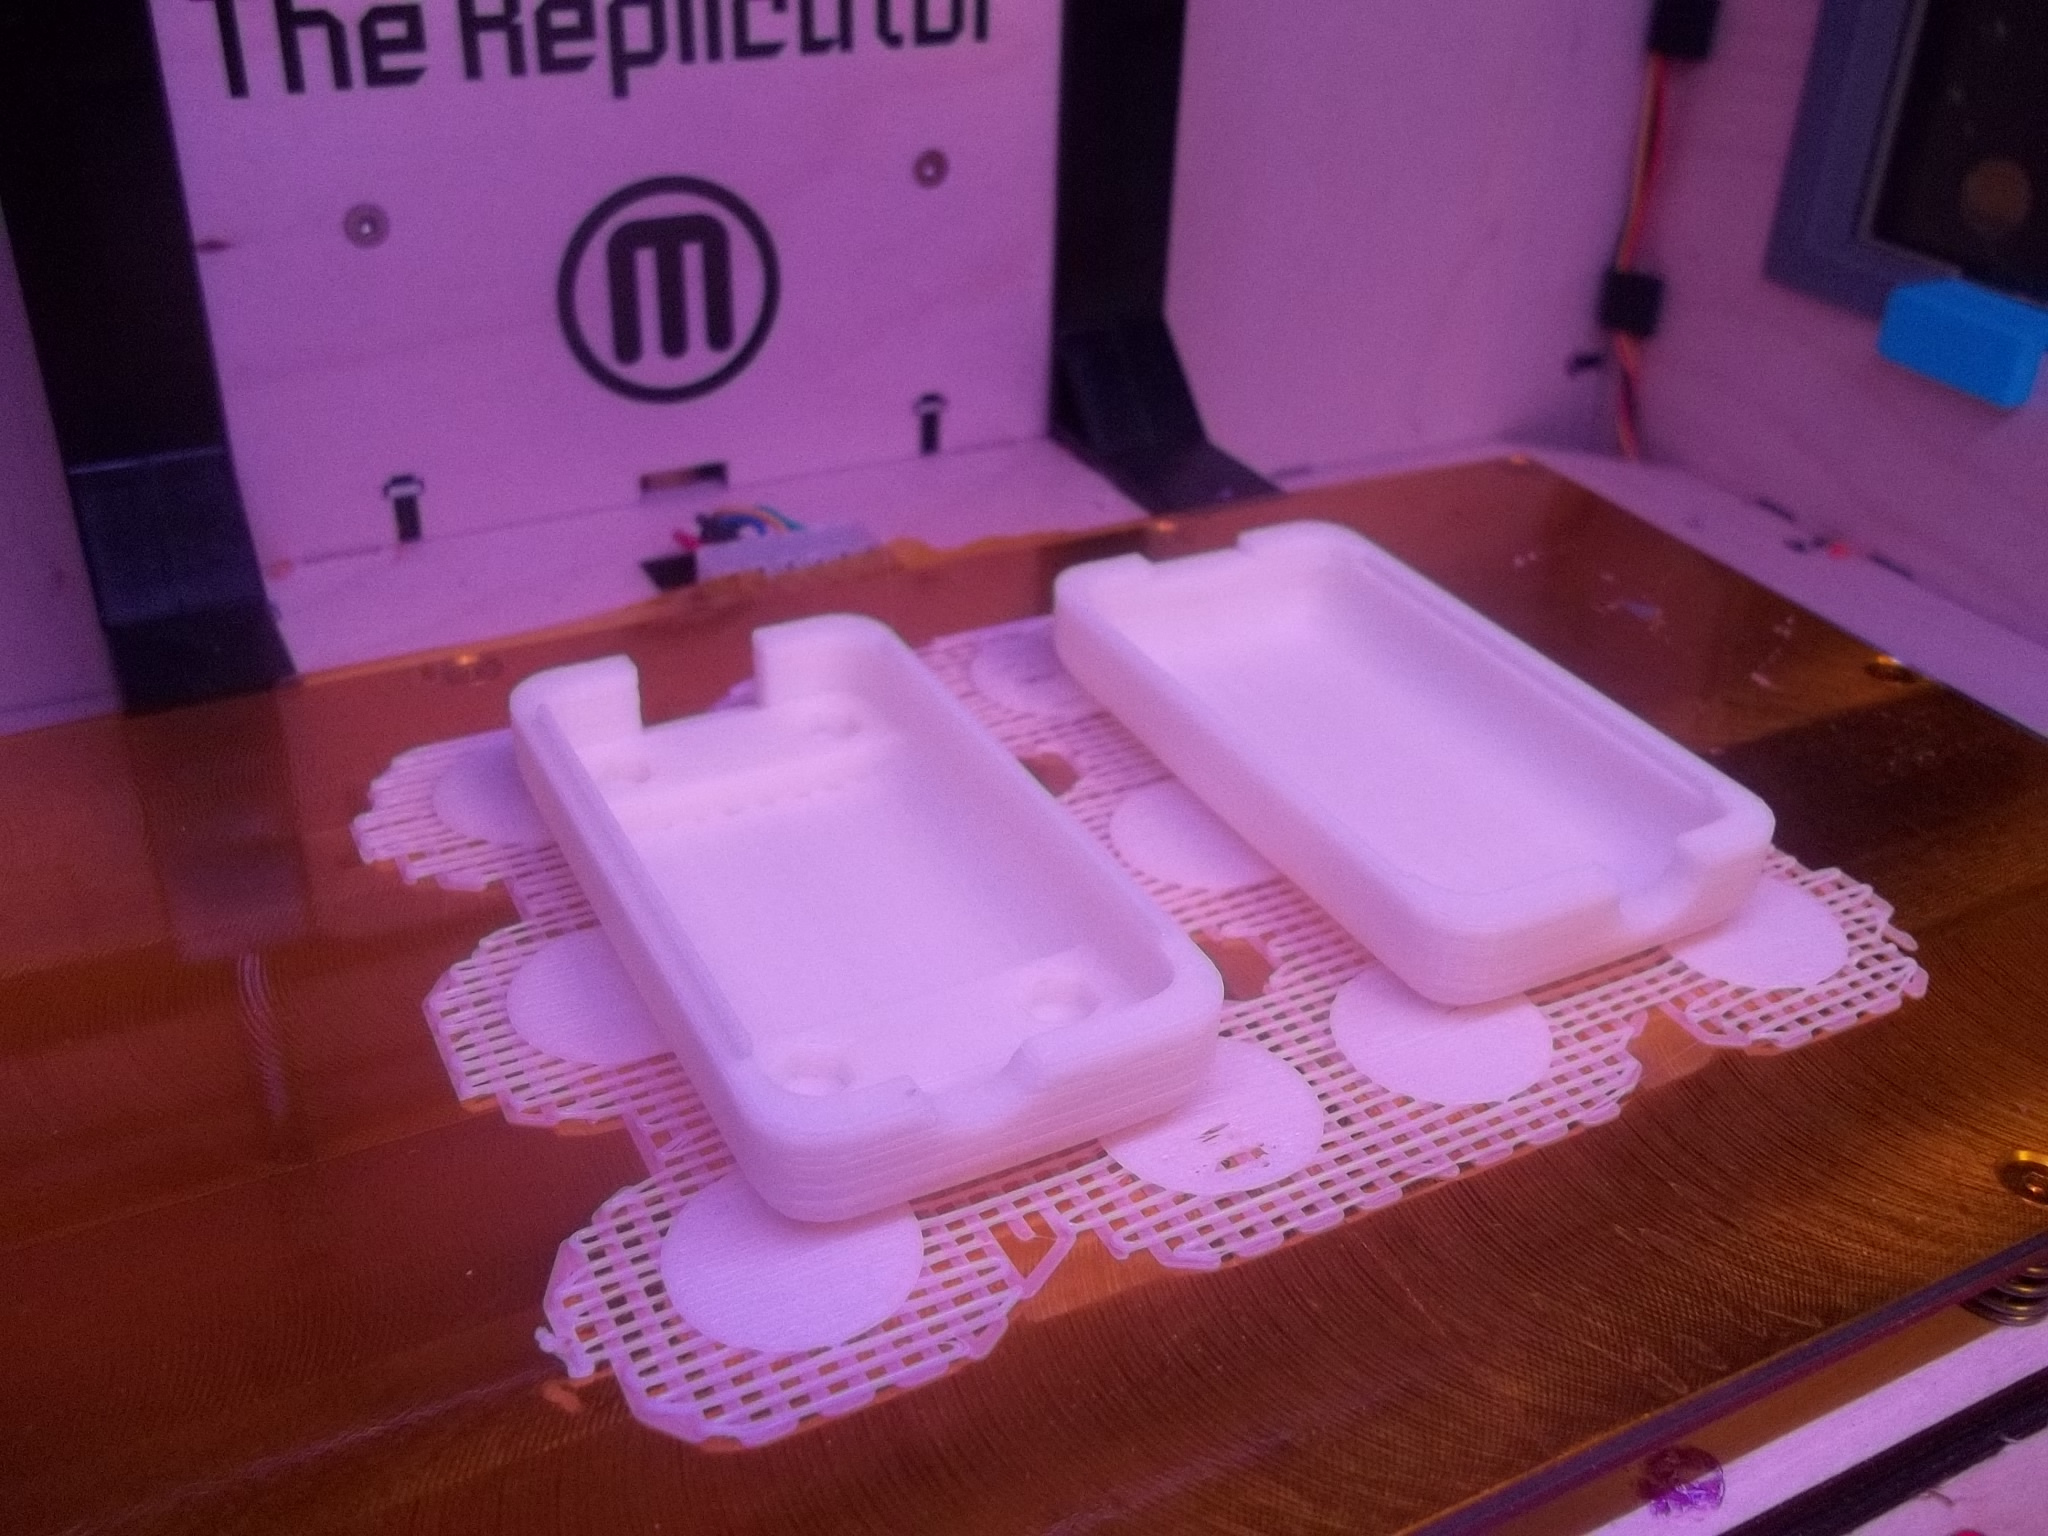
With the parameters tweaked just right, I printed out one more copy of the housing to get an idea of how well the complete OpenSCAD script worked. Instead of printing both halves separately, I printed them both on the same plate at the same time, using mouse ears. And it worked perfectly!
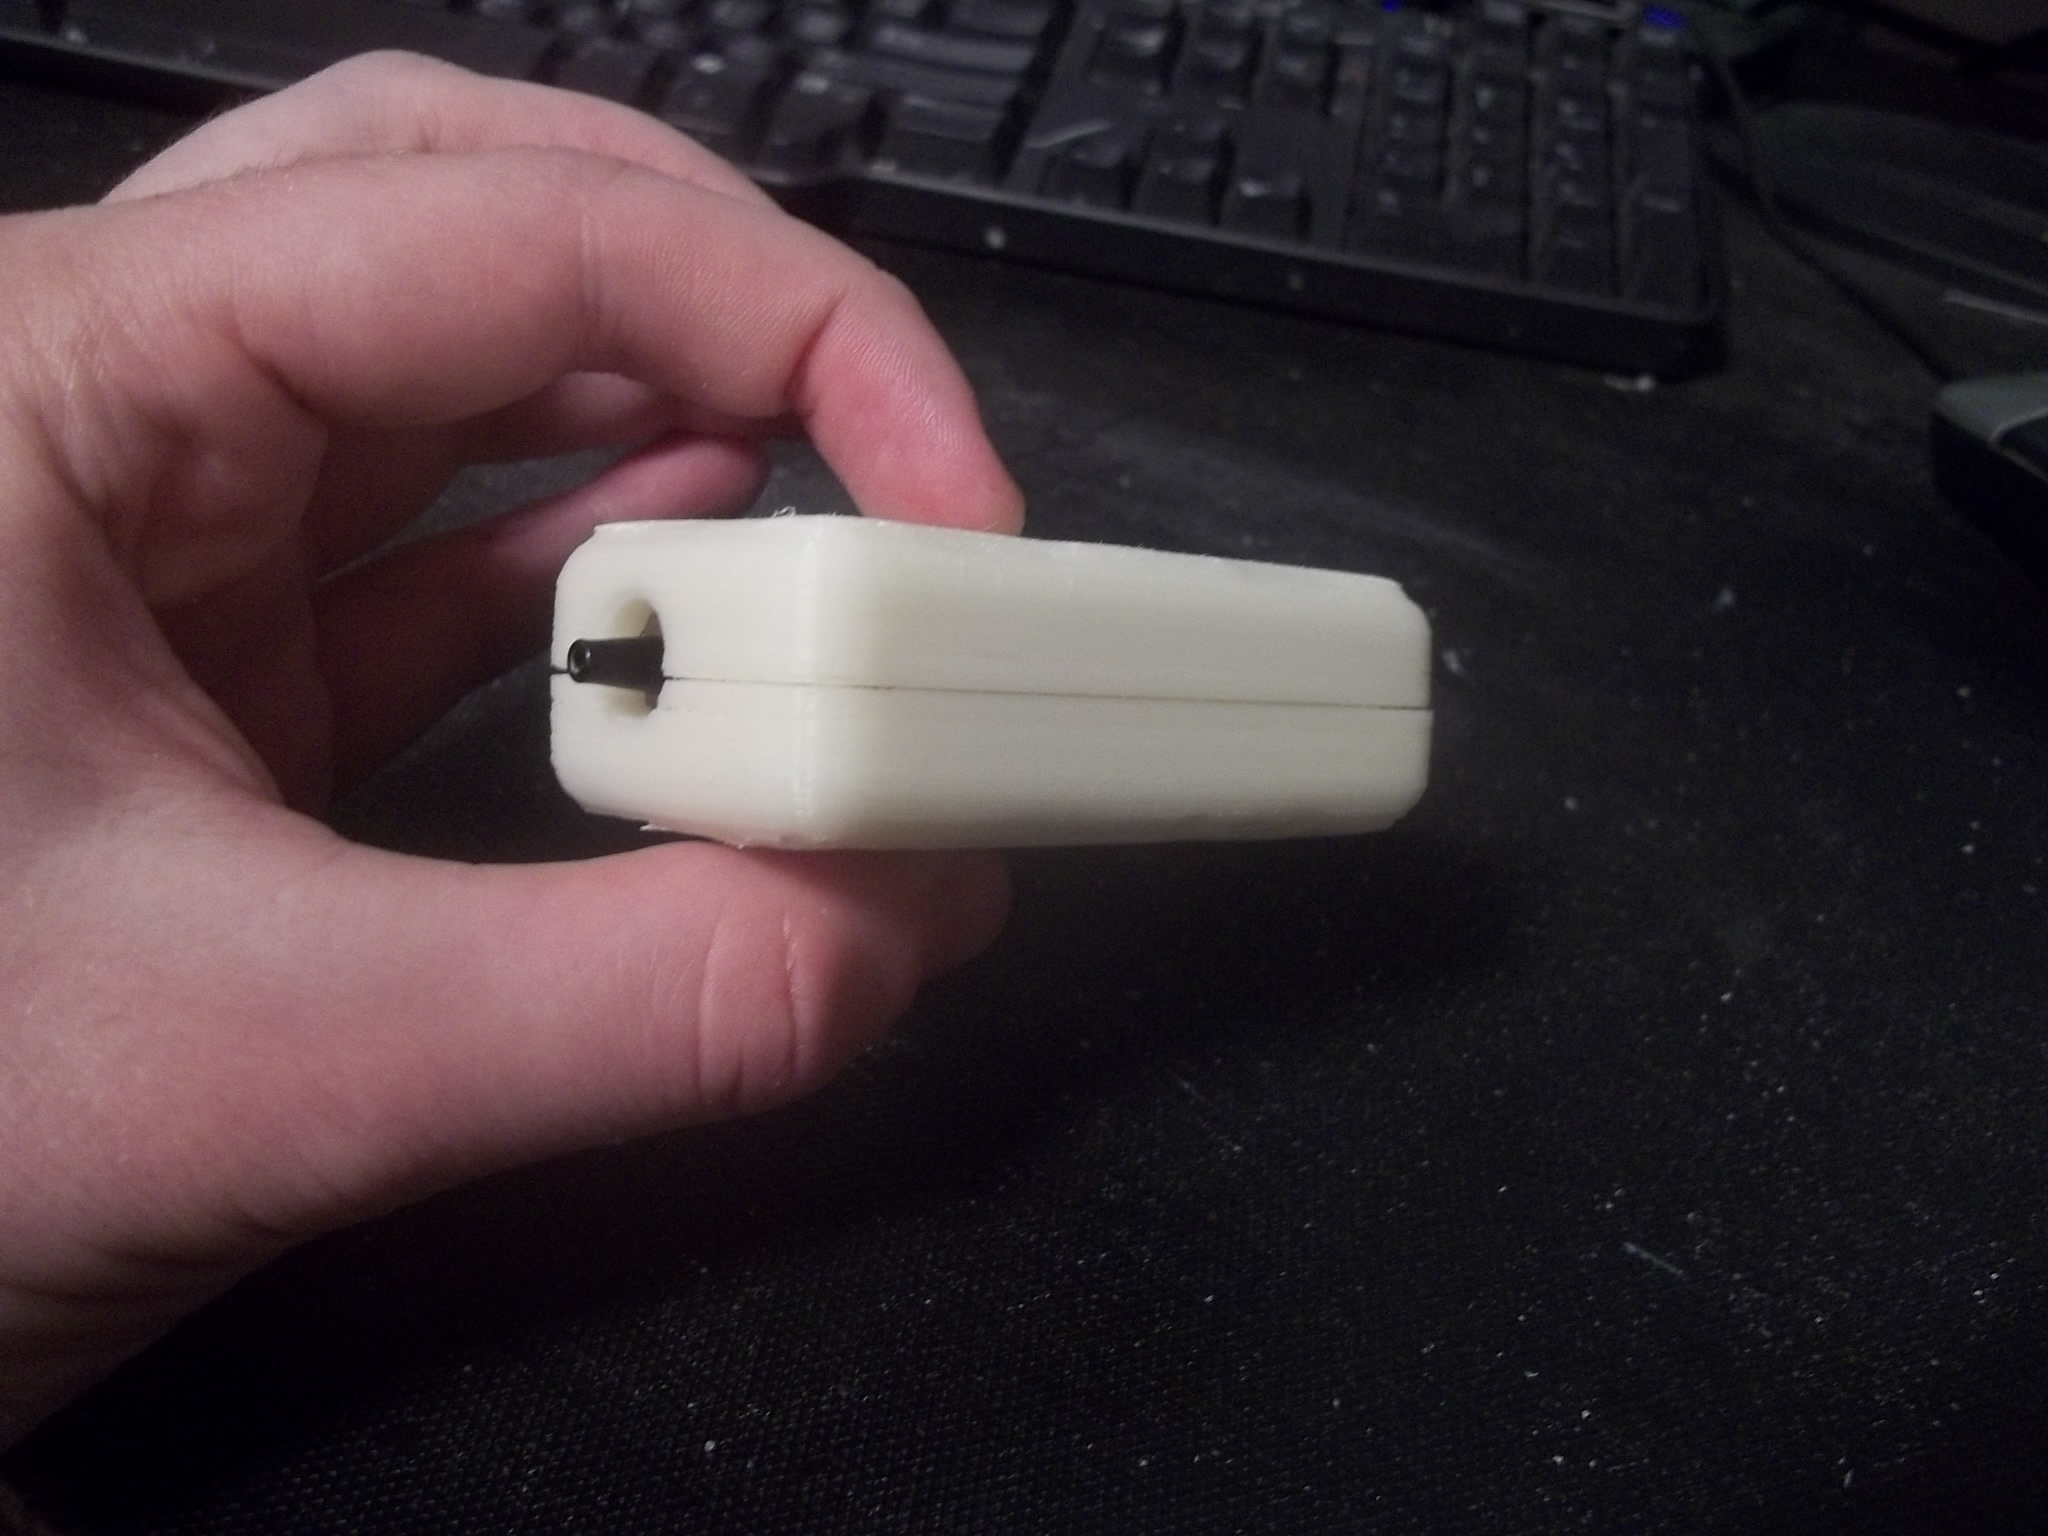
Enjoy the following video of me testing out this final iteration and demonstrating how well the halves fit together: