Designing and teaching “How To Build Almost Anything” at Metropolitan Community College’s FabLab
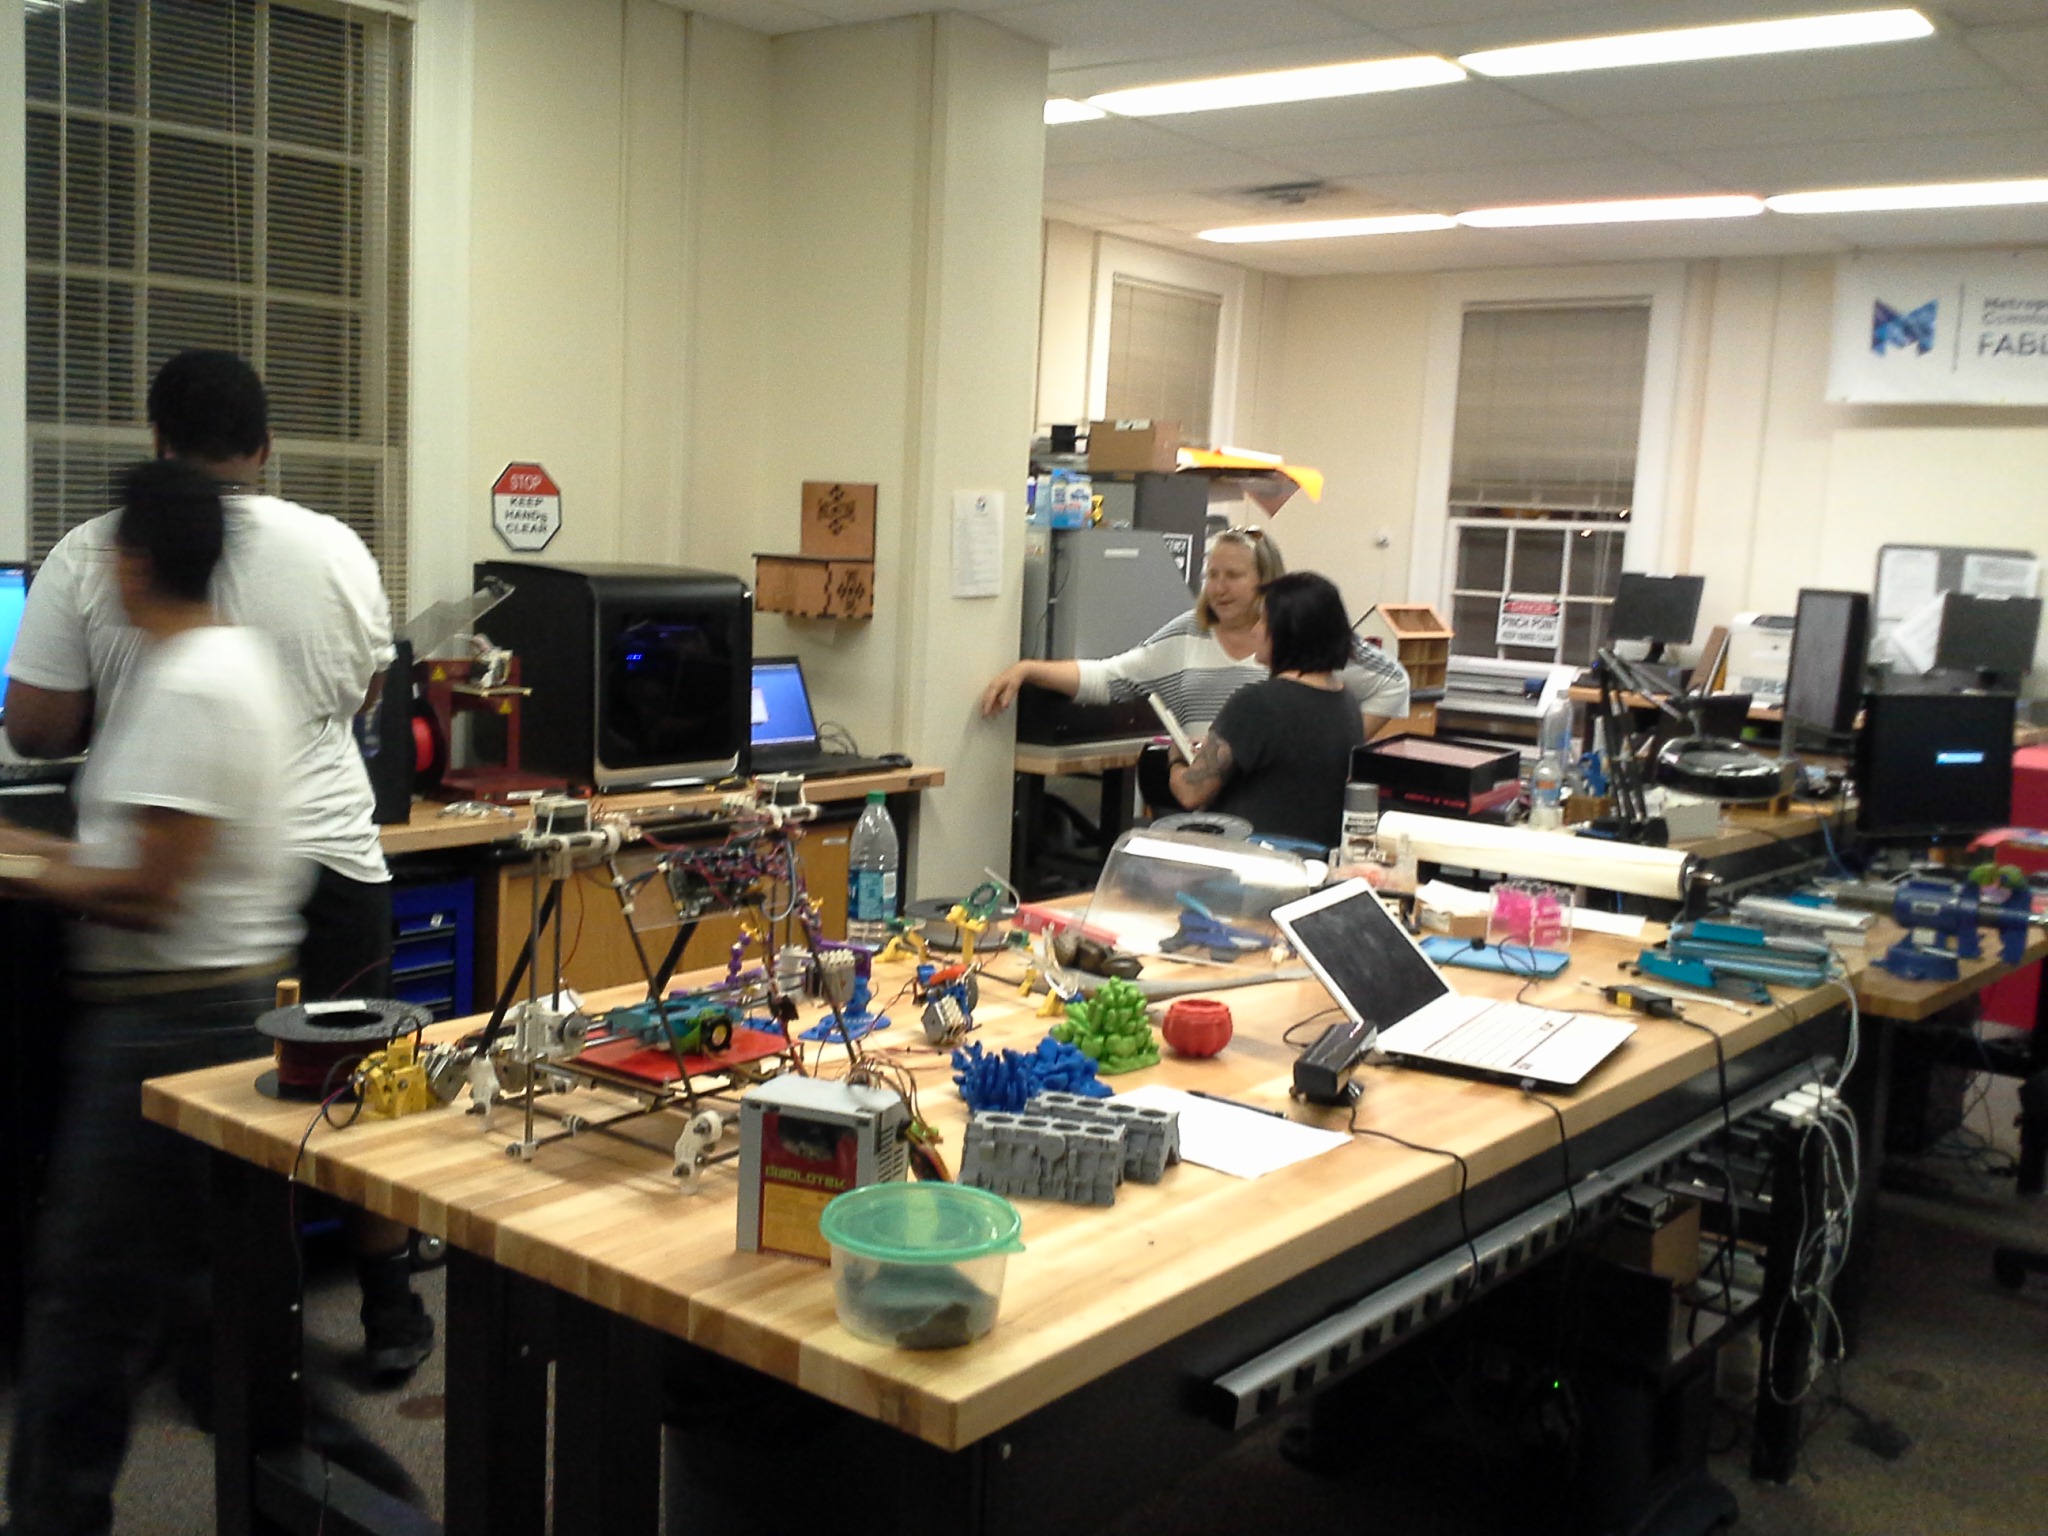
![]() In the fall of 2015 I was invited to teach a class called “How to Build Almost Anything” at Nebraska’s first and only FabLab, located at the Metropolitan Community College (MCC) in Omaha. Inspired by the legendary class of the same name taught for many years at MIT, this intensive 11-week class was intended to introduce students from diverse backgrounds to the technologies, processes, and possibilities of the FabLab, including 3D printing, CNC, laser cutting, and more.
In the fall of 2015 I was invited to teach a class called “How to Build Almost Anything” at Nebraska’s first and only FabLab, located at the Metropolitan Community College (MCC) in Omaha. Inspired by the legendary class of the same name taught for many years at MIT, this intensive 11-week class was intended to introduce students from diverse backgrounds to the technologies, processes, and possibilities of the FabLab, including 3D printing, CNC, laser cutting, and more.
Initially this weekly, 4-hour night course was structured as a more-or-less freeform, open workshop time wherein students could explore machinery in a mostly independent fashion, with no set curriculum and minimal faculty guidance. I personally felt that while exploration-based learning is valuable, it should be balanced with clear, context-appropriate, project-based lessons on fundamentals and thoughtful group discussions focused on genuine understanding in order to minimize frustration caused by common, trivial pitfalls.
Therefore I set out to design and implement all of my own curriculum from the ground up, with each week’s class focusing on a different technology or practice. In general I tried to maximize students’ hands-on time with each topic while providing enough time for a “nuts and bolts” fundamental education through a combination of discussions, handouts and engaging lectures. I found that a typical class would usually involve:
- Sharing sample projects both in-person and digitally, discussing the capabilities and potential of each technology.
- Discussing the fundamental workflows unique to each technology, and the various terms need to be understood to learn more.
- A live demonstration of the technology, including design, toolpath generation, and proper machine operation.
- Open studio time for students to practice what they’ve learned and create something unique that they can take home.
Table of contents
- Source files, instructor’s notes, handouts, and more
- Schedule
- Week 1 – the basics
- Week 2 – what it means to be a Maker and introduction to tinkering
- Week 3 – laser cutting
- Week 4 – 3D printing and 3D scanning
- Week 5 – CNC milling and routing
- Week 6 – introduction to electronics (part 1)
- Week 7 – introduction to electronics (part 2)
- Week 8 – interactive electronics and basic coding with Arduino
- Weeks 9 through 11 – final project studio time and presentations
Source files, instructor’s notes, handouts, and more
Keeping with the spirit of the class and the core ideals of the FabLab concept, I made sure to save and document all of the course material and classroom experiences and upload them to a central Github repository. My hope was that this information could be referenced by future instructors of this class at the MCC FabLab, as well as by instructors anywhere else who wanted to build a similar class using my documentation as a starting point.

Schedule
Before creating any specific curriculum I needed to decide on how to break down the content into 11 discrete, four-hour long sessions. Though the FabLab does contain a good amount of different types of tools and materials, I felt it would be most effective to focus much of the class on the most popular and widely used tools – the laser cutter, 3D printers, the desktop CNC machine, and electronics.
Each week we focused on a different tool using a familiar pattern. We would take a look at what each machine is capable of through inspirational show-and-tell projects, then incrementally dive deeper into how each machine works and how it is operated until they felt comfortable. Each class session ended with some open workshop time and an open-ended assignment aimed at giving each student some personal hands-on time with the equipment.
Finally, given that this class is all about hands-on, project-based learning it seemed pretty obvious that there ought to be a good amount of time allocated for designing, building out, and sharing a final project. Three weeks at the end of the course felt just about right to me.
- Syllabus review
- Introduction and discussion to Curiosity Handbook
- Safety material presentation
- Safety test
- Show-and-tell samples
- Activity: laser-cut keychain
- Makers, hackers and tinkerers – an introduction to the history and implications of the Maker’s Movement
- Intellectual property and licensing for creative work
- Introduction to fabrication and prototyping techniques
- Activity: visualization and rapid prototyping
- Generalized introduction to the CAD/CAM workflow
- In-depth tour of the laser cutter and it’s usage
- Discussion of material compatibility and sourcing
- Activity: laser cut object
- Introduction to 3D scanning methods – photogrammetry, depth-based cameras and laser-scanning methods
- Activity: 3D scanning and object
- In-depth tour of FDM 3D printers and usage
- Basic introduction to full-color 3D printing
- Discussion of current 3D printing trends and developments
- Designing for 3D printing
- Activity: 3D printing an object
- In-depth tour of the CNC machine
- Discussion of material compatibility and sourcing
- Designing for CNC machines
- Activity: CNC milled object
- Crash course in basic circuit concepts for tinkerers – reading schematics, gathering parts, breadboarding, soldering and testing
- Activity: identification of random parts from grab bag
- Activity: building simple circuits on breadboard
- Activity: building a 555-based flashing LED circuit on breadboard
- Introduction to soldering
- Activity: practice soldering random parts to a perfboard
- Activity: transferring and soldering 555-based flashing LED circuit to perfboard
- Introduction to Arduino – what it is, how it works, and why it’s awesome
- Demonstration and discussion of sensors and useful modules
- Activity: blinking an LED
- Activity: reading a switch
- Activity: experimenting with sensors
Week 1 – the basics
As with any class, the first session was all about making introductions, defining expectations, and running through the syllabus. Since the FabLab contains a good amount of hand tools, power tools and other dangerous equipment and chemicals, we also spent some time doing a thorough general safety lesson and assessment.
The students were then invited to explore the lab on their own, asking questions about things they don’t recognize or would like to know more about, and start brainstorming fun things they might like to try making by the end of the course.
Week 2 – what it means to be a Maker and introduction to tinkering
During the second week I took the opportunity to deliver the first and only presentation of the course, focused on providing the students with a fundamental understanding of the history and context that has led to the current trend of hands-on, project-based, community-oriented learning that we call the Maker’s Movement.
In this presentation (embedded below), I touched on the following topics:
- Defining the terms “maker” and “Maker’s Movement”- what they are and what they aren’t.
- Exploring the origin of the Maker’s Movement through historical context. Pointing to significant events, trends and cultural reactions over the past couple hundred years as potential causes of the Movement.
- Discussing criticisms that are starting to emerge regarding the Movement, including concerns over lack of ethnic, racial, income, gender and other kinds of diversity.
- Defining various types of community spaces such as hackerspaces, makerspaces and FabLabs, with a list of all spaces fitting this description in Omaha. I also shared extensive photos I have taken in my tours of various spaces around the country.
- Discussion of Maker Faires and Mini Maker Faires, with plenty of photos from my own experiences attending various Faires.
In preparation for next week’s class on laser cutting I asked each student to look for a variety of found materials that they think might work, and bring them in next week.
Week 3 – laser cutting
In the third week we started the really fun stuff – playing with the equipment and making things! I felt that the laser cutter was the best place to start because it has the simplest CAD/CAM process and requires little to no setup to get going. Its a fantastic introduction to fundamental concepts like 2D design, toolpath generation, machine setup, and the sending and running of toolpath code.
We started the night with an in-depth guided tour of the machine, including the bits that they wouldn’t normally see so that they can better understanding how the machine does what it does, and where to look for troubleshooting basic problems.
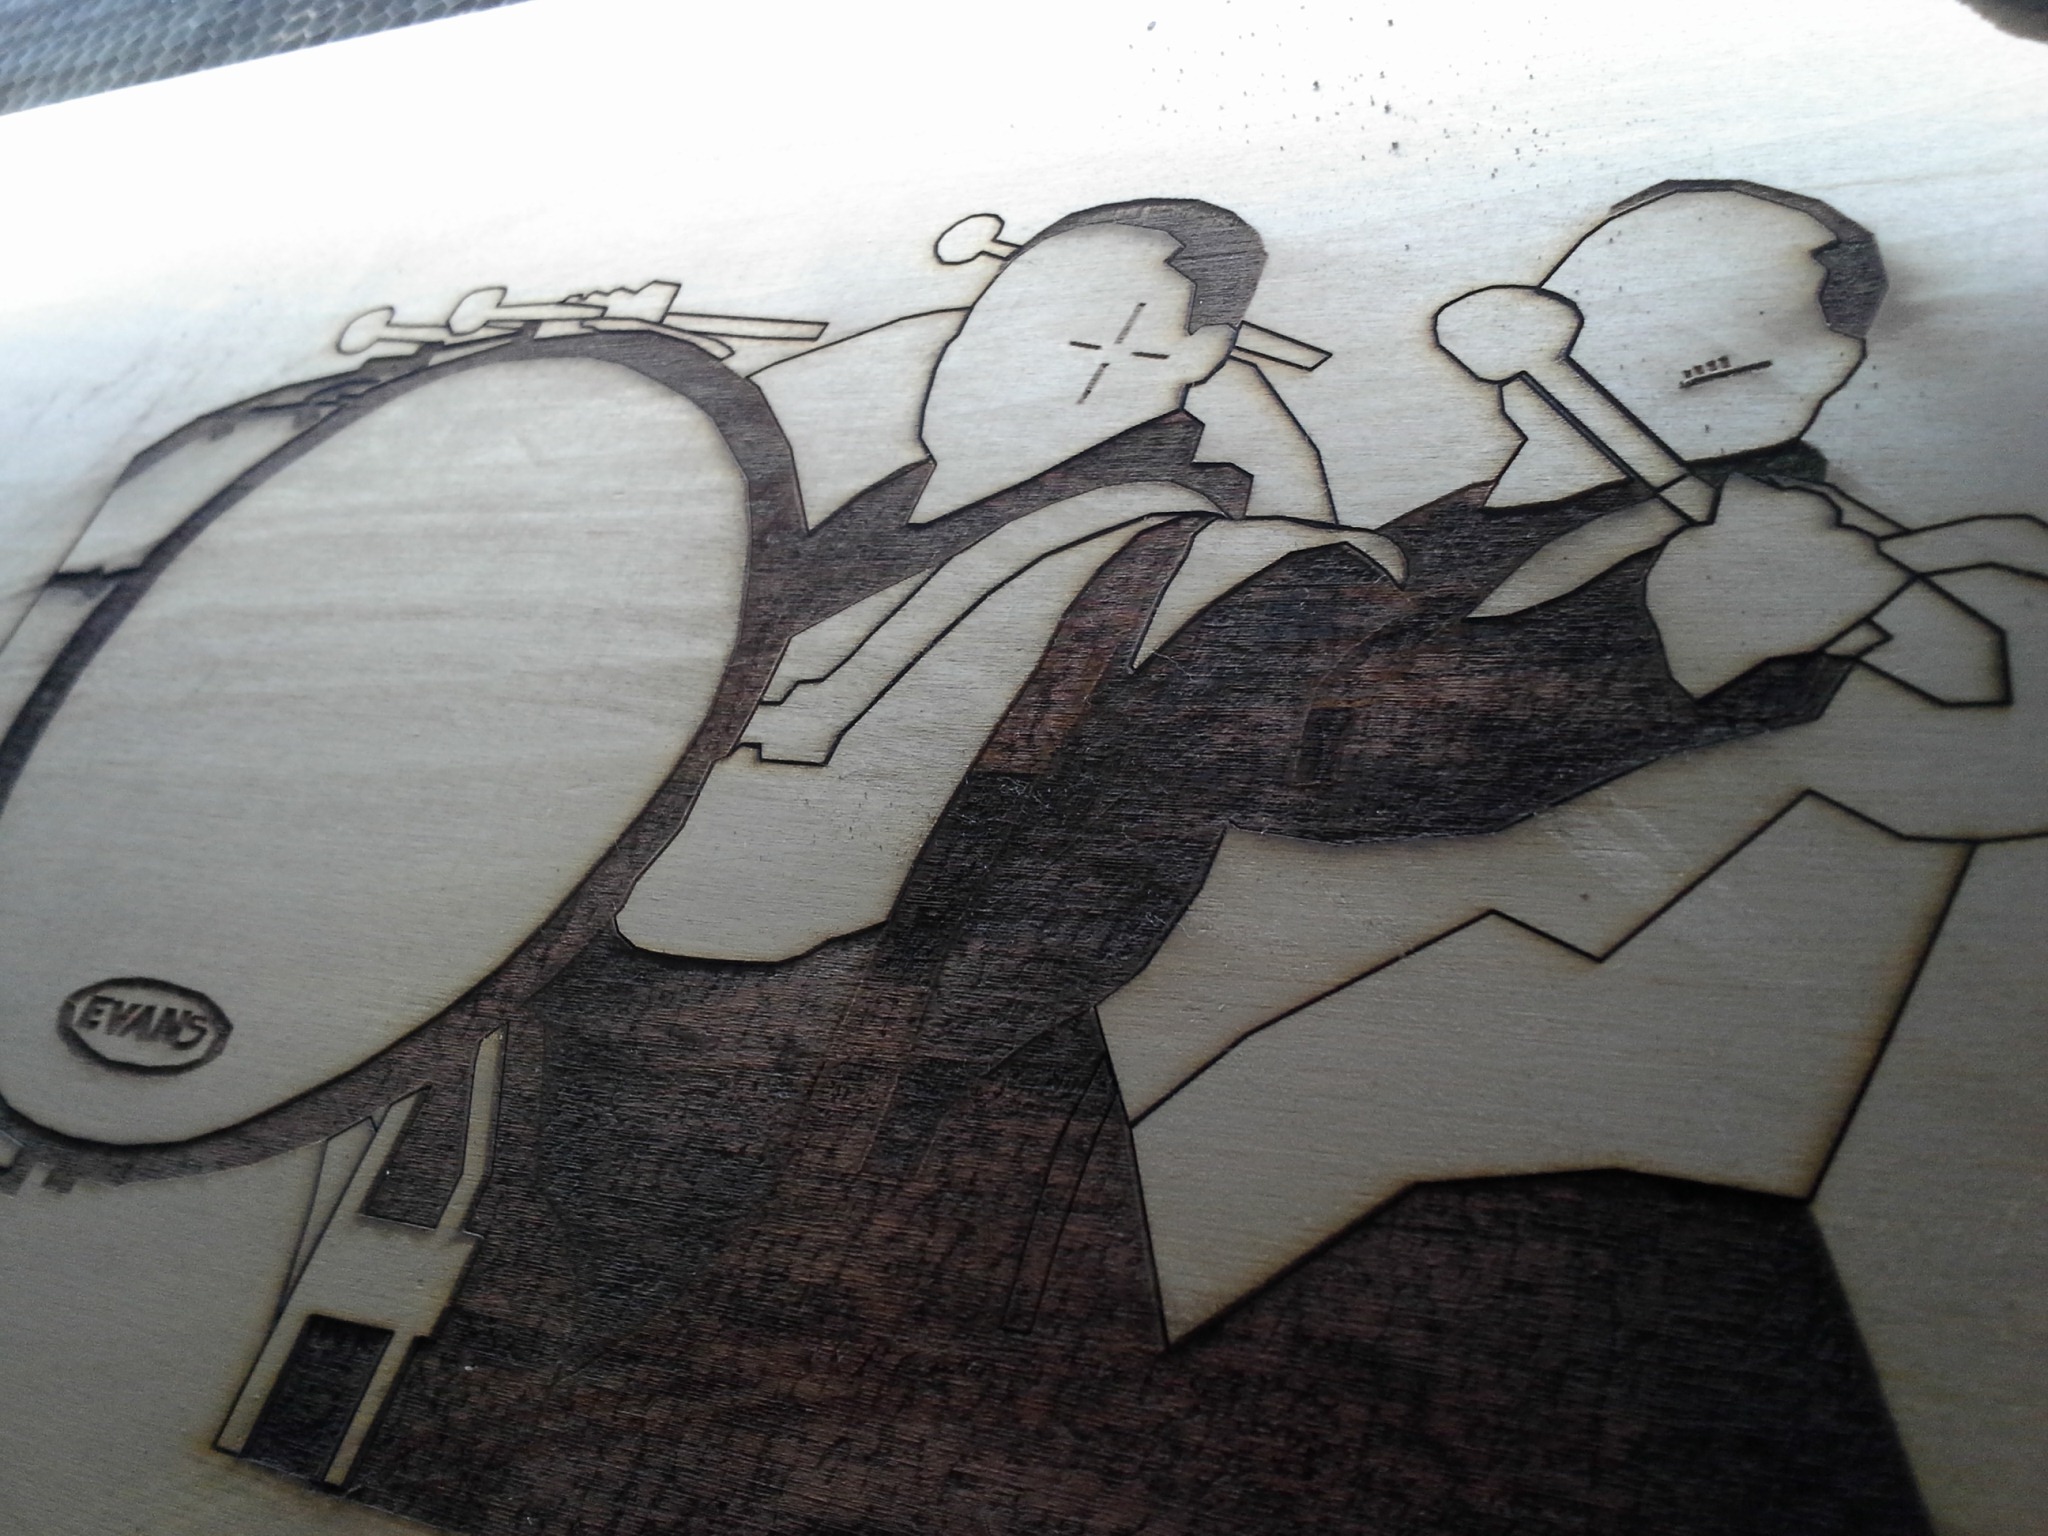
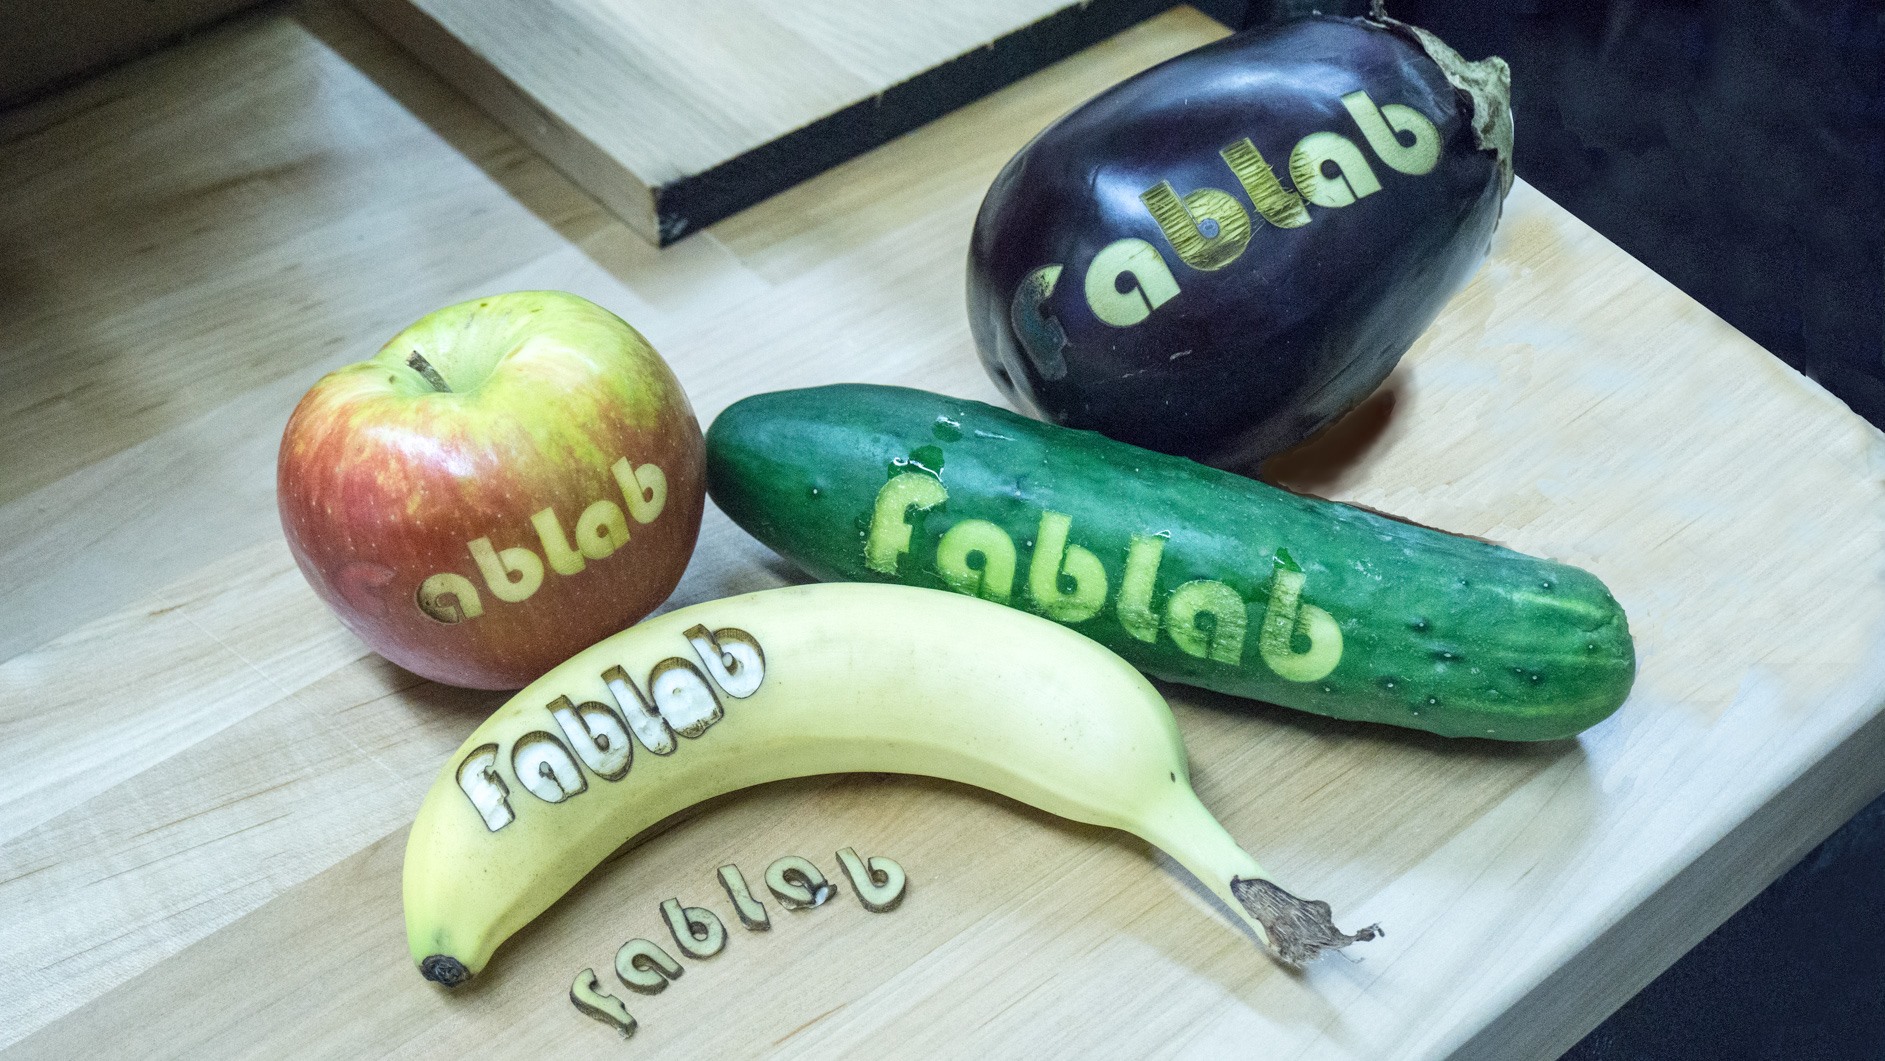
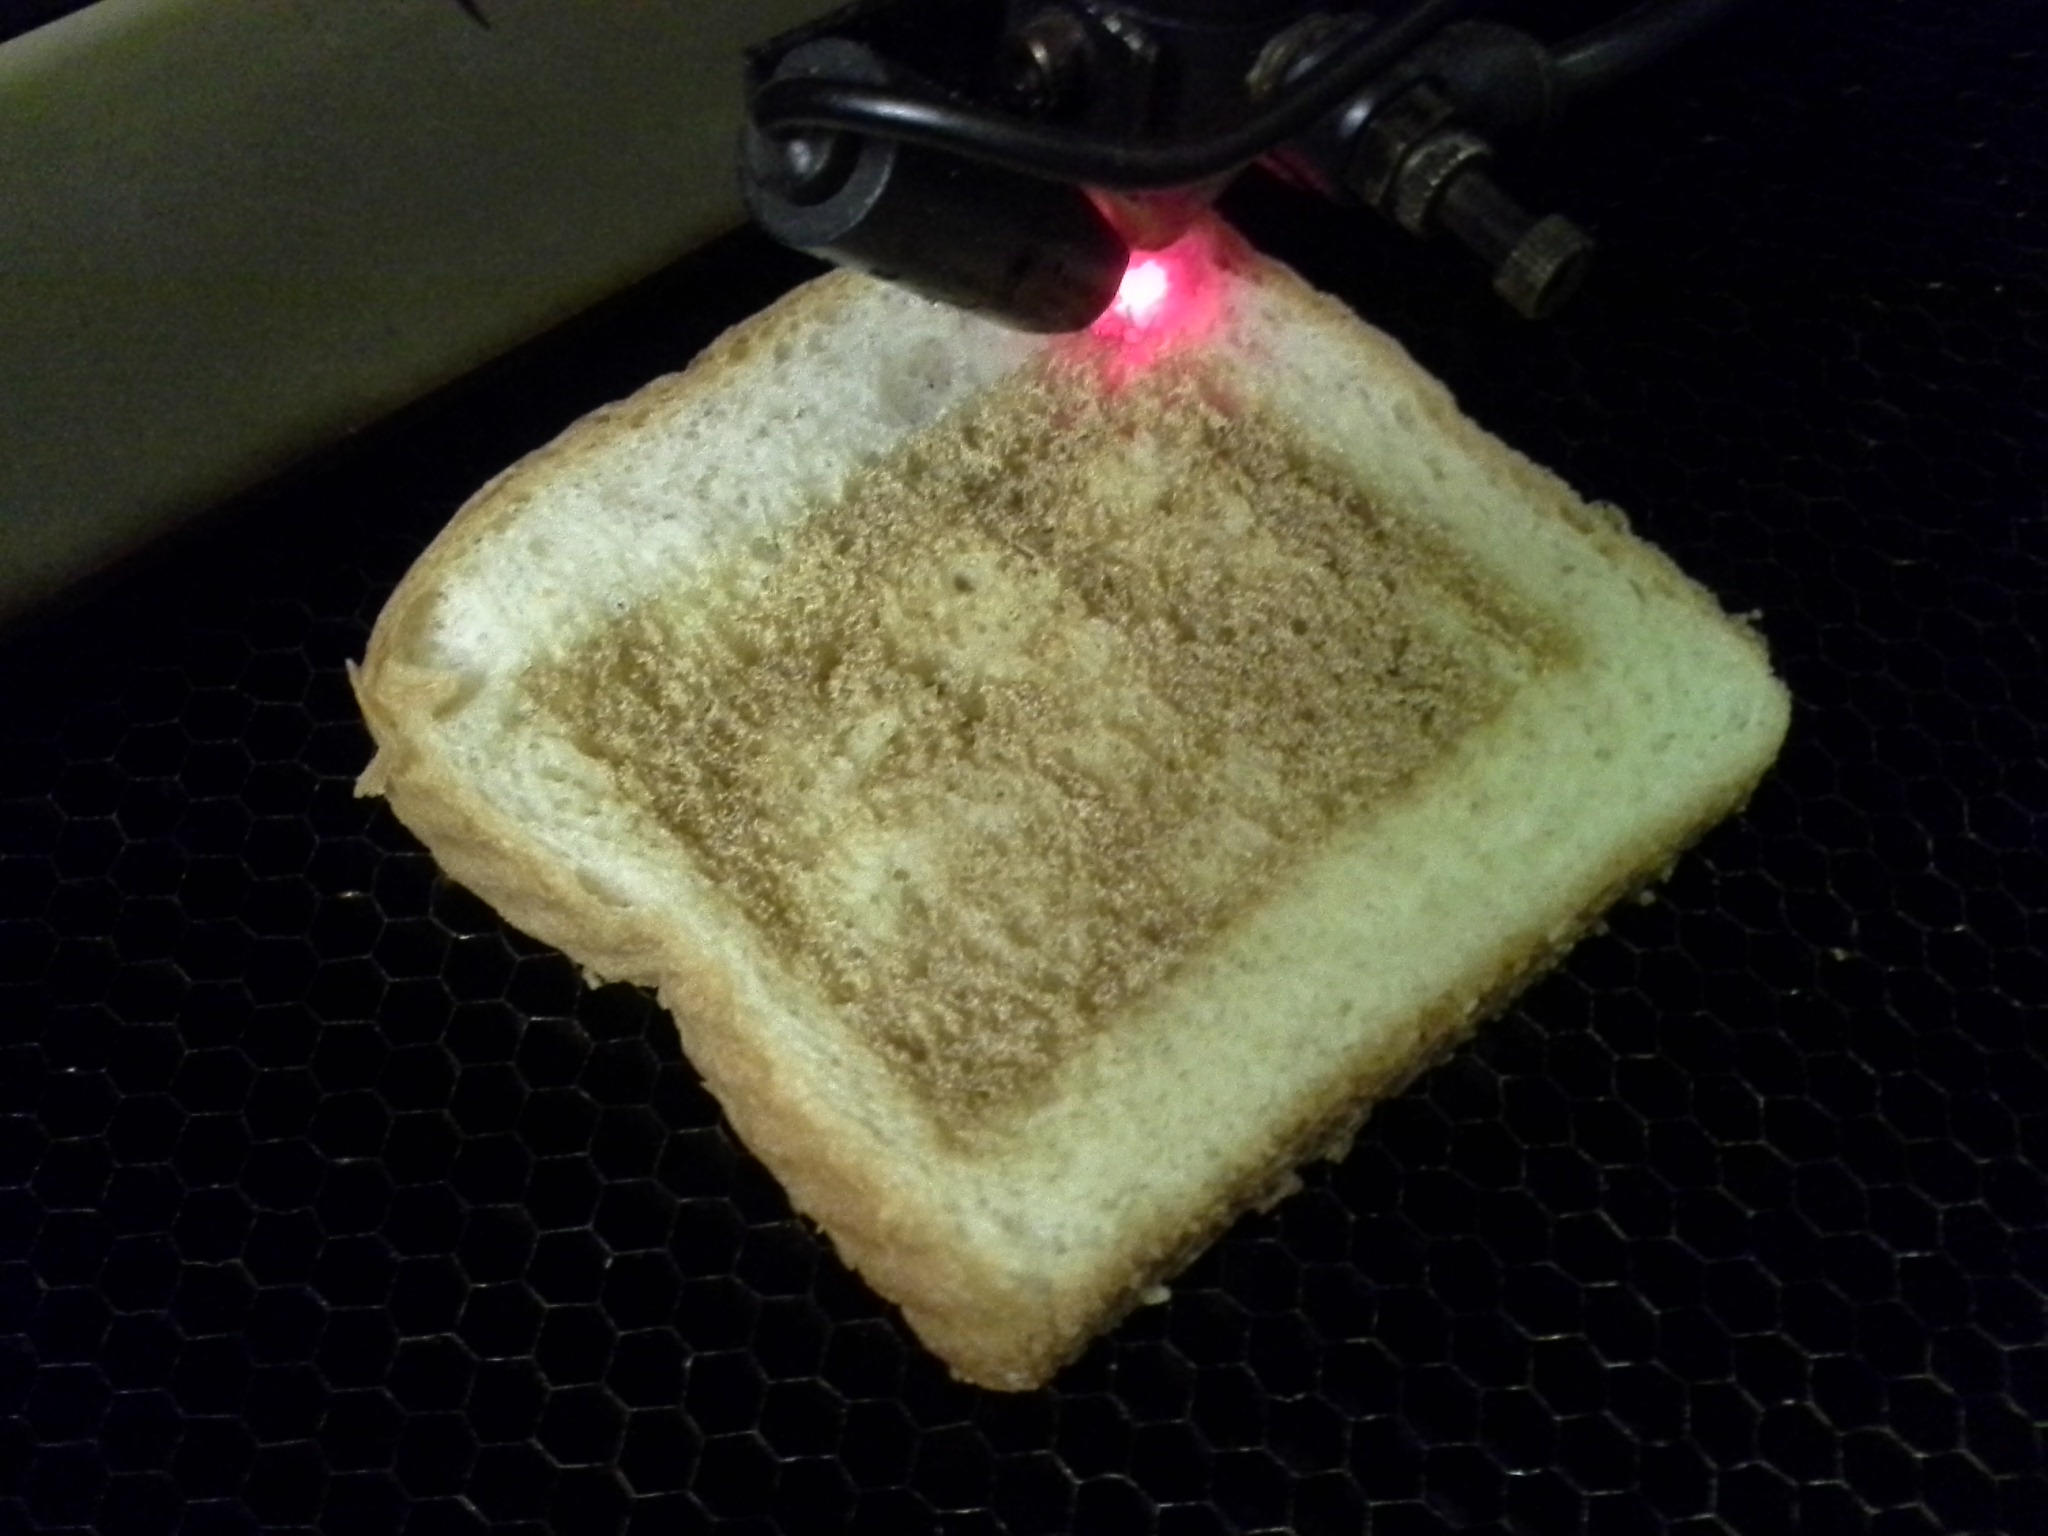
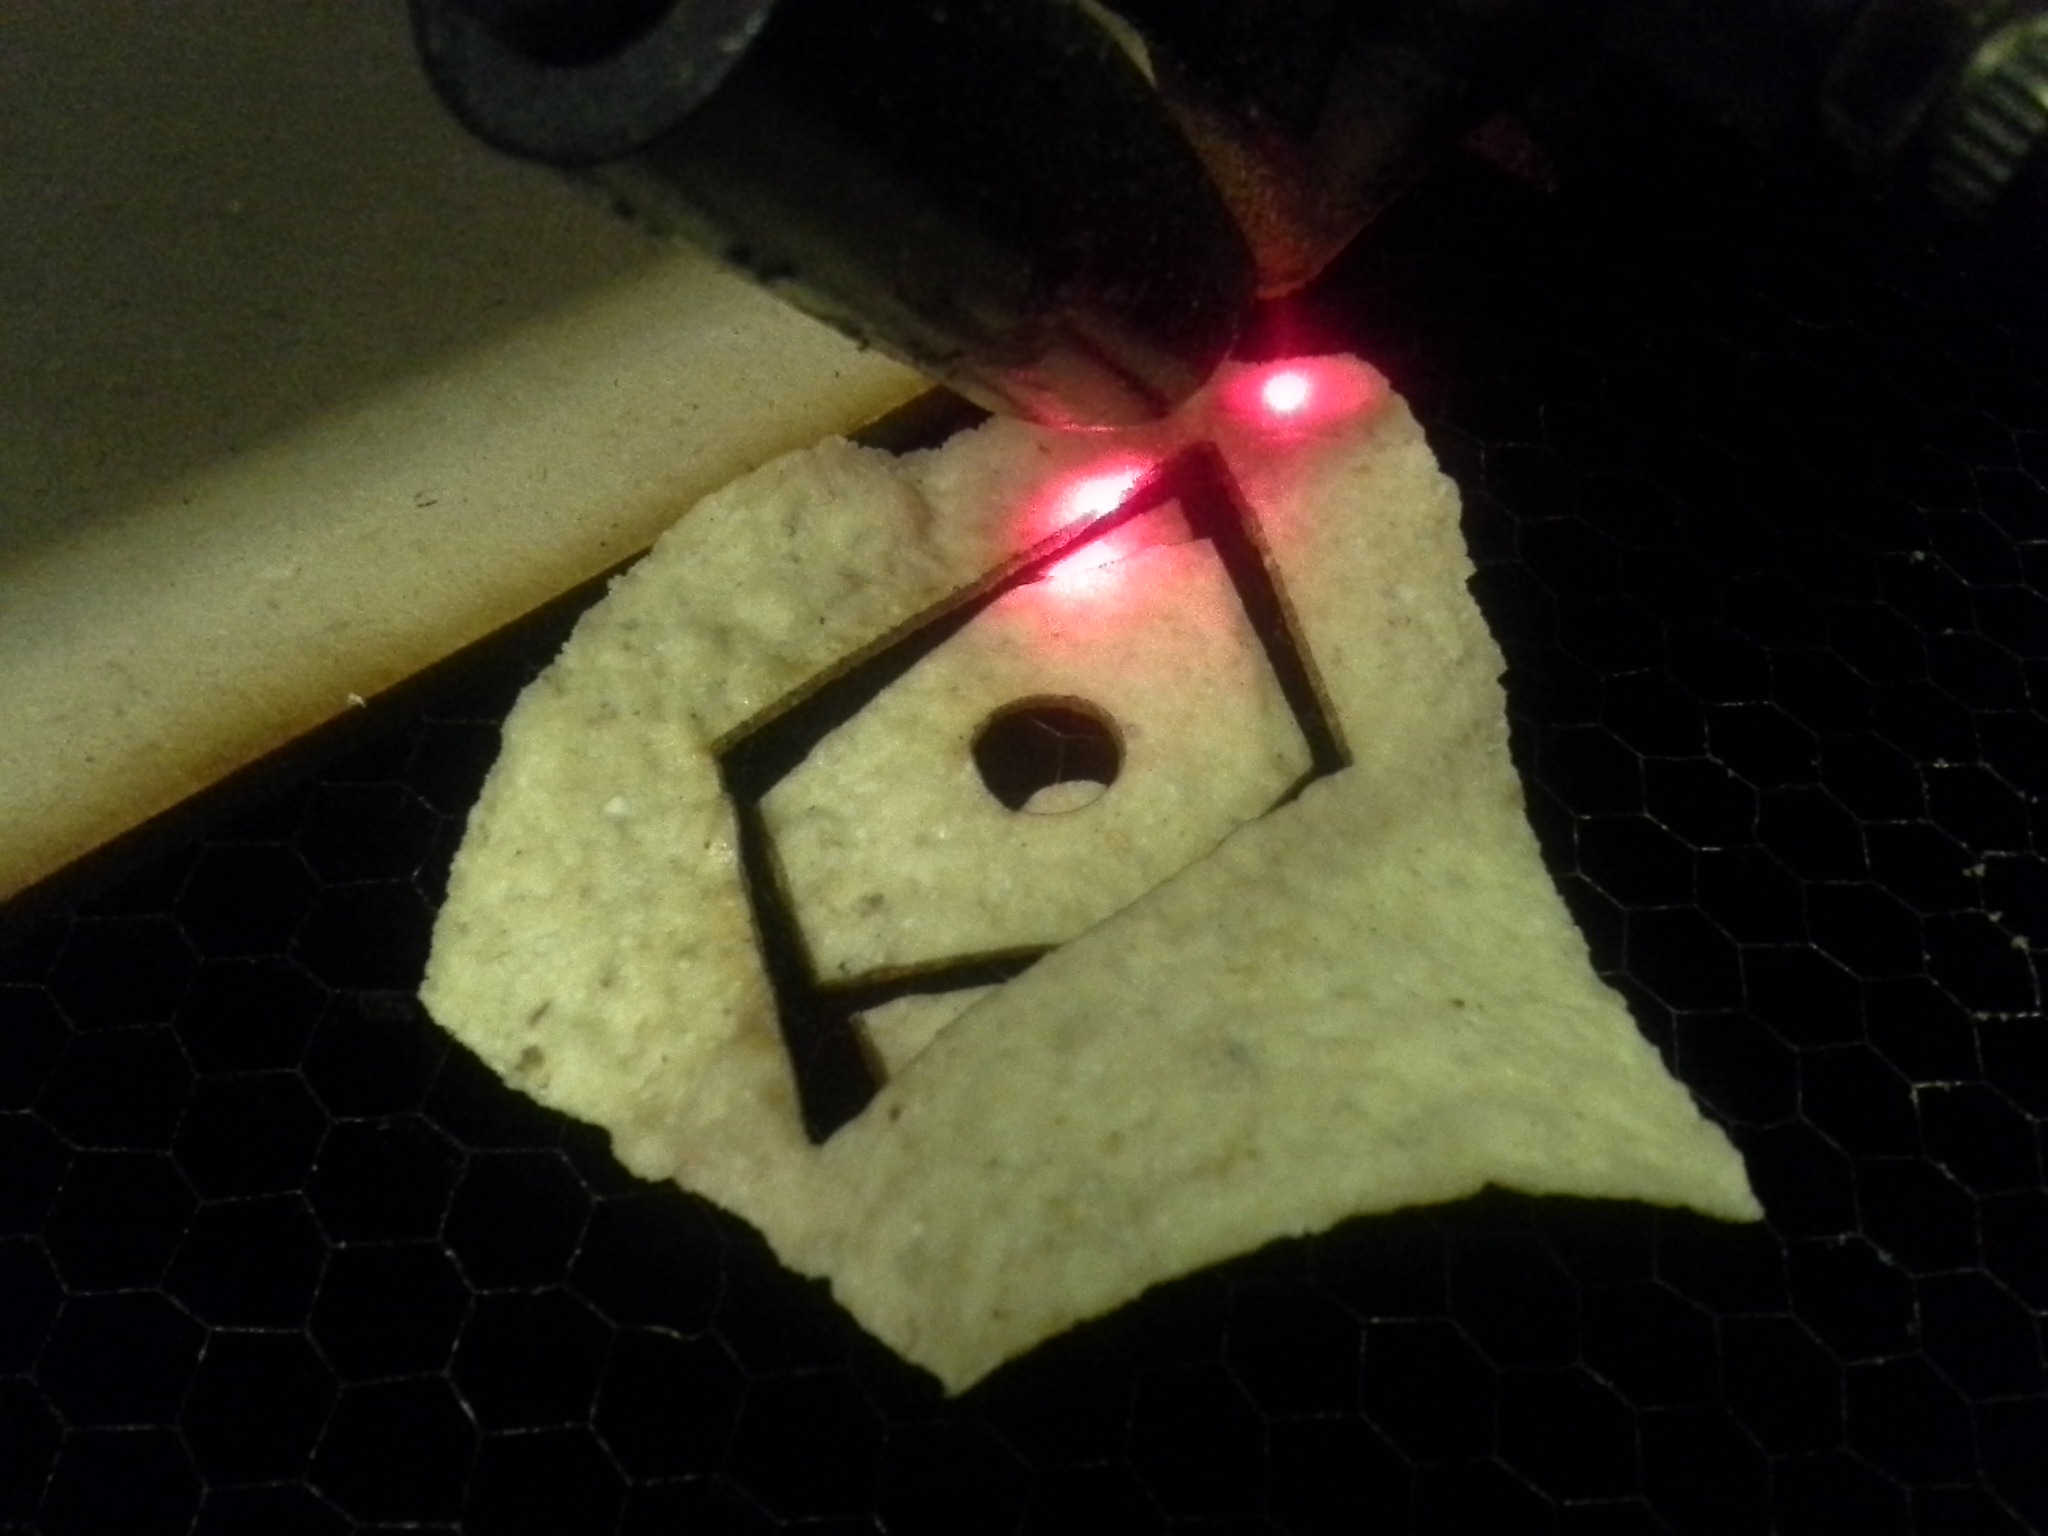
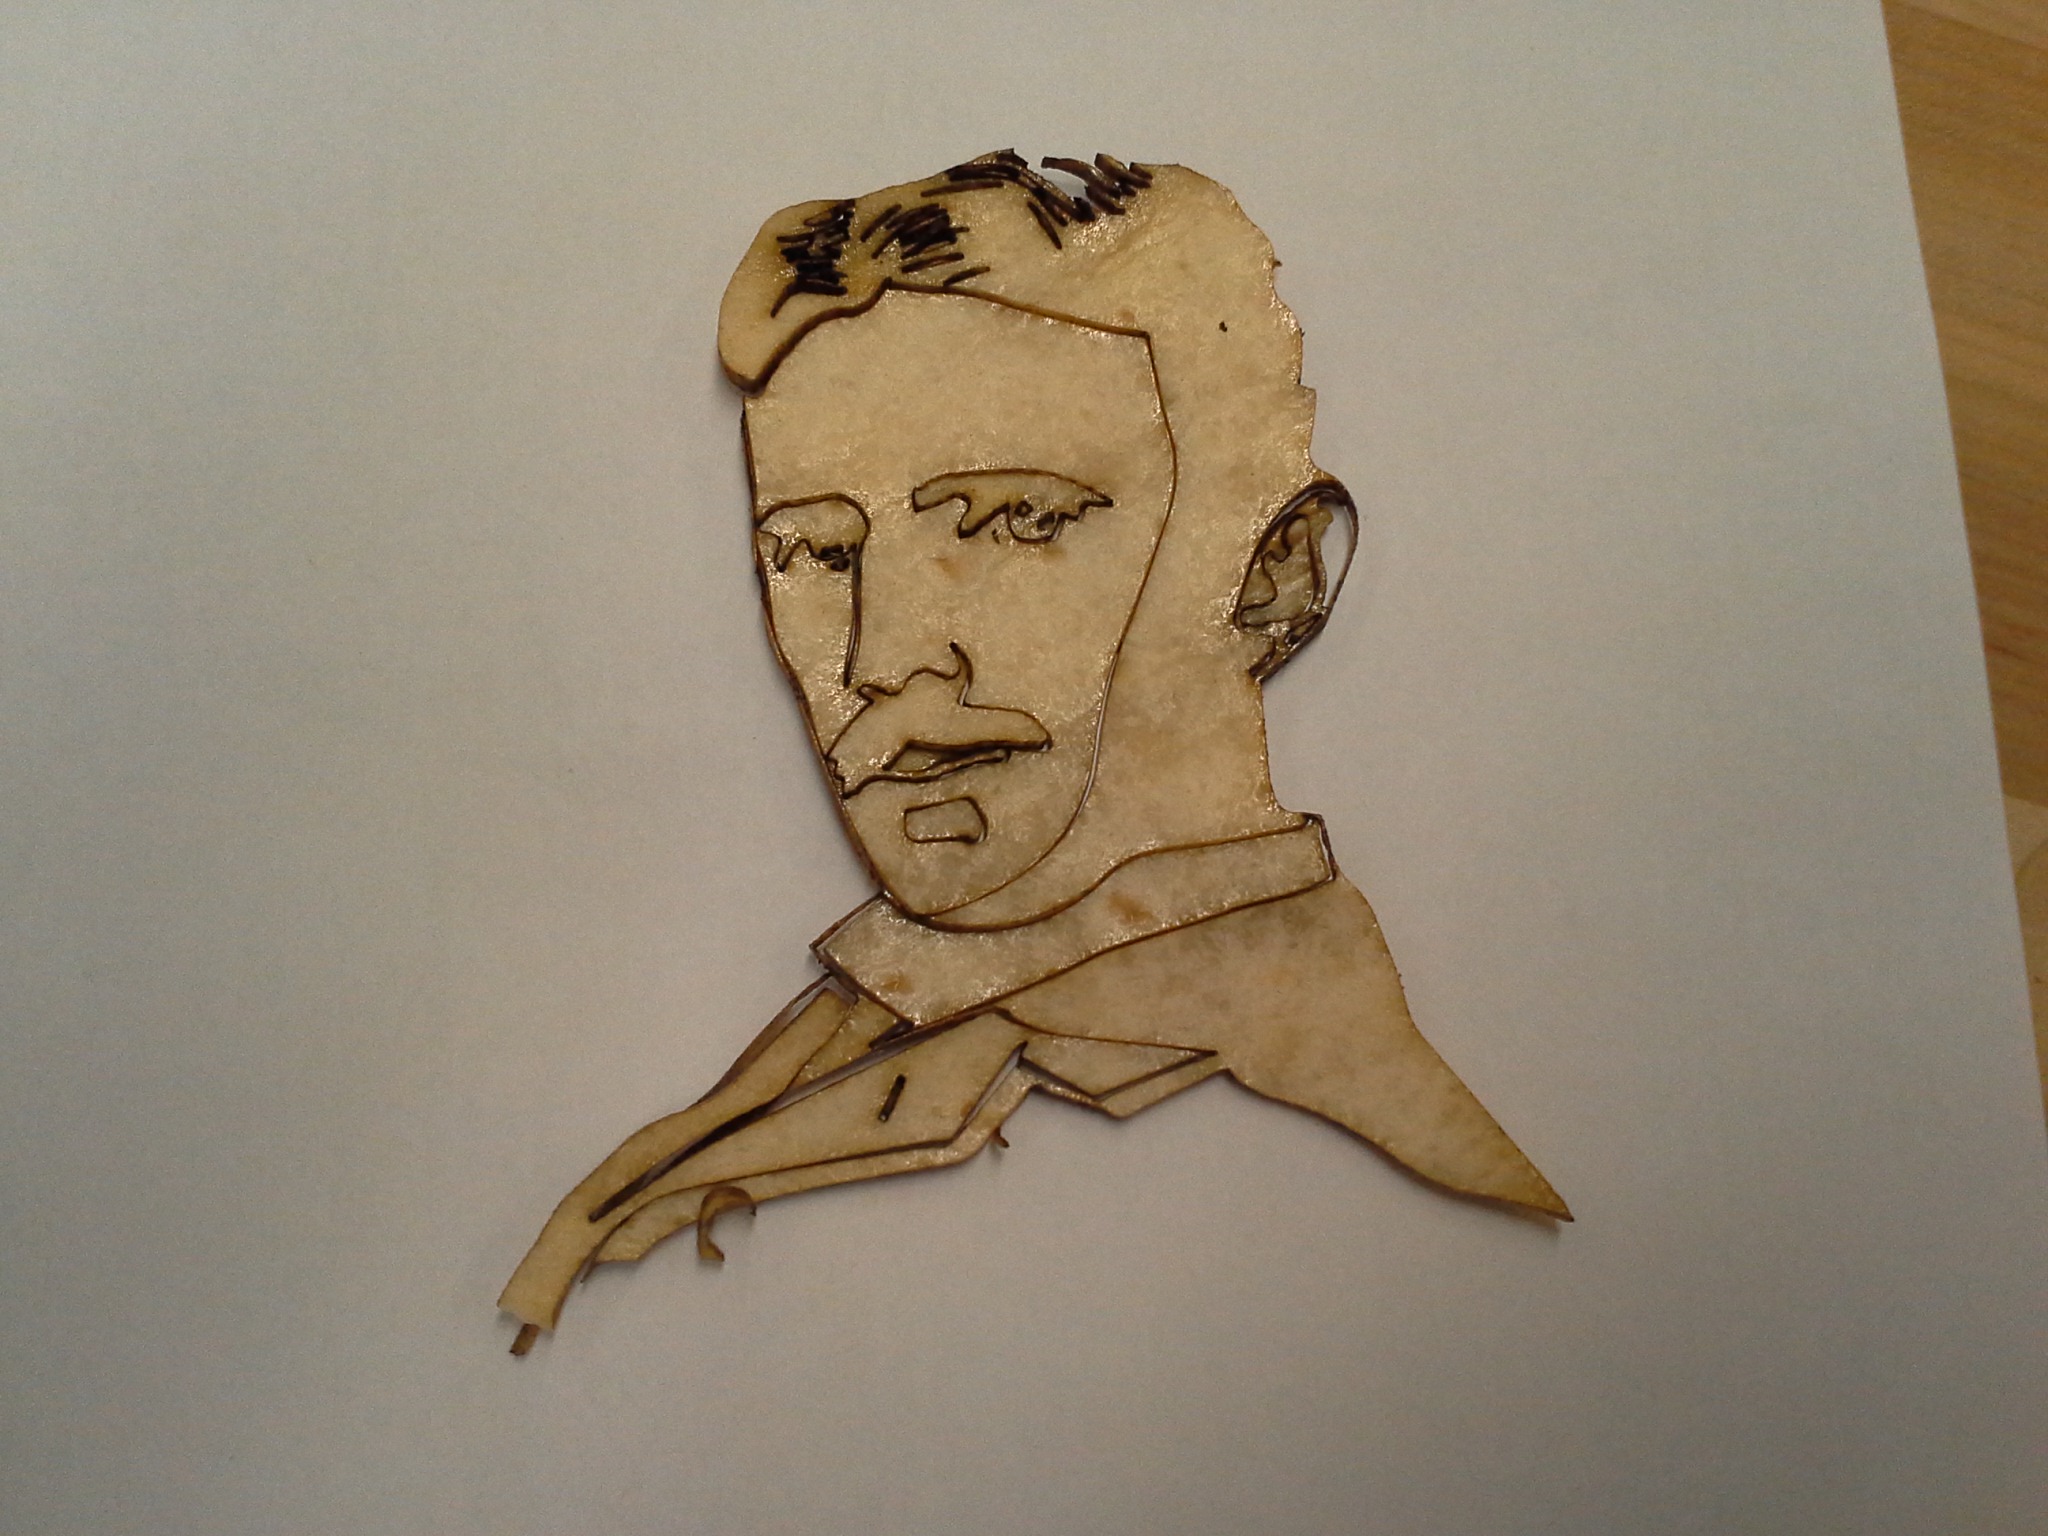
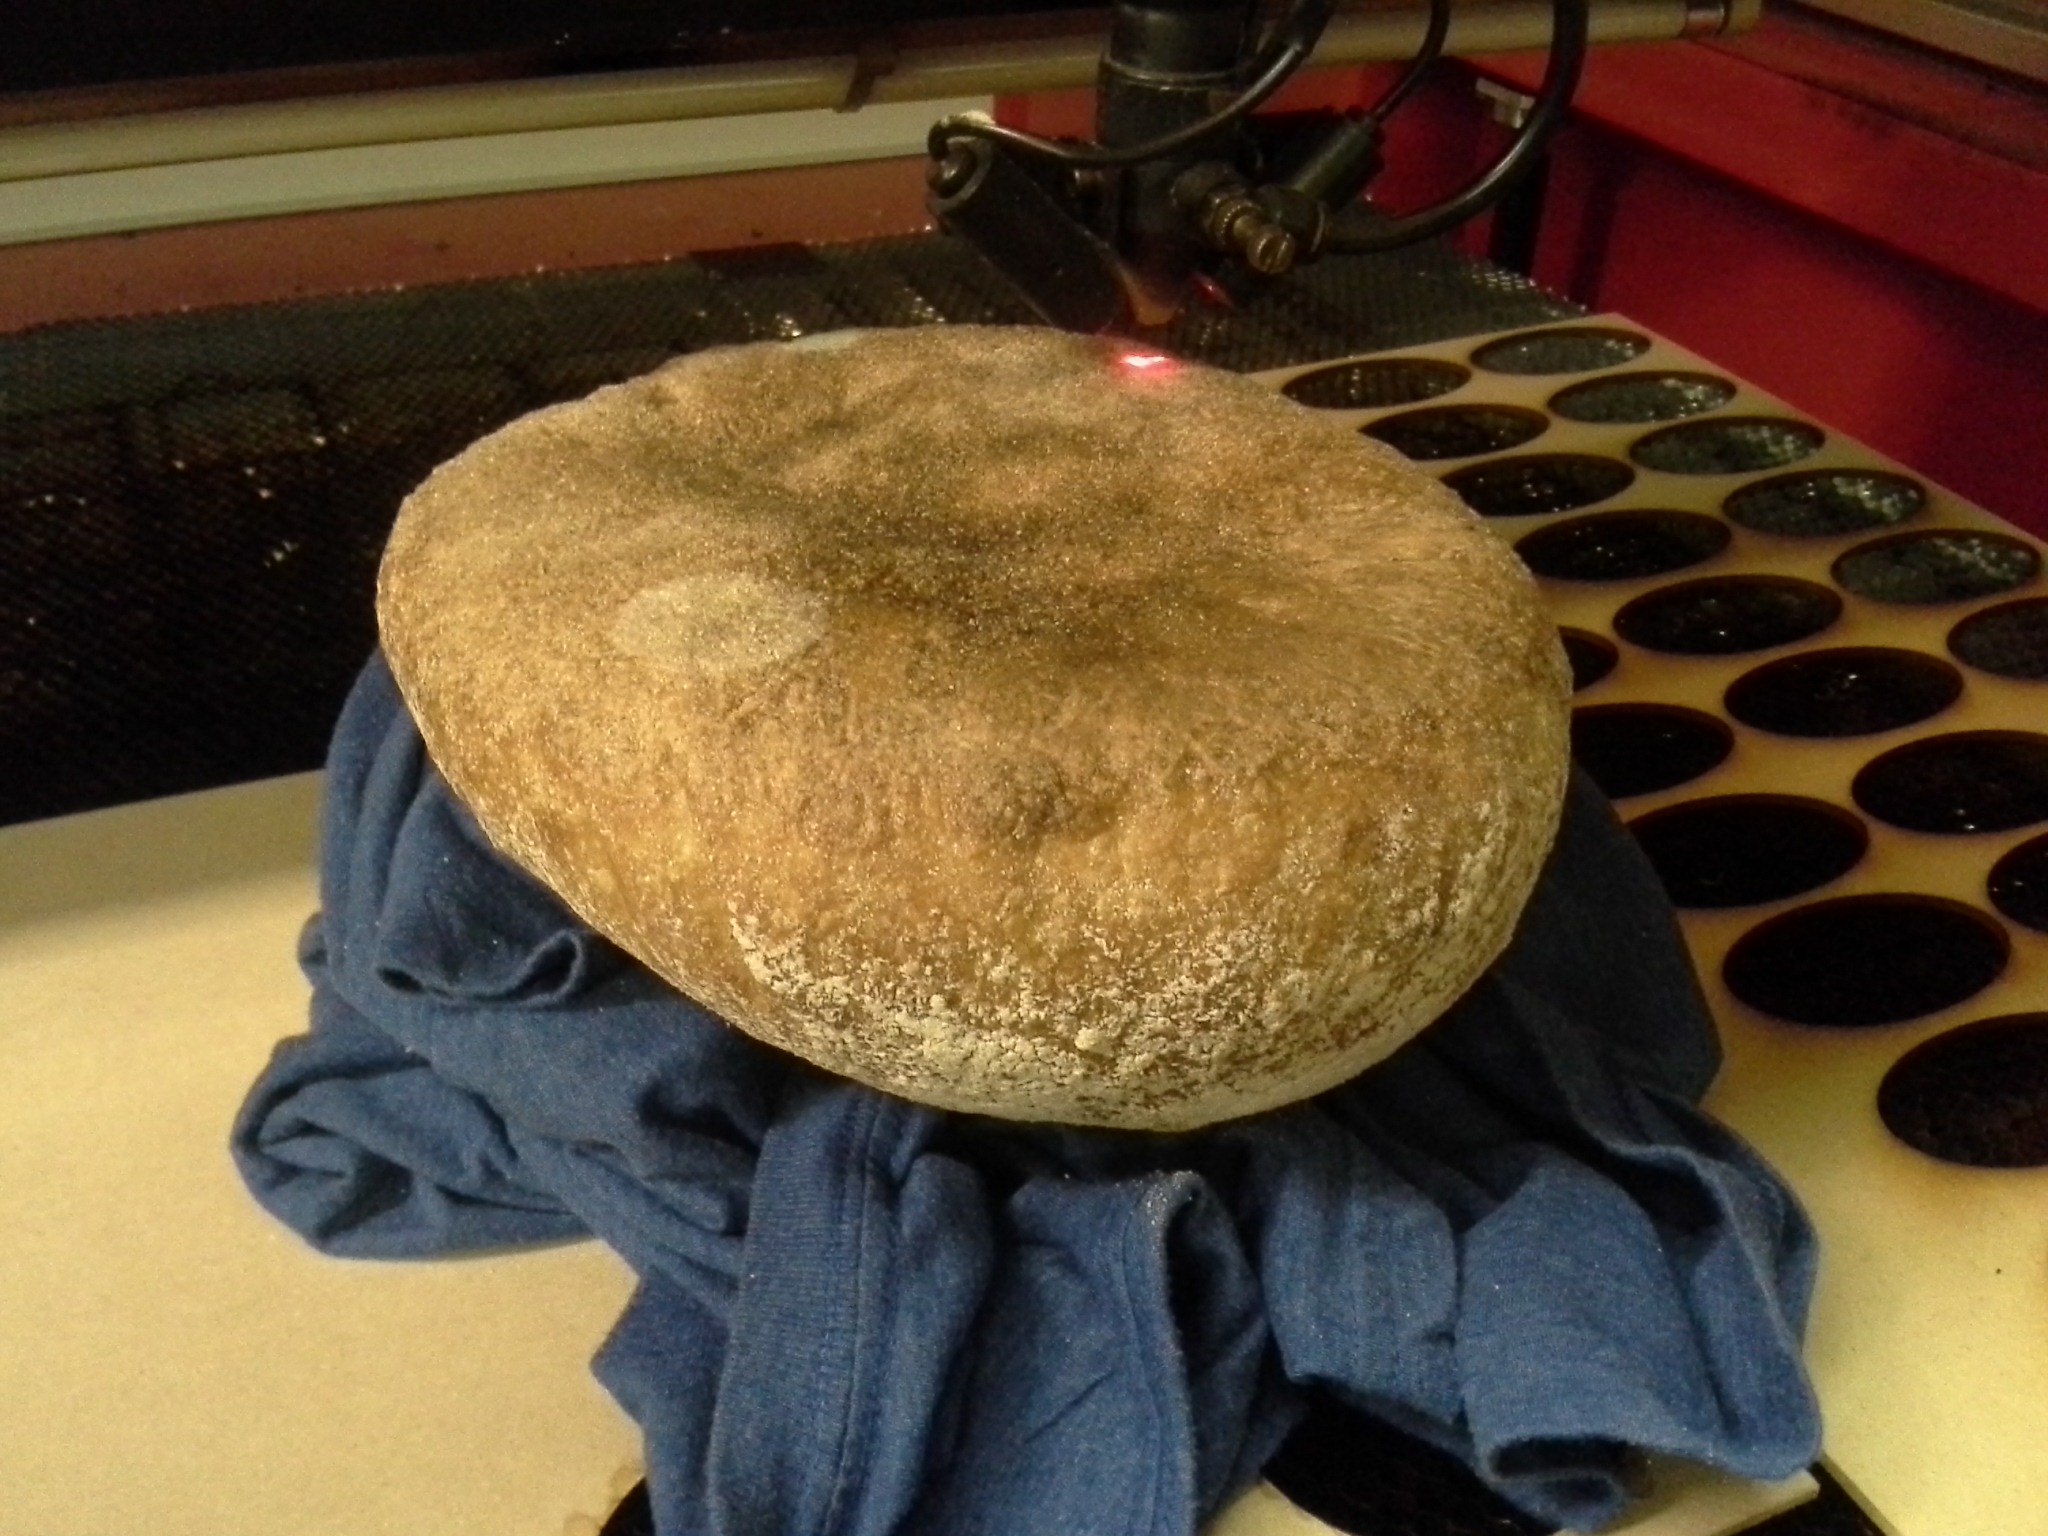
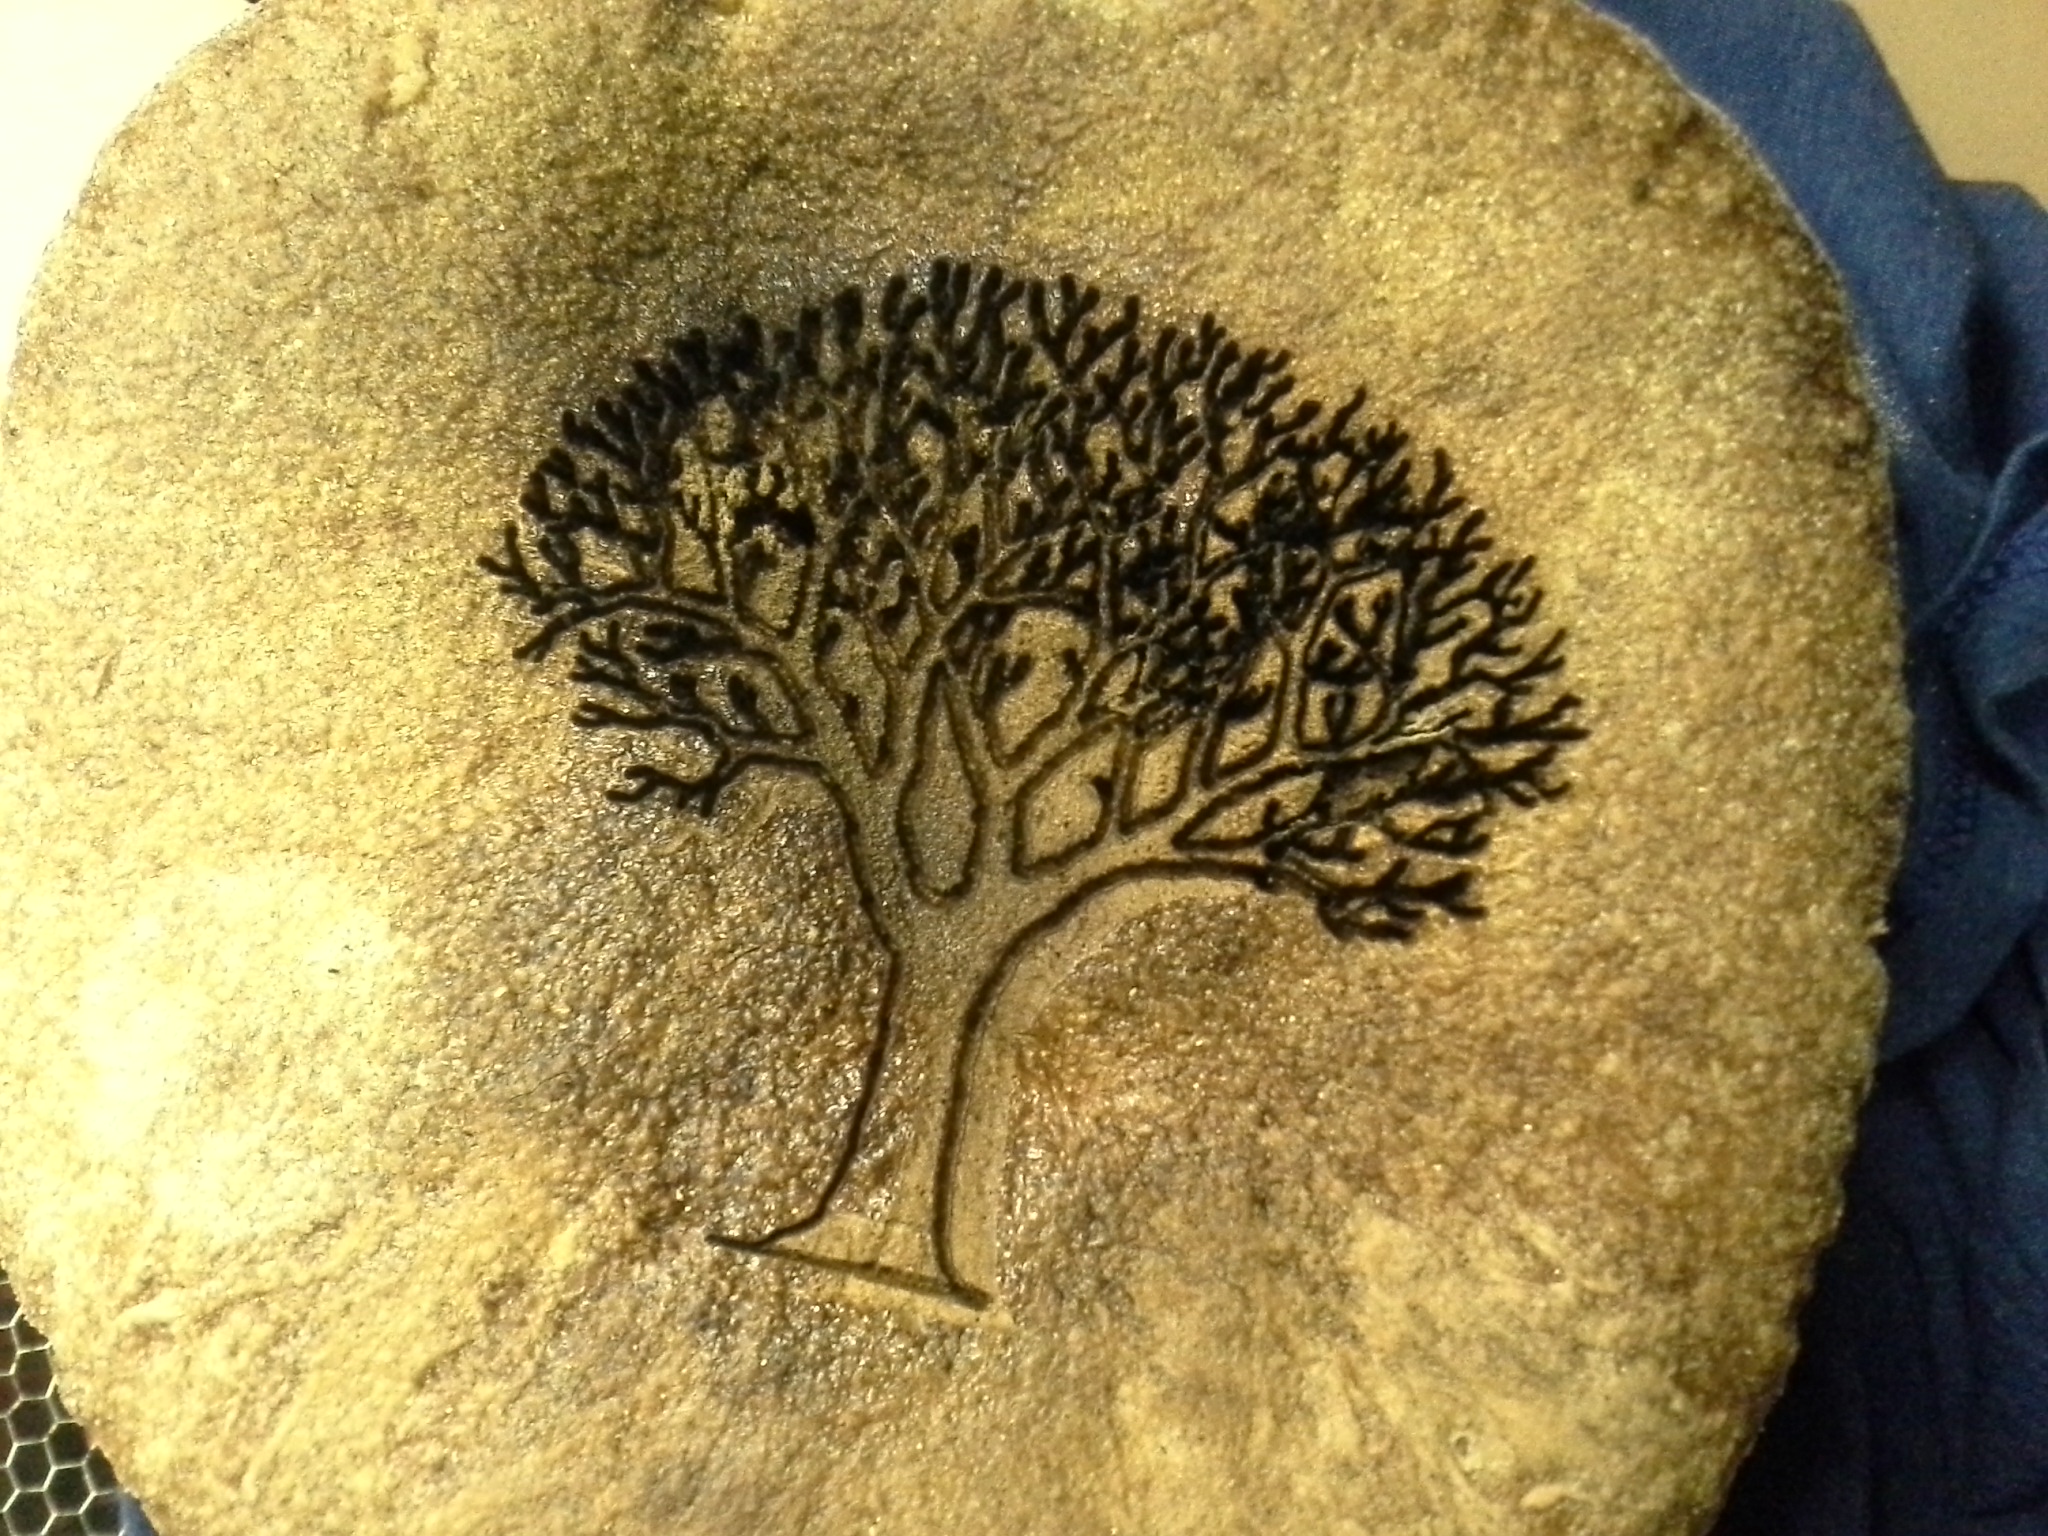
Next I showed them the process of working with existing 2D designs in Inkscape and using the laser cutter’s bundled software to generate appropriate toolpaths and send them to the machine. After seeing this process I had them all take turns etching and burning different designs into some foods that I brought along with me, which gave them some great practical experience with how different speed and power settings affect materials.
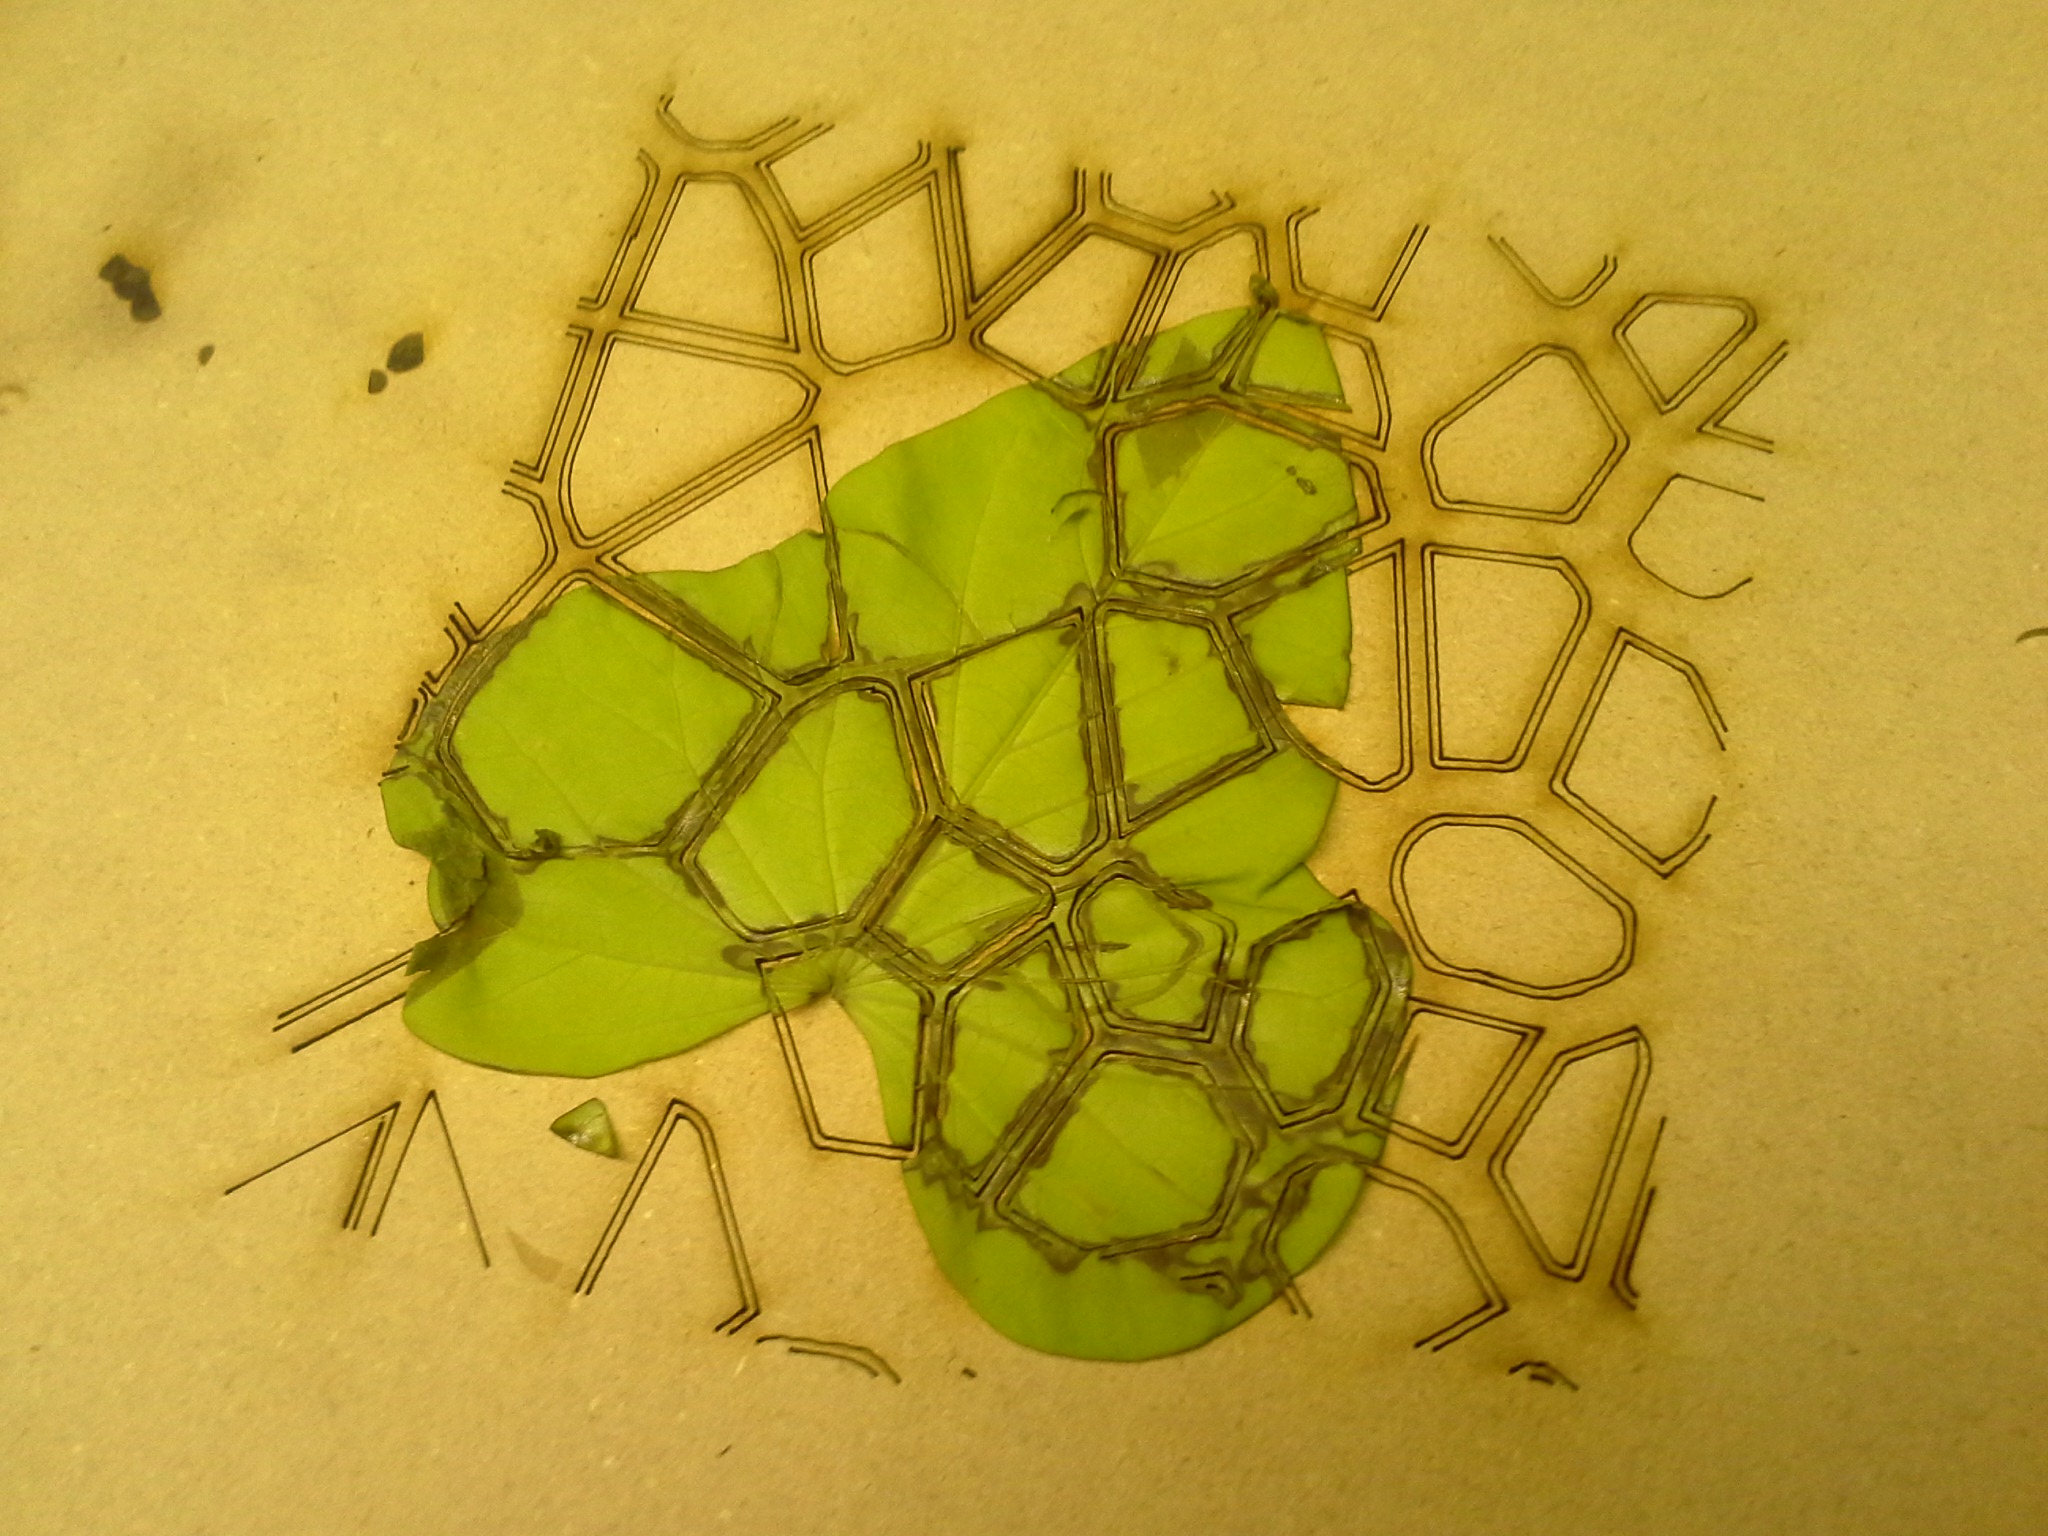
Finally I had the students show the various found materials that I asked them last week to bring to this class session, and we all discussed which materials are safe, which aren’t, and why. Some materials can release toxic or otherwise harmful gas or do other unexpected things when a laser is applied to them, so I felt that understanding the physics principles of light refraction, reflection, and absorption would be critical for their safety going forward.
The students were given some time to create their own designs for cutting or etching and take turns experimenting with their various found materials to see what kinds of results they could achieve.

Week 4- 3D printing and 3D scanning
In the fourth week we covered 3D scanning and 3D printing, which I felt was a logical and tangible step from laser cutting both conceptually and technically.
We started with 3D scanning by discussing the fundamental principles at work, then diving into some hands-on demos of tools that we had available. I brought in a Kinect 3D camera and let the students experiment with using it to scan various objects, learning about some of its advantages, disadvantages and limitations. We also had a handful of Structure sensors attached to iPads on-hand, so they each got to walk around and try scanning various things in the lab. I also introduced Autodesk’s 123D Catch by providing some sample scans that I had previously done, along with resources for them to learn more and experiment at home, where they would have more control over environmental lighting.
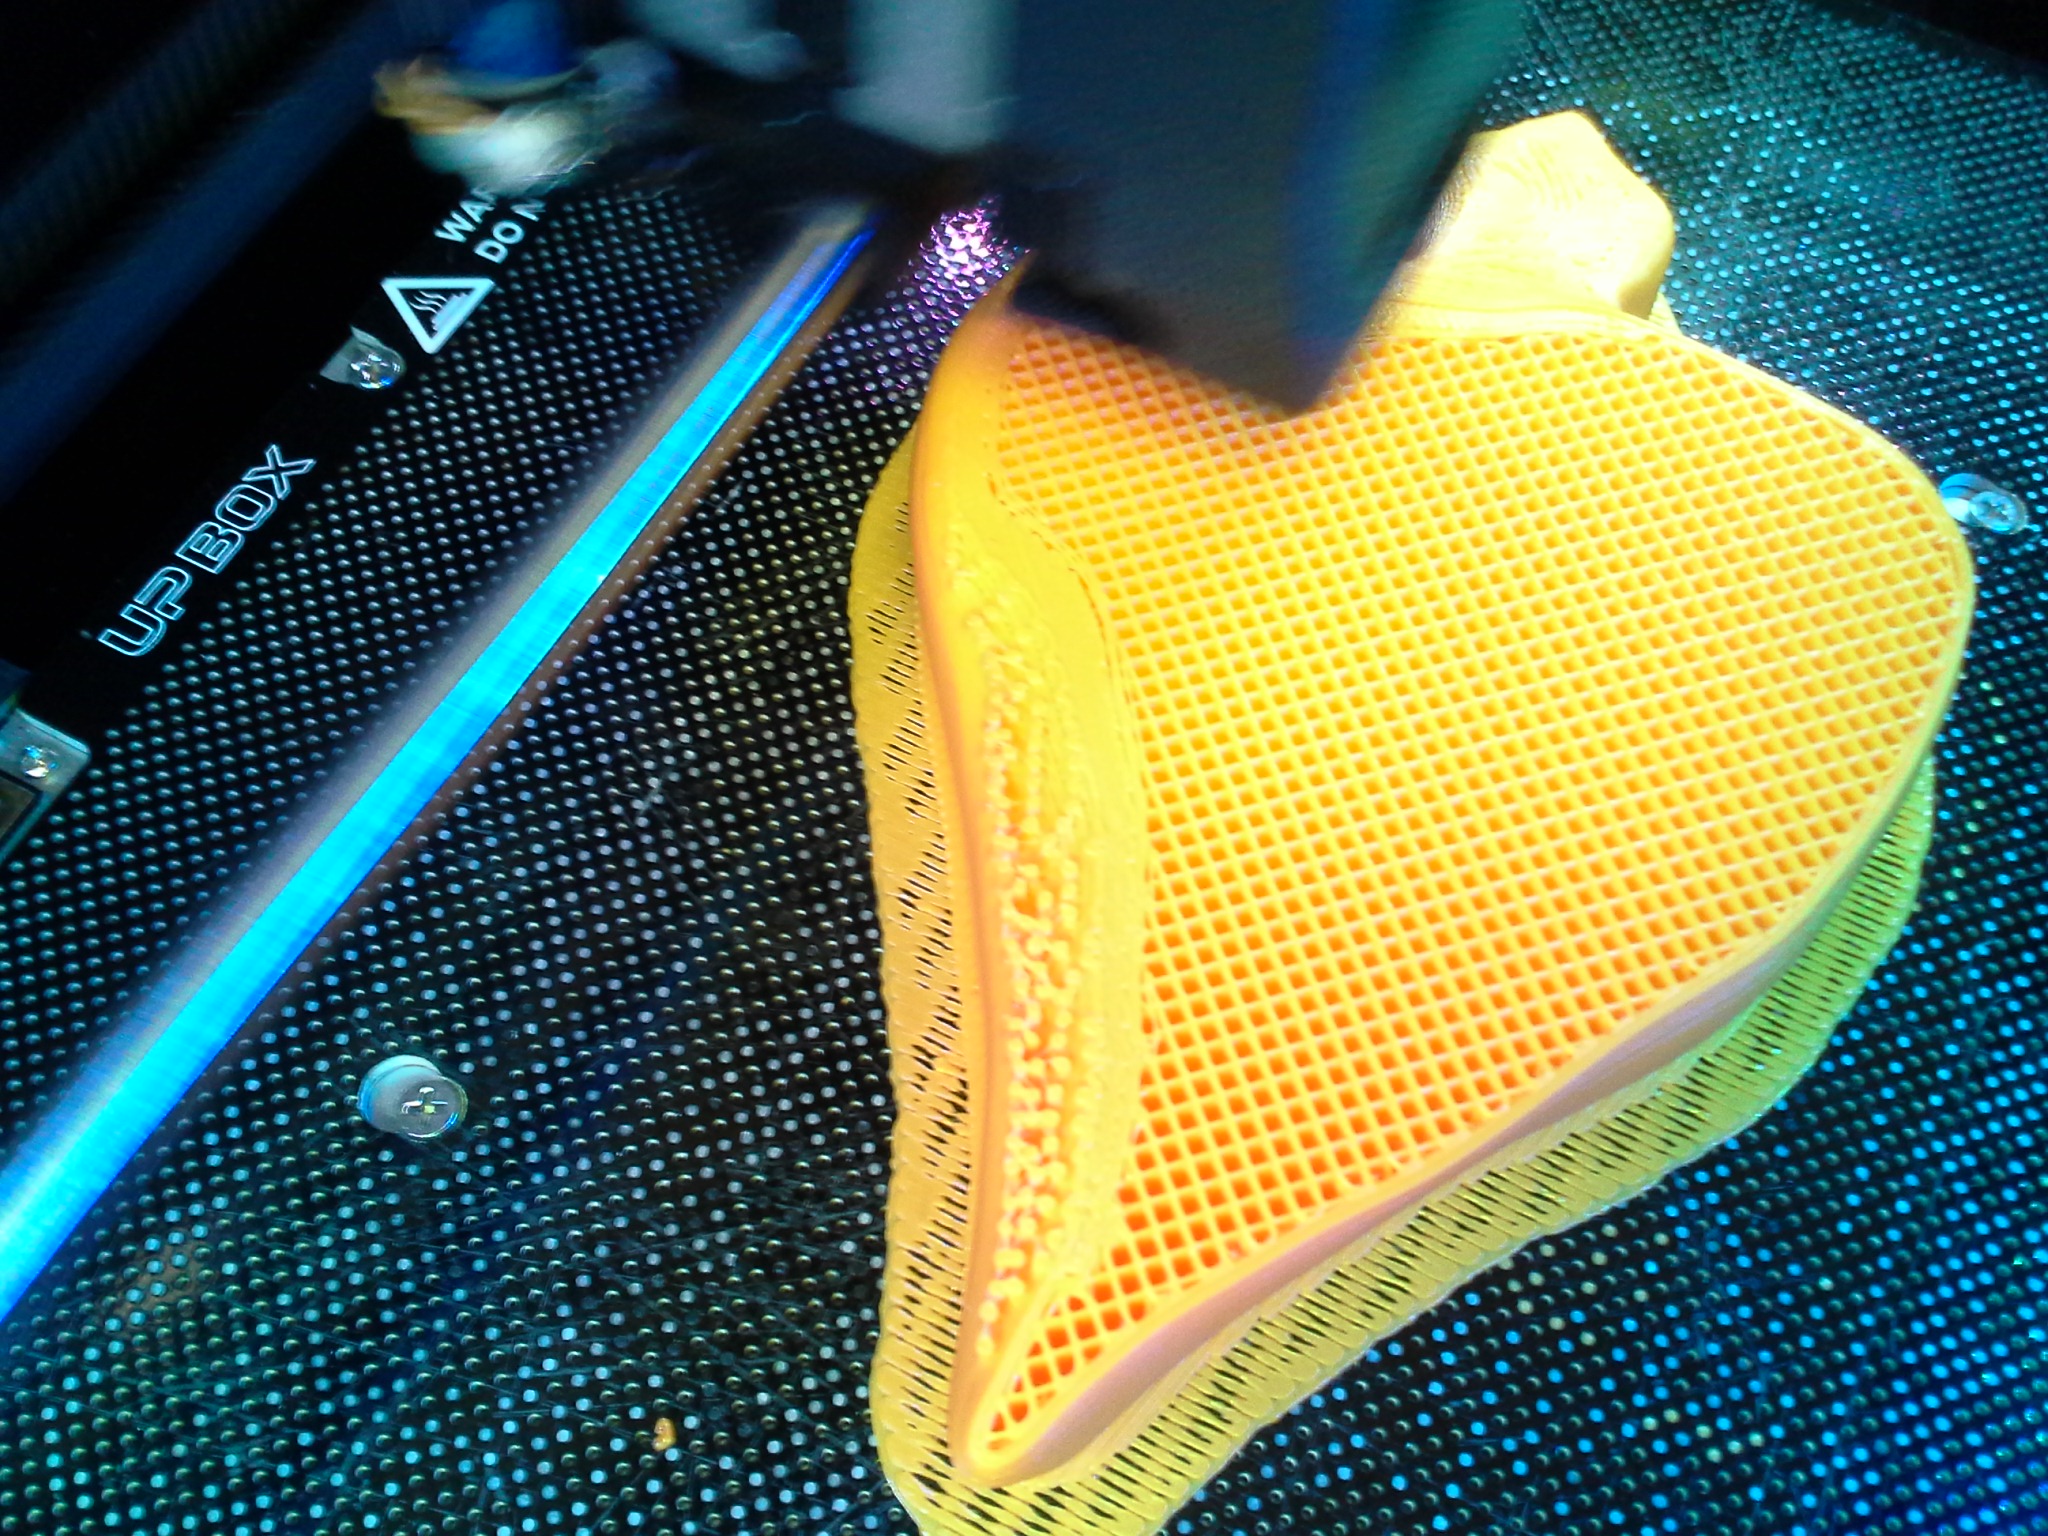
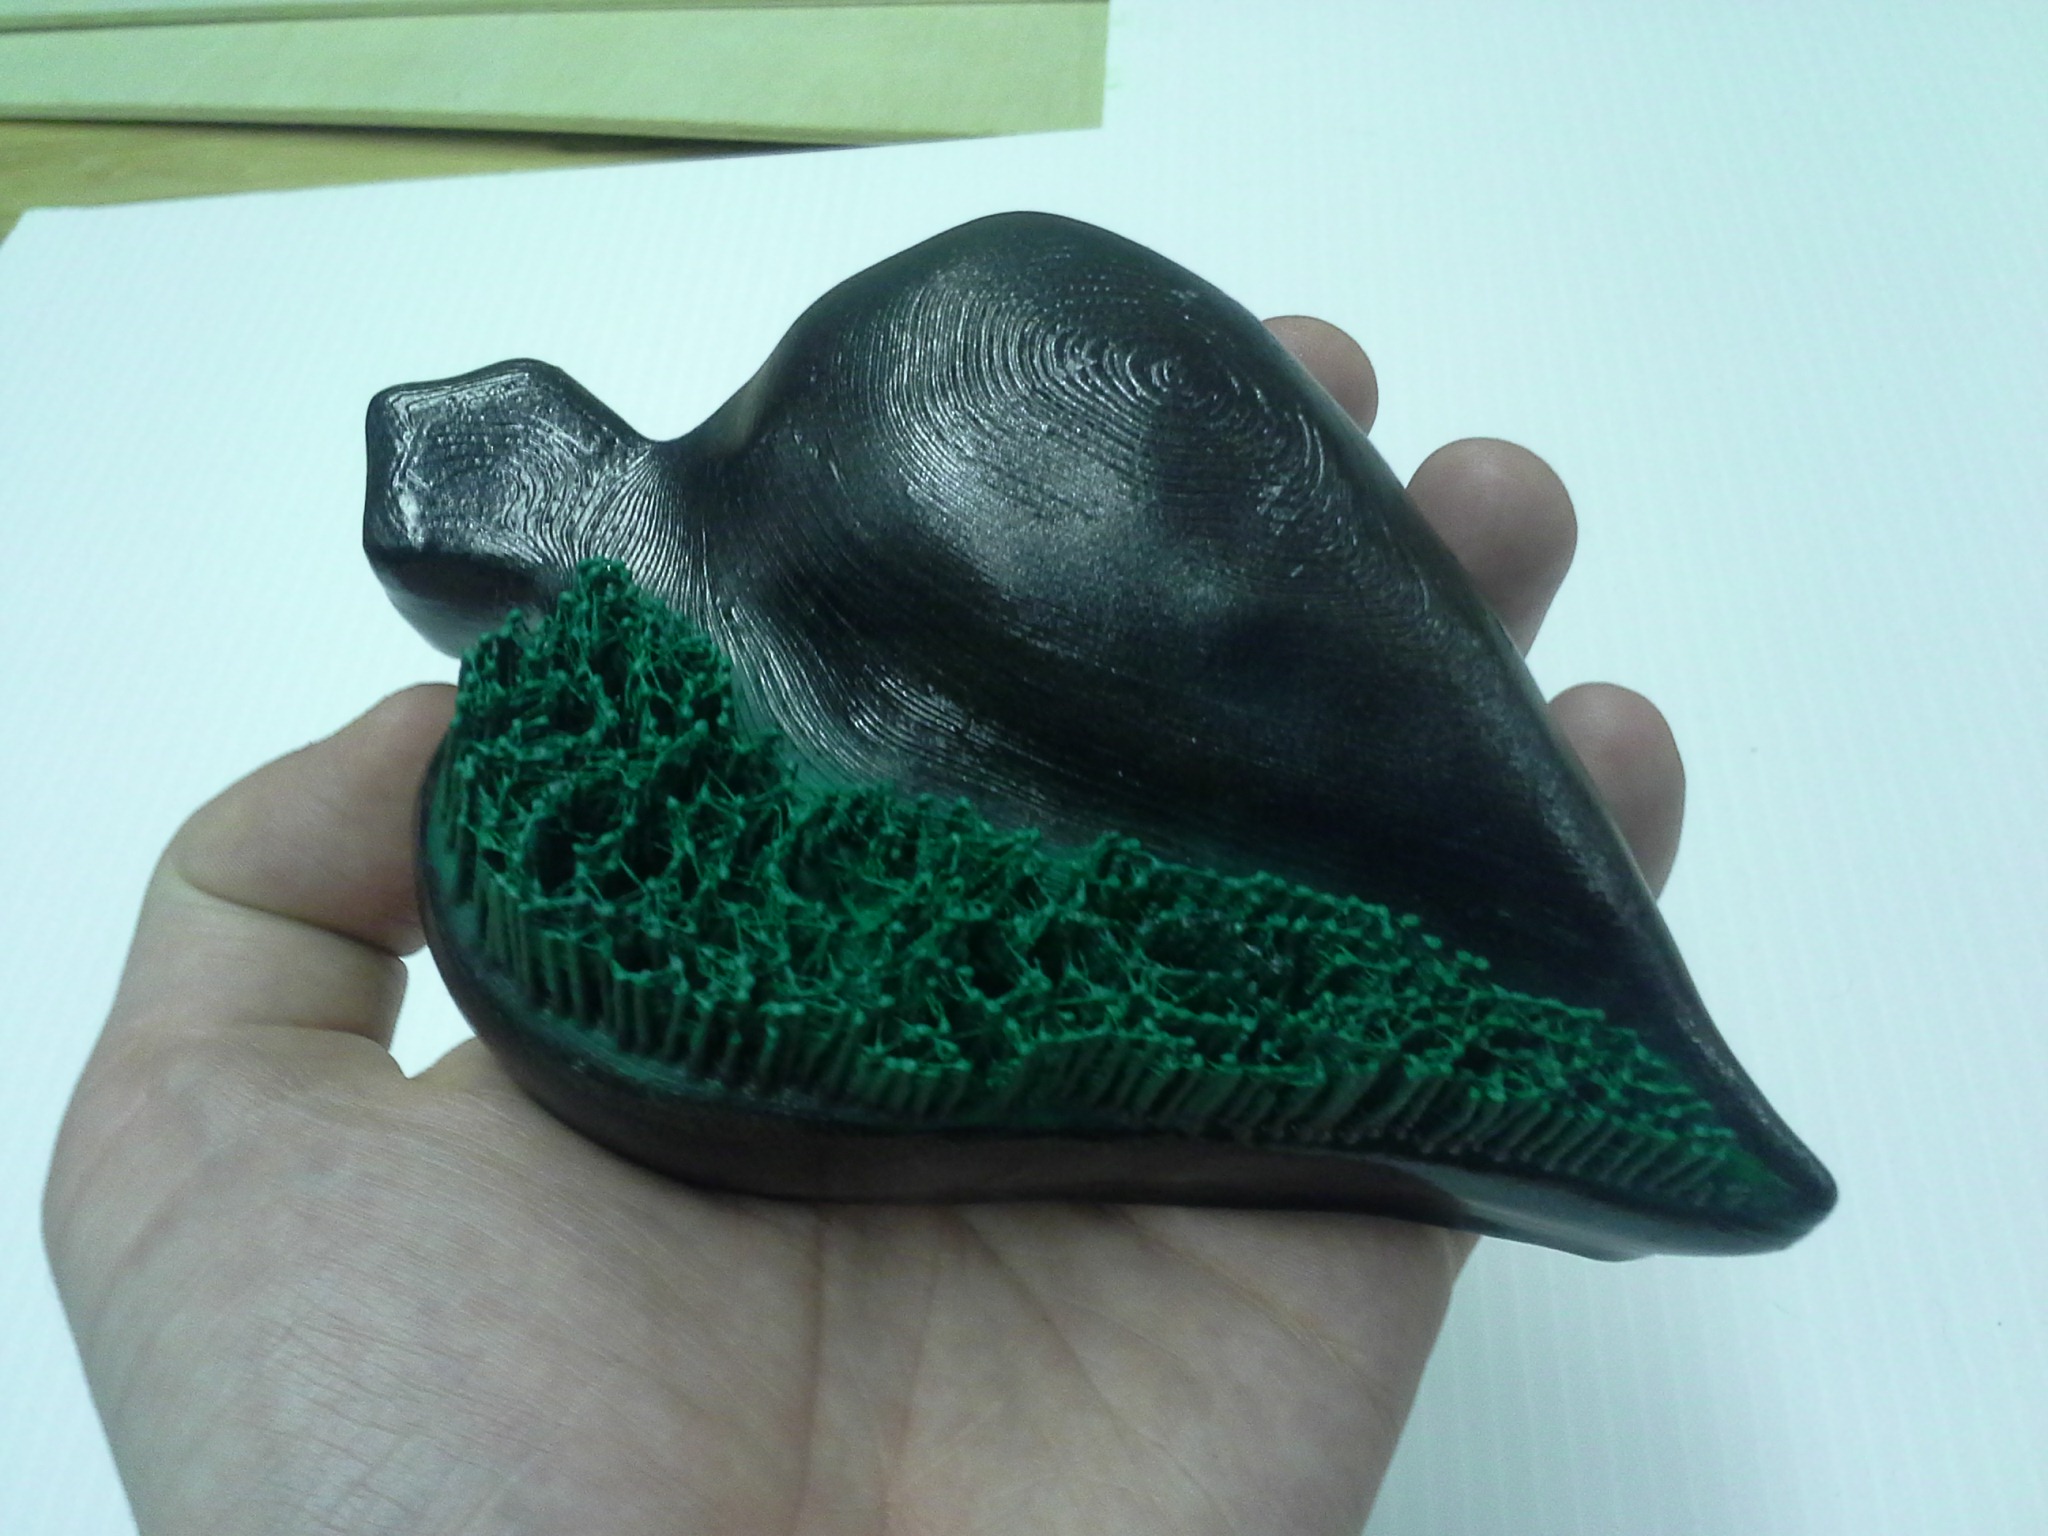
The rest of the class was dedicated to 3D printing and giving the students as much supervised, hands-on time as possible with the equipment. Since this class was expected to be more of a “up and running” introduction focused on actually using the equipment found in the FabLab, I opted not to spend much time (if any) on 3D design, which easily could have been an entire class session in itself. Also, I wanted to get the students excited about possibilities and give them some confidence in the technology first before sitting them down in front of a screen and fussing around with software.
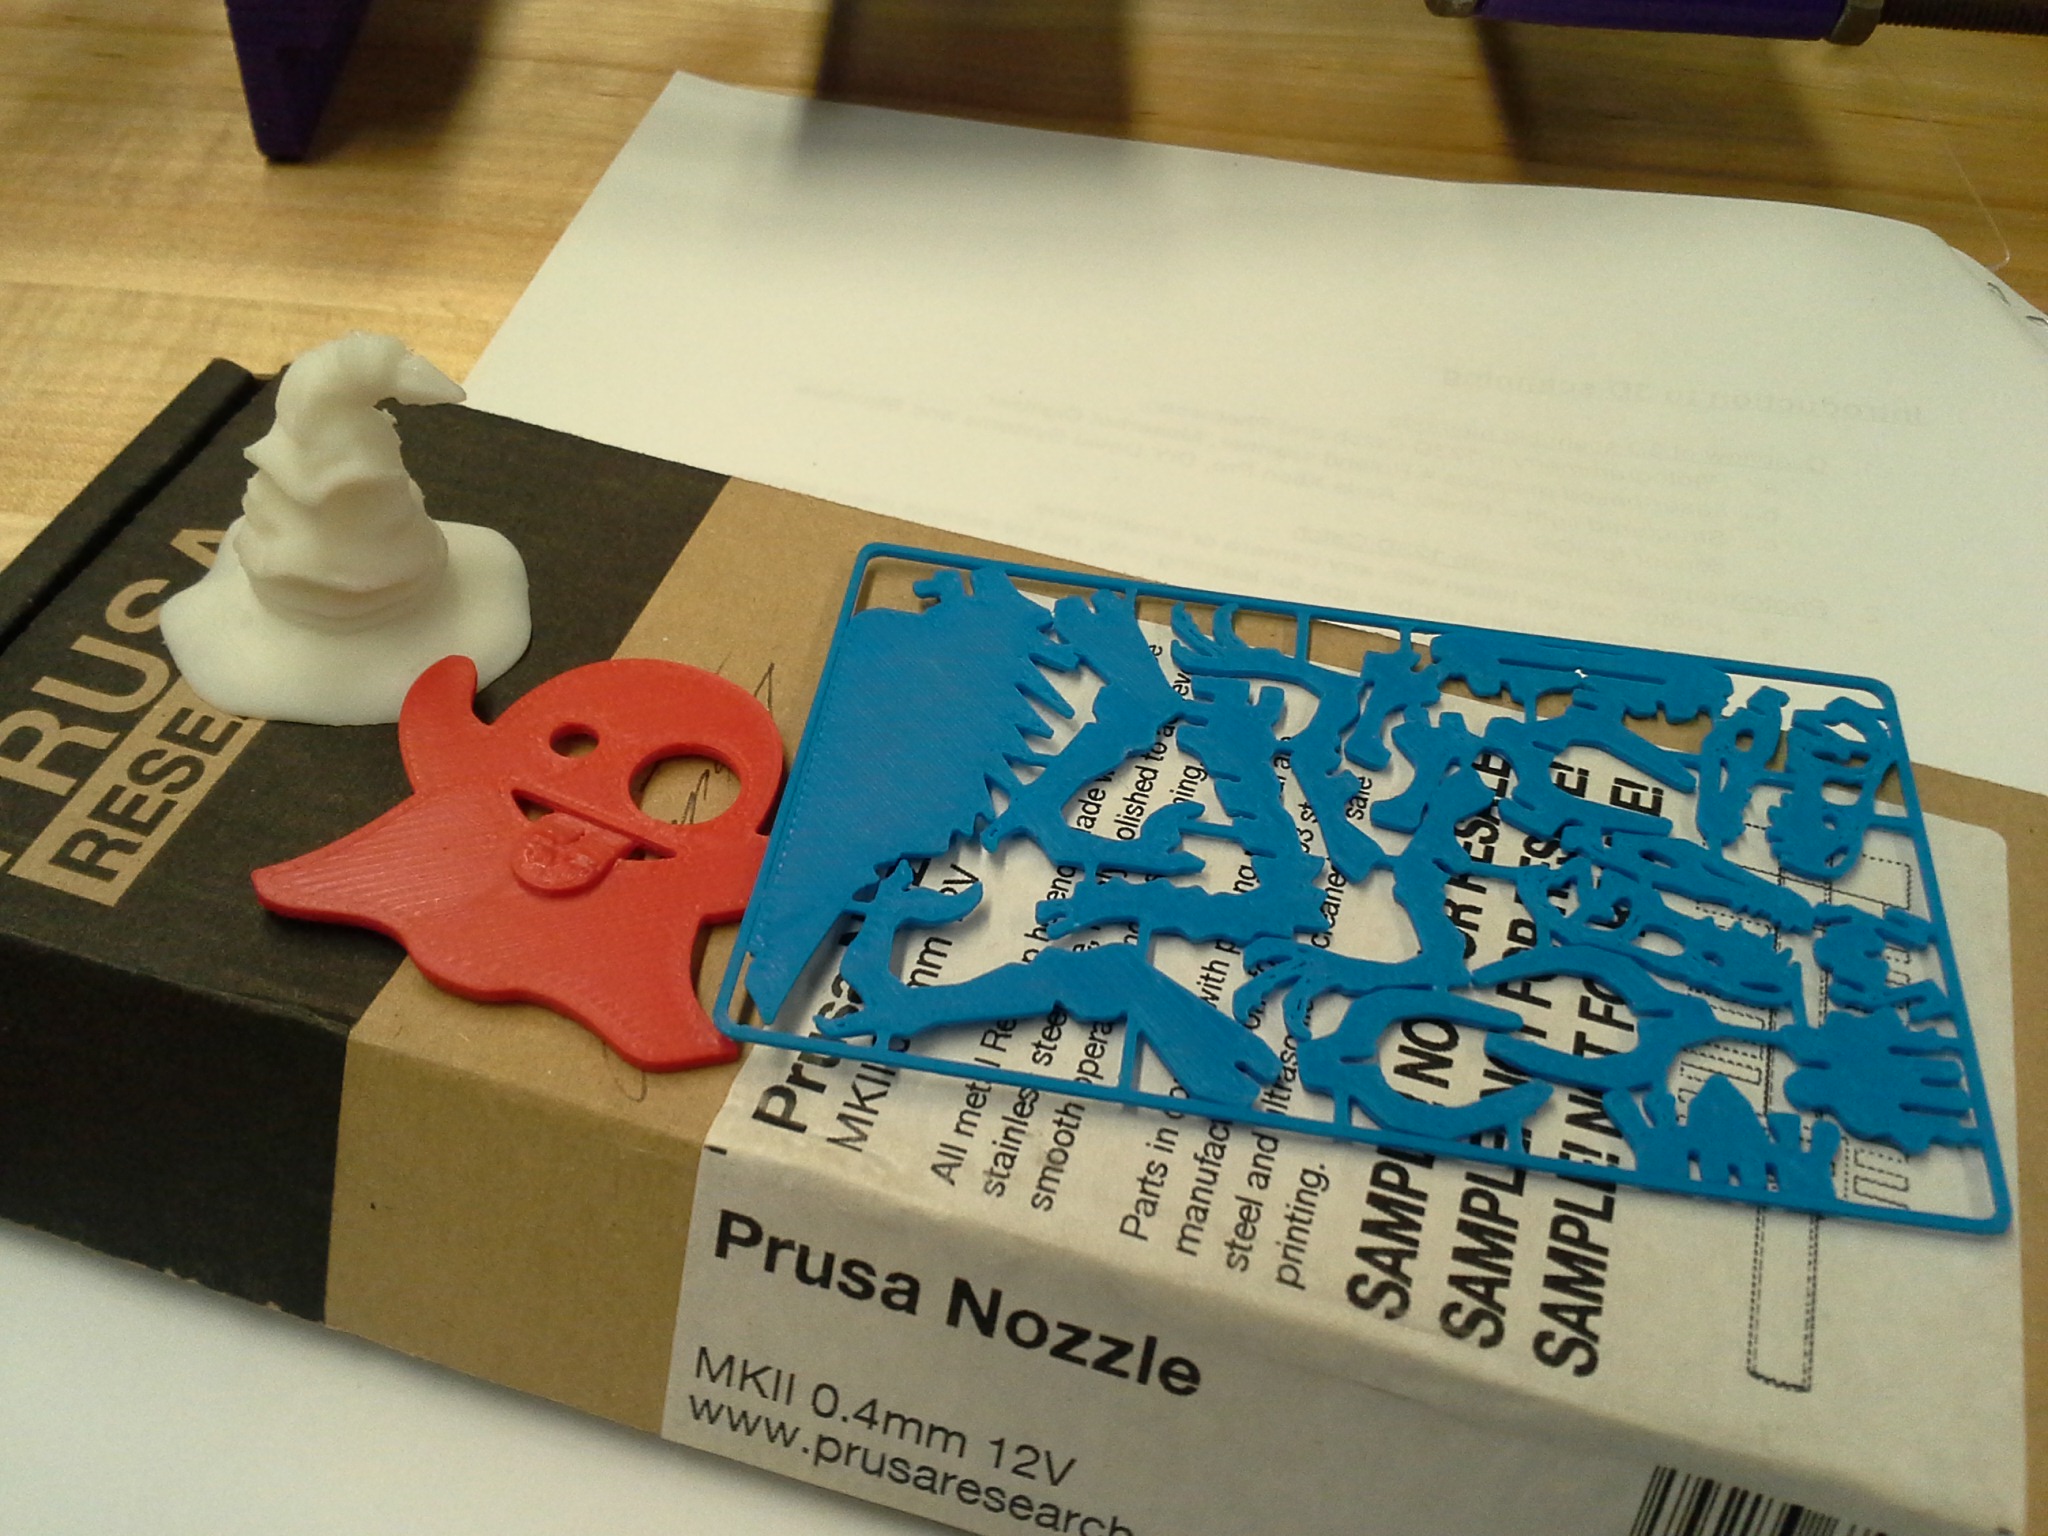
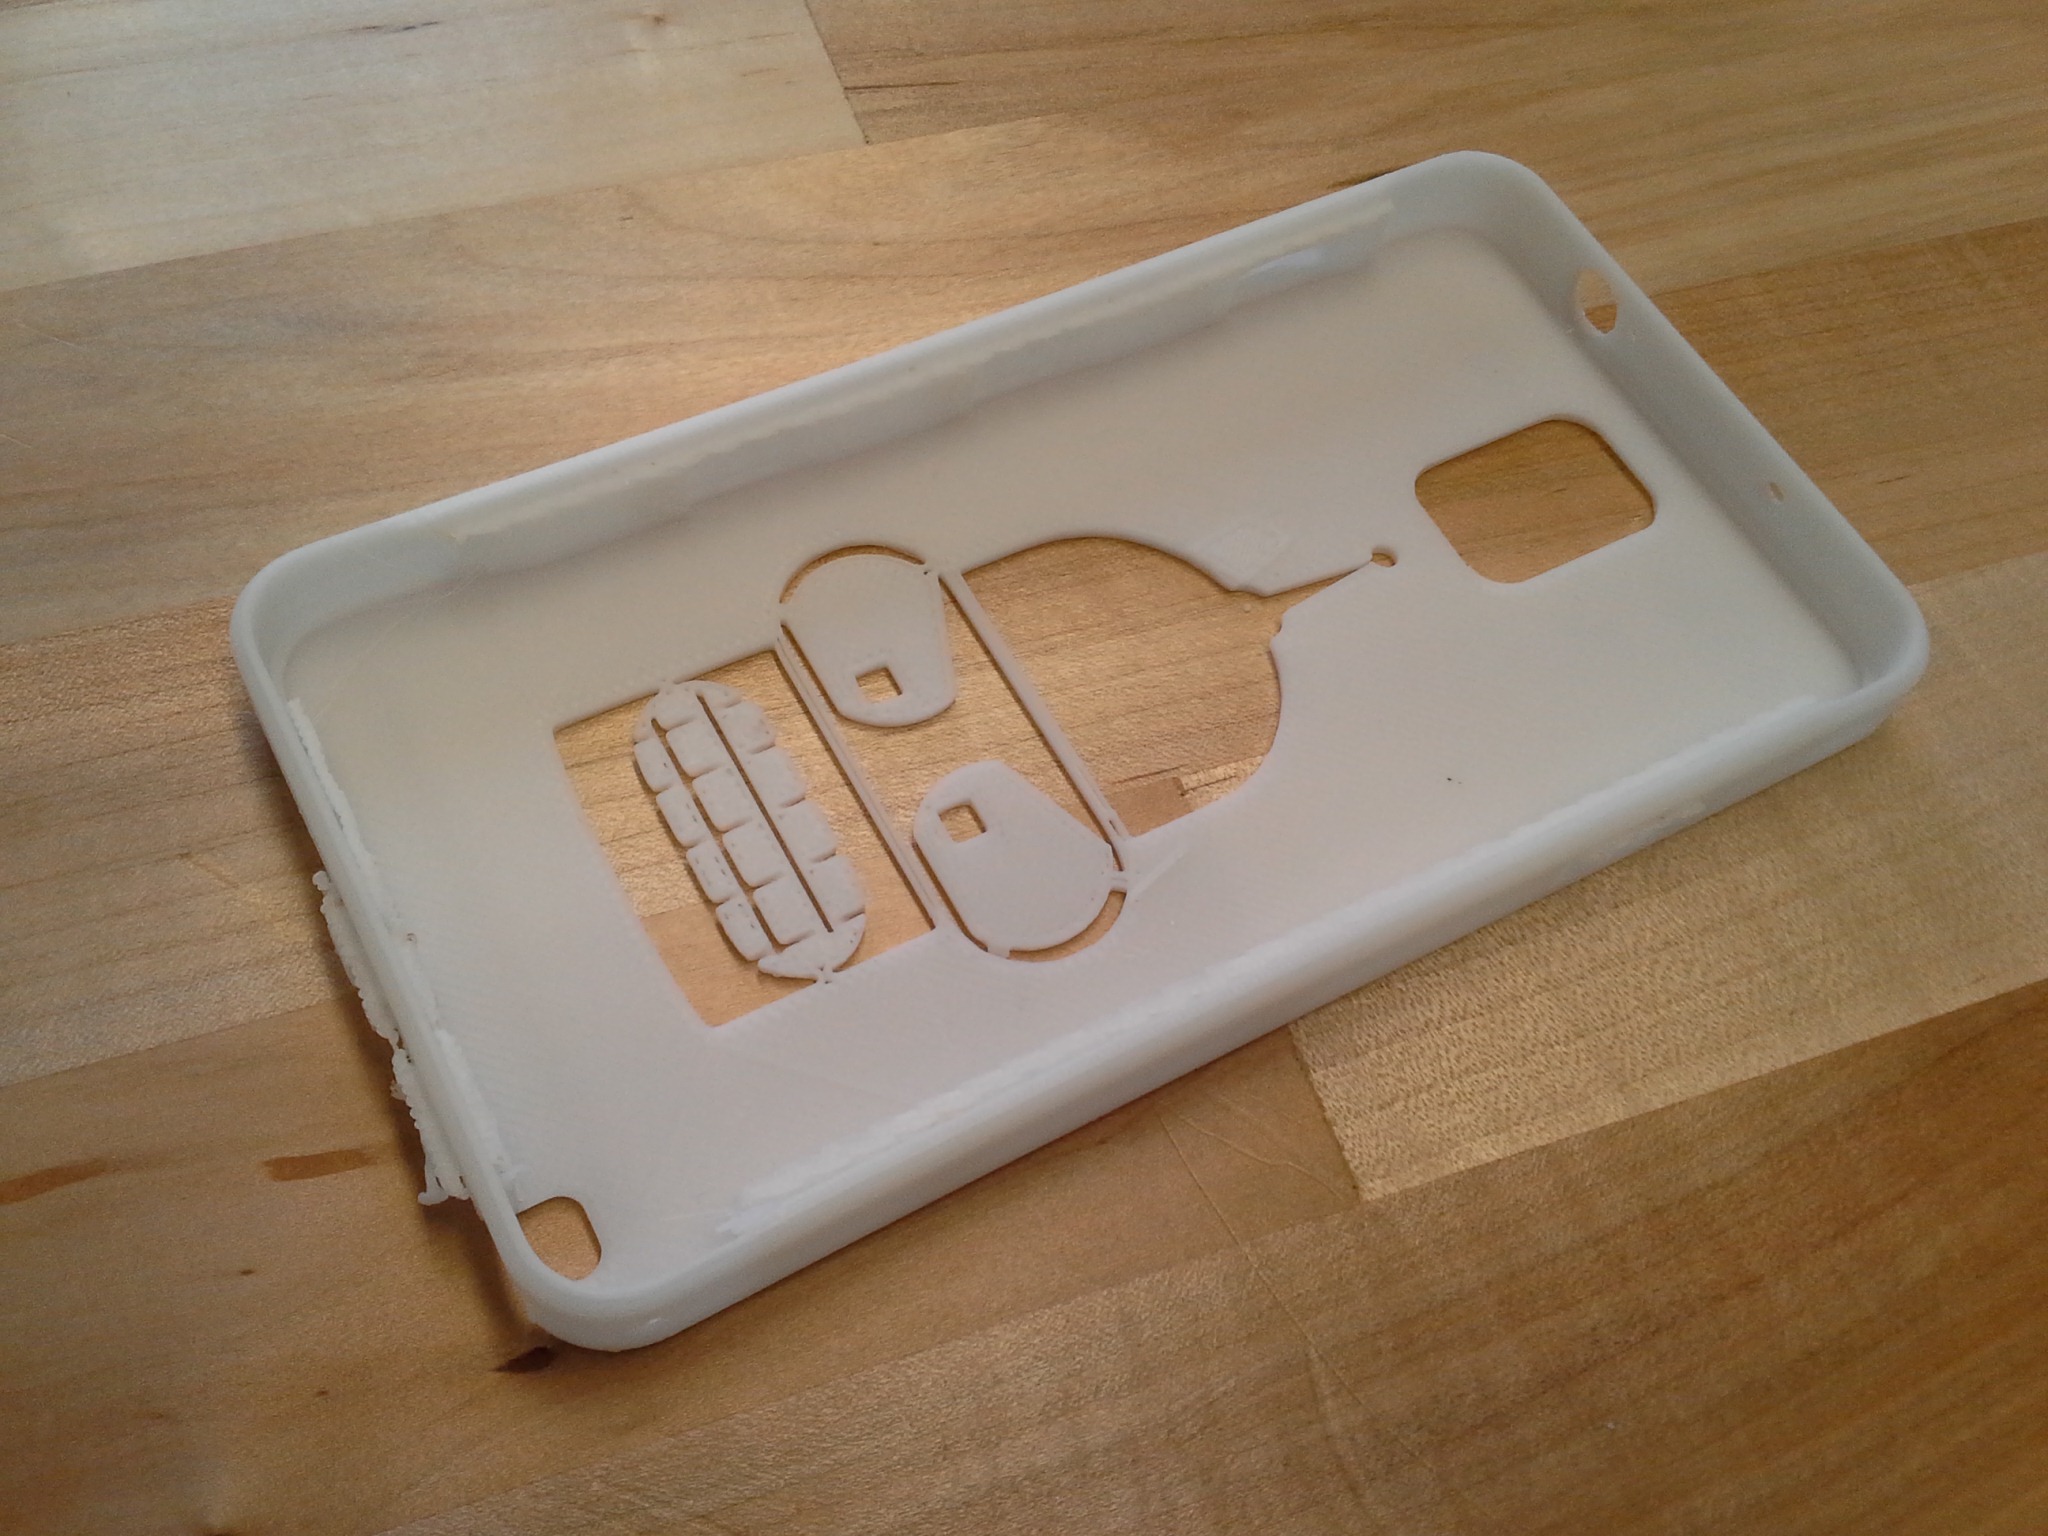
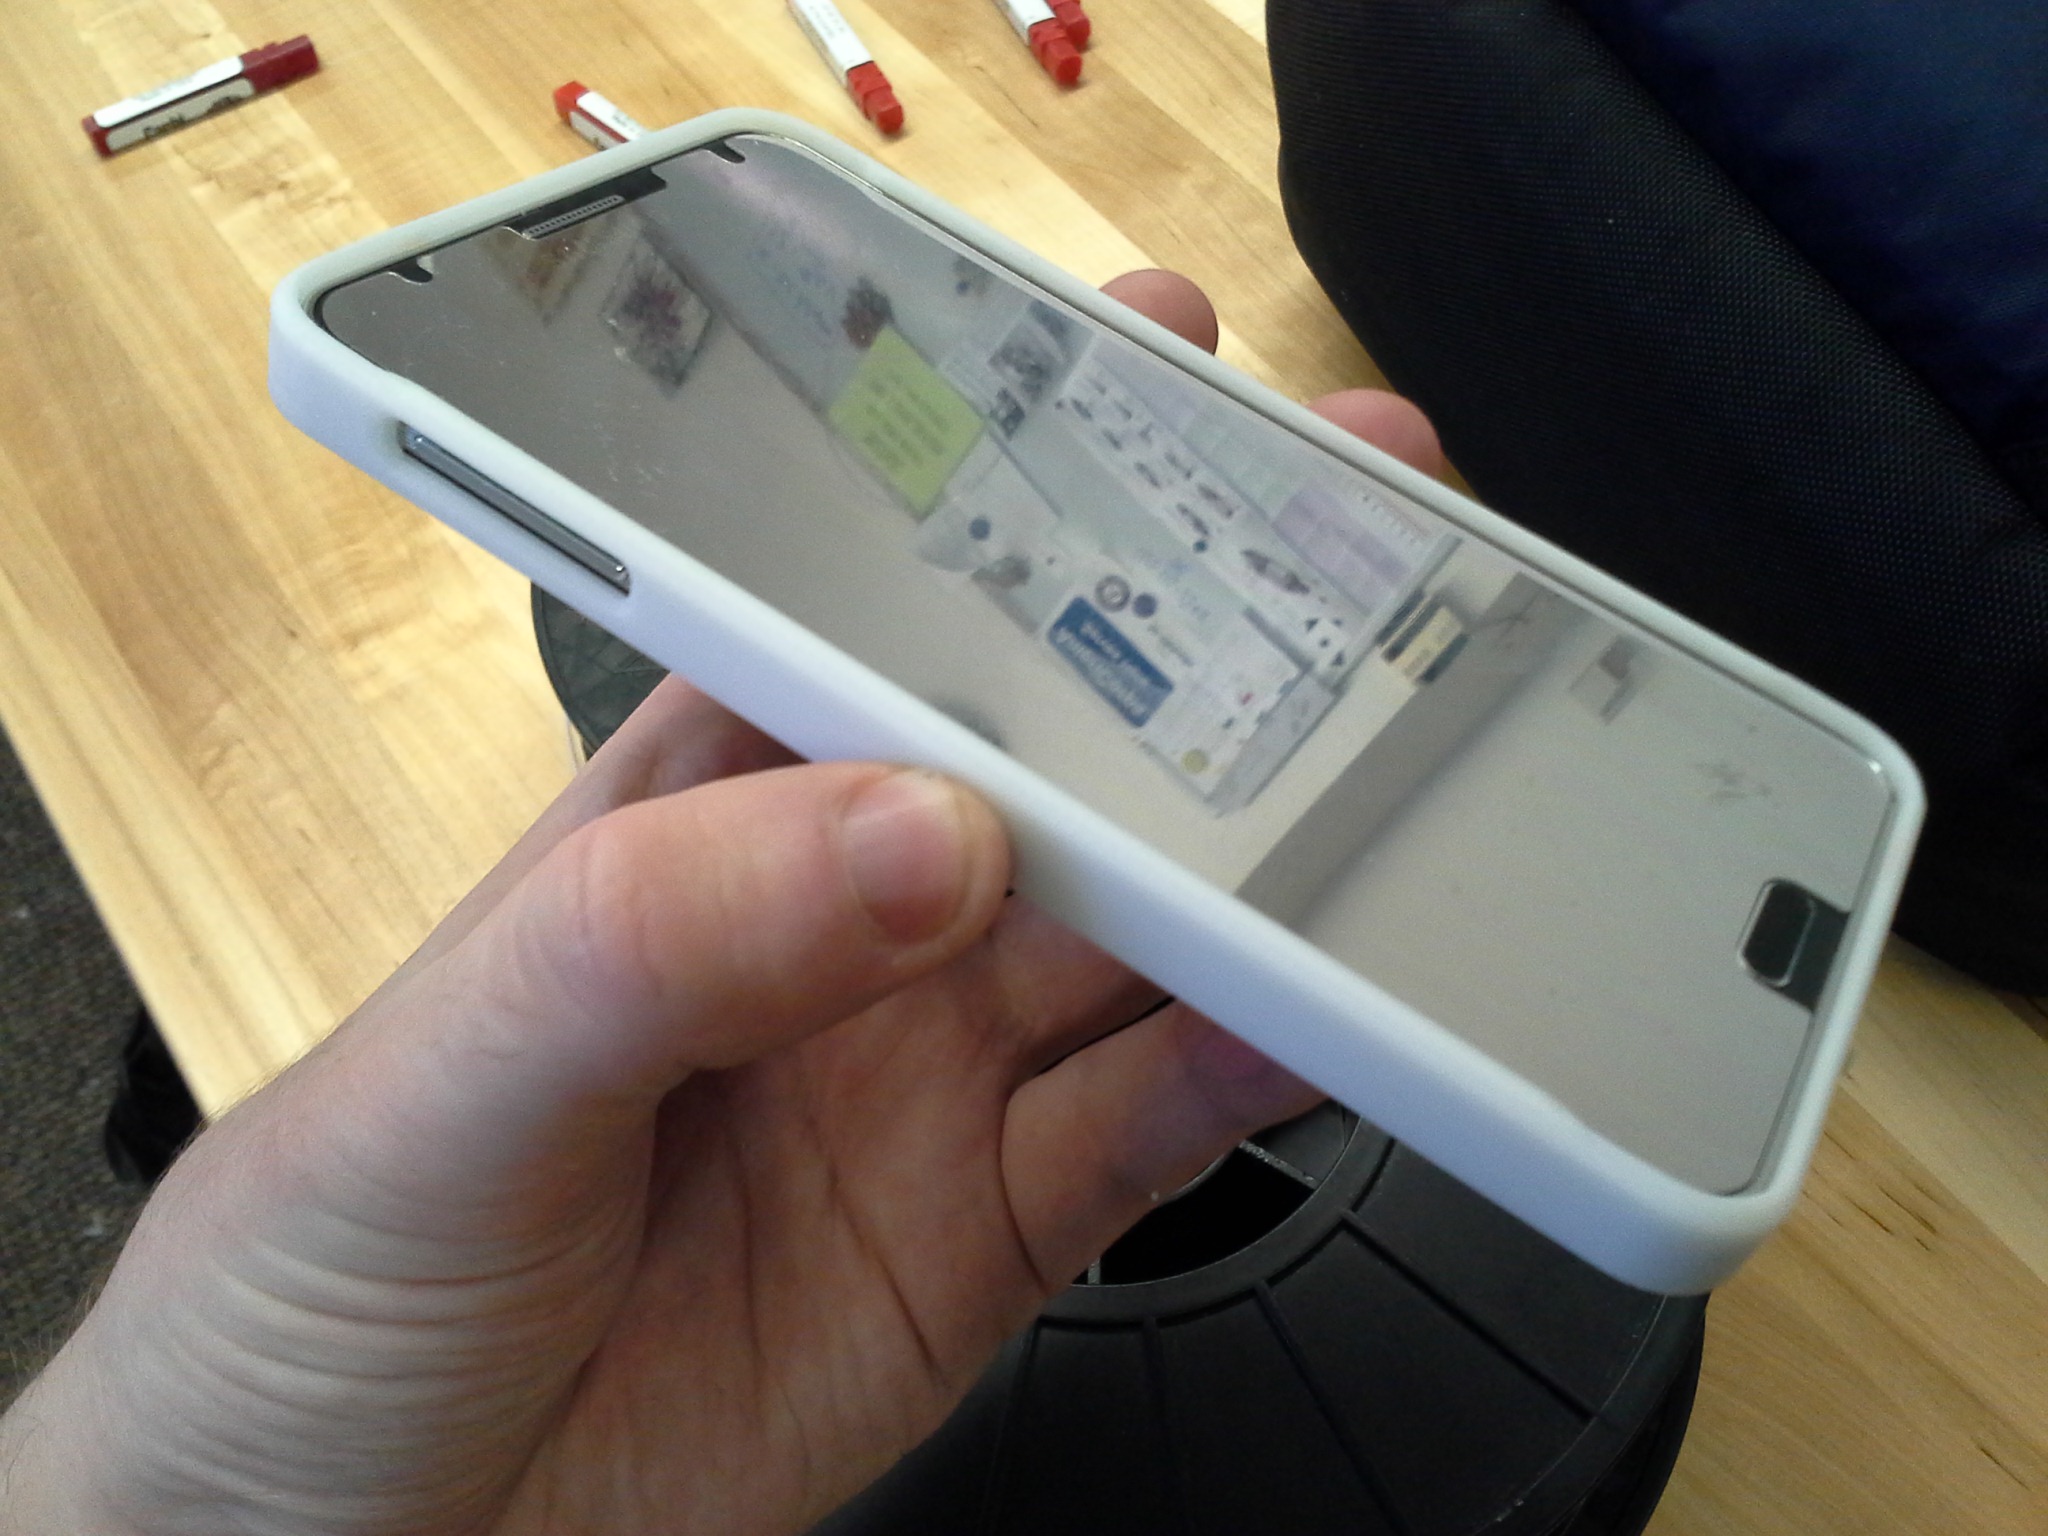
I had each student pick out a a small-ish object from Thingiverse that they thought looked cool or useful, then pick a 3D printer to use. Another instructor and I helped each student understand the slicing process for each machine, then guided them through setting up the machine for use (loading and checking filament, preheating bed and nozzle, etc).
I was a little bit concerned about how to fill time once the 3D printers had all been started up, but once I realized how much everyone was enjoying watching their machine build up their object out of thin air I knew it was best to just let them enjoy the process!
Week 5 – CNC milling and routing
Once the students had learned about and experimented with both laser cutters and 3D printers, I thought it would be good for them to at least understand the fundamentals of one of the more complicated machines in the Lab – the Roland Modela MDX-40A desktop CNC mill.
As far as CNC machines go, this one is pretty slick and easy to use, but there are just so many more things to know about before being successful (end mills, work fixturing, CAM, etc) that I felt it was best to introduce the machine generally, then provide resources for each student to dive deeper into if they wanted later.
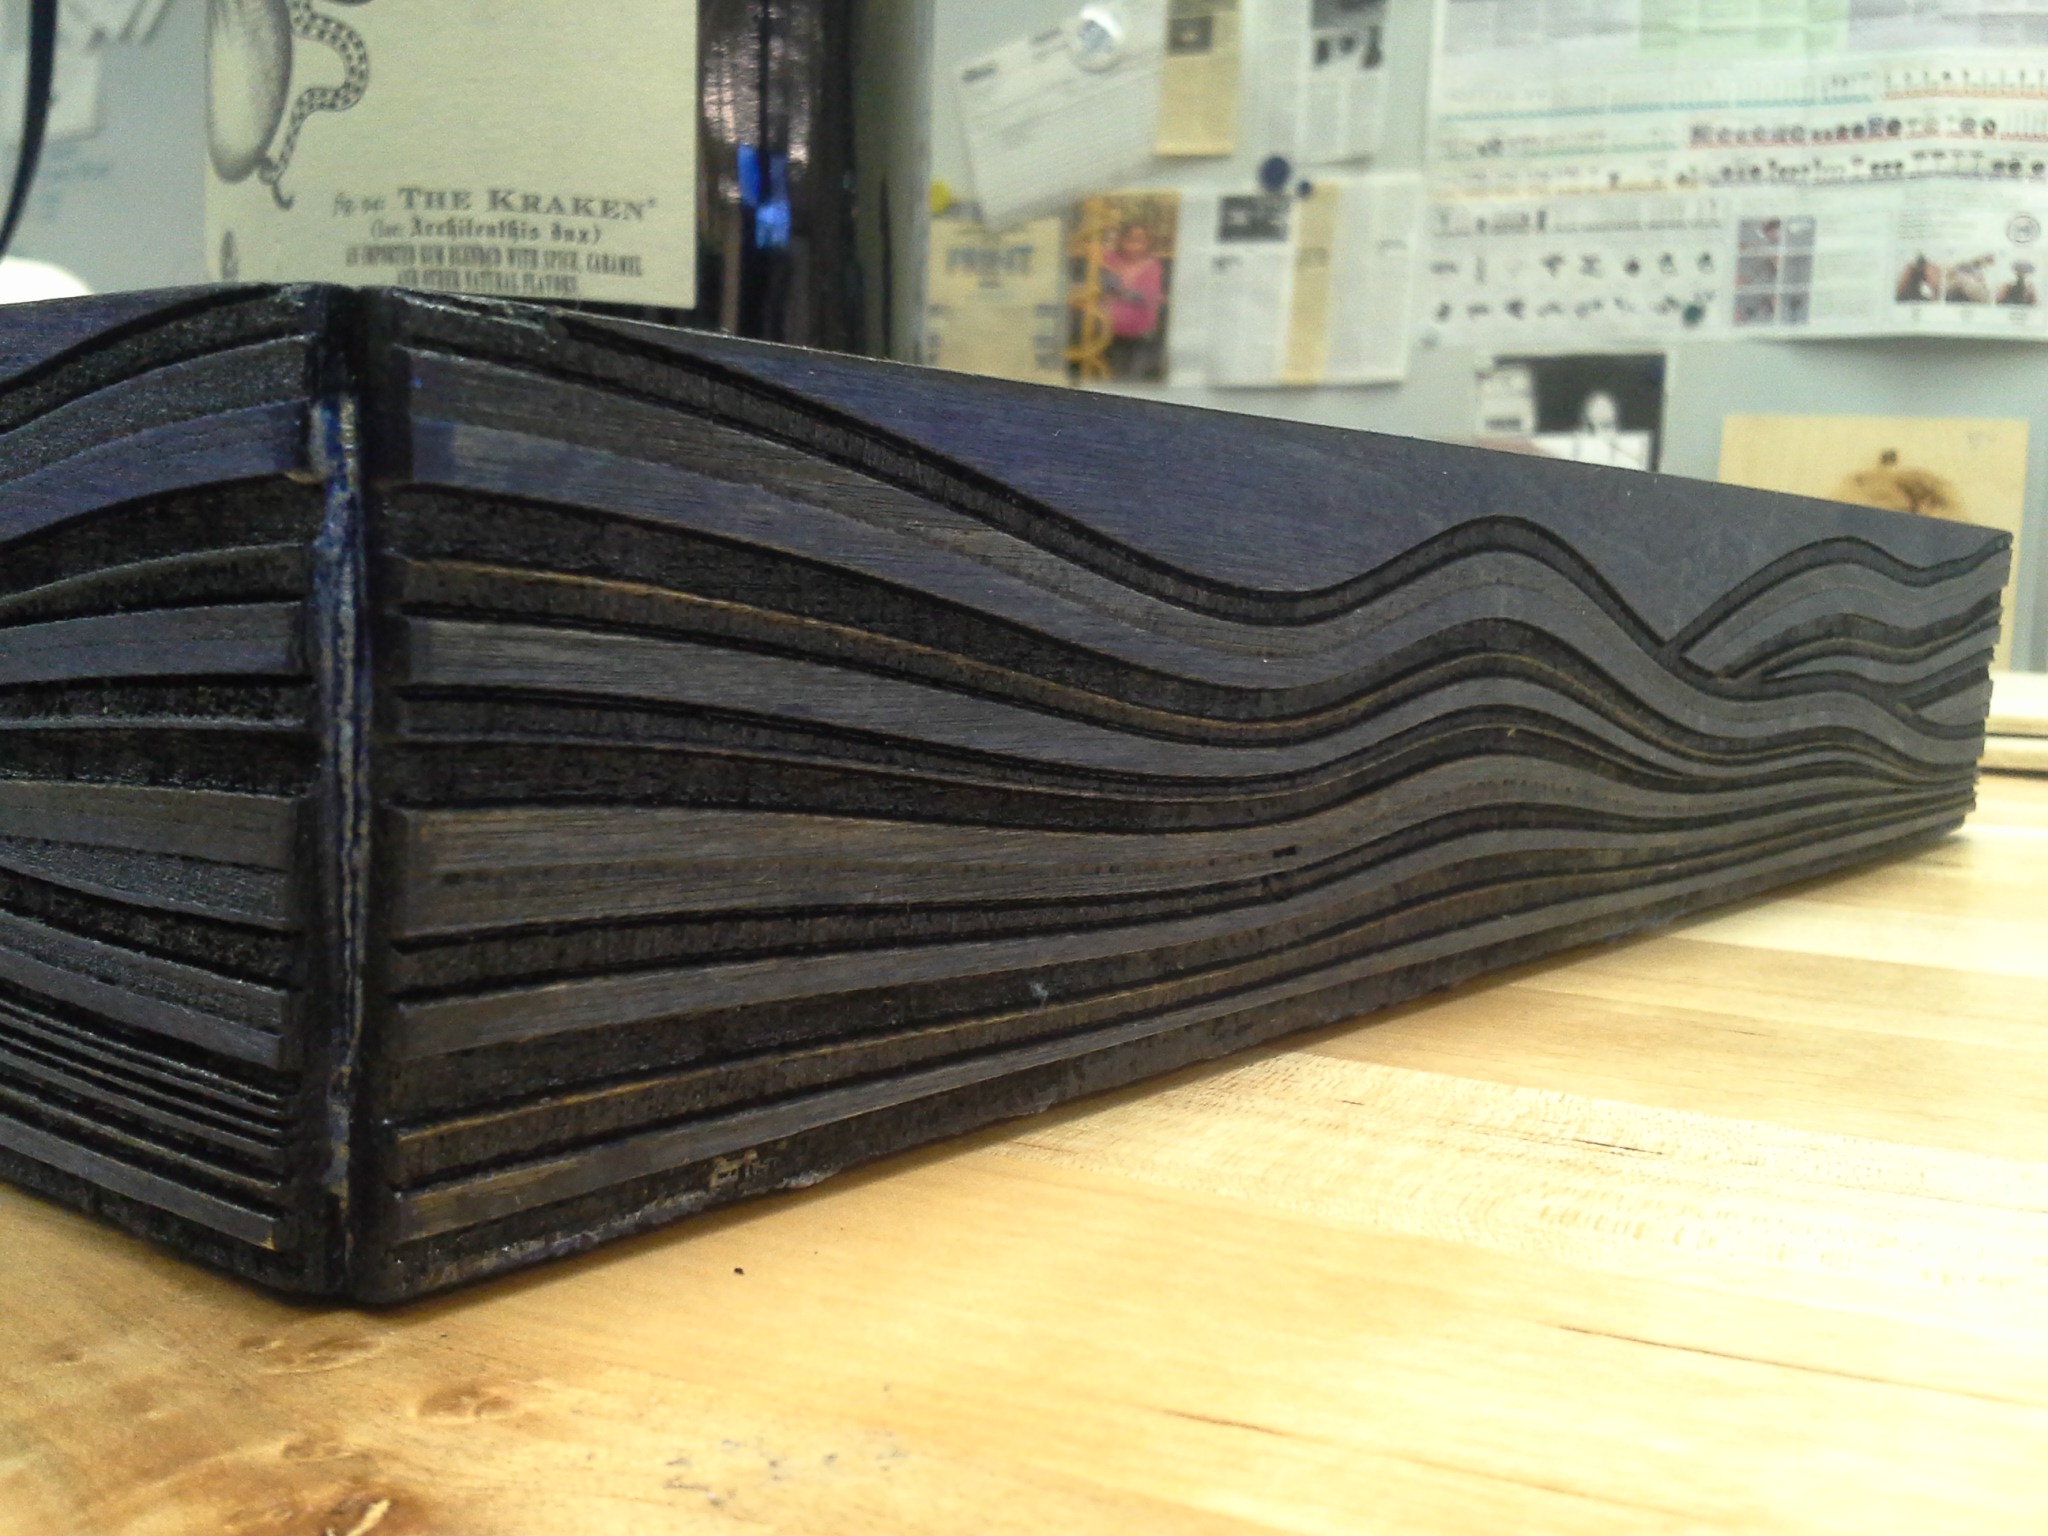
I showed a few pieces that I had created earlier, then walked the students through the entire process of generating toolpaths, setting up the machine and running G-code to create a simple design.

Week 6 – introduction to electronics (part 1)
With all of the major fabrication equipment covered, it was time to switch gears a bit and jump into the world of electronics. I’ve done a good amount of entry-level electronics education in the past, so I had a good idea of how to structure this week and the coming weeks.
First we worked with homemade Squishy Circuits to construct very simple circuits while discussing the most fundamental concepts of electronics – voltage, current, resistance, and series and parallel circuits. My batch of conductive dough didn’t come out perfectly, so we had to do a little bit of improvising with copper tape and other found materials to get the points across.
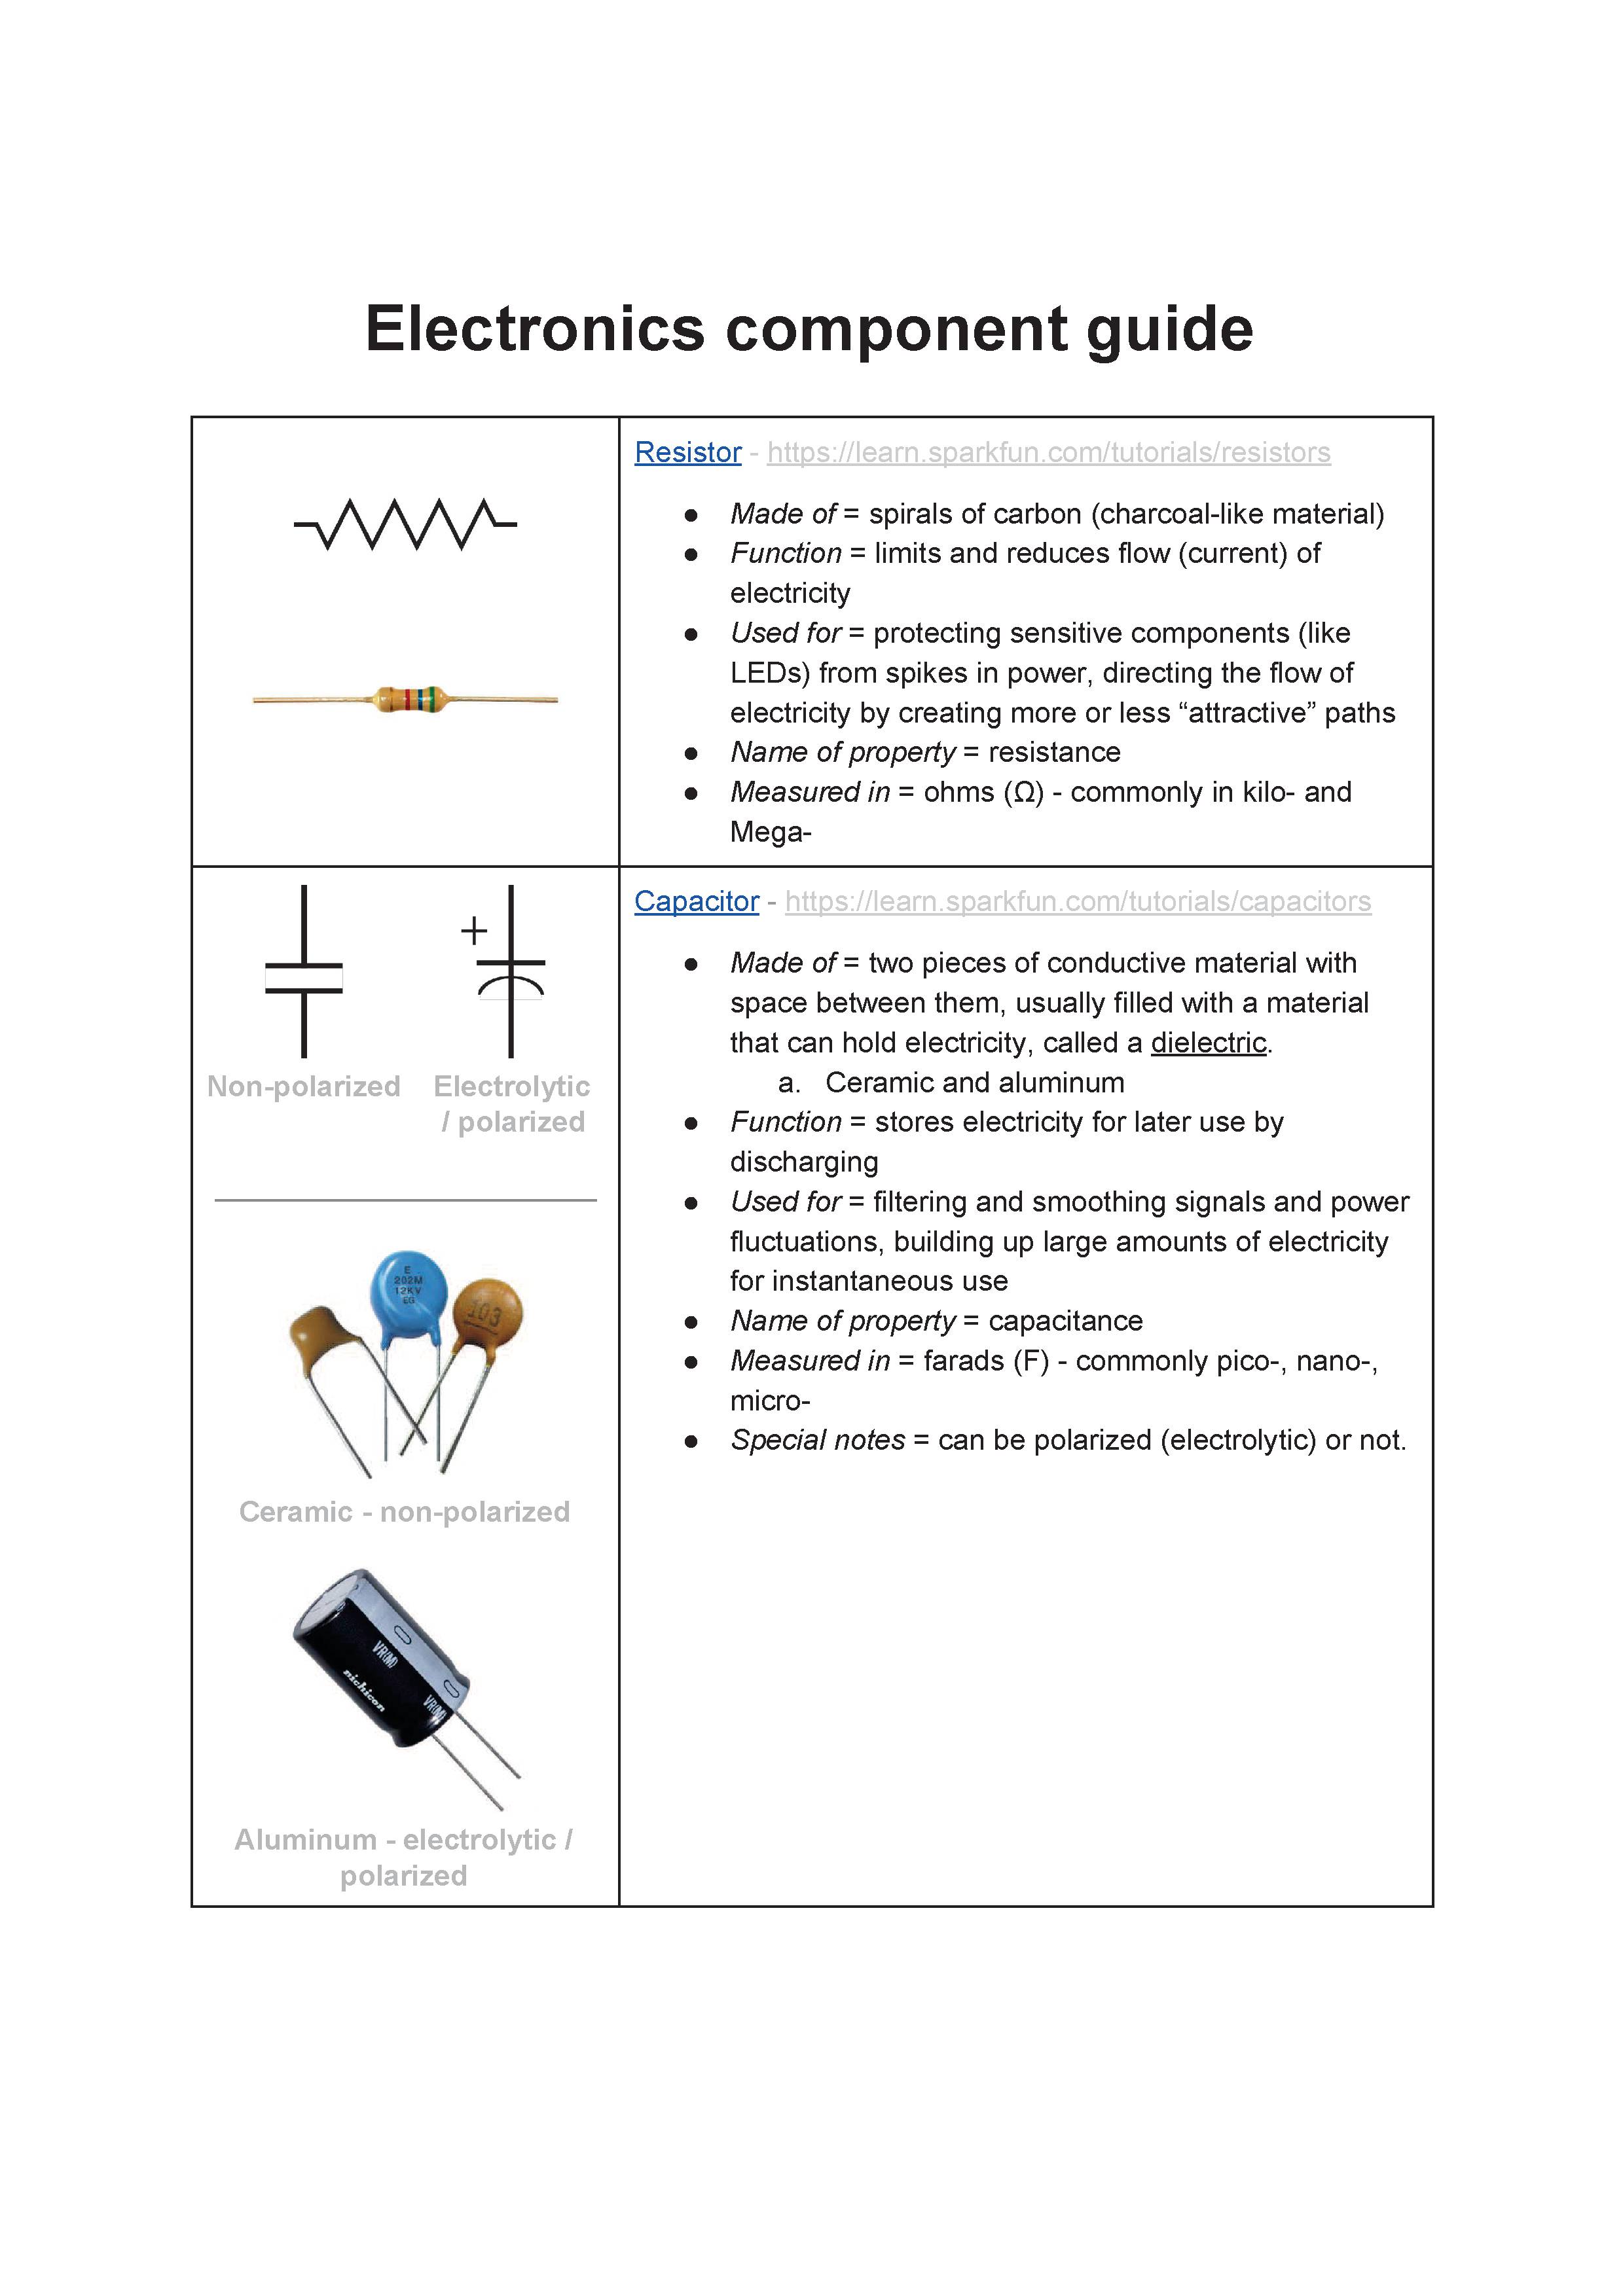
Next I handed out a chart of basic components with their schematic symbols and a representative photo, along with a nice large pile of random, mixed-up components that the class needed to work together to sort and identify. As they went along and made discoveries of new component packages or things they didn’t understand, I used those opportunities to teach the class about what those components are good for and how common they are.
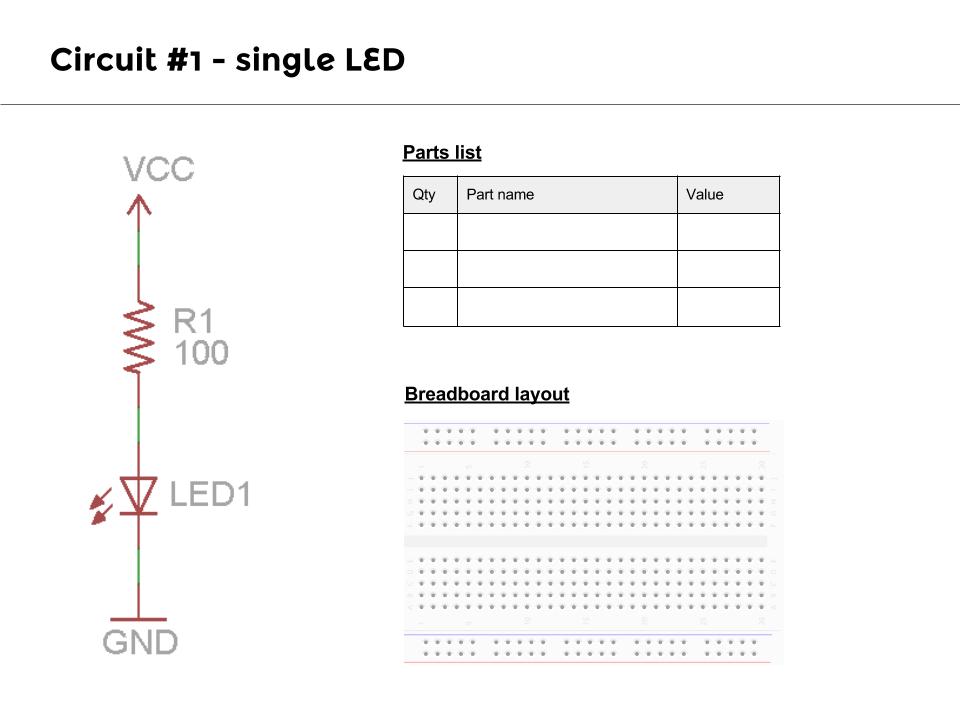
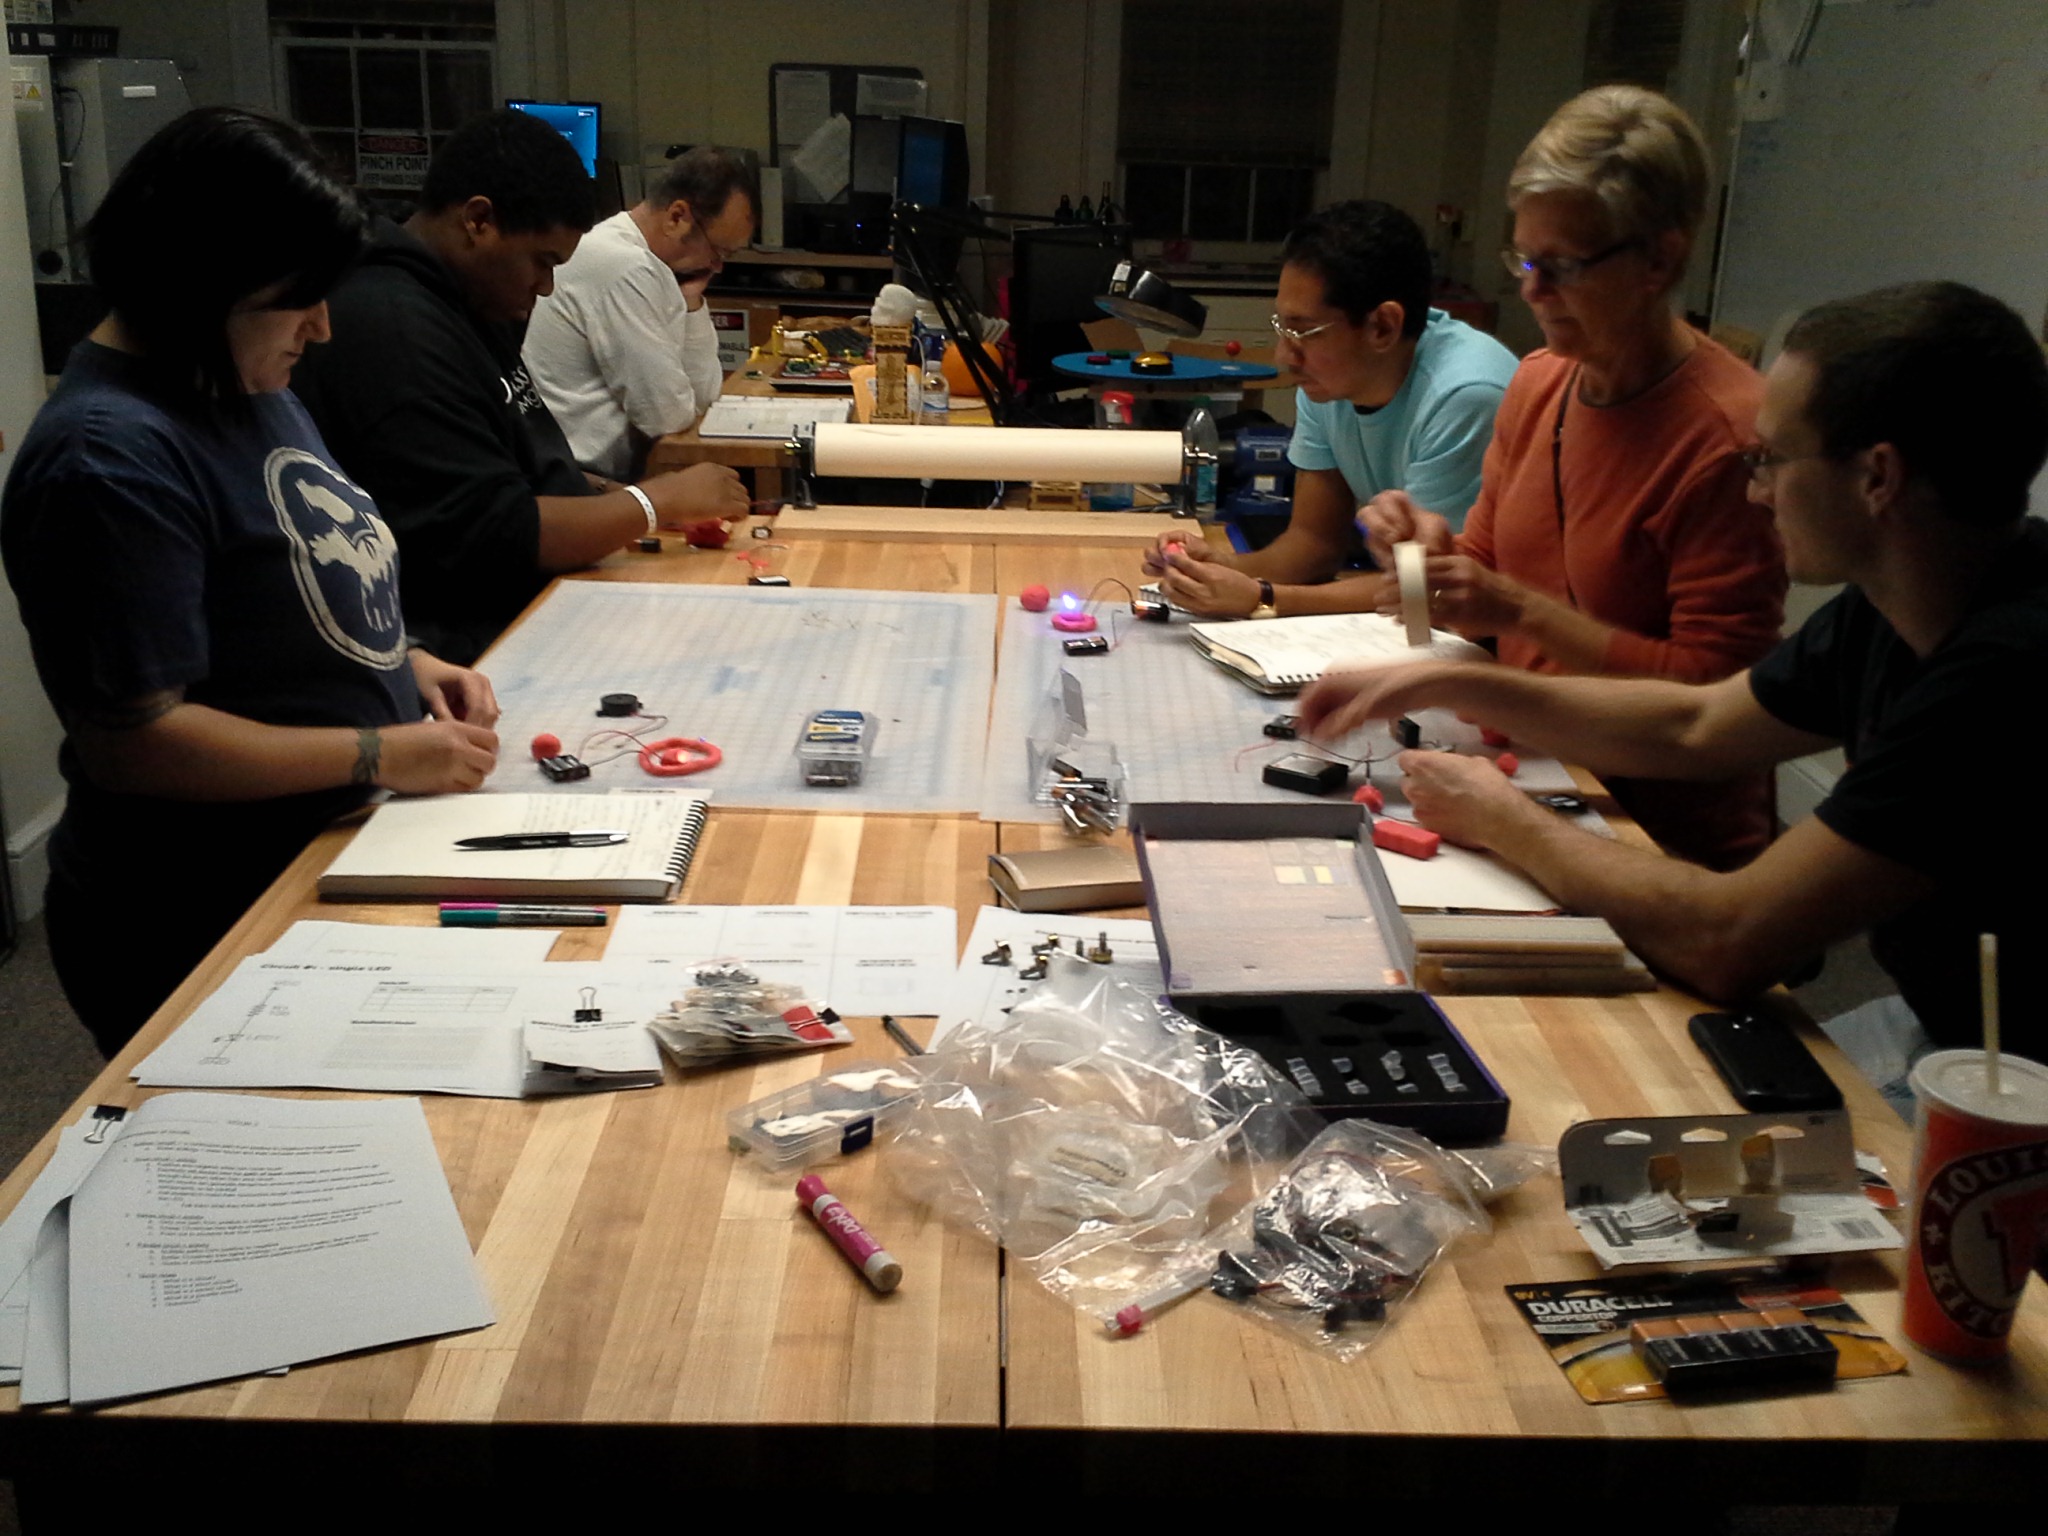
After all the parts had been identified and cleaned up, I handed out bags of components, breadboards, and some simple circuit diagrams that I had drawn up for them to construct. I asked each student to again identify each part, making sure they had everything they needed, then try to draw how the circuit would be constructed on the blank breadboard photo I had printed out (not without a basic introduction to breadboards, of course).
Each worksheet adds a little bit of complexity to the previous, giving the students a nice, achievable path to building up some confidence with electronics. Using the worksheets each student learn how to read schematics and construct circuits for:
- A single series LED with a current-limit resistor.
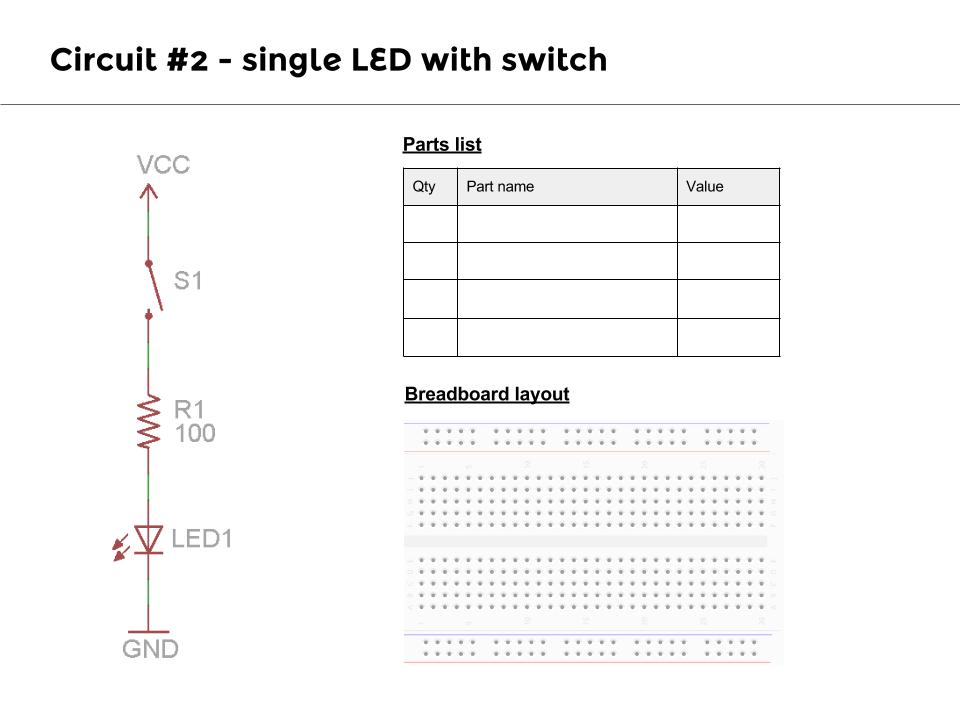
- An LED with a switch wired in series for turning it on and off.
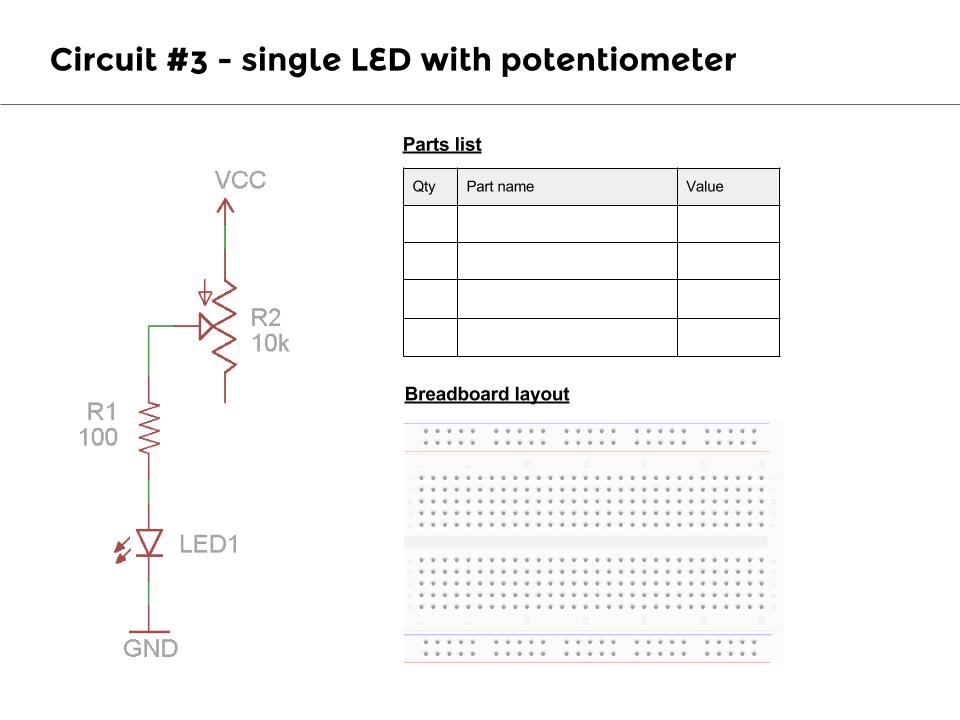
- A potentiometer wired in series with the LED in order to change it’s brightness.
Finally, as both a challenge and a homework assignment, I gave each student a final worksheet (a 555 LED flasher) and the components they would need to construct it, but did not tell them what it would do. They were asked to construct the circuit as faithfully as they could and make predictions about what might happen when they apply power, maybe even doing a little research to reverse-engineer what might happen.


Week 7 – introduction to electronics (part 2)
To my absolute delight, not only did most of the students arrive with a working 555 flasher circuit, they all just could not wait to talk about how they built it, what they figured out, and questions they had about how it worked and what they could do to improve it!
For the one or two students who did not have a working circuit, I asked the other classmates to help them out, which turned into a fun group-troubleshooting exercise for all. In no time at all we identified that there were some bad 555 chips that were handed out, so I handed out some extras and let them test and install working ones.
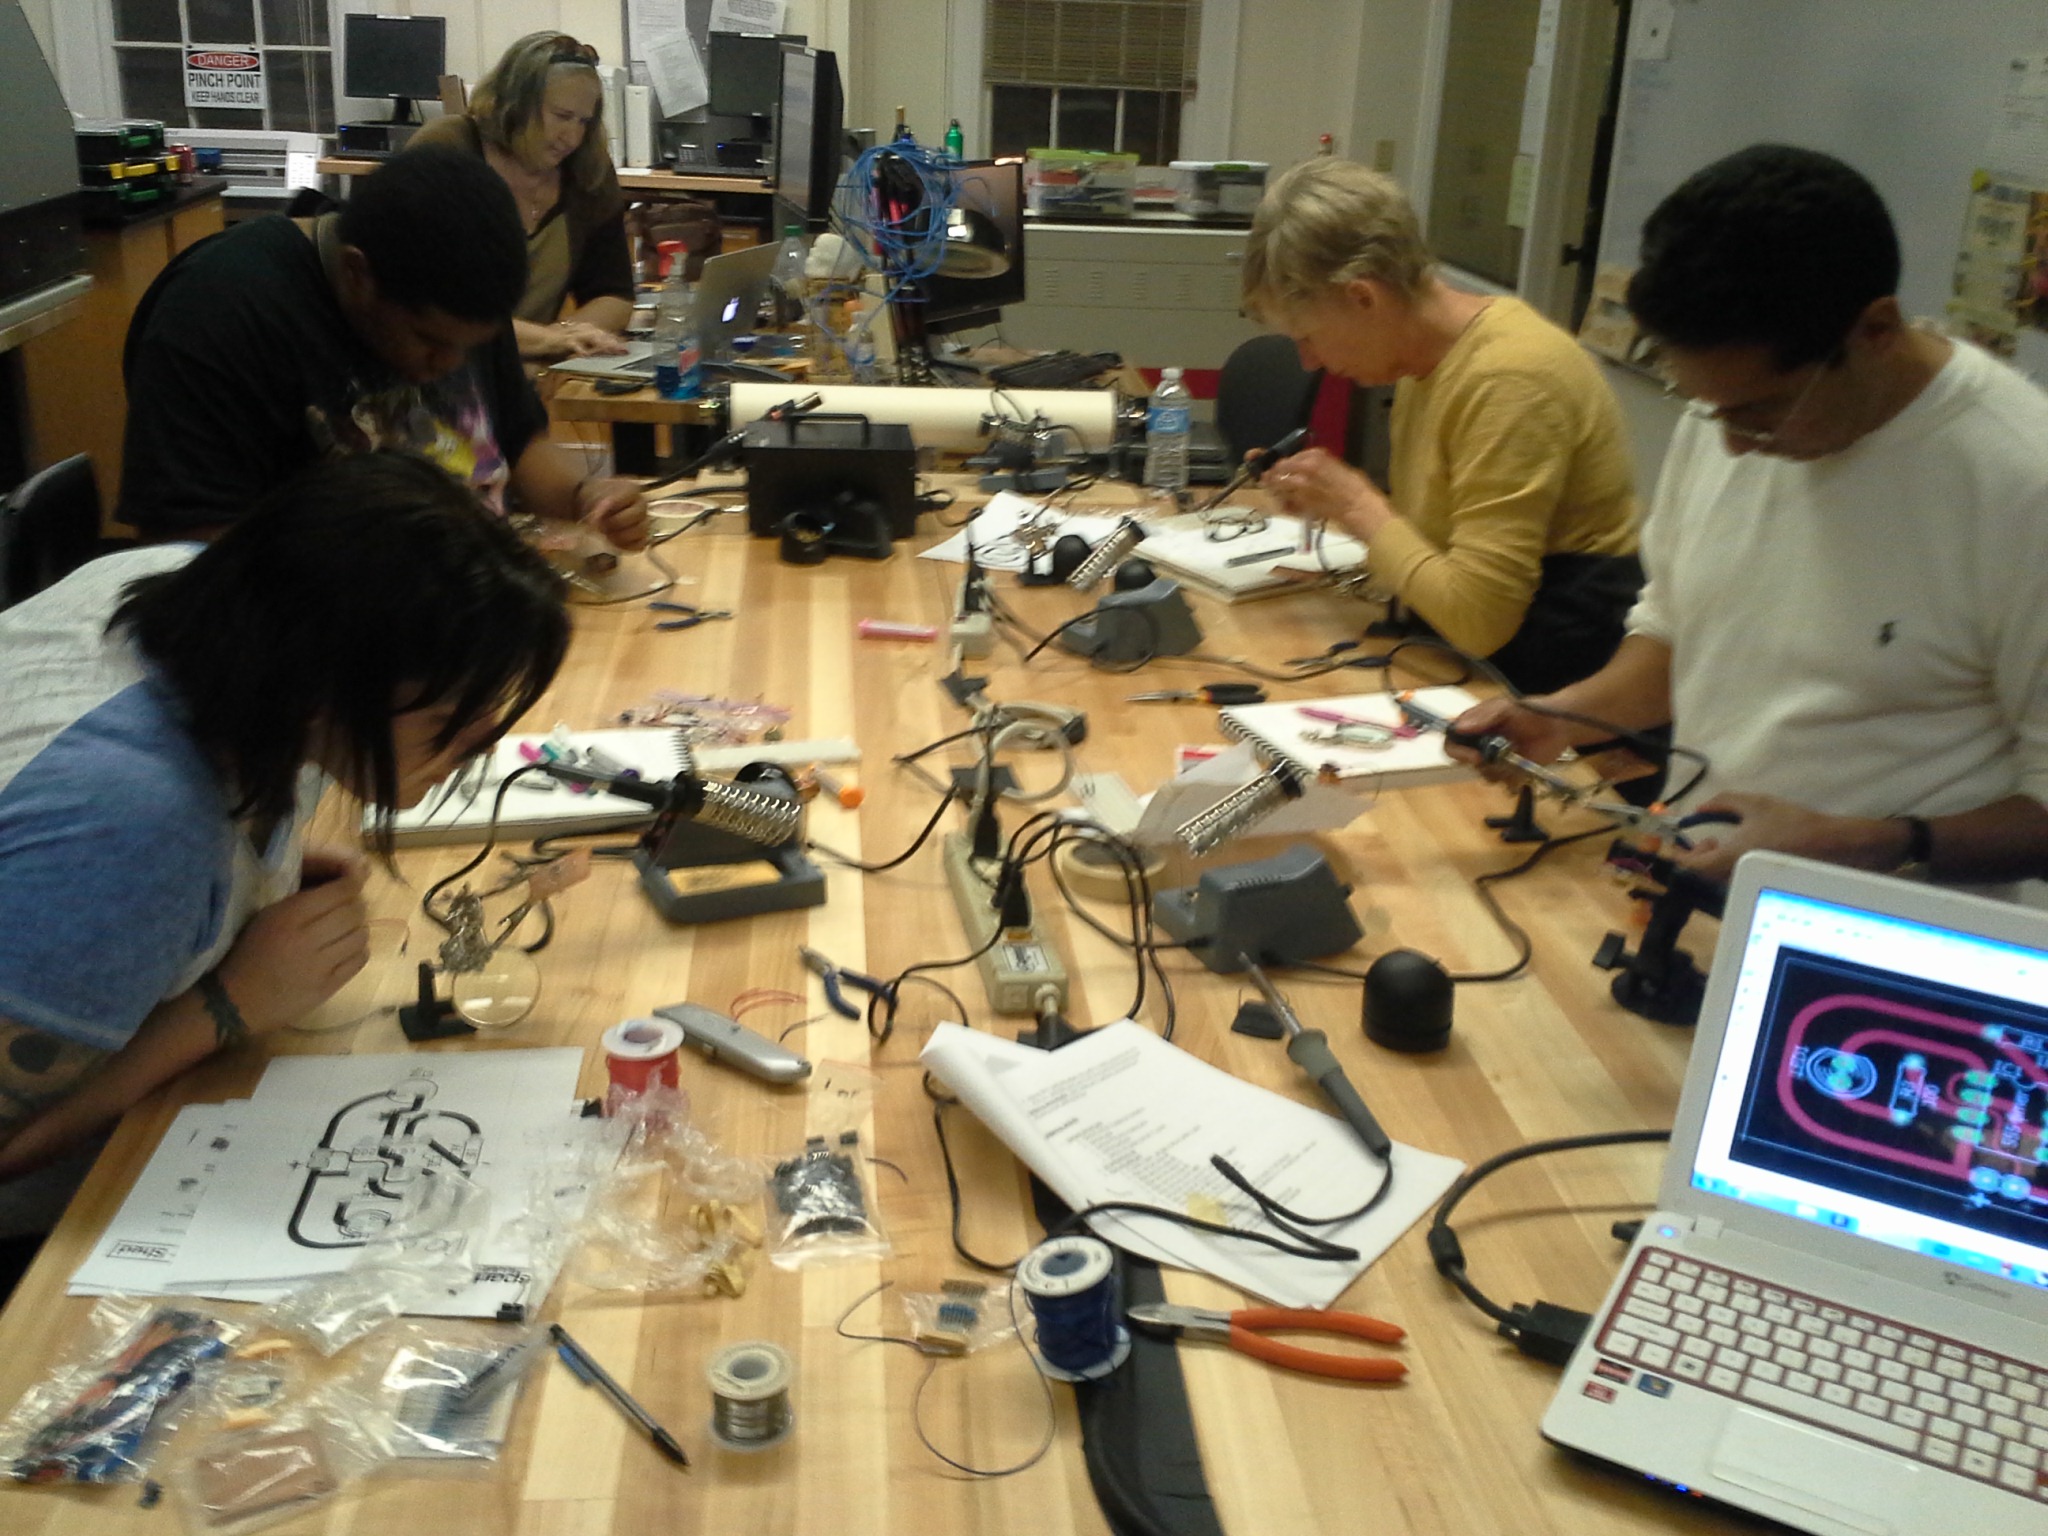
For the remainder of the class period I wanted to focus on teaching the students to transfer their working 555 circuits onto a perfboard, which involved a guided, hands-on soldering exercise and a basic introduction to PCB (circuit board) design and intepretation.
Each student was given a lesson on safely operating a soldering iron, then provided with a blank perfboard, some solder, and a printed diagram of the ideal circuit board, with all parts clearly labelled. I guided the class as a whole through the process of extracting each part from the breadboard, attaching it to the perfboard and soldering it one-by-one until I felt that they all had a good grasp on what we were doing.
Each student had a slightly different pace and preferences, so once they all felt comfortable with the soldering iron I allowed them continue on their own while I watched closely for any dangerous or incorrect activity. I was very happy to see that the students started to get playfully competitive, with each one wanting to be the first to complete their circuit and get the LED flashing. What really made it great, though, was that once the first student successfully finished their circuit, they immediately became a teacher, helping others to check their work, spot errors, and inspect solder joints. At a certain point I was just there to observe and watch them have fun!

Week 8 – interactive electronics and basic coding with Arduino
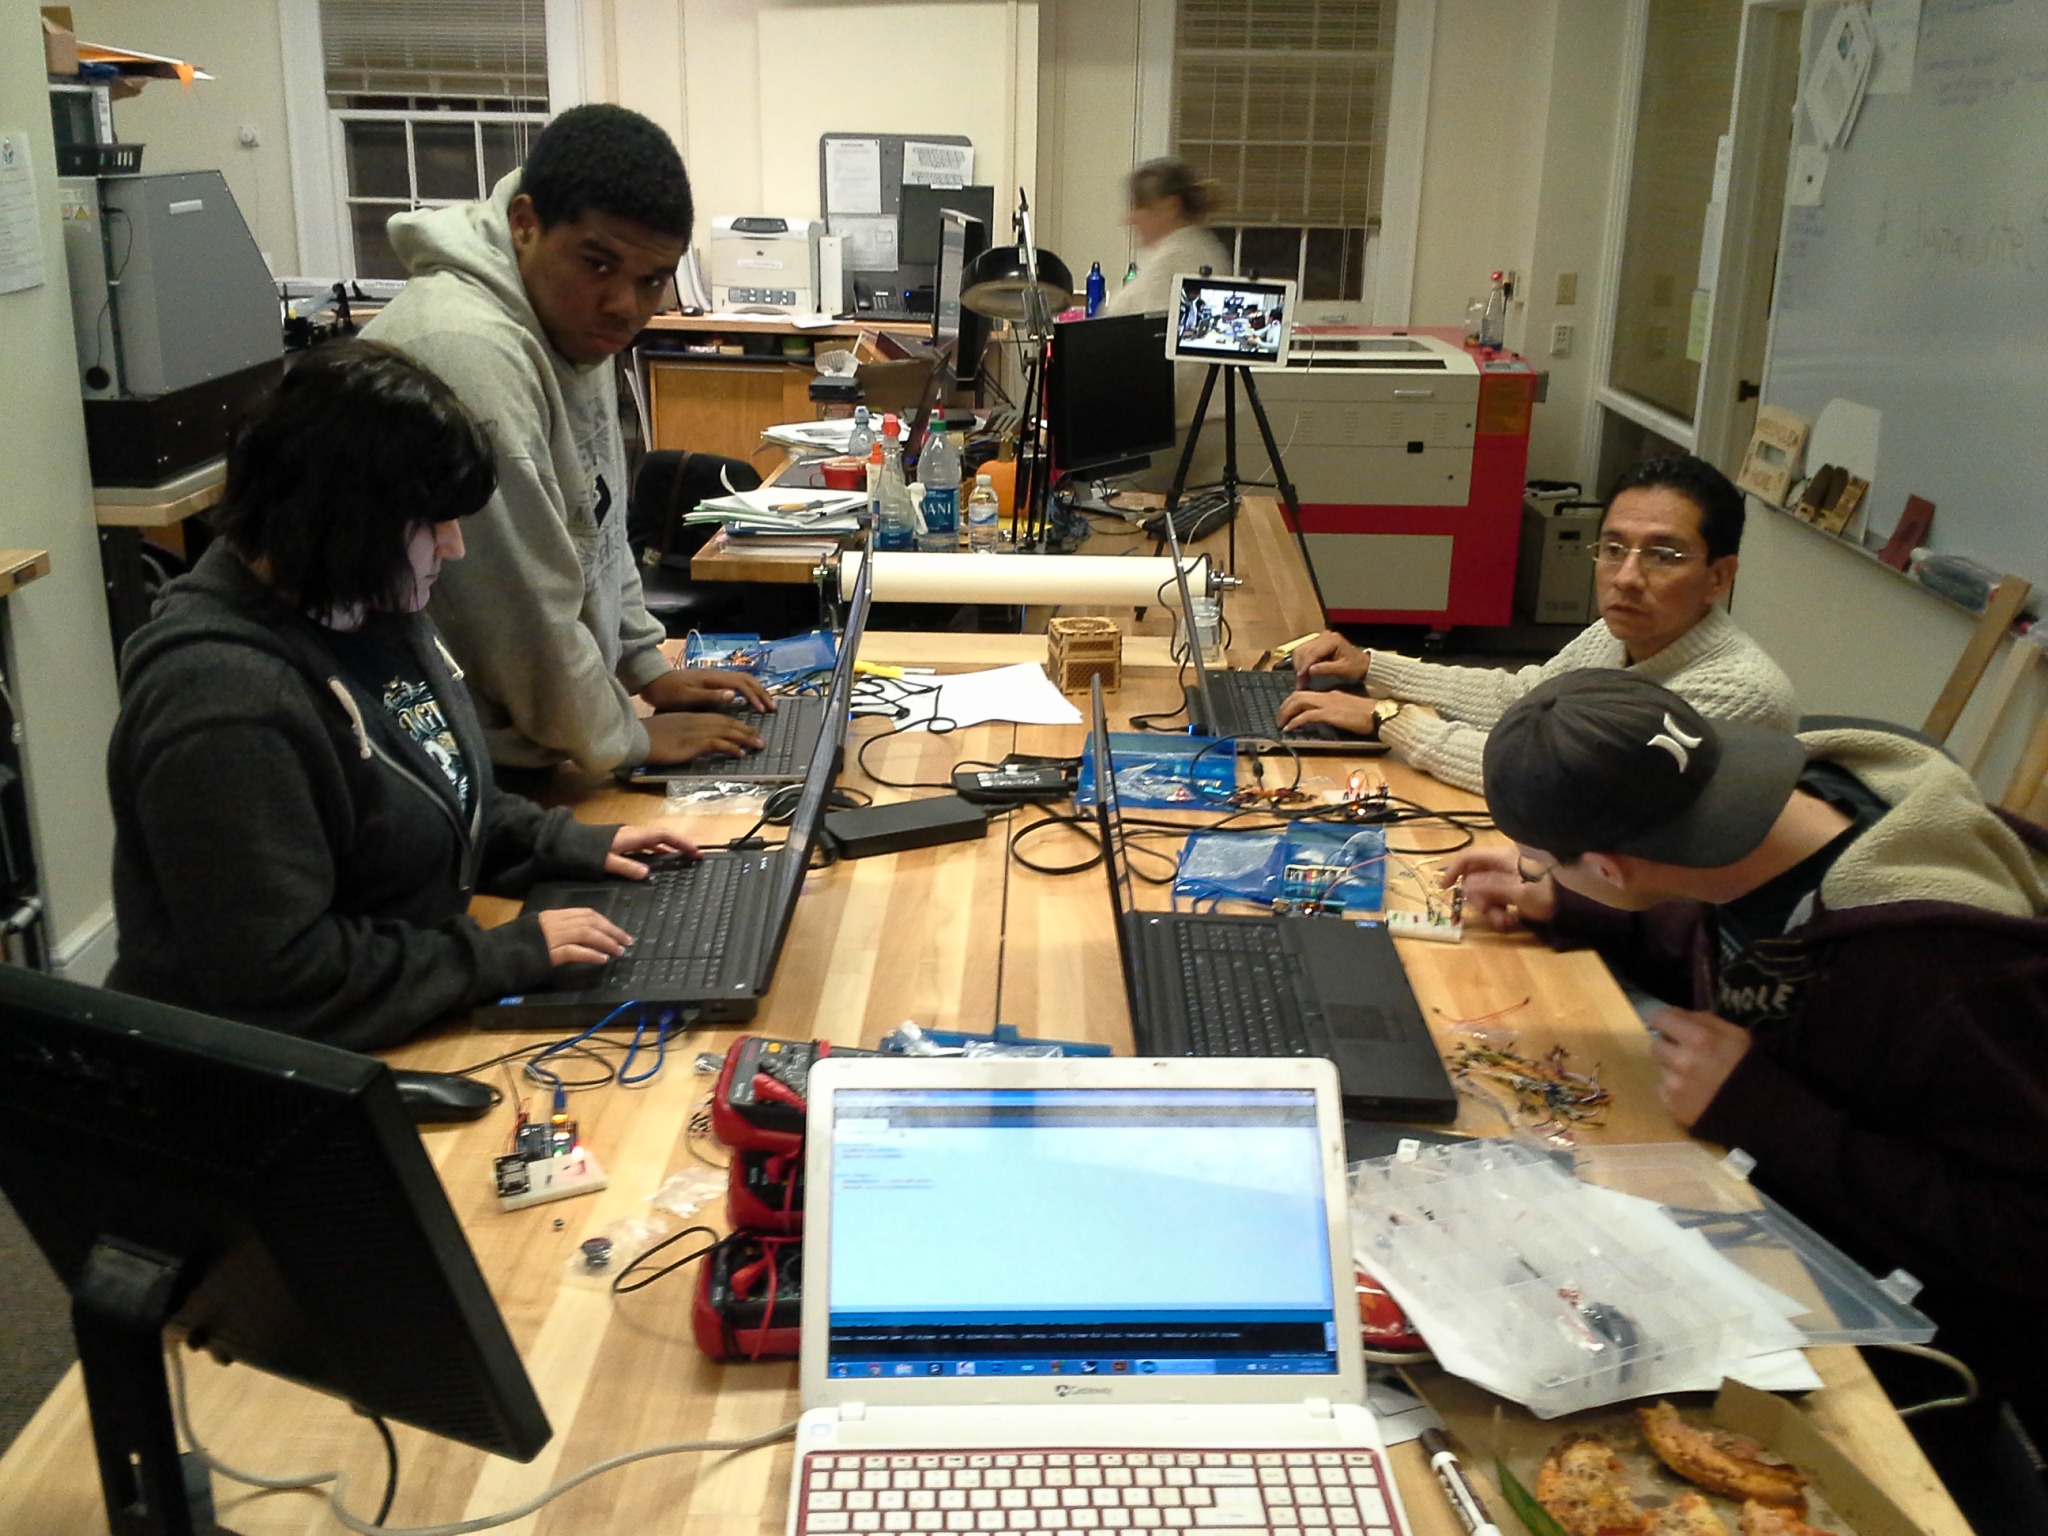
On the final night of instruction I wanted to give the students some exposure to the world of Arduino, modern interactive electronics, and programming to really cap off their introduction to electronics. We had a good number of Arduino Uno clones laying around, with a whole lot of basic components and low-cost sensor breakout boards, so we had all the ingredients needed to experiment and learn about programming and Arduino.
We began with a basic introduction and guided tour of the Arduino Uno board, its capabilities, and examples of applications from my personal project collection. Next we talked about the Arduino IDE and how it is able to send sketches to the Arduino Uno over a USB cable. We used the quintessential “Blink” program as a way to get a feel for the process of configuring the IDE, compiling the sketch, and uploading it to the board. I encouraged each student to play around with the program, seeing what kinds of changes make it break, and what changes make it work in new and unexpected ways.
Next I brought out a kit of ~100 little sensor breakout boards from China, most of which had very simple analog signals that could be read by an Arduino with minimal programming skills. I had each student choose a sensor or two, then research them online to figure out their use and how to work with them. They were given an hour or so to play with the sensors, get at least one of them working, and report to the whole class about their findings.
Weeks 9 and 11 – final project studio time and presentations
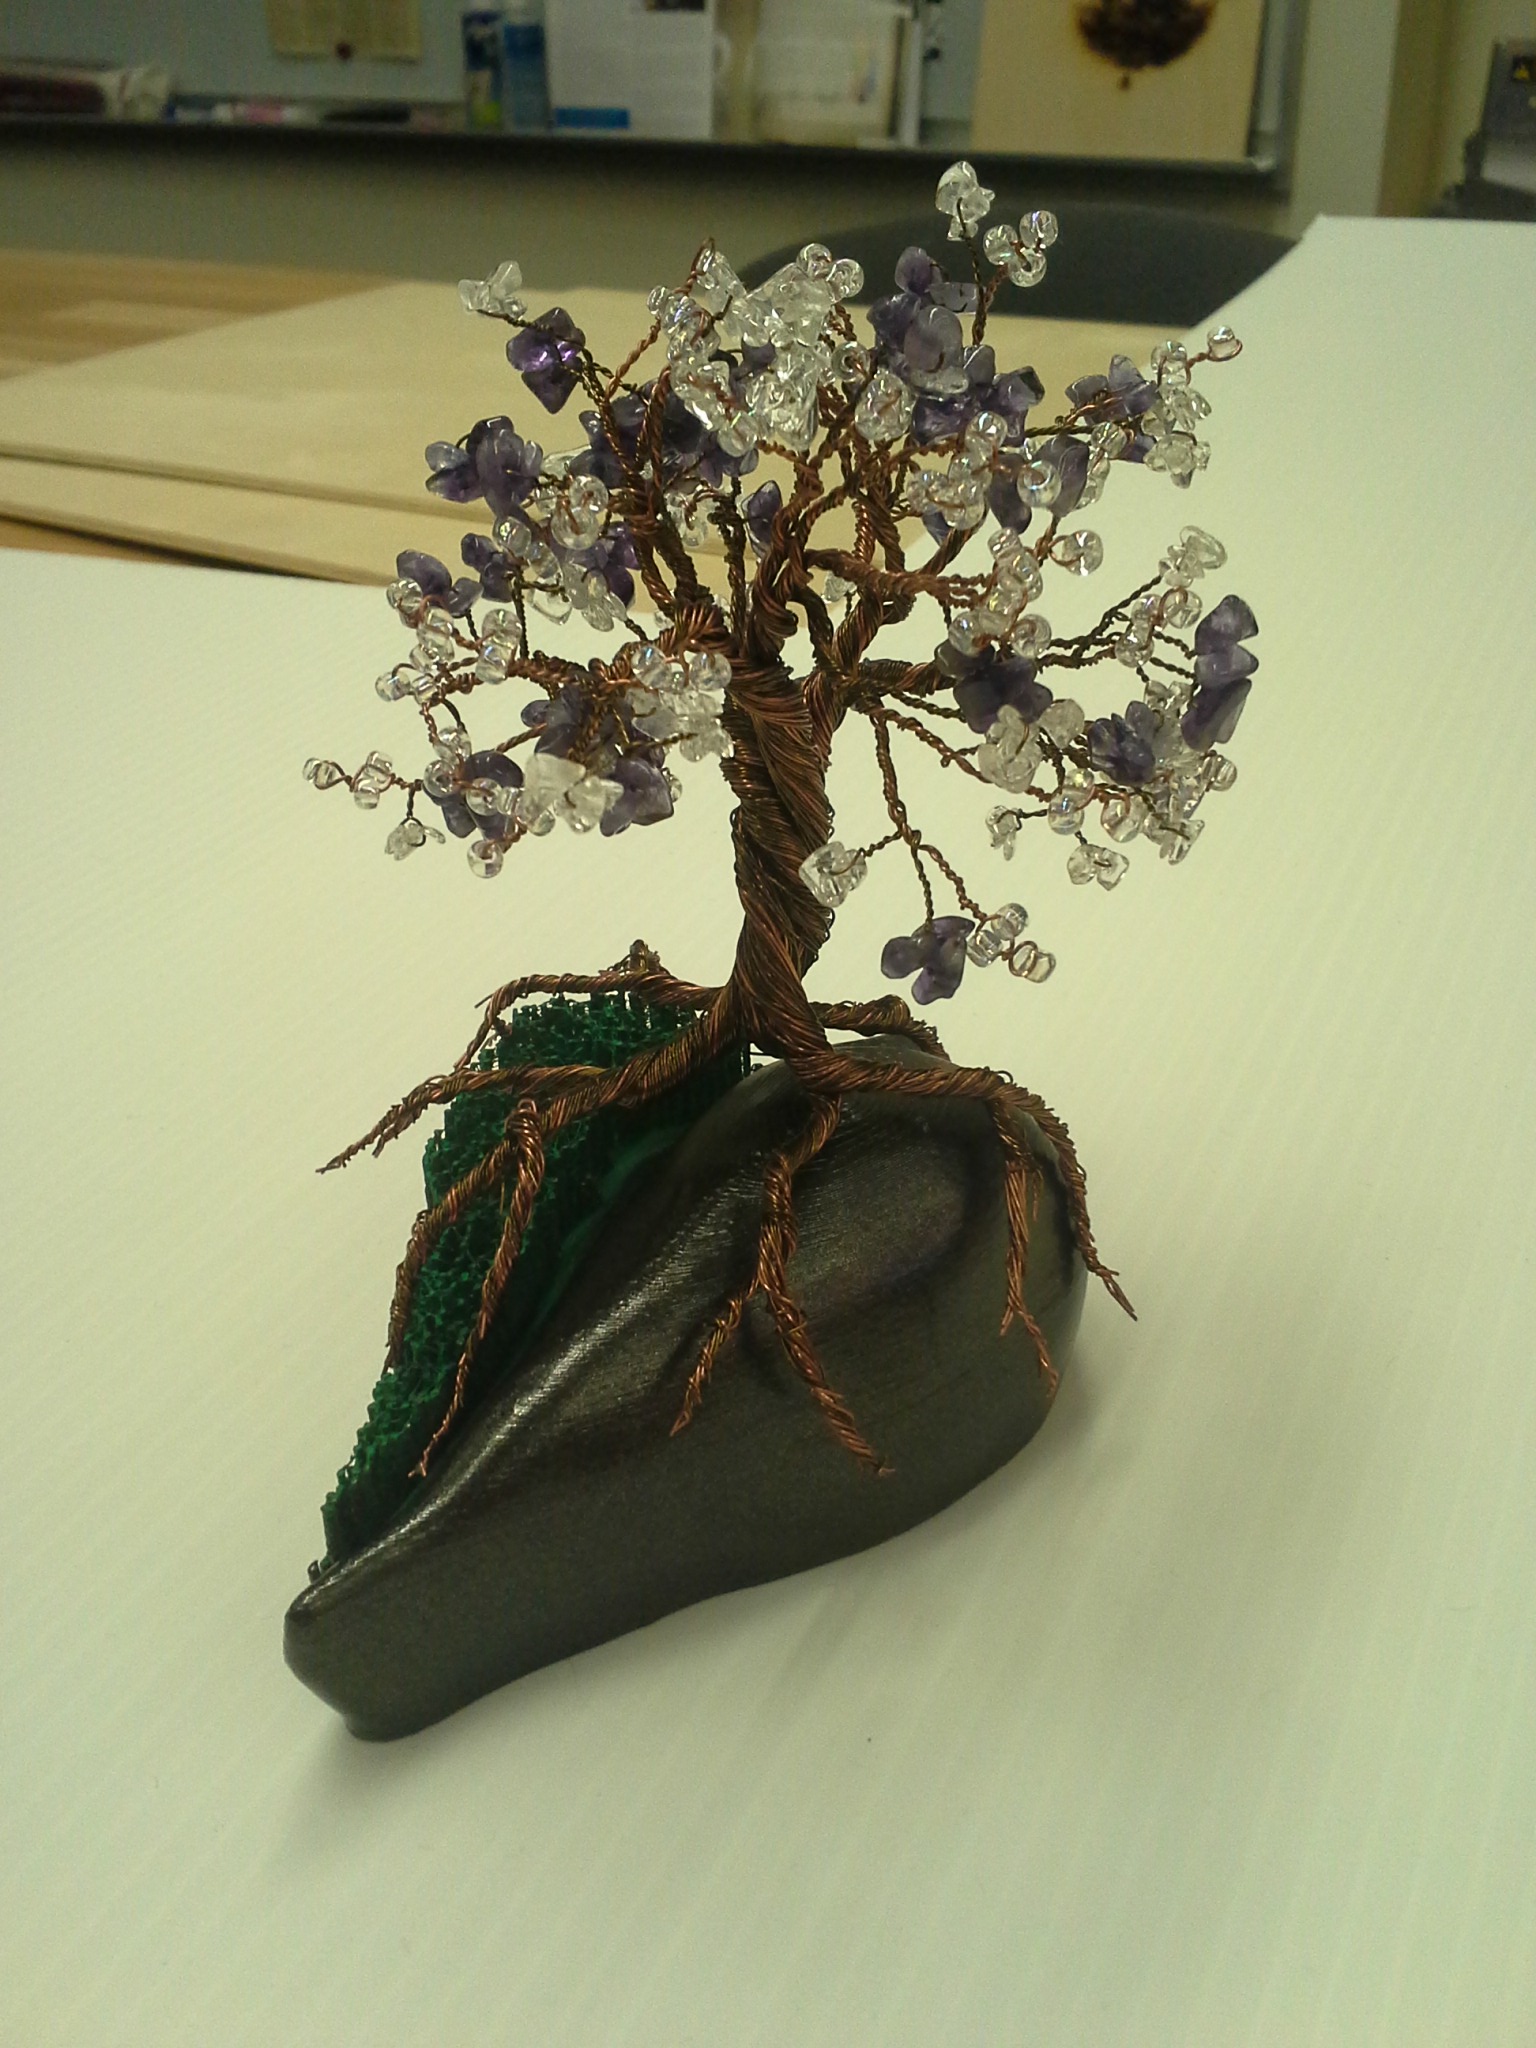
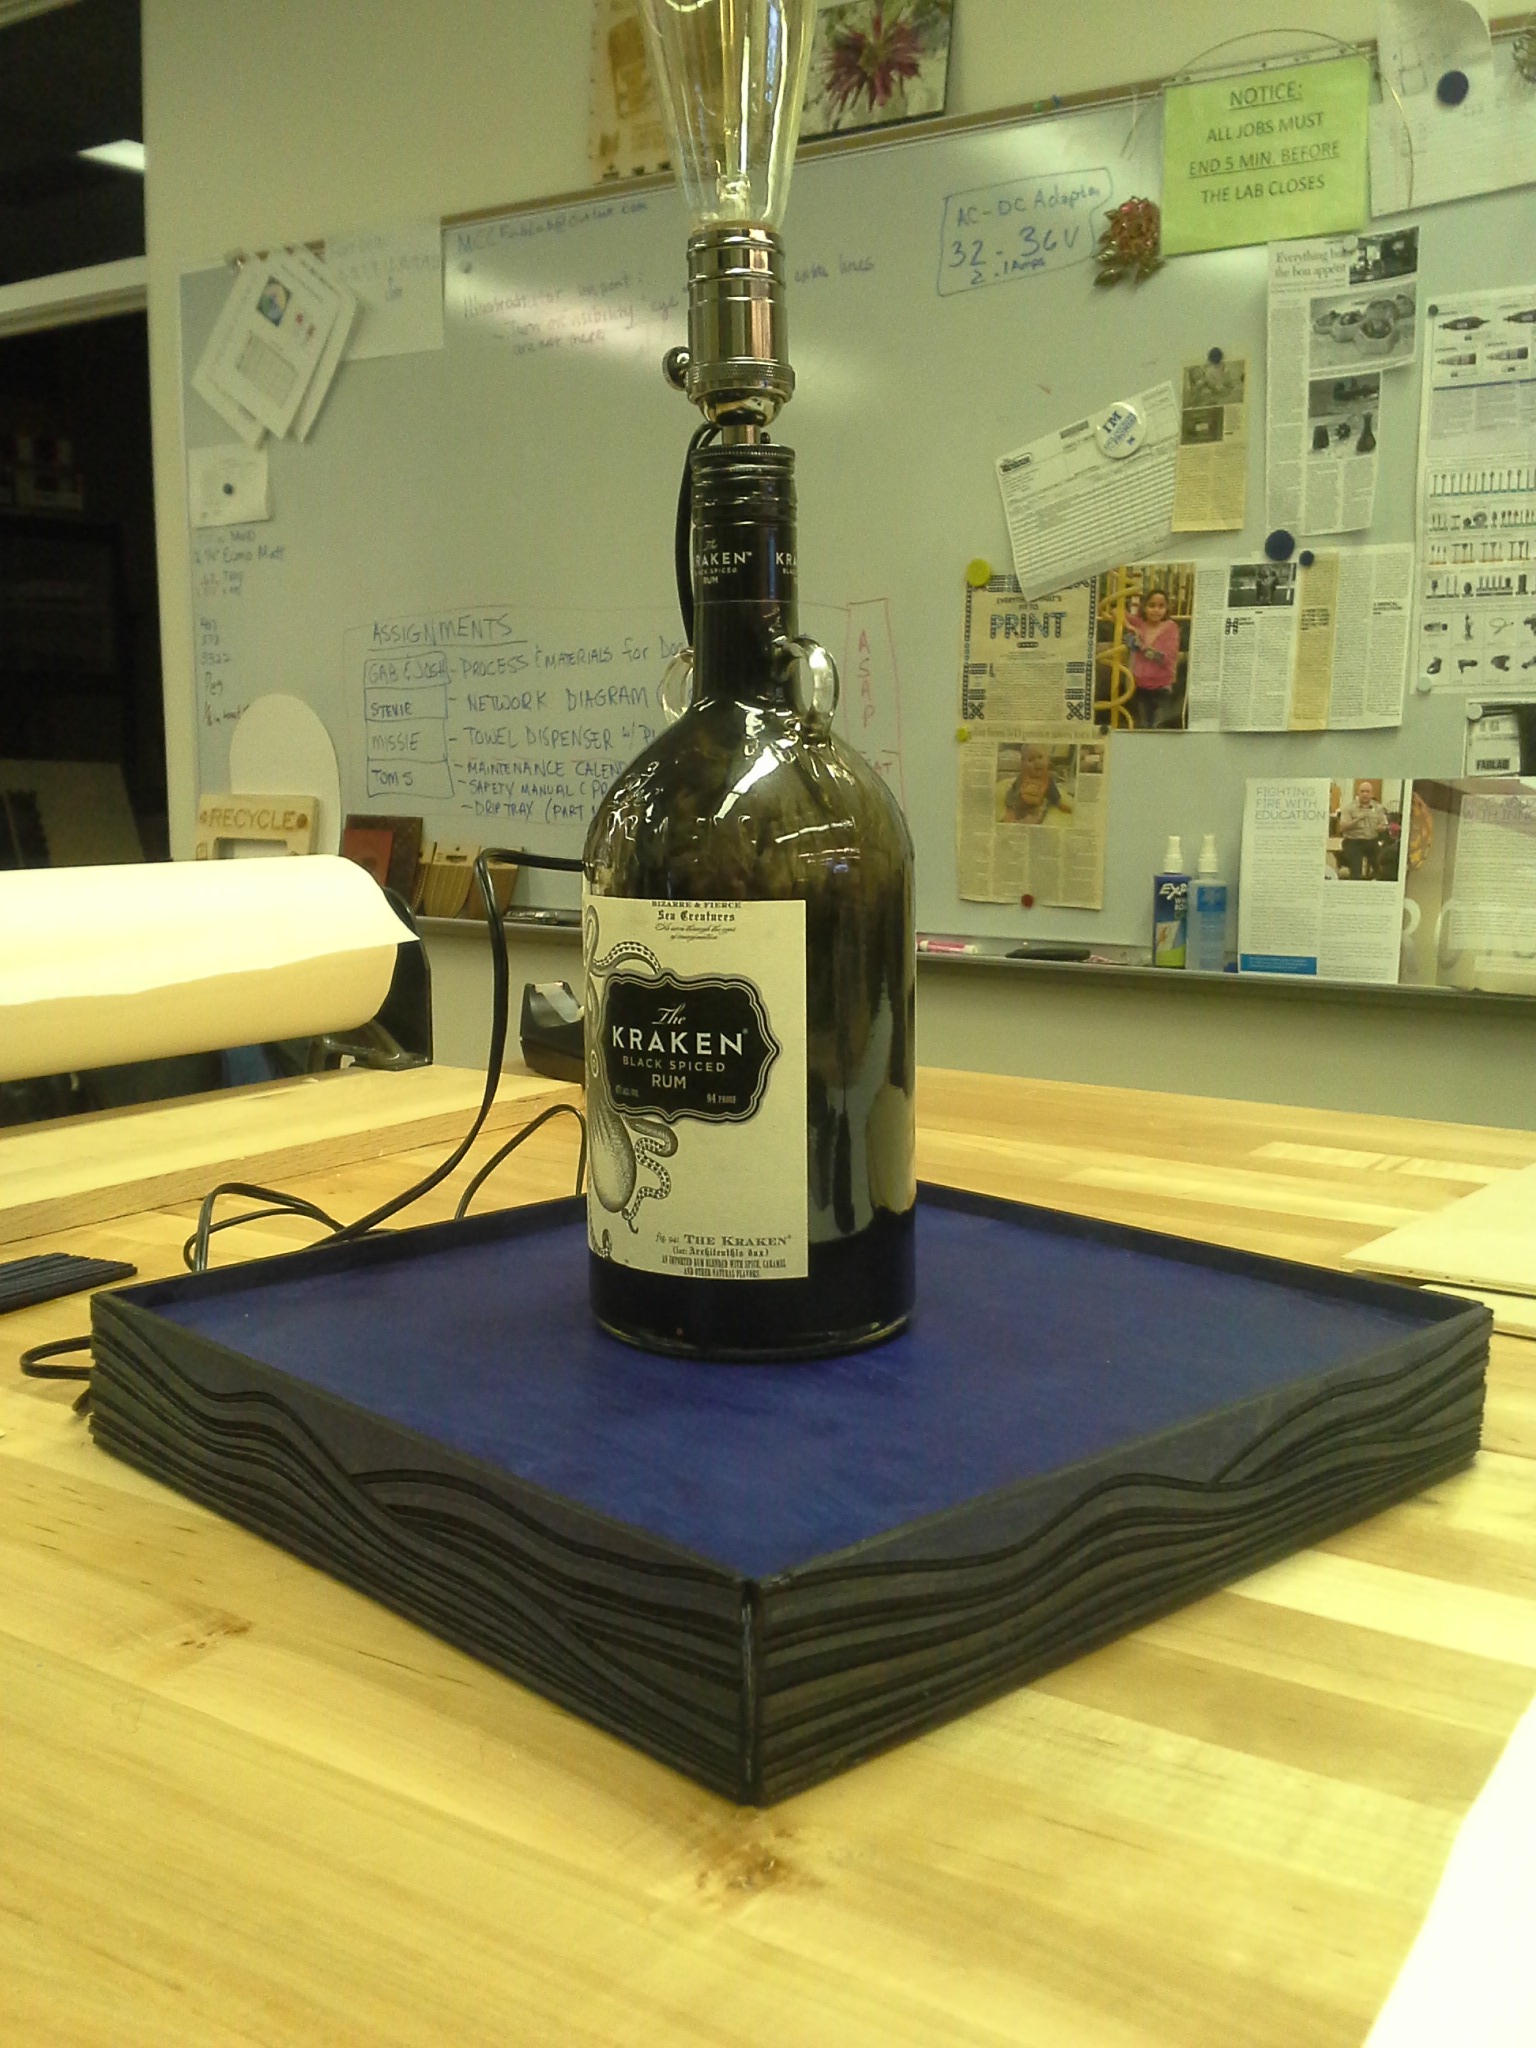
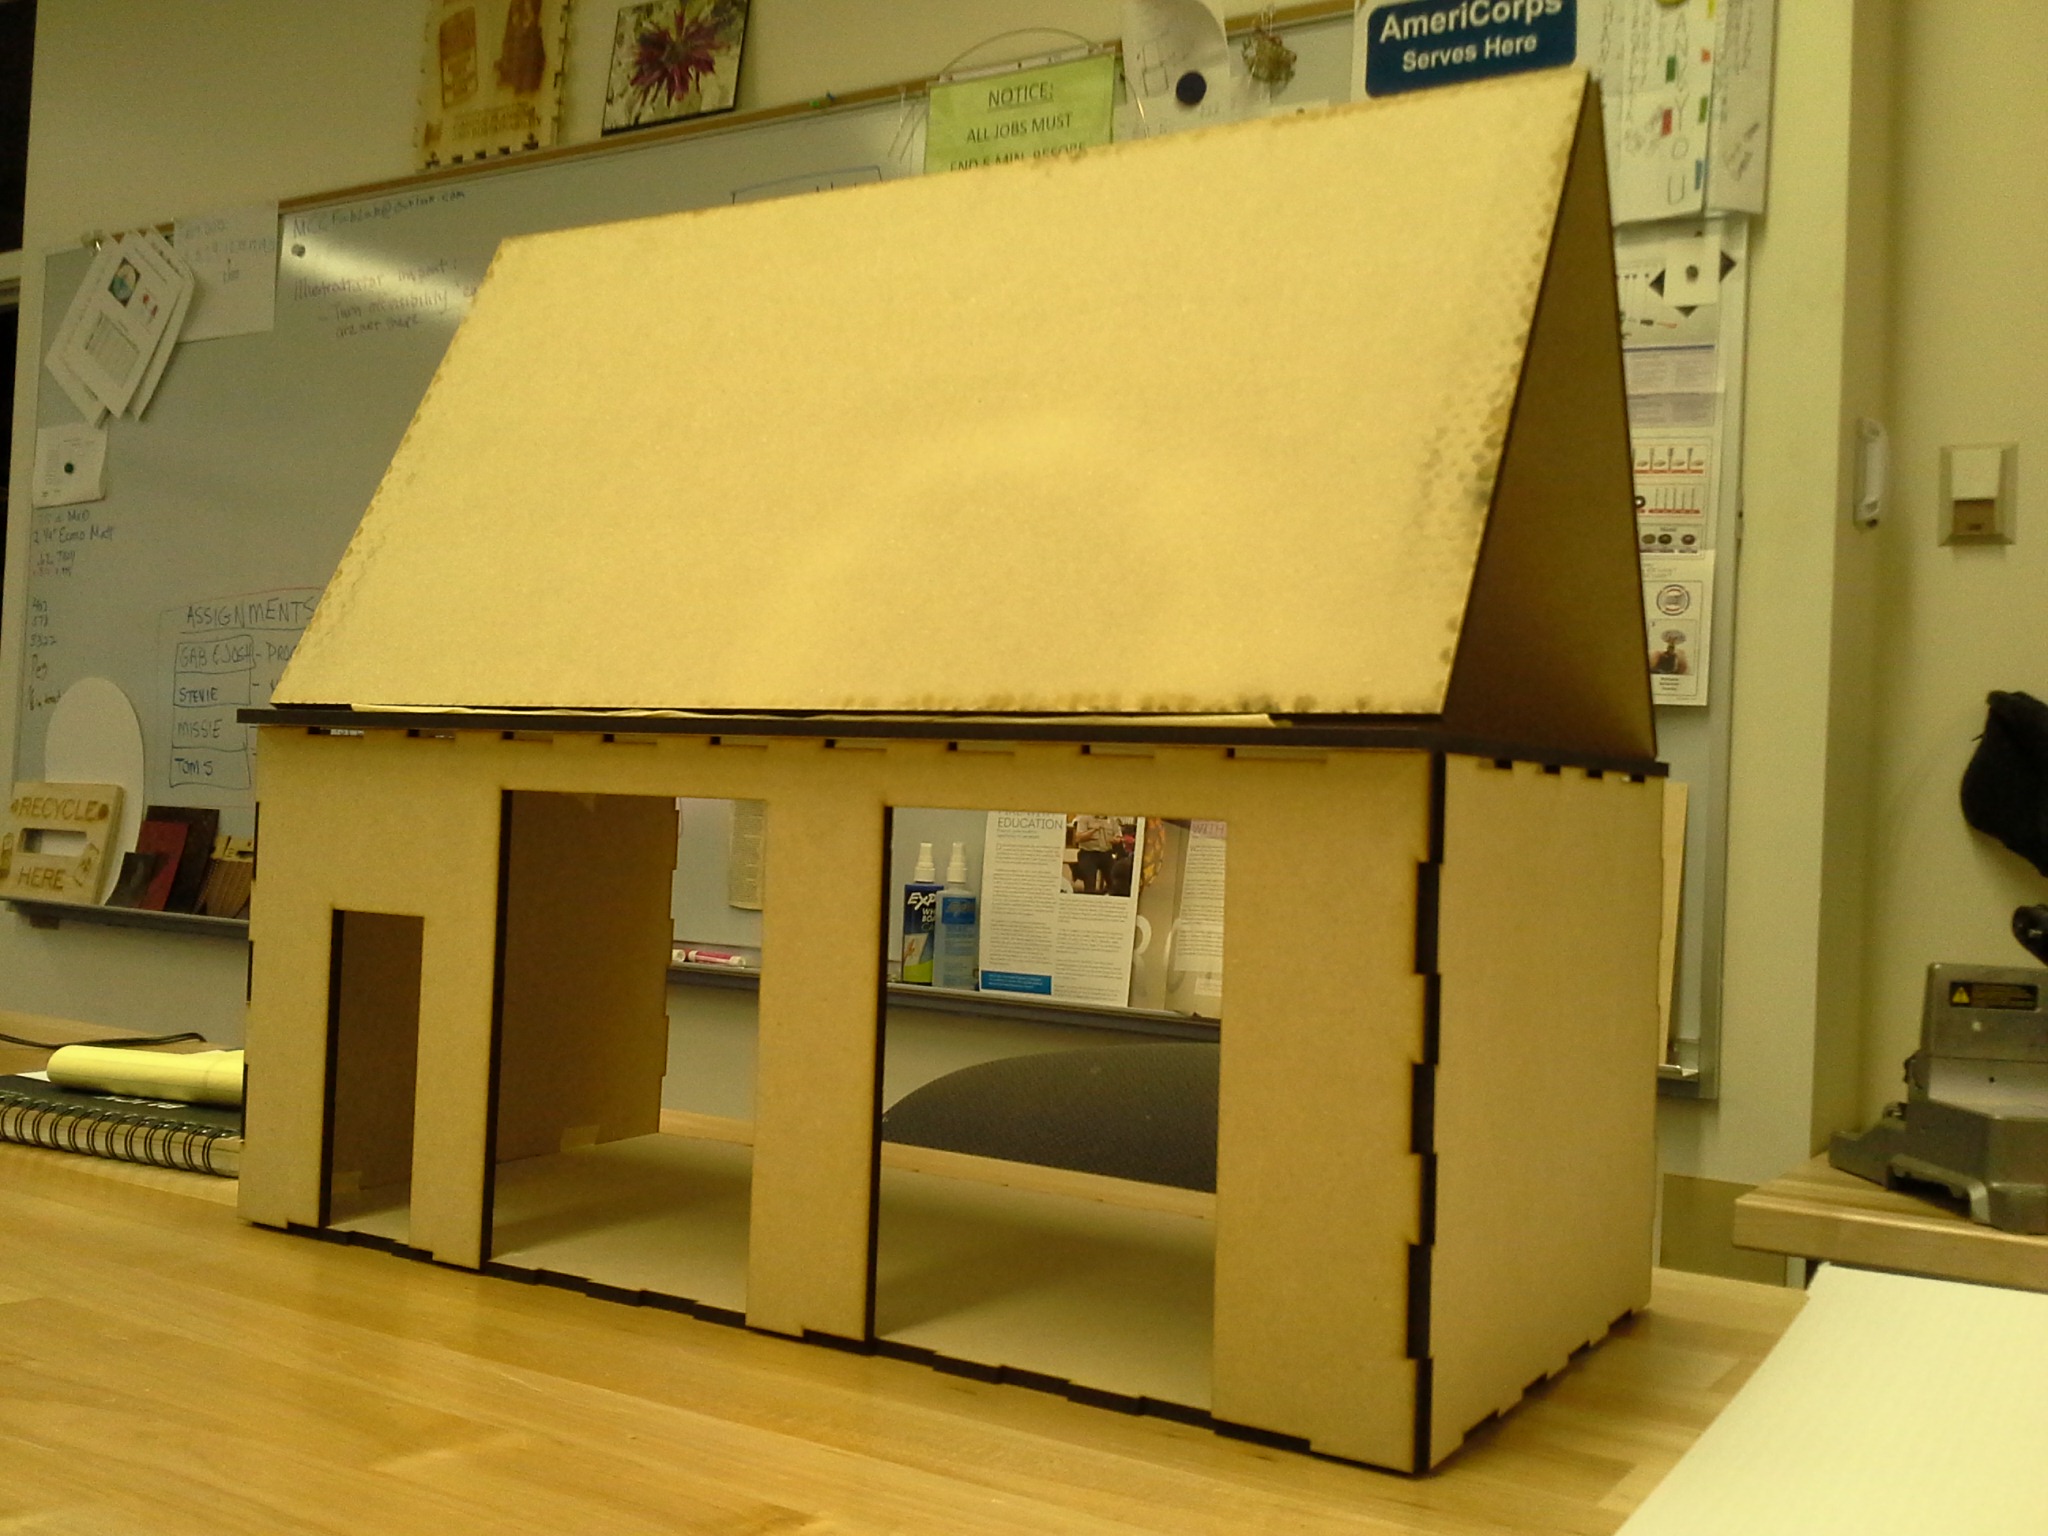
The final three class sessions were dedicated to giving the student’s complete access to the lab in order to produce a project of their own design. Each student had a completely different take on the assignment, some going more artsy, with others going more functional.
By the end of the last class session everyone had something that they were proud to share with the class and bring home as a reminder of their time at the lab. I could not be more pleased with the outcomes!