Prusa Mendel build update #1: vitamins acquired, rods cut and rounded (with better cut diagrams!), and basic frame assembled
I’ve been making some good progress on my self-sourced Prusa Mendel i2 3D printer; so far I’ve gotten all of the required hardware (vitamins), cut up and rounded the rods and got the basic frame assembled!
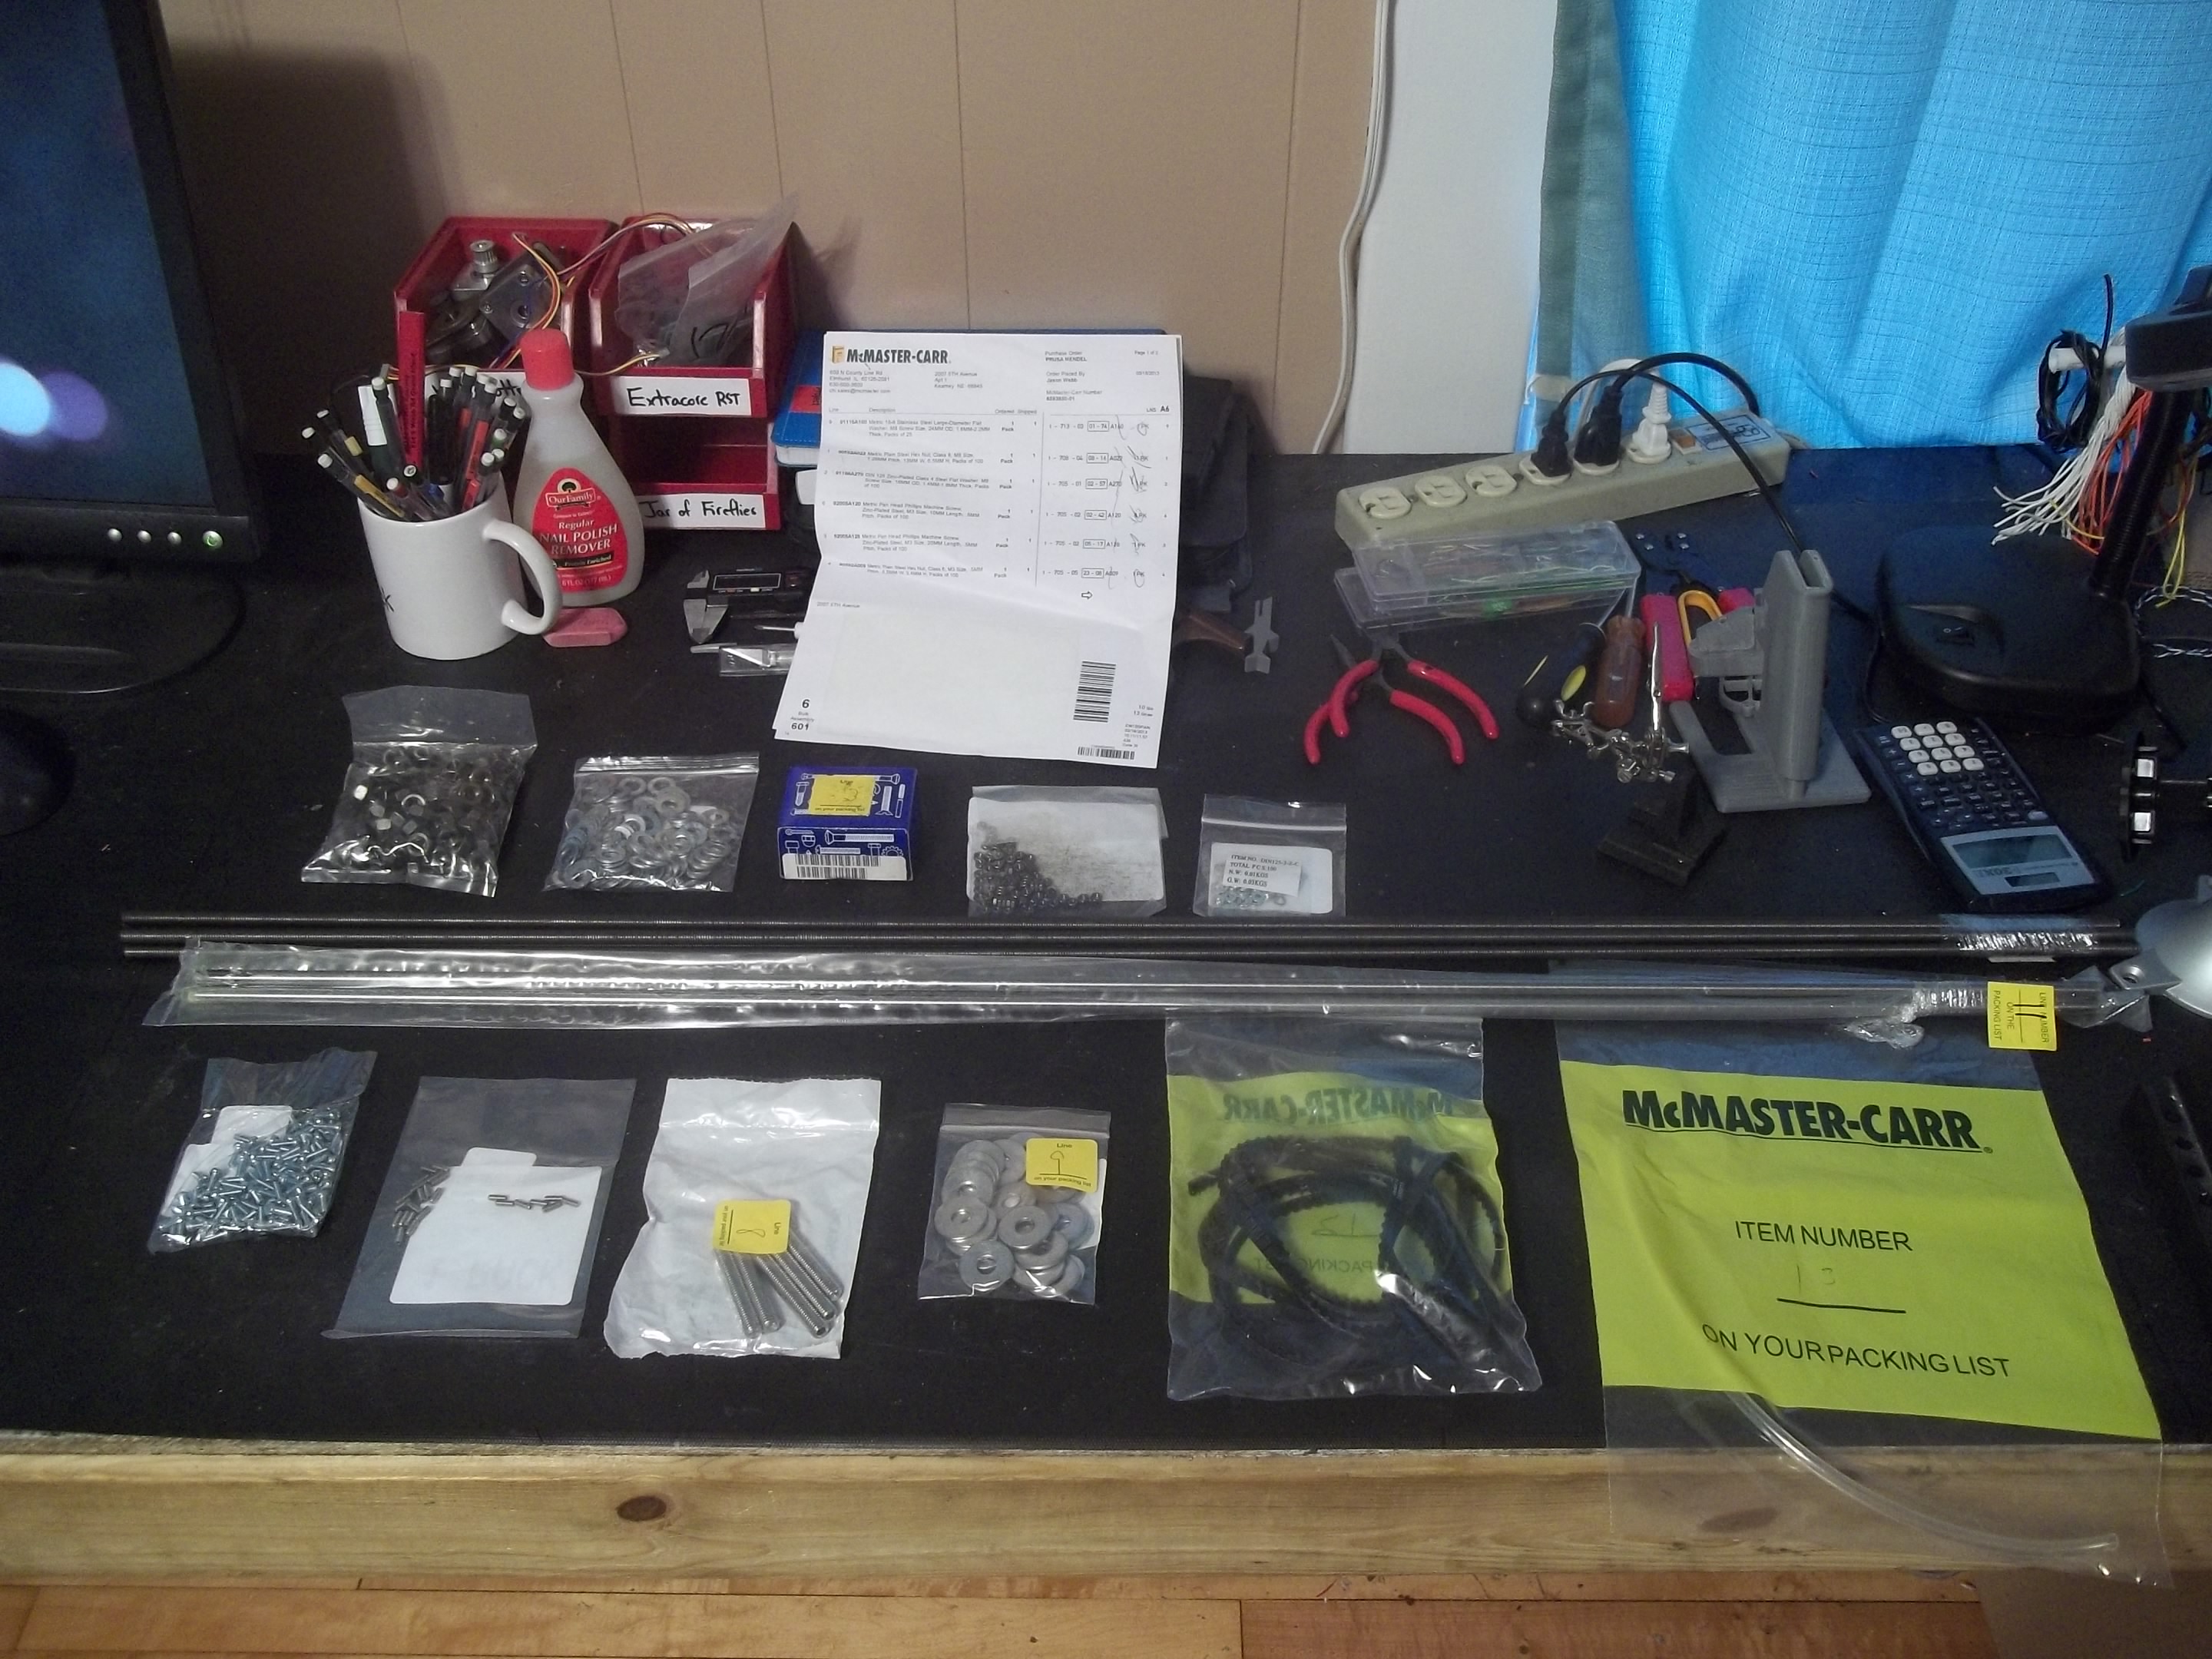
Sourcing and buying the vitamins
 The official RepRap wiki has a pretty straightforward and simple BOM, which I put into a spreadsheet and sourced prices for. I was able to keep the total cost down around $100, which I’m pretty happy about. Nearly everything can be purchased from McMaster-Carr, which offers very cheap and fast shipping. A few items like the bearings and the pulleys need to be bought elsewhere, but can generally be picked up on eBay for cheap.
The linear bearings I sourced don’t seem to be great, though. They don’t slide very smoothly at all on my rods, so I would probably recommend spending a little more money for better ones.
Cutting and rounding the rods
Most of the vitamins can be used exactly as they are delivered, with the exception of the smooth and threaded rods. You have to buy them in 1 meter lengths and cut them down to the sizes necessary to build the machine. Luckily I have access to my university’s sculpture studio, which has a miter saw with a metal cutting wheel on it to cut down bronze and aluminum for casting.
Although this step is very important in the building of the Prusa, the wiki is pretty slim on the details. The only reference I found to how to actually cut up the rods to the correct lengths is embedded in the wiki and reads as follows:
Rods – threaded lengths can all be cut from 6x1m lengths of M8 threaded rod
( 370 + 370 +210 ) * 2, ( 294 + 294 + 370 ) * 2, 440 + 440 , 440
To me, this is pretty awkward to read and isn’t easy to figure out at first glance. So I cracked open Photoshop and made my own cutlists that I could print out and refer to in the shop: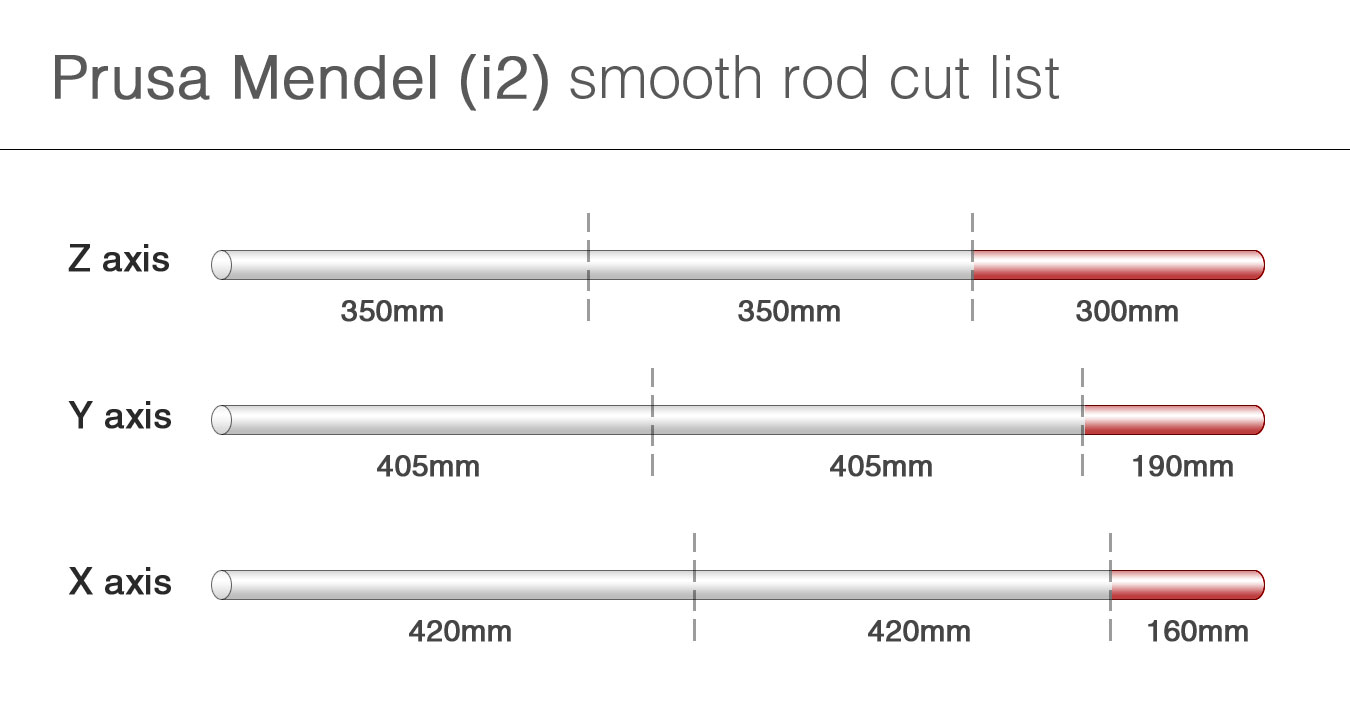

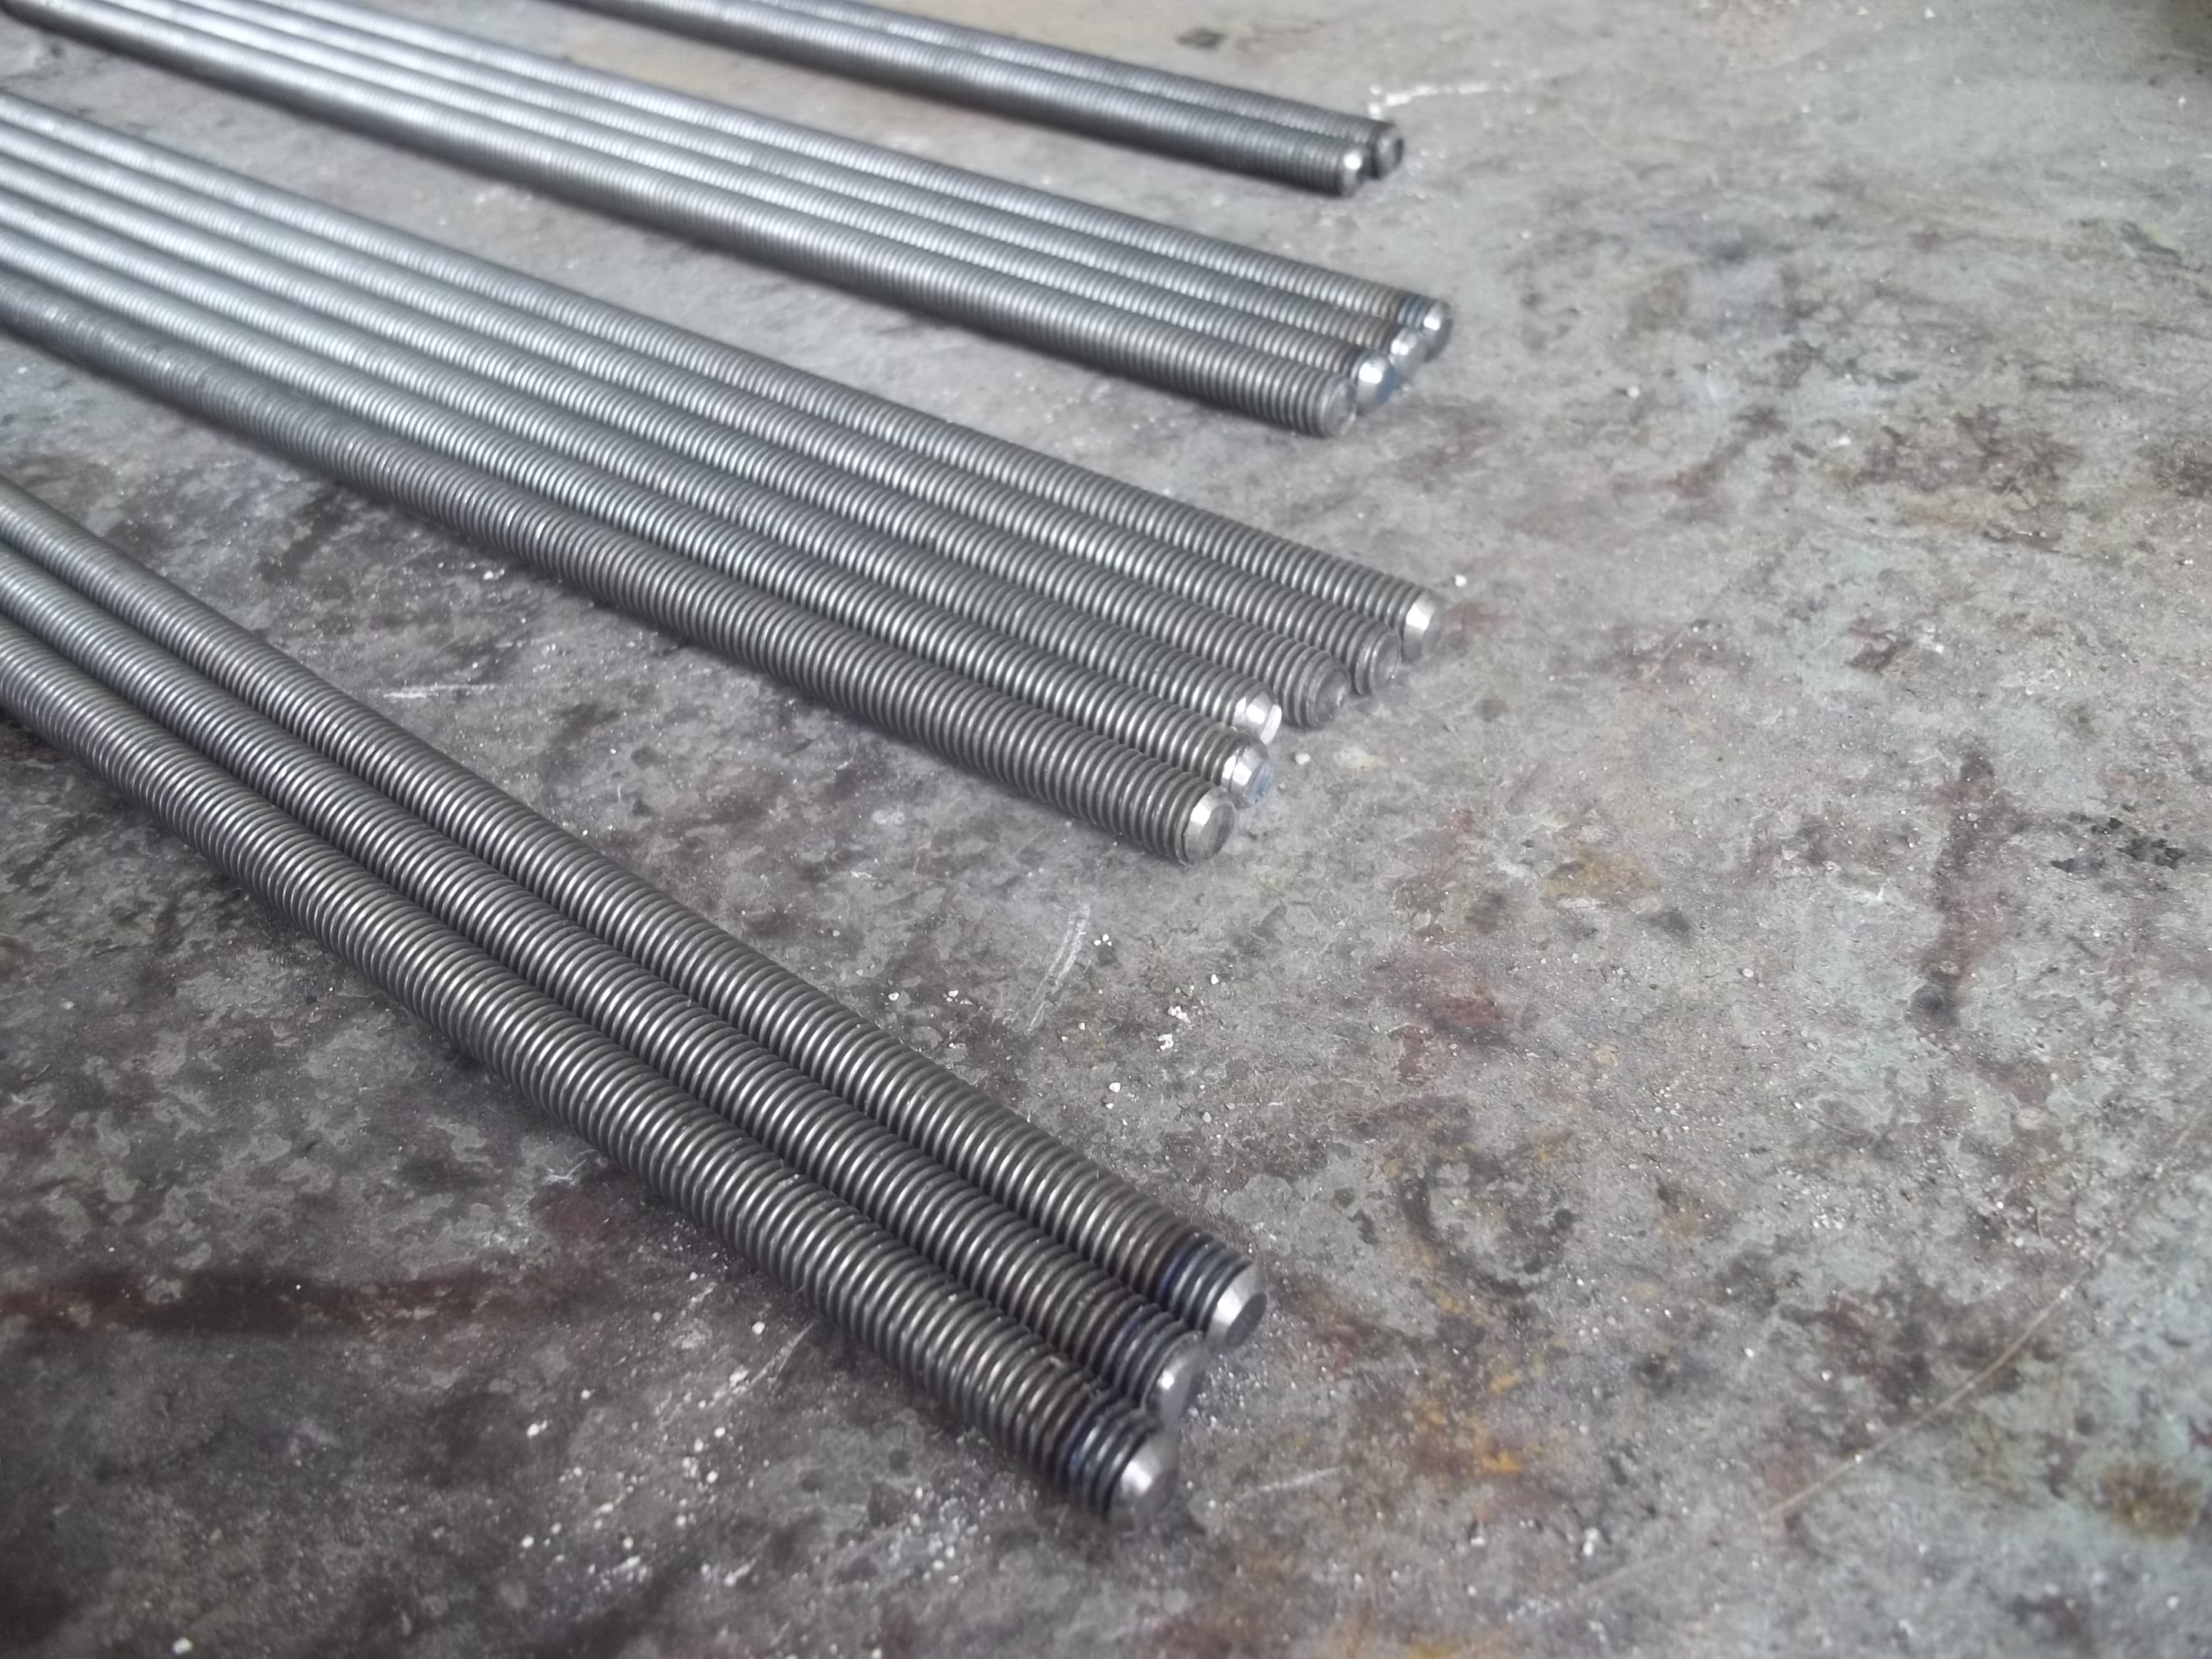
I cut the rods to length on a miter saw (+/- a couple of millimeters on average), then rounded the sharp corners using a grinding wheel: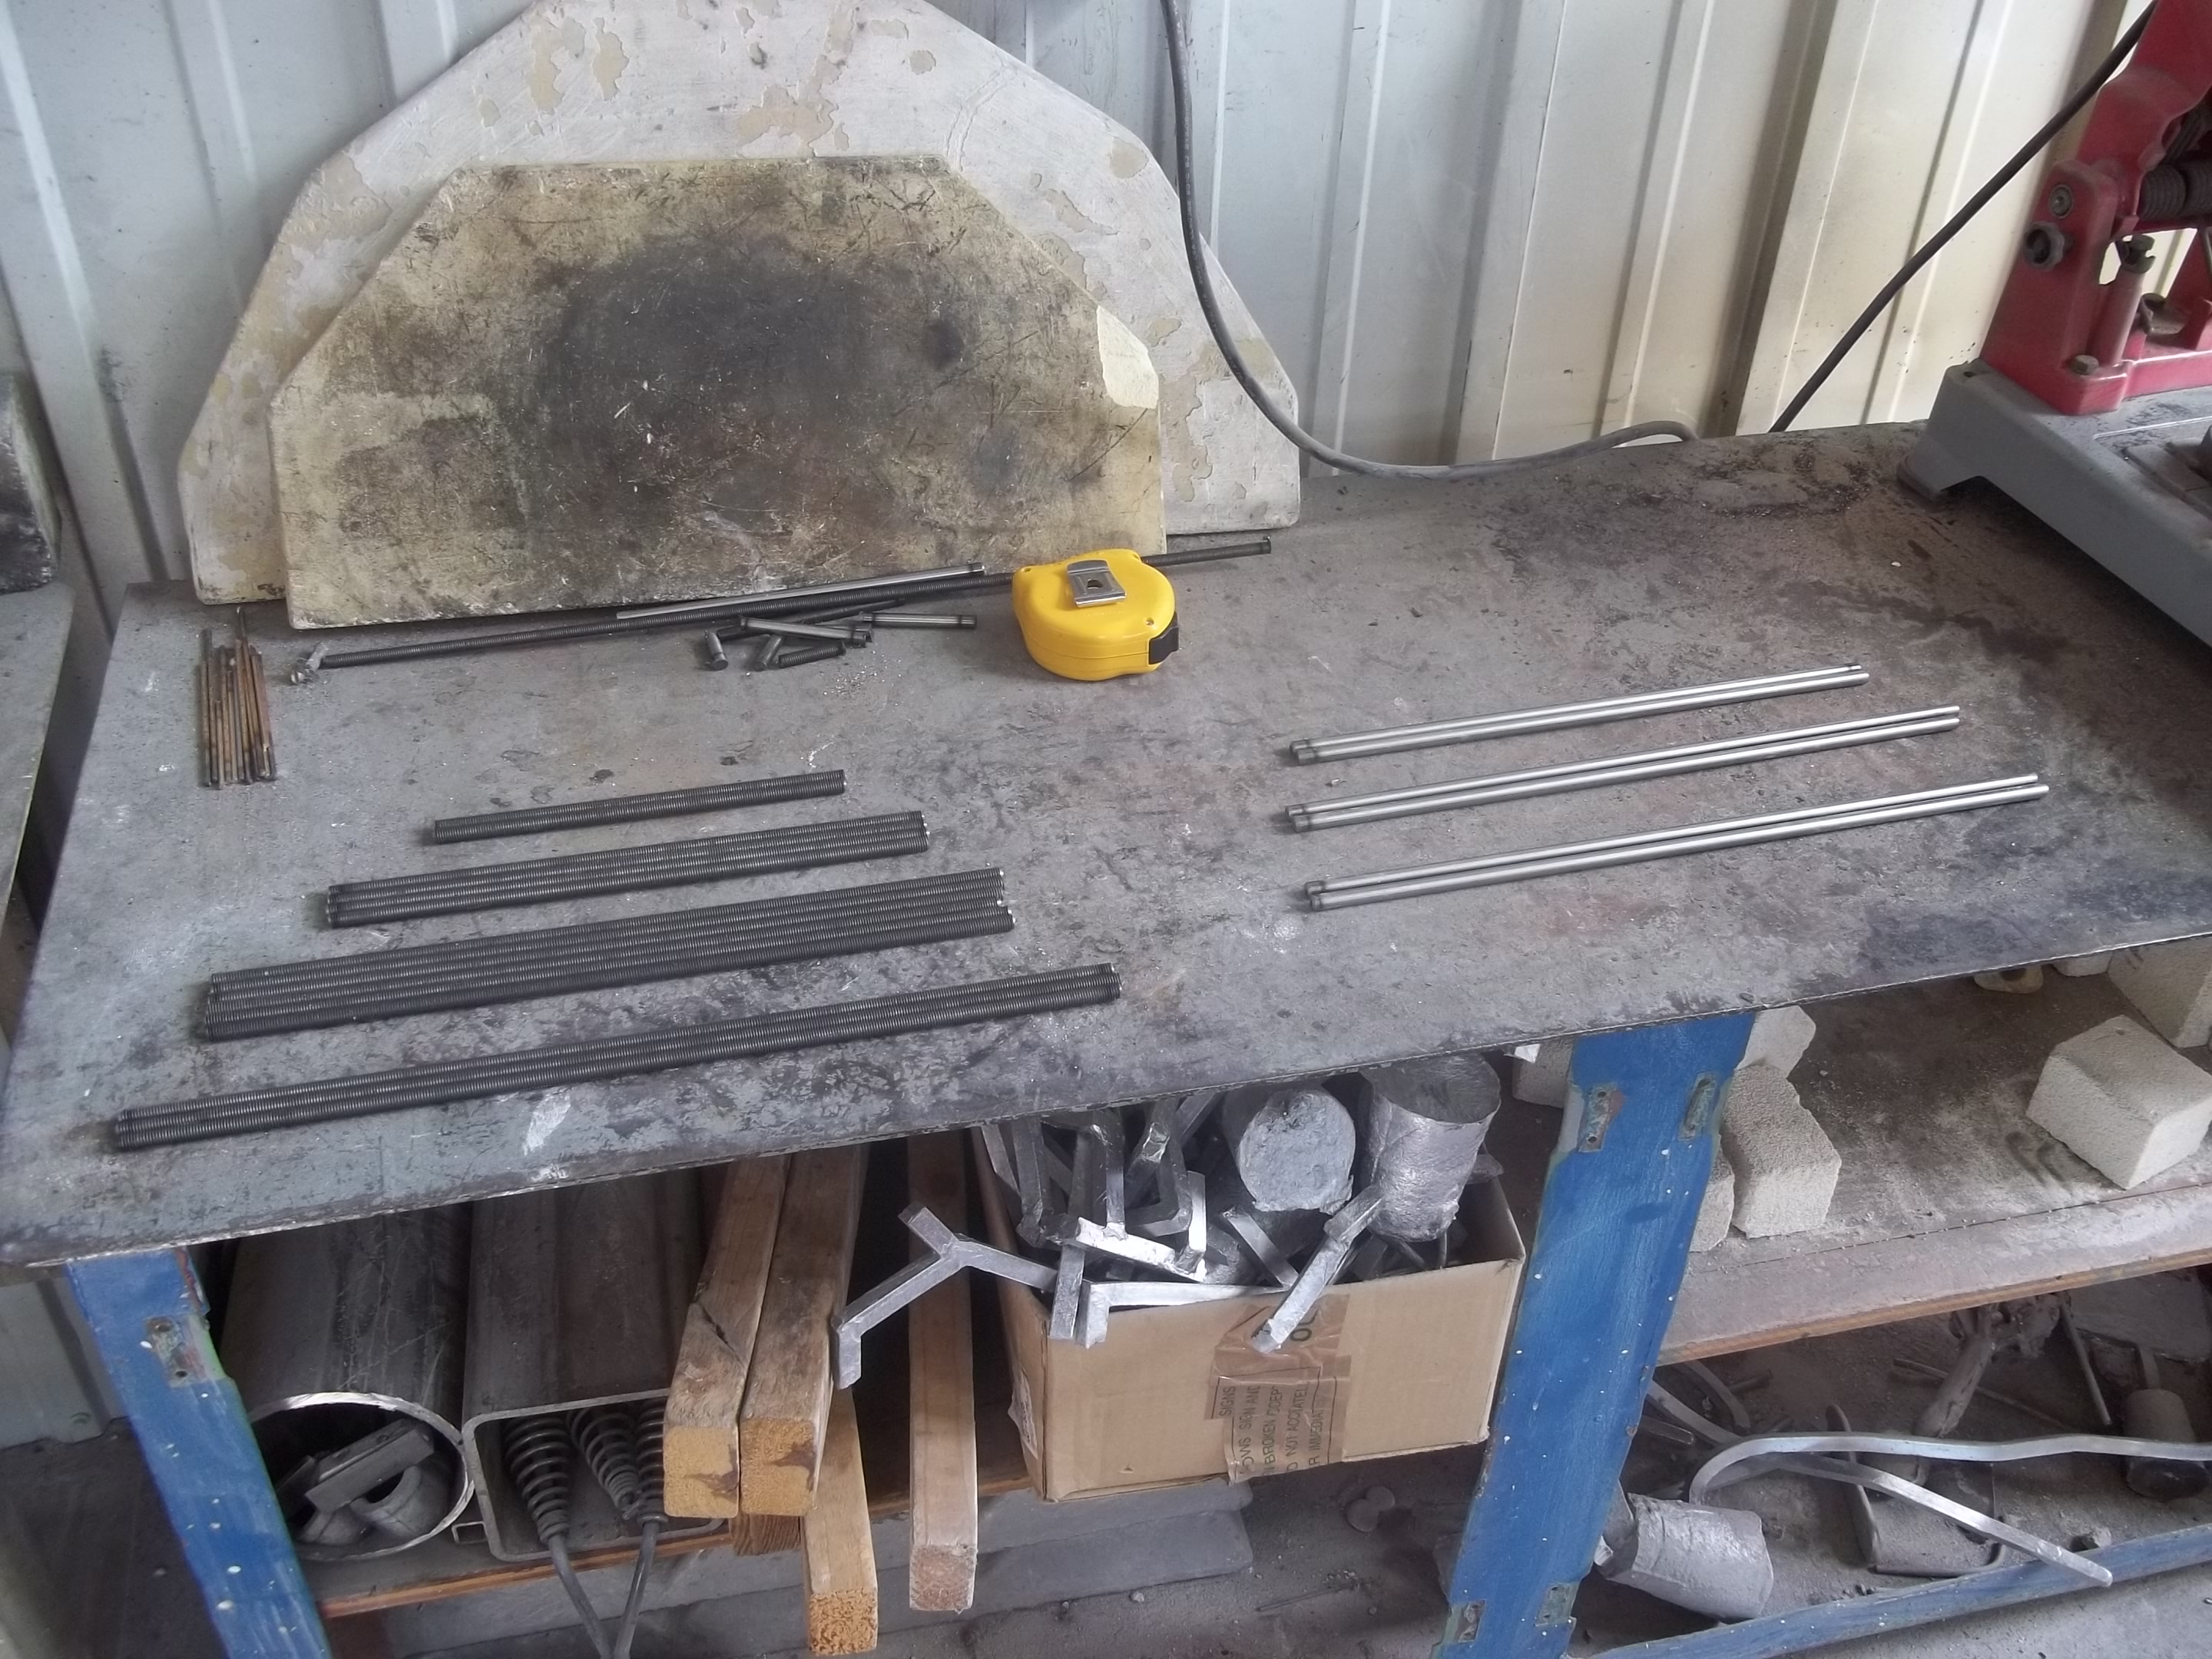
Assembling the basic frame
With the vitamins and the threaded rods cut down it’s actually really easy to assemble the basic frame for the printer. So far, I’ve followed steps 2.1 through 2.4 on the official assembly instructions and am ready to tighten the frame up a bit and continue onward. But first I think I’d like to cut down some scrap MDF to use as precise jigs to use during the next step.

