Space-themed synthesizer for kids
During the summer of 2011, I developed a futuristic control panel for a space ship, to be installed in the Kearney Area Children’s Museum. Part of that control panel is a simple Arduino-based synthesizer, which kids can interact with a variety of ways to create some really awesome sounds.
List of materials
1 – Arduino (Duemilanovae or Uno are both fine)
1 – 8 ohm speaker
2 – Slide potentiometers (w/ knobs)
2 – Standard rotary potentiometers (w/ knobs)
1 – Infrared proximity sensor
Software
In the beginning, I wanted to create my own simple synthesizer using a Teensy board, but in my research, I came across a really fantastic 2-channel granular FM synth called Auduino that just sounded too cool to resist. The Auduino code is incredibly small and utilizes hardware interrupts and PWM, so its not very taxing on the main core of the Arduinio’s ATMega328. This means there is plenty of room for adding things, if you know what you’re doing.
Auduino is able to synthesize audio based on the input received by five analog voltage sources, so you can in fact use any sensor or device that can output an analog voltage ranging from 0-5V (or has been buffered to output a value in that range). Based on my experience, I would recommend that standard potentiometers (slide or rotary) are used for the decay and pitch controls for channels 1 and 2, whereas any analog sensor could be used for the frequency control. Readings taken from this analog sensor are then quantized to values that correspond to notes along the pentatonic scale, which is the fundamental scale for much of Western rock and folk music. In other words, it takes the raw, sometimes interesting, sometimes not data created by the analog sensor and converts it into pleasant sounding musical notes.
Learn more about Auduino (and grab the source)
Hardware
Instead of doing much to the Auduino code, I chose to do something a little different with the hardware side of the project. Many Auduino projects simply use five standard (rotary) potentiometers) and an LED, but to make things a little more aesthetically interesting for the kids, I chose to use two slide potentiometers, two rotary potentiometers and an infrared proximity sensor. I am able to do this because the Arduino does not care how it receives a 0-5V signal on its Analog pins, only that it receives a range of values.
Implementing a Class-A amplifier
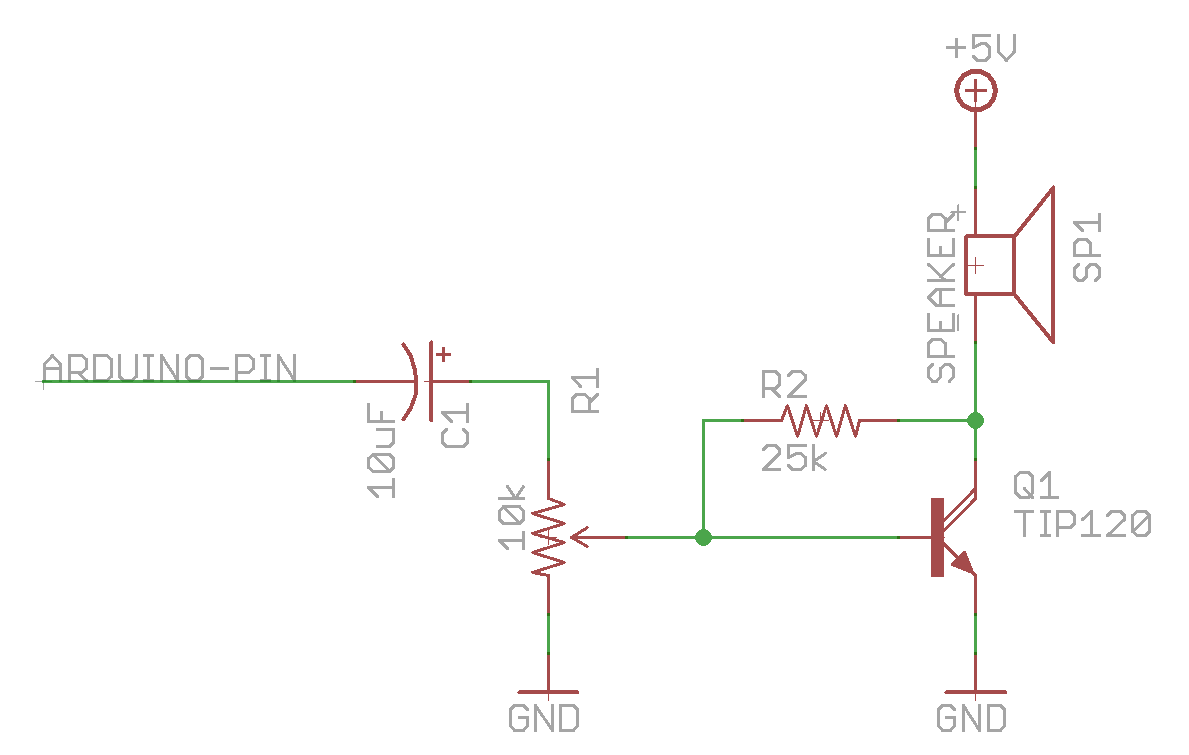 Upon installation, I soon realized that the speaker was just simply not loud enough. After some discussion and calculations, I came to realize that although the speaker I used was a 0.5W 8 ohm speaker, the Arduino itself (or more specifically, the ATMega328 microcontroller) is not capable of outputting more than 40mA per pin. This means that the maximum power that the Arduino is capable of sourcing from one pin is P = I*I*R = .04A*.04A*8ohm = .0128W (less than 1/64W!). Therefore, its a wonder that the audio was even audible at all! But audio is a spooky phenomemon sometimes, and our ears are able to pick up on things like resonant frequencies and other things that create the illusion of something being louder than it really is. Therefore, I needed to construct a simple class A amplifier, as shown on the right.
Fabrication and testing
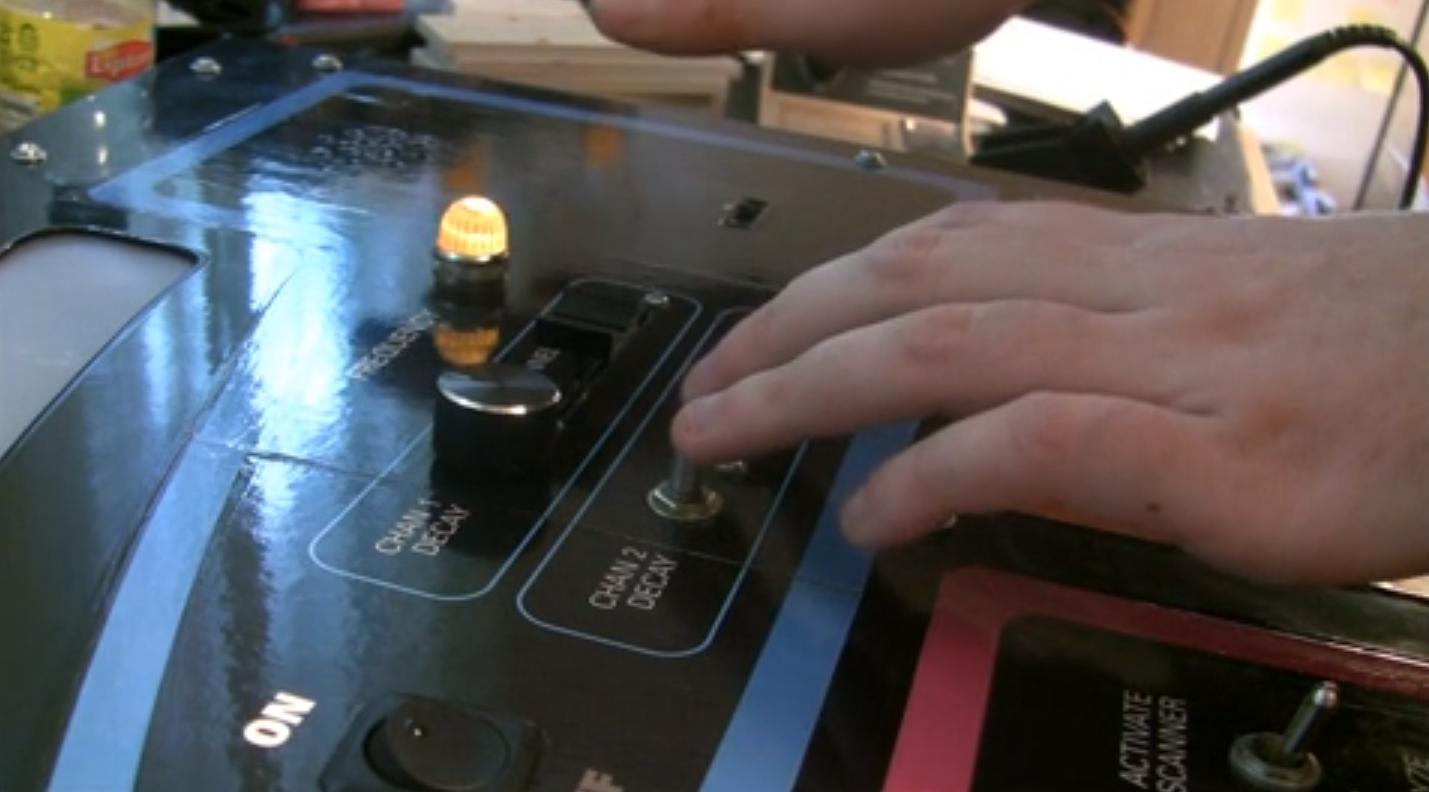
As described in an earlier post, a custom control panel was fabricated for an upcoming exhibit at the Kearney Area Children’s Museum, which this synthesizer was installed in. The synthesizer ended up working very well: